FFRP Odyssey: Bodice Part 1

So here goes. Some notes on my experiment with Palmer/Pletsch’s Fit For Real People fitting approach.

Pattern:

I’m working with Palmer / Pletsch’s McCall fitting shell (M2718). In retrospect I could have just used my Vogue fitting shell (V1004) because I didn’t need any of the extension outlets. But I was curious whether the instruction would be more comprehensive and aligned with FFRP book.

As I said before, I wanted a Big4 fitting shell so I can use the result to guide alteration of my numerous Big4 fashion patterns. Well Vogue Patterns anyway. I also want to use it as a sloper to create my own patterns.

Size:

My chest is 32-1/2″, bust 34″, under bust 29″.

That makes me closest to size 12 in Vogue Patterns. And P/P’s old instruction (still used in M2718) would also have me as a size 12, because my chest – bust difference is less than 2″ (2-1/2″ for M2718), so I would have been told to use my bust measurement to choose the size.

But following FFRP’s current instruction, I’ve used my chest measurement as if it was the bust measurement. So that would be a size 10 (my 32-1/2″ chest = Vogue size 10’s 32-1/2″ bust). I would need to learn Full Bust Adjustment to get the size 10 to fit my bust.

Luckily my V1004 is also in size 10. When I bought it my bust must have been smaller, for I would have used the normal bust measurement to choose the size. So once I figure out what alterations I need for McCall, I can also practice on Vogue. There is slight difference between McCall and Vogue fitting shells, so it’d be interesting to see if one requires less adjustment than the other.

Interestingly, standard bra size calculation would have me as a B-cup, and Vogue Pattern’s instruction would also place me as a B-cup. So theoretically I should be able to use fashion patterns as is since they’re all based on B-cup sloper. But recent fitting mishaps + FFRP’s size selection guide have  made me think I’m one of those weird case mentioned in FFRP page 141 – ie a B-cup wearer with full rib cage who needs the bust room of a bigger cup.

Jumping slightly ahead, I can confirm that size 10 and a D-cup front seem to be working well. So I’m glad I didn’t use a size 12 and B-cup front – I wold have had to do more alterations.

Actually, I’m wondering if I should try a turbo-charged FBA on a size 8. I read recently online – probably Pattern Review’s Fitting Woes forum – that one’s frame (shoulders, bone structure) doesn’t change with age even when everything else starts to droop and spread. I used to be a size 8. I cut up so many expensive Vogue Patterns in size 8. It would be great if size 8 is in fact what I still need, except with a more generous bust adjustment. Then I would be able to use all those old patterns – most of which I haven’t even made up yet. What do you think? Too greedy? 😉

And interesting that boobs do grow bigger with age. My well-endowed friend was complaining about her girls giving her increasing backache. I didn’t believe her when she told me this fact because my bra size had never needed changing yet. Hmmm, maybe I’m wearing the wrong size. Did You Make That recently wrote about having her girls professionally assessed by the Queen’s bra-maker Rigby & Peller in Mayfair. There was no measuring, just years of experience and a bit of manhandling. But she was impressed with the results. Maybe I should get myself down there and see if the seasoned eyes could shed some light on my bust fitting woes!

Pattern Preparation:

Rather than using the original pattern, I’m using traced copies. Ever since I over-committed to size 8, I’ve been paranoid about cutting up the original patterns. So I’m using gift shop tissue paper instead. Unfortunately it’s not as translucent as the Big 4’s pattern tissue. But it’ll have to do.

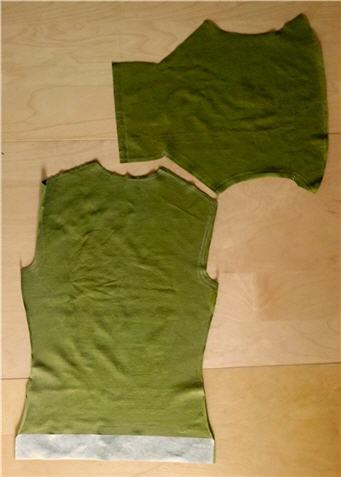
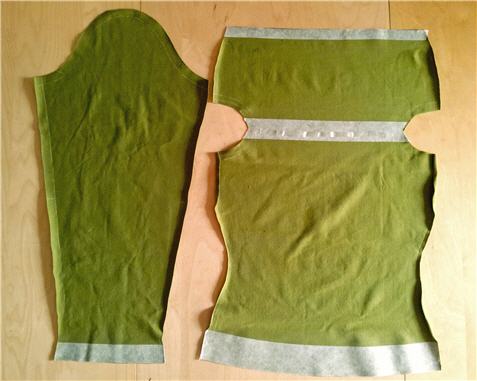
One advantage of using tracing is that you can trace as many copy as you need. And as a tissue fitting novice, I needed many. I’m up to copy 5 for the back bodice now (copies 1-4 shown above). Imagine if I had optimistically cut into M2718 itself! I’d be crying right now.

I am using Scotch Magic Tape as recommended. But I had gotten this batch long time ago in 3/4″ width, not the 1/2″ as recommended. So I’ve been taking a long length at a time, sticking it to my cutting mat, slicing it in half lengthwise with my craft knife, then again into lengths of approx 1-1/2″.

 For inserts where I have to slash and spread, I use strips of tissue in a different color to make it easier to see the alteration. As recommended, I’ve pre-cut strips in standard widths: 1″ and 1-1/2″ so far. I haven’t had to use wider strips just yet.

For gridded cardboard surface to pin pattern pieces onto during alterations, I bought a Dritz Superboard cutting board on sale. I’m using normal dressmaking pins for this. But for pinning pattern pieces for fitting, I’m using Clover Patchwork Fine Pins (CL2507). They’re glass-headed pins and the thinnest I can find (0.40mm diameter &  36mm long). Be warned, though, they also bend quite easily, and are sharp. But then I’m used to being pricked by acupuncture needles, so no problemo for me! 🙂

A word or two on ironing the pattern. Firstly, as promised by FFRP, wool (2 dots) setting is better at getting wrinkles out of the tissue, but I still couldn’t get all creases completely out. Wrinkles I created while wearing the pattern do come out, but the factory folds are too stubborn to budge. I’m hoping it won’t make much difference.

 Secondly, I find that even ironing from the back as recommended, the tape do seem to shrink slightly. Or at least compared to the tissue paper. Which is another reason why I’m glad to be working with copies – I can make a fresh copy when the old one gets too wrinkly, or tatty, or stiff from too much taping.

Next time on the FFRP Odyssey…

Notes on getting the patterns to lie better and prepping to try on pinned pattern. Right now I need sleep…..zzzzzzzzz
Older But Not Wiser

Decades ago, when I was a relative sewing novice, I was much more adventurous with my sewing.

Slapdash Pattern Happy!

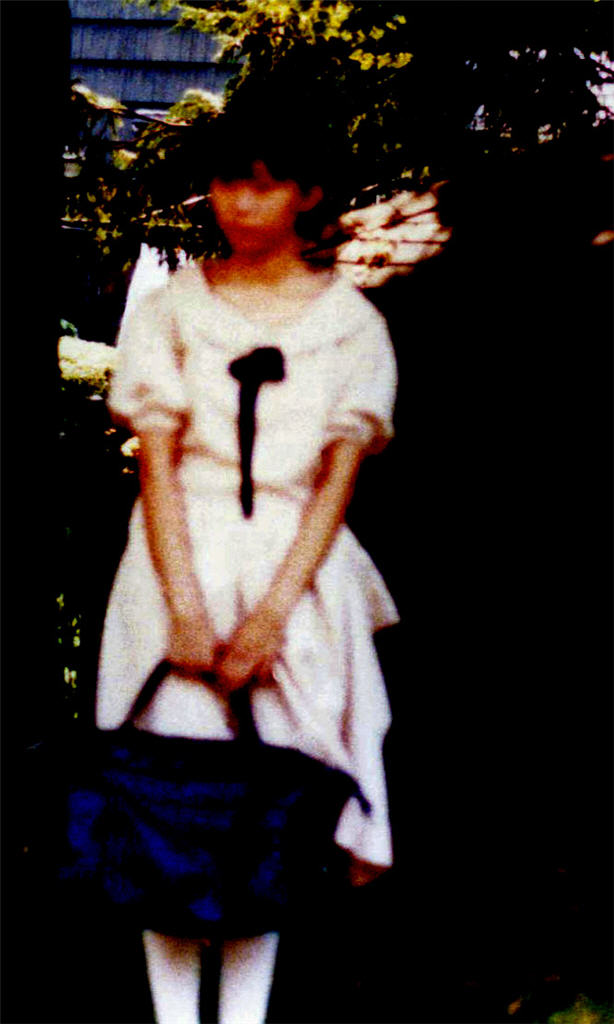
I thought nothing of my poor techniques, and happily dabbled with making my own patterns. Like this dress…

Apology for the blurry photos. My Mom wasn’t exactly ace with the camera and this was in the days before digital cameras. So you had to wait for the films to be developed to find out that you got some dud photos!

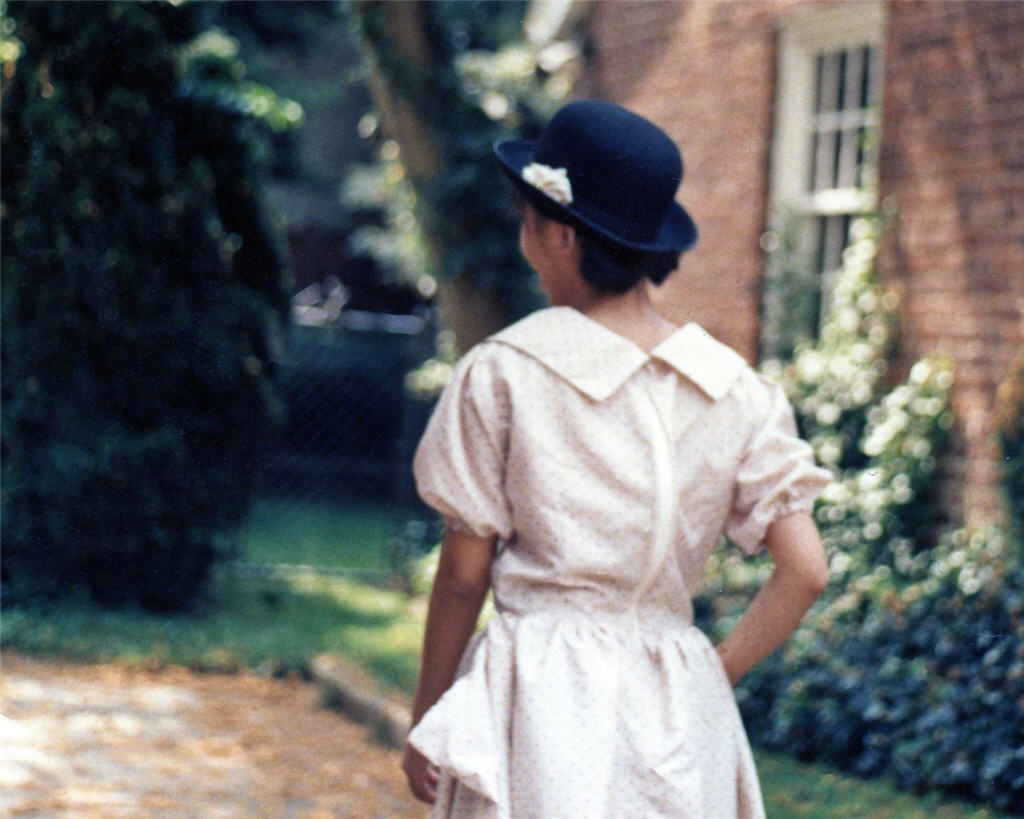
Note the stiff exposed back zipper. The collar probably wasn’t properly interfaced either. But it was my own design, probably inspired by some magazine photos. And then there’s this one…

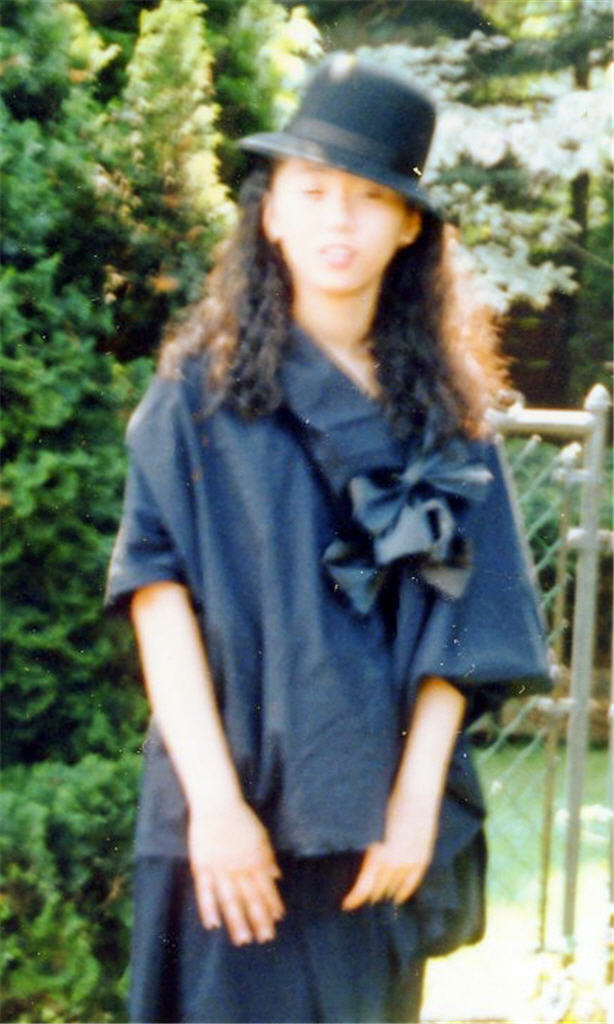
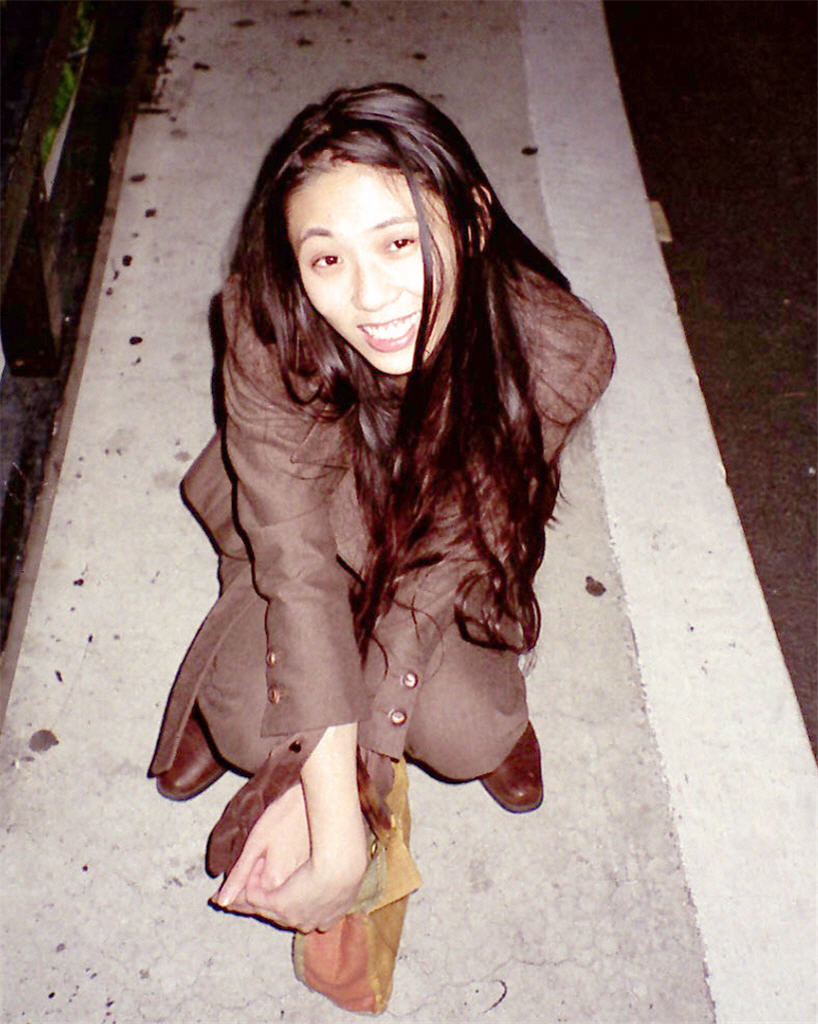
What was I thinking of? LOL. My head was in the cloud back then. I don’t even remember making this one. (You know I must love you to share such unflattering photos of myself with you! 😉

Designer Love Love Love!!

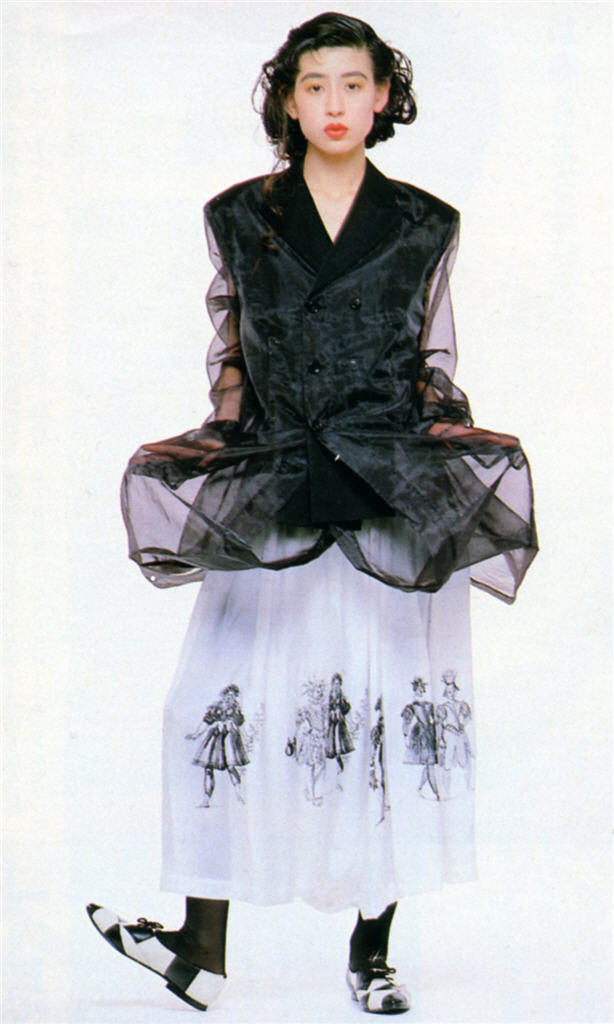
Many were the attempts at copying designer clothing I liked but couldn’t afford. There was the Romeo Gigli coat wannabe I wrote about a while back. But my main love back then was the Japanese design house COMME des GARÇONS.

Here’s an example, modeled after a skirt from COMME des GARÇONS Spring Summer 1988 collection…


With the twinkly sequins and sparkling tear drop crystals, the lace skirt was like the widowed Scarlett O’Hara on a crisp rainy day. Rain in its romantic glory of course, not London gloomy.

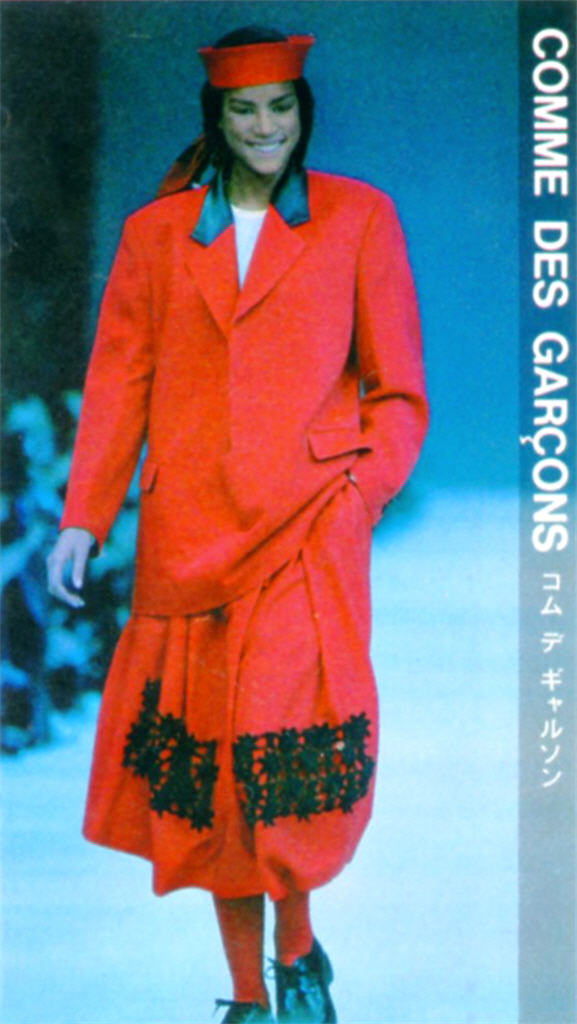
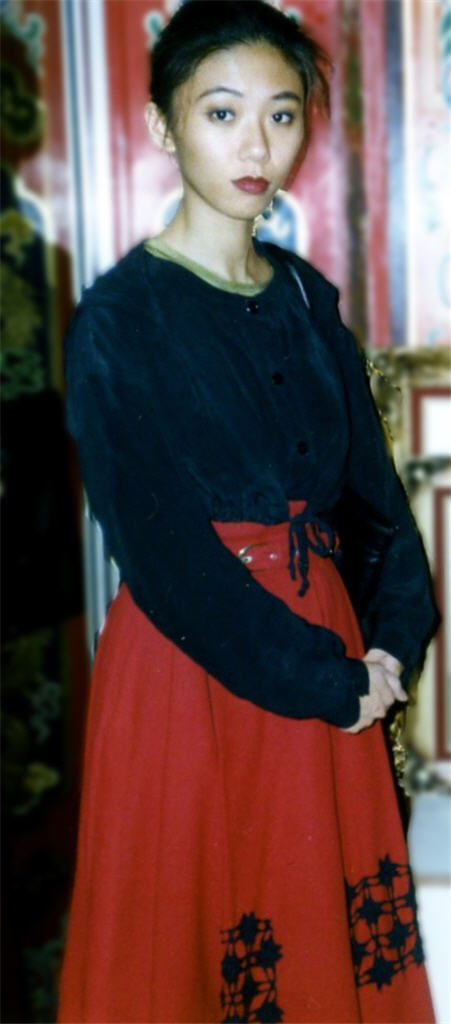
And another inspired by COMME des GARÇONS Autumn Winter 1988-89 collection…

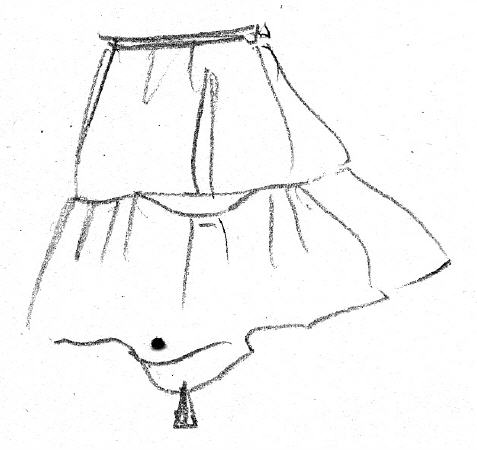
A red flannel pleated skirt with crochet lace embellishment and self-fabric belt.

I love that folklore inspired collection! There were many more ideas that I didn’t get around to try out.

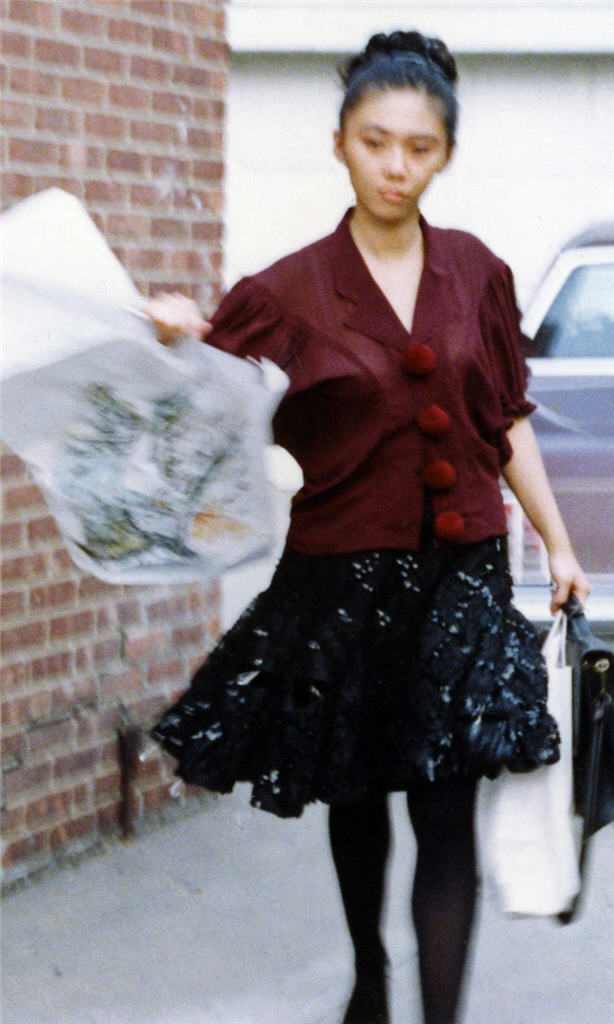
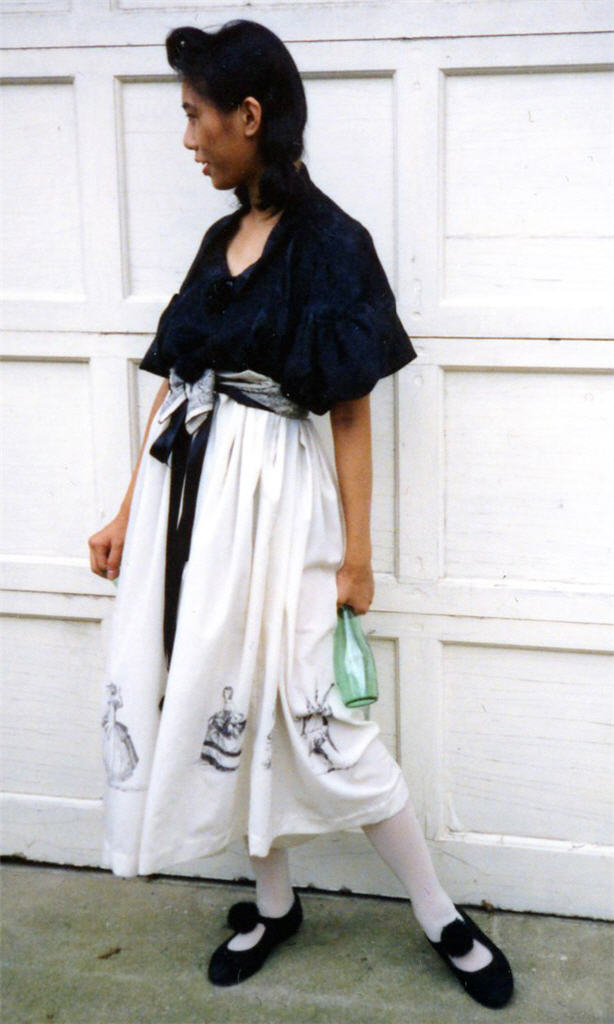
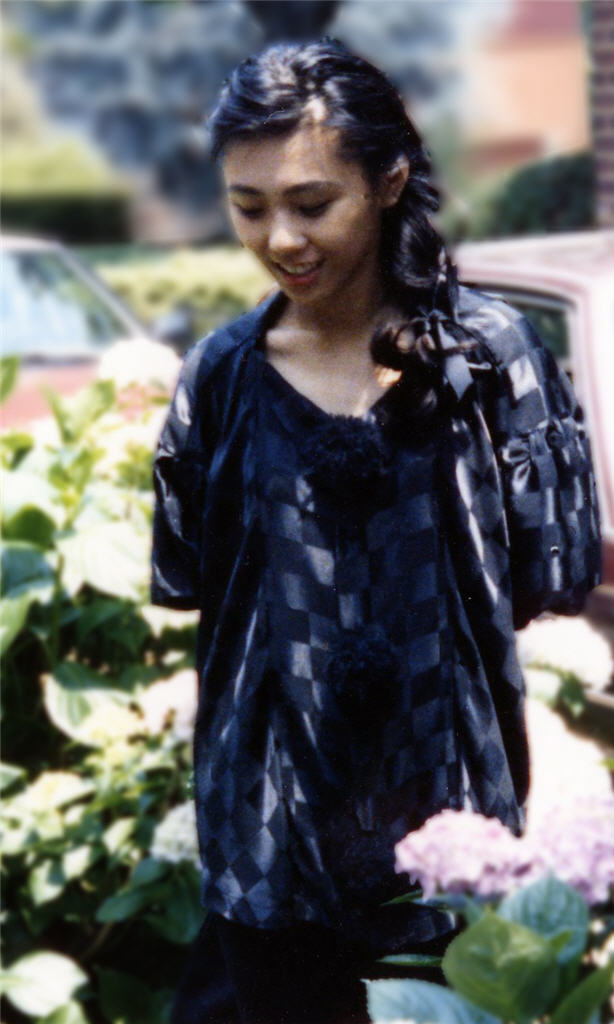
From the next collection – COMME des GARÇONS Spring Summer 1989 – there were at least two more…


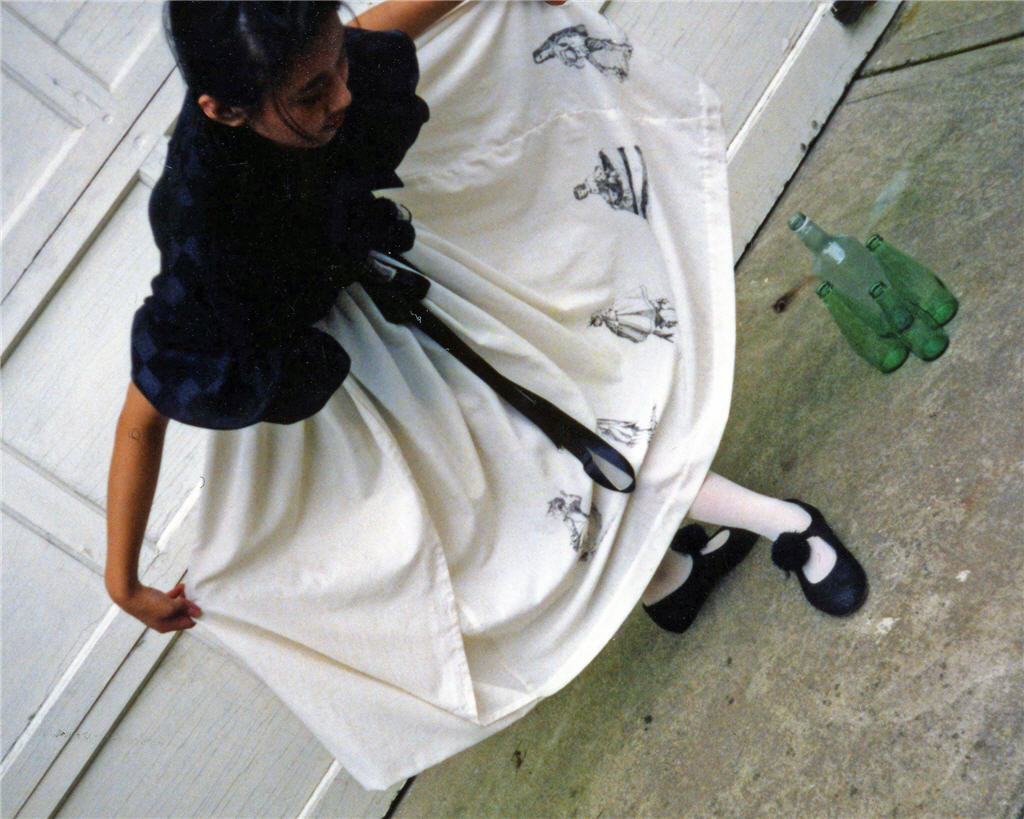
A gathered skirt with one panel folded back up at the hem and hand drawn Renaissance style Pierrot characters.

The blouse pattern was rather interesting. The sleeves were cut as one with the bodice, not separate pieces. They were like bat-wings extending up beyond the shoulder seam. Halfway up the armholes they separate from the upper armhole of the bodice, then were gathered and reattached to the upper armhole. You know those Japanese designers, they like their origami! And yes, those are pom-pom faux buttons.

Sometimes I’d take the liberty to “improve” on the original. Like with this Marc Jacobs dress. I made my version reversible.

Bring On Them Tailoring Challenges!!!

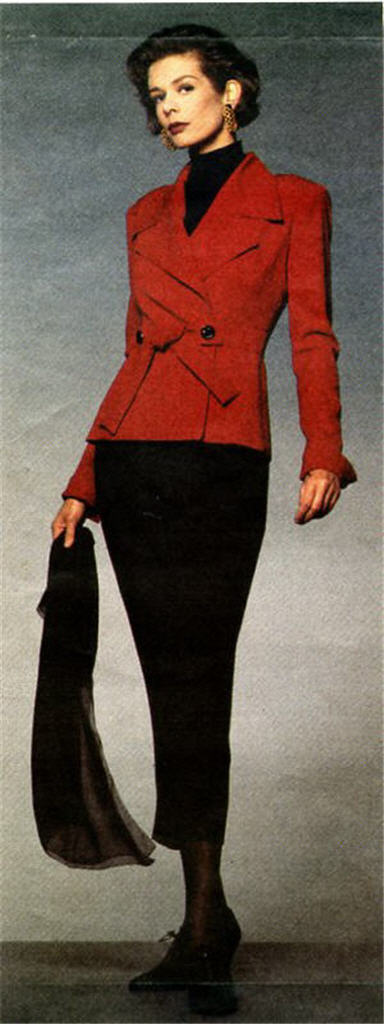
I also wasn’t afraid to tackle tailoring. Here’s my first Vogue suits – Vogue Pattern 9199…

The result is a bit conservative for me at the time, so I didn’t wear it much and have no idea what happened to it.

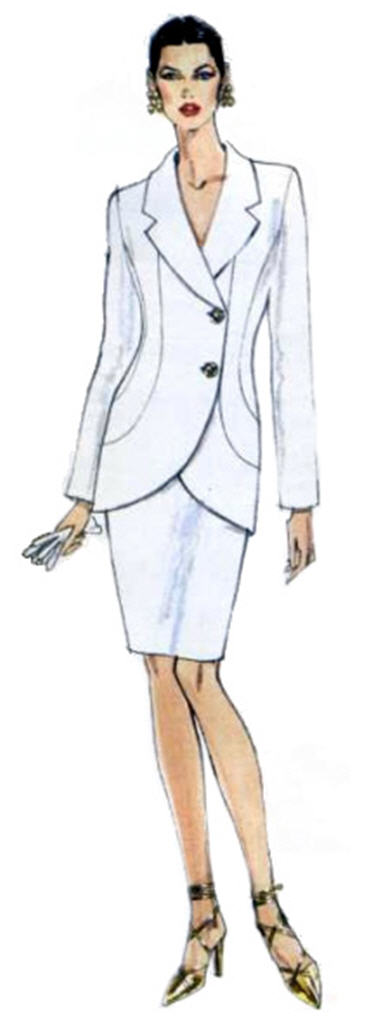
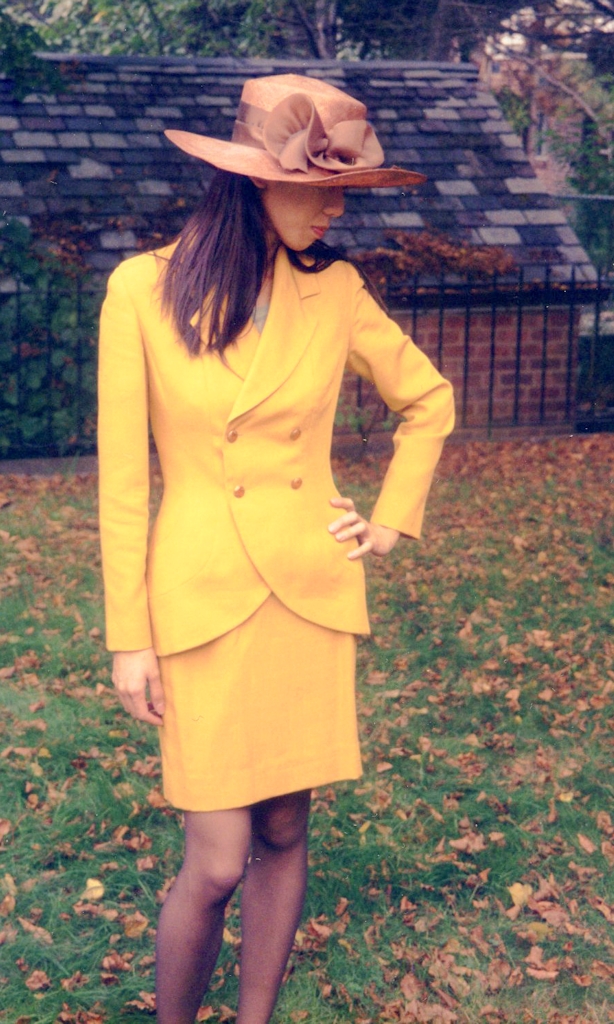
But then under the lens of the right photographer – my university friend in this case – even a plain old suits can look fashionable!

That suits though didn’t make use of proper tailoring. But this Vogue Pattern 1224 one did… Apology about the lack of mug shots. I guess I used to take sewing for granted so didn’t think to document my projects. Anyway, this one had the pad stitching, the hair canvas, the roll line tape  and everything.

Jolly Old Midlife Crisis!?!?!

So what happened? Well this for example:

Note all the drag lines. Fitting has never been my forte. Nor was picking the right proportion and silhouette. The V1224 suit above for example had wide lapels and extended shoulder that doesn’t really flatter my short-waisted figure. I also didn’t think to lower the waist band slightly to create the illusion of a longer torso. I mean a waist goes where your waist naturally is or where the pattern designer intended it to go, right? So naive I was. I simply took instruction and the pattern at face value. I didn’t think to customize it to suit my own figure quarks.

The other thing that happened was aging. Although I wasn’t great at fitting, stuff I made before didn’t look too bad. The T-Shirt above is actually a recent make. Shock Horror – my figure has changed. And in exactly the ways described in Fit For Real People! The rounded upper back, forward shoulder, fuller bust front and narrower back, fuller tummy, sway back and droopy behinds. You name it, I got it. Makes fitting so much more difficult.

Hence my current obsession with making slopers instead of lovely clothing from the Big 4 patterns  and Burda magazines I’ve collected.

What about you? Have you grown wiser with age and sewing experience? Have you ever hit a sewing midlife crisis like me & got over it? Please, please tell me there’s light at the end of the tunnel! 😉

What do you do when you can’t sew?

Why go shopping of course!

This time it’s patterns, not fabrics. I had seen this Donna Karan Vogue Pattern for a cowl neck top (v1282) and lusted after it. But not at $19.20.

So I waited. And waited. And waited for that spam mail about $4.99 sale. But nothing came. I must have been blacklisted. Or my spam filter gotten too diligent.

As luck would have it, while investigating the problem I checked the Vogue Pattern site a couple of days ago and it was…wait for it…$3.99 a pop! And McCalls Patterns at $1.99 a pop. OK, add on international shipping and it’s no longer dirt cheap, but it’s still the cheapest I’ve ever paid for Vogue Patterns. So I popped for 7 – the cut off point at which shipping cost jumps a whopping 120%.

V1282 I hope will work for this non-spandex cotton knit I have in a lovely turquoise leopard print.

I think I’ll also make one with the gold fabric I salvaged from this Victoria Secrets convertible dress that’s just too tarty for my taste. As you see though, it drapes quite nicely, so should be a good fit for this pattern.

So apart from v1282, I also got:

Vogue Pattern 1258

The pattern photo actually doesn’t do much for me. I got this on account of Erika B’s and Allison C’s versions. It’s good to know that models don’t always wear it better! Hurrah for real women.

Having said that, the Vena Cava – Fall 2010 original does look quite good on the model.

Vogue Pattern 1233

because it’s just too cute…and…

Vogue Pattern 8774

because I haven’t got any jeans pattern and this one doesn’t look not too momsy.

Vogue Pattern 8701

Again the photos don’t do much for me. But the drawings reveal a jacket with potential, and a raglan dress that can be a classic block.

Maybe the jacket in a gray denim? Tailored denim – I like that: Somewhat unexpected combinations. Just like a jean made from a more formal fabric that I saw in agnès b homme ages ago

McCall Pattern 2718

Yes, another fitting pattern – I seem to be forever fiddling with fitting! I’m already on my second Vogue fitting pattern. The first one was when I was size 8 too many decades ago. The second a fatter size 12.

But having read Palmer/Pletsch’s Fit For Real People book, I’m persuaded that I had gotten the wrong size based on full bust measurement as instructed by Vogue Pattern instead of high bust measurement recommended in the book.

If I was going to get a new fitting pattern I might as well get Palmer/Pletsch’s latest – McCall’s version. They had designed the original Vogue version in 1975, but have since refined the technique. This new McCall version supposedly has more fitting guidance built in. We shall see if anything come out of this nth fitting attempt!

McCall Pattern 6464

While I was at it, I thought I might as well try one of Palmer/Pletsch’s patterns for McCall and see if they are easier to fit properly.

This shift dress, while nothing special, does look rather elegant with an empire waist in the front dropping to natural waist in the back. Another classic block me thinks.

Now I just need to finish painting my sewing room without fainting or getting too high from the fumes!

Vogue 2980 Show & Tell

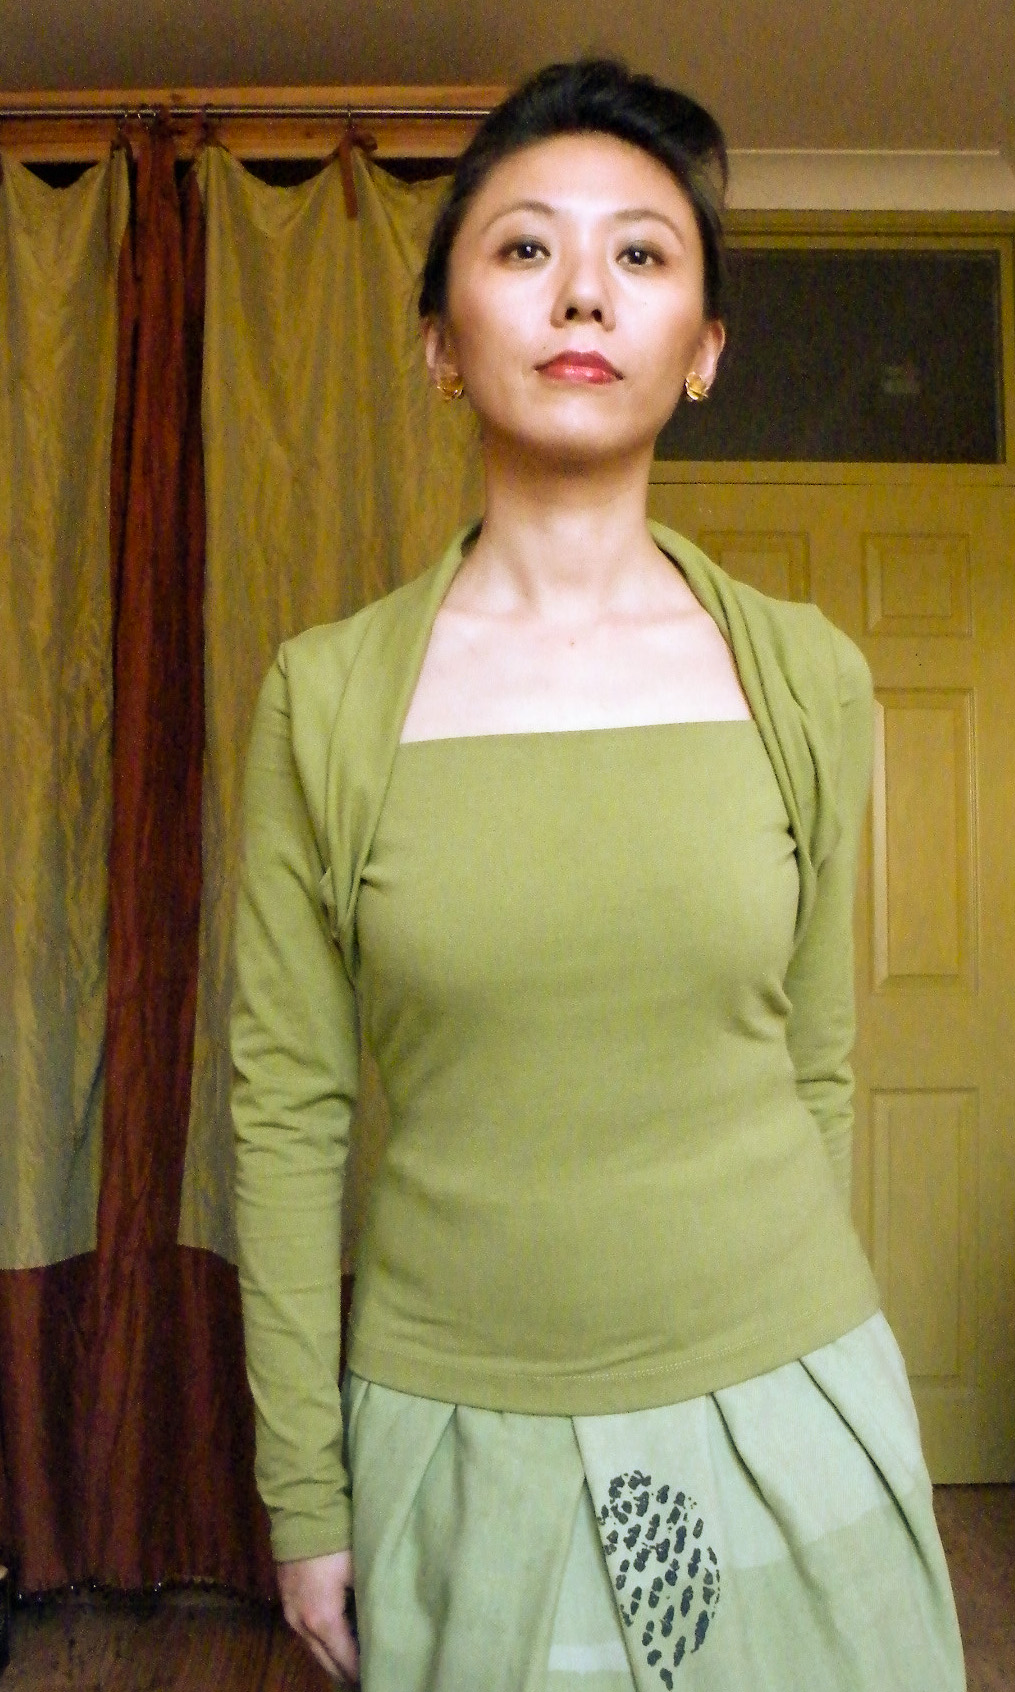
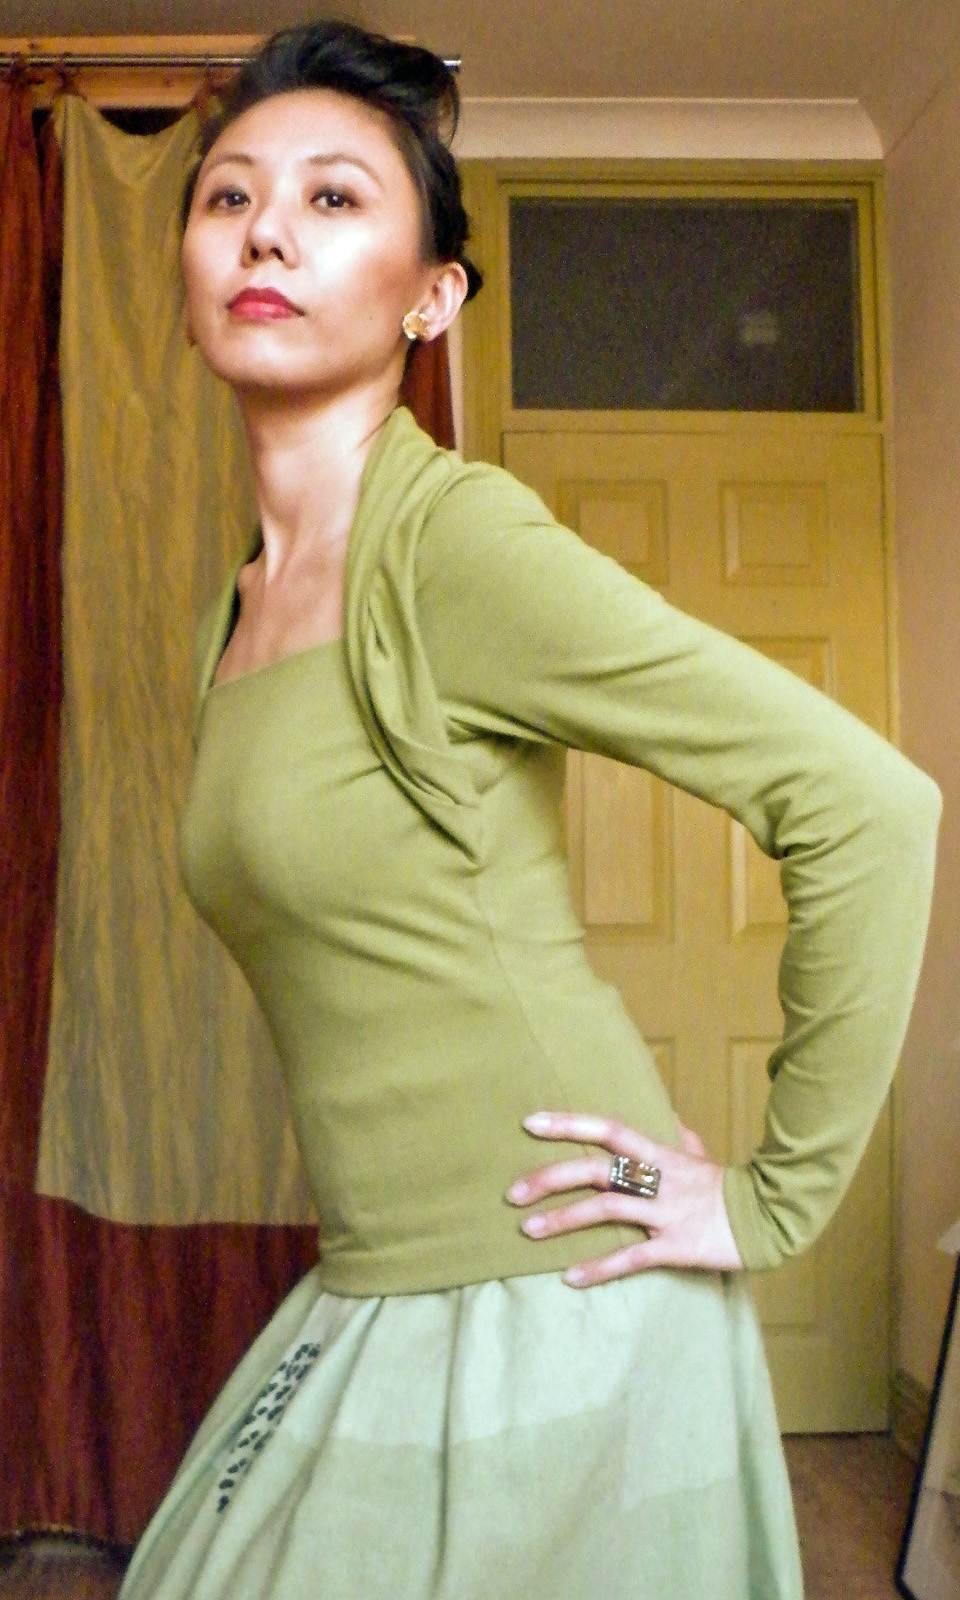
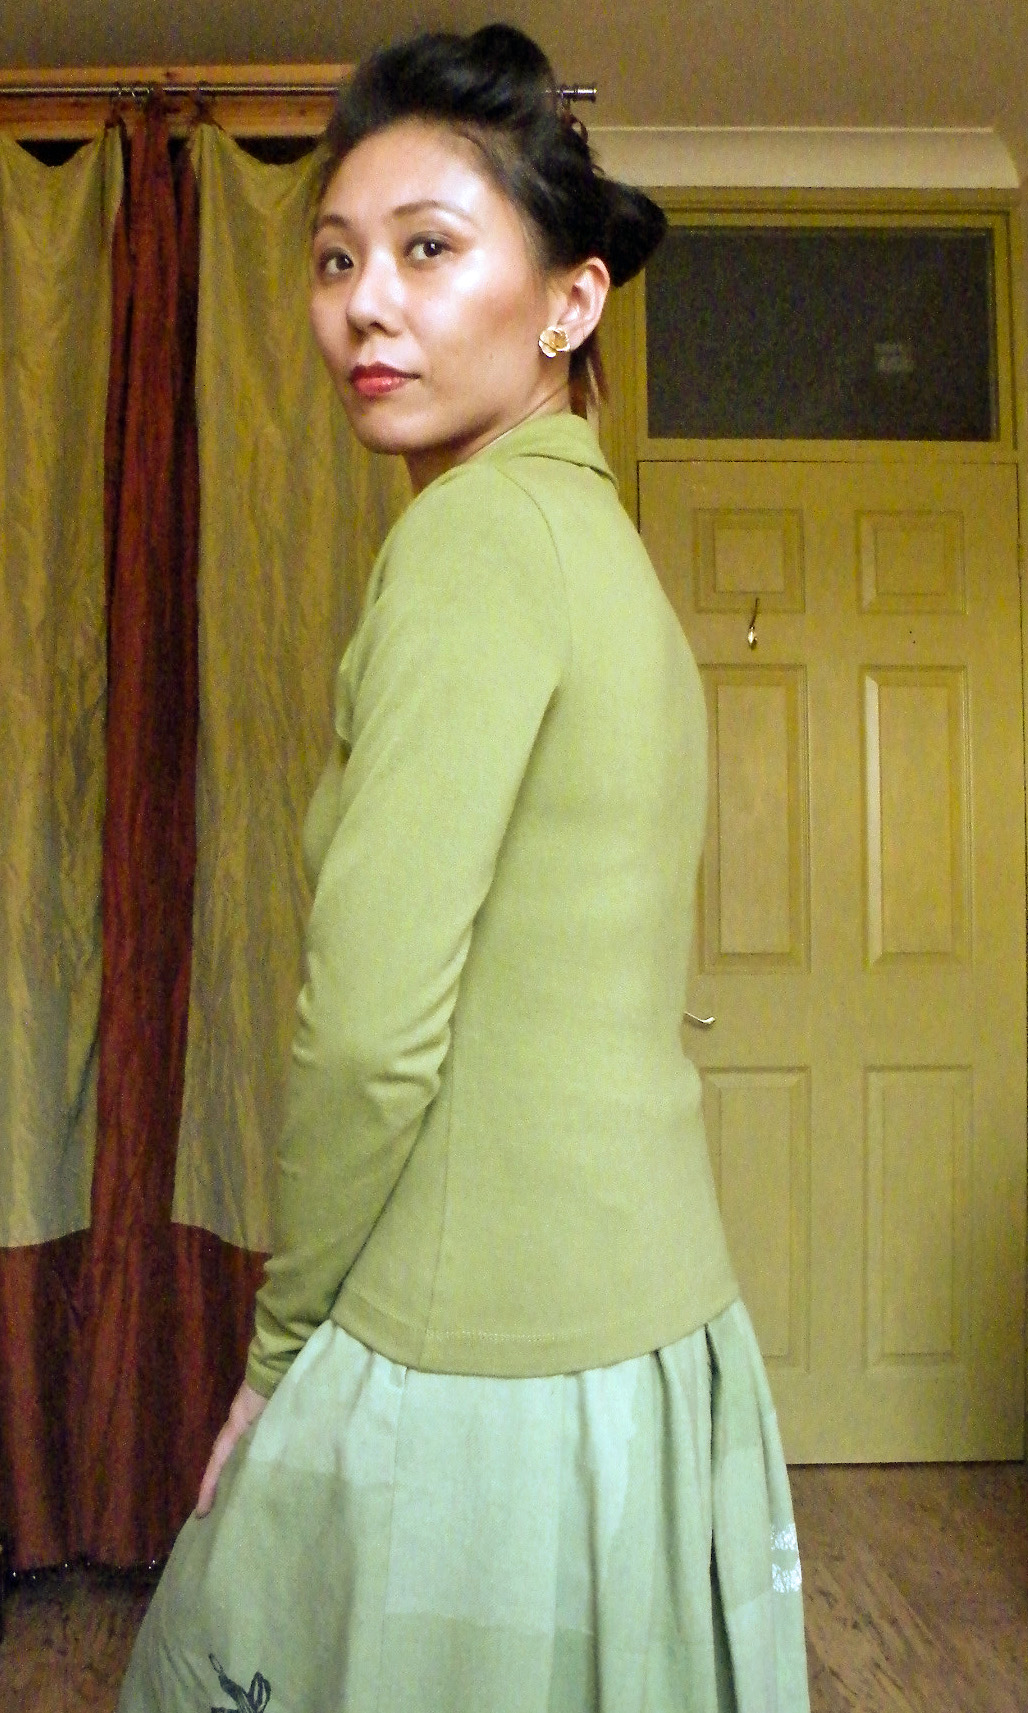
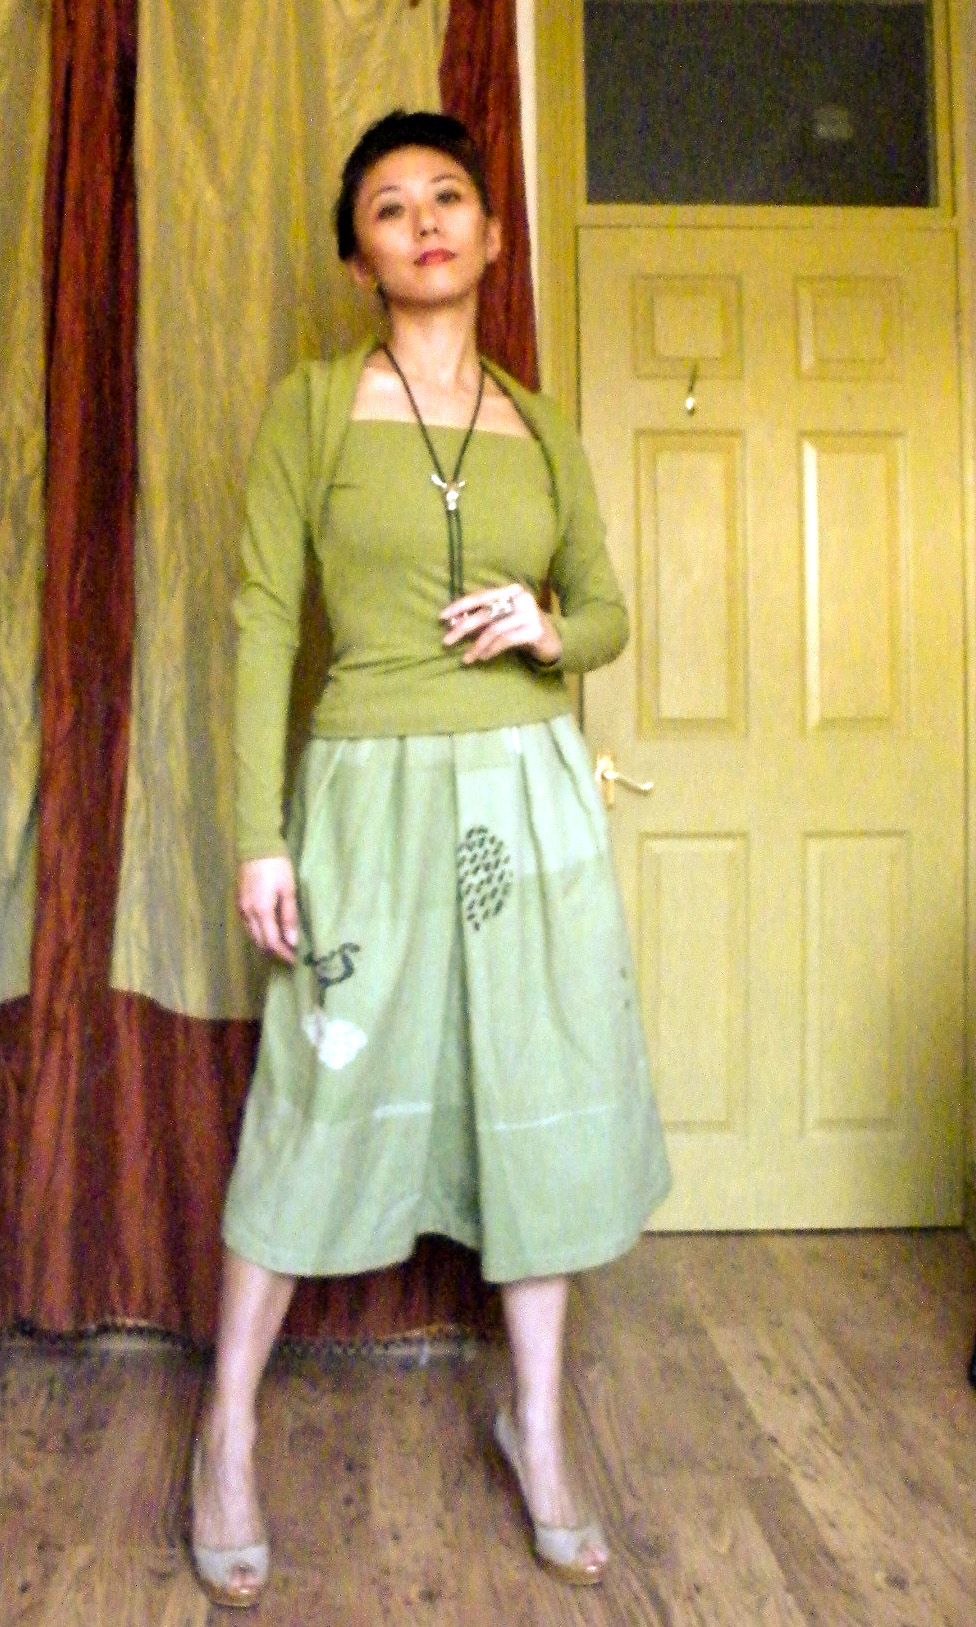
So here it is, my latest sewing project: Vogue 2980 Today’s Fit knit top by Sandra Betzina.

Here’s the pattern envelope pictures for comparison:

The pictures look a bit twee to me, but I definitely don’t feel twee wearing it. In fact I’ve worn it a few days in the row now! Pew I hear you say? It’s in the wash now.

Hopefully it won’t shrink much. Because I picked the wrong project to try out Fit For Real People‘s suggestion of using the high bust / chest measurement as the bust measurement, and do a Full Bust Adjustment for the aging girls. So where I would have cut a size 12/B top according to Vogue instruction – I went with a size 10/A, but widened out to 12/B at the bust (see drawing below). Not a good idea for a pattern designed for 2-way stretch lycra fabrics which probably has negative ease for a close fit.

I tell you, boy was I glad I hand-basted & tested the fit before I put it under the needle – a first for me too, fitting with fashion fabric instead of muslin. I looked like an overstuffed sausage. In the end I sewn with 1/4″ seam allowance instead of the planned 5/8″. And the finished pattern was closer to a size 12/B. Typical! All that fuss for nothing.

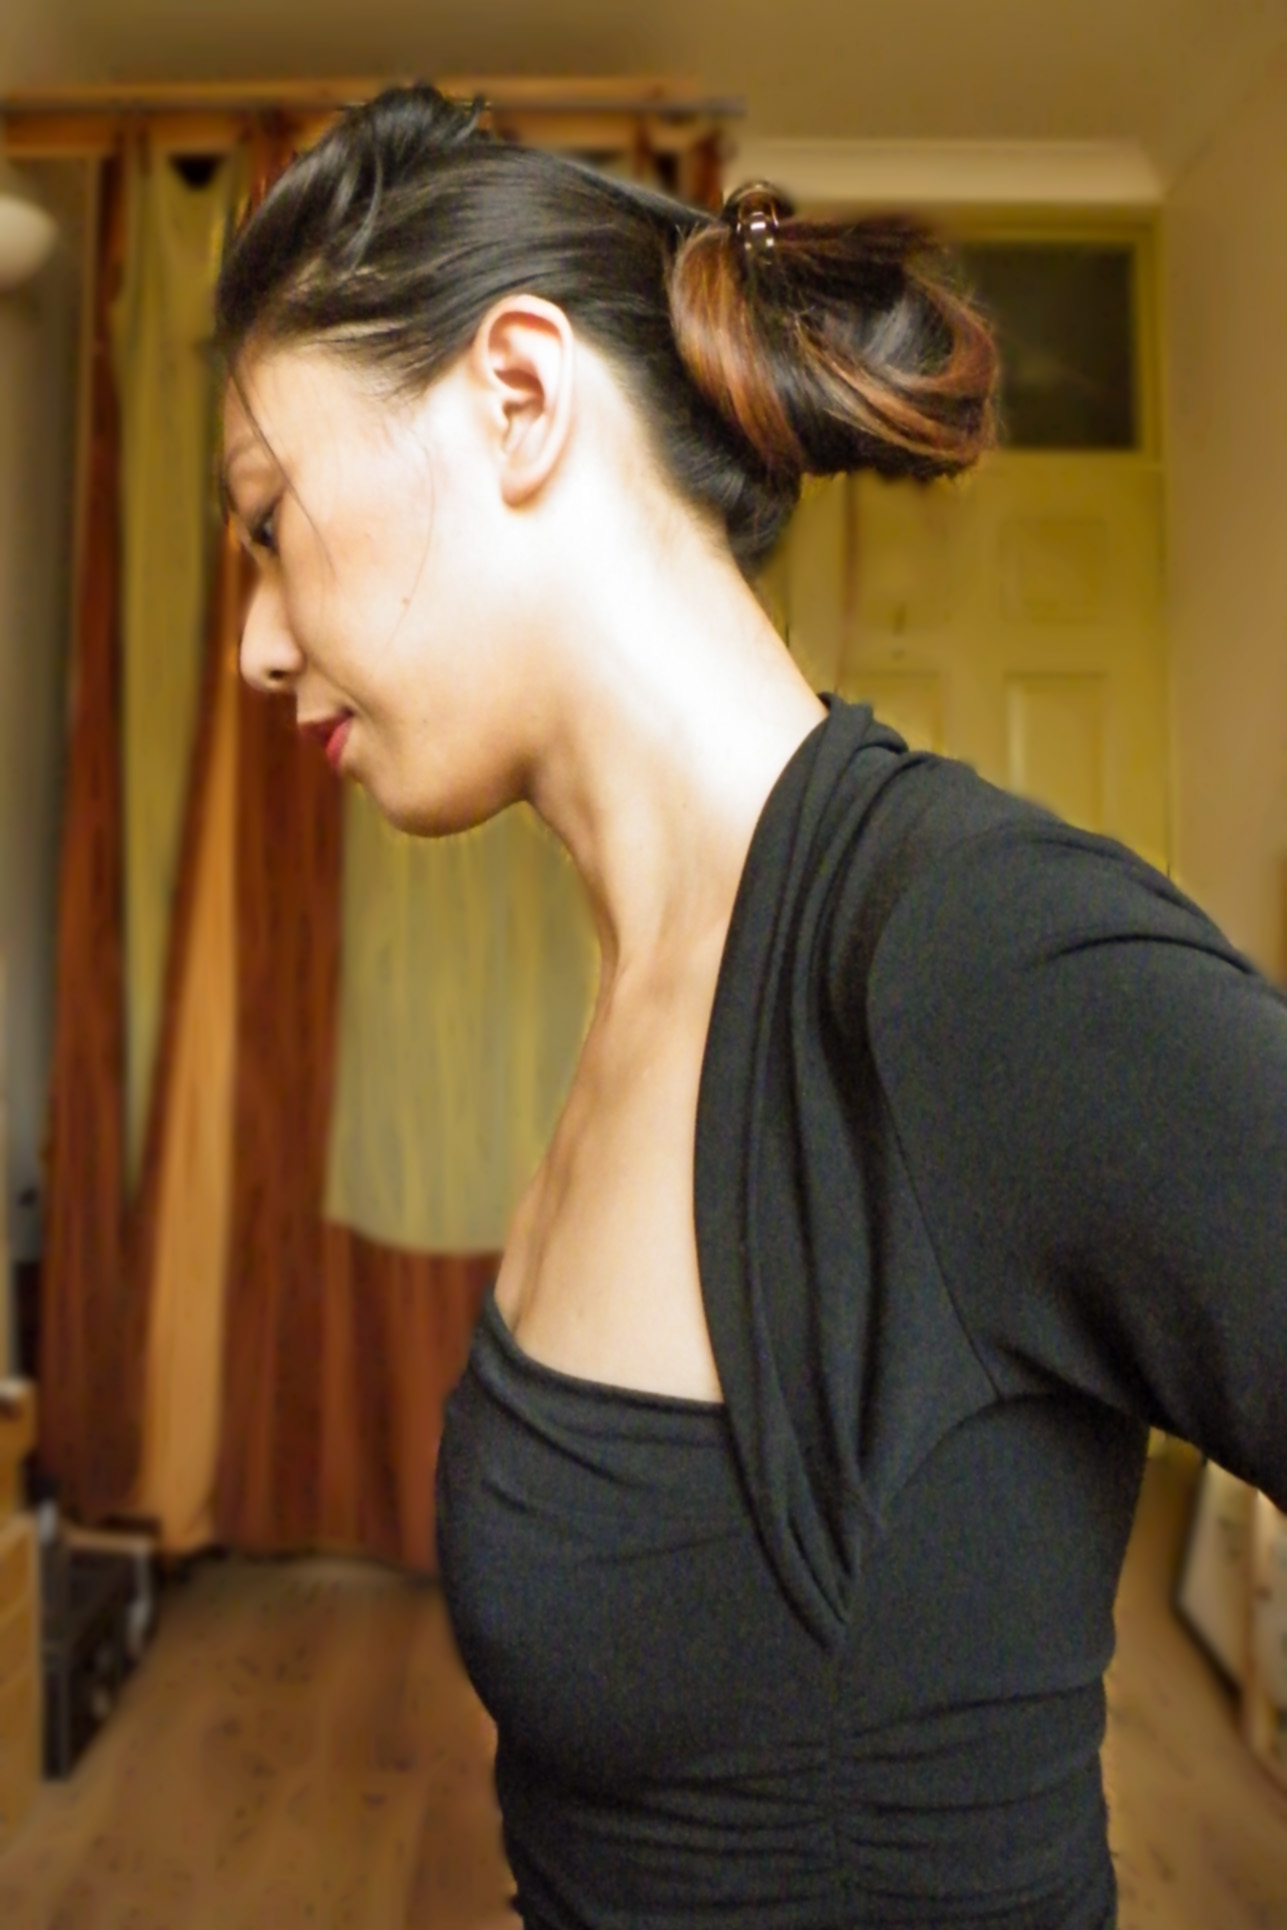
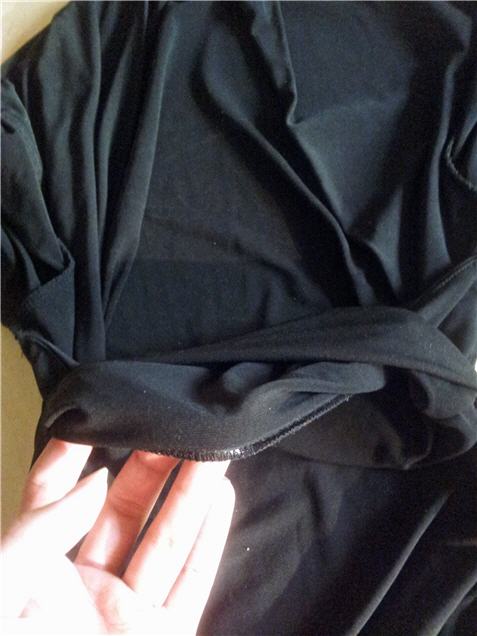
The other problem the fitting highlighted was an unflattering pool of fabric at the back neck & shoulder seams. If I had used the recommended fabric it might have looked intentionally “draped”. But mine was a mid-weight cotton knit. So I looked like the Hunchback of Notre-Dame. I checked my Victoria’s Secret dress with a similar neckline design for ideas. I noticed that it has a more traditionally shaped back neckline. I followed suit & altered my pattern as follows:

I also tried a Sway Back Adjustment as previous T-Shirt attempts have resulted in an unsightly pool of fabric just above my back waist. It’s not entirely successful – there’s still a few wrinkles. But it’s definitely better.

To be honest, I don’t really know how to do SBA nor a FBA with dartless seamless knits. Have you tried either adjustments in knit with success? Can you share your tips?

As usual with sewing knit on my sewing machine, I’ve added a light-weight iron-on non-woven interfacing with cross-wise stretch for the hems. It makes my sewing machine overlock stitches look neater. I’d imagine I wouldn’t need this if I had only plucked up the courage & learn to use my new overlocker.

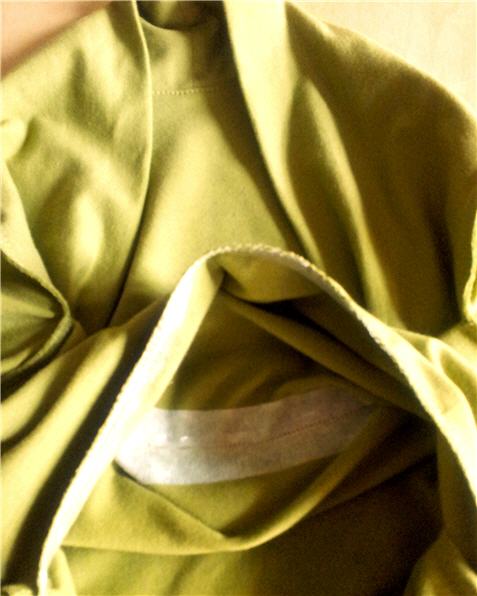
I also added clear elastic to the front neckline and front facing hem. I was worried the fabric would stretch out of shape & I’d be left with immodest front neckline gap. This was another idea courtesy of the VS dress. In fact, the VS dress cut the facing as a separate piece & sewn the elastic into the seam allowance. I had to sew mine just inside the fold. Next time I’m cutting the facing separately.

And I’m also going to redraft the collar piece to be more like the VS dress. It doesn’t look nor feel quite right. It feels tight across the front shoulder area, pulling on the sleeves a bit – you can see that in the side view photo above. With all the drape & fold you would have thought this wouldn’t be a problem.

But not enough of a problem to chuck this top to the back of the closet. Not yet anyway. We shall see after the first few washes!

Aside

Vogue Men’s Patterns Give-Away

OMG, I finished a top! But the sun has gone down now. So too late to show & tell. Another day then.

Between the craziness of a new job and redecorating at home, I haven’t made much progress on the sewing front. But I have gone through my pattern collection recently, and earmarked a couple for a Give Away.

Don’t get too excited yet. These are men’s patterns. Sorry, I’m hanging on to most of the women’s ones, even if many are a couple sizes too small now. Hoarder’s finger grip is strong. You can pry those other patterns off my hand over my dead body! 😉

So here they are:

Give-Away 1: Vogue 1928 Men’s Jacket, Pants & Shorts, chest sizes 32-34-36, uncut.

Loose-fitting, partially interfaced, lined, below hip jacket has shoulder pads, side panels, no side seams & long, 2-piece sleeves with mock vent & button trim.

A: collar, flaps, & pockets. A,B: welt. C: button/loop closing. B,C: side front pockets.

Shorts, above mid-knee or tapered pants have waistband, carriers, side front/back pockets & mock fly zipper.

D: stitched hems. F: cuffs.

Give-Away 2: Vogue 8918 Men’s Pants, waist sizes 26-28-30, cut to 30.

Tapered pants have front button wasitband, carriers & fly zipper closing.

A: side front welt pockets. B: shaped, side front pockets & back pockets. C: side pockets. A,C: back button welt pockets.

Both are not in the pattern envelopes anymore. But neither have been used. My other half has gotten a bit too well fed for these to be useful to me. So in the spirit of freecycle, I’m passing these on to those who can make better use of them.

How to get these:

It’ll be on a first come first serve basis. I’ve been a bit negligent in updating this blog, so I don’t expect there’ll be enough instant traffic for a proper prize draw.

So just leave a comment with your email address and I’ll get in touch to get postal address.