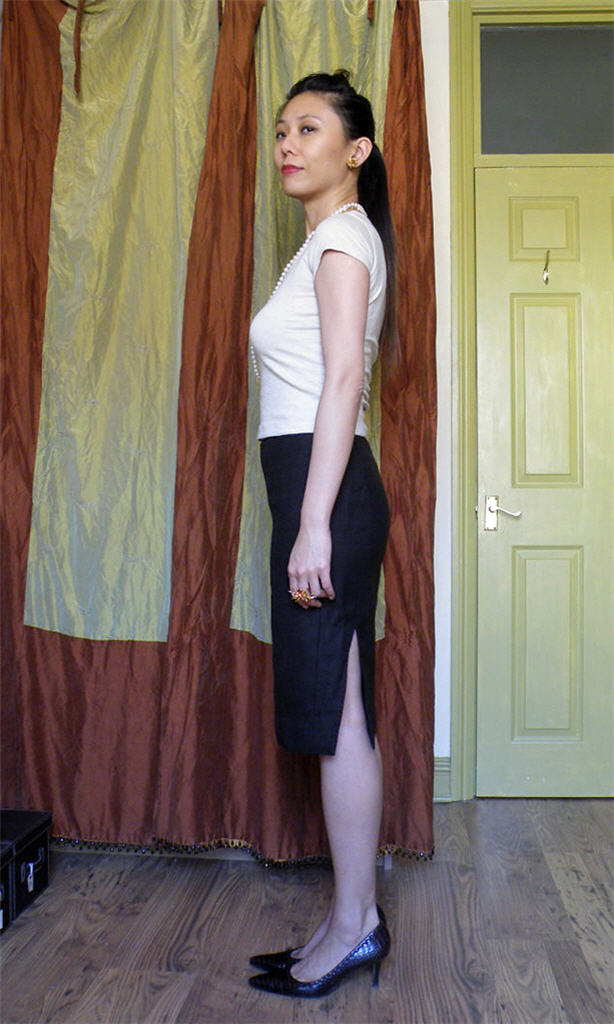
Designer Love Child Wannabe Python peplum top

With pretension to be the Love Child of Vivienne Westwood & COMME des GARÇONS it’s no wonder this last snake was a Diva from the very start. After the first few seams it all became a blur. So forgive me for just jutting down what I remember & not making much sense.

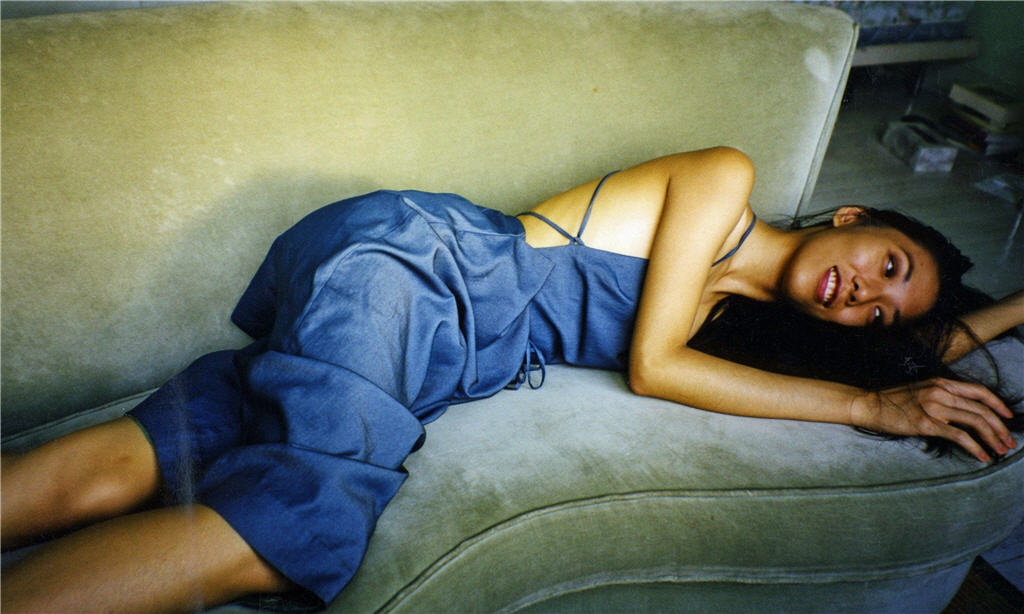
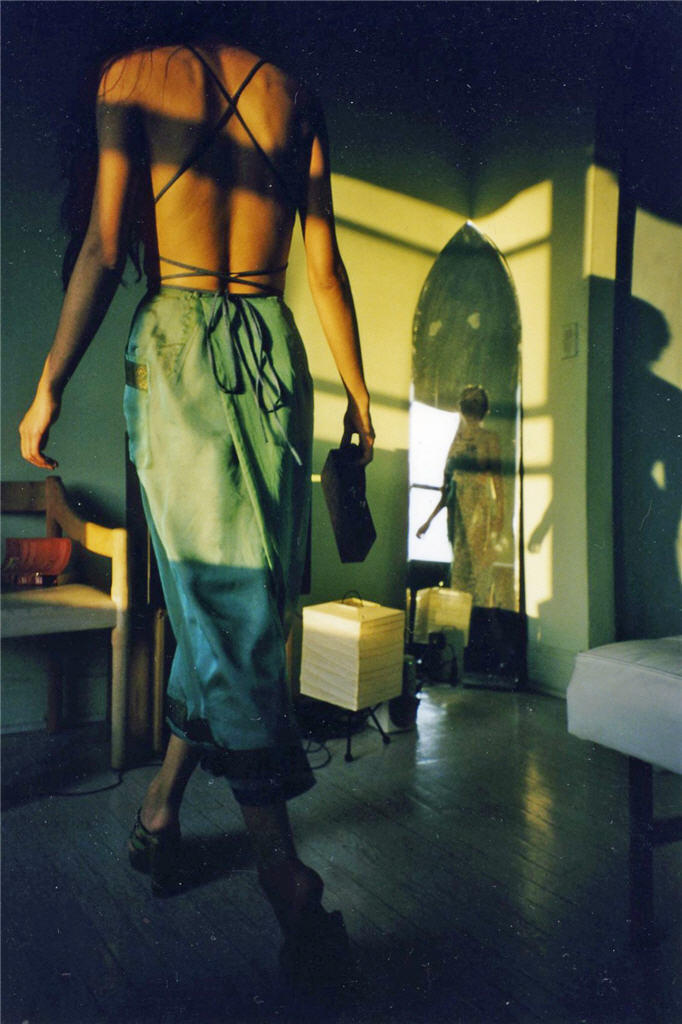
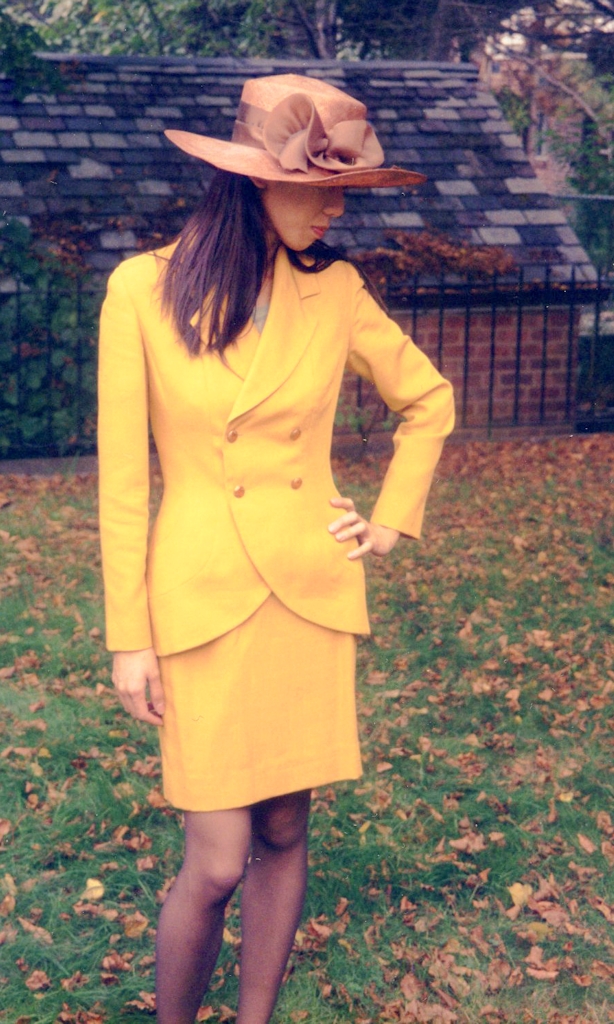
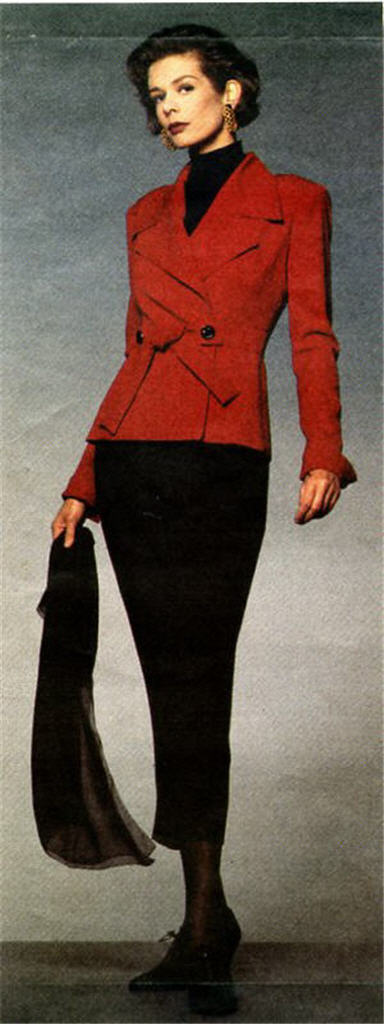
Style Shots & Mug Shots

WORN WITH: 1-3 Burda 2011-08-121 skirt; 4 Altered drindl skirt; 5 TopShop skirt.

The Design & Pattern

So here are the inspirations…


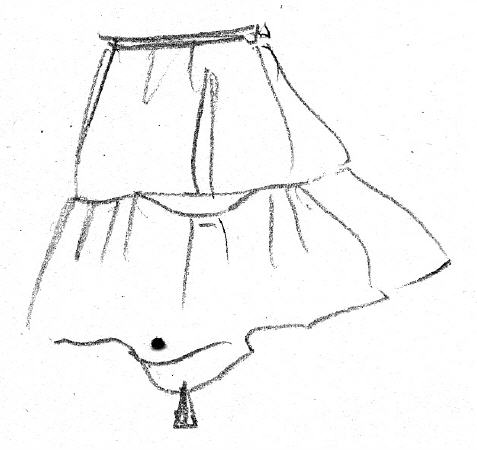
I’ve always loved Vivienne Westwood’s adaptation of historical costumes & traditional tailoring with a twist of punk. I had this top bookmarked in a book on VW I own for ages. I thought the drape might be a great way to feature the New World Snake. Forgive my ignorance about the different types of corset…Is this 18th century corset style? Anyway, I was hoping it’ll give me some cleavage along with ever enticing cowl drape. Sleeveless wouldn’t be so practical for me since I’m a tropical baby. And waist length again would leave too much cold inducing belly airing. So I decided to add this side peplum detail from my early love – Comme des Garcons S/S 1987 collection. I had attempted a Wannabe before (shown by the sketch, the very wearable result long lost in the move across the Pond). I like how the peplum emphasizes the waist where it’s most visible – at the sides when viewed from the front/back. And I like the extra kinks of drape on either side of the center panels.

For the pattern, I adapted the instruction in Waisted Efforts: An Illustrated Guide to Corset Making for a 1690 style corset. The reviews for the book on Amazon weren’t great. But I bought the book in a bookshop way before Amazon. And I’m glad I did. I like the fact that it’s written for theatrical costume designer / patternmaker & focuses on pattern-drafting. I like that while it covers historical info it’s practical, taking into account that actors need to be comfortable enough to move & perform. And that actors come in different sizes & shapes. So creating a custom “French Block” (looks exactly the same as a Moulage!) is key. The patterns are derived from the “French Block” so again customized. I don’t think French Block is the same as sloper drafting taught in fashion schools as one reviewer said because most sloper instructions include wearing ease and seem to be drafted for standard (ie idealized) shapes. The French Block shown is skin tight and designed to fit all shapes & sizes – eg there was one showing rounded upper back adjustment. The inclusion of the French Block also makes these gridded patterns different from those found in other historical costume pattern books I’ve seen. Those give only one size. Here if you put in the effort you can figure out how to draft your own custom fit patterns based on your French Block rather than just scale up the gridded pattern. And the heavily punctuated, phrasy style of writing does not bother me at all. In fact, I find it much easier to understand than very very long sentences with no punctuation marks. Different strokes I guess.

Block Used:

My Kenneth King Moulage of couse!

Design Changes Made

I think this is a case of pictures worth a thousand words. So have a couple!

Fabric & Notions Used

Construction Notes

Sorry, following are really just notes for myself & not intended as proper sewing instruction for you guys. The construction order for this was rather complicated to figure out.  So if I don’t write down what I do remember it’ll be a royal pain to recreate something like this again. If they happen to be useful to you too that’s great. The usual pressing, grading, neat seam finishing along the way applies if you want to try it yourself!

  1. Shell:
    1. Stabilize CB with interfacing. Sew CB invisible zipper, then CB seam above zipper.
    2. Sew & top-stitch Inner Front Princess seams, Back Princess seams.
    3. Sew Sleeve & Cuff Underarm seams, then Cuff right side to Sleeve wrong side. Turn cuff out & tack/stitch in the ditch at Underarm seam.
    4. Stabilize Front & Back necklines, Back shoulder seams with interfacing and/or Vilene bias tape.
  2. Lining: Overlock Inner Front Princess seams, Back Princess seams, CB seam above zipper.
  3. Back Neckline: Sew Back Neck Facing lower edge to Lining, then Facing-Lining neckline to Shell neckline right side together. Understitch SA to Facing-Lining.
  4. Front Neckline: Sew Feature Panel cowl facing edge right side to Lining right side to Shell wrong side, stretching cowl facing edge to match neckline especially at curves near bust. Understitch SA to Facing-Lining.
  5. Feature Panel: Turn Feature Panel out over the Shell Front. Baste Feature Panel shoulder pleats. Vertically ruch/gather Feature Panel between bust & waist on both princess seams. Baste Feature Panel to Shell at shoulder, armscye, outer front princess seams.
  6. Shoulder Seams: Sew continuous seam from Shell armscye edge to Lining armscye edge.
  7. Outer Front Princess Seams: Sew & top-stitch Shell Front to Side, overlock Lining Front to Side.
  8. Peplum: Baste Peplum to Shell right sides together, aligning Peplum upper edge corners with Front/Back Panels hemlines. The Peplum goes up the side of of Front Panel, then across the bottom of the Side Panel, then down the side of the Back Panel.
  9. Bagging Lining: Baste Lining to Shell right sides together from CB hemline, along the Peplum basting, across CF hemline, along the other Peplum basting, & finally the other half of the CB hemline – only CB zipper length is left open.

    Be careful not to baste the wrong way like I did initially! Test by turning the garment right side out. The wrong way looks enticingly tidy wrong side out, but is impossible to turn right side out! Go with the weirdly twisted right way. Sew along basting. Turn right side out. Top-stitch Side Panel waistline seam to CB hemline.

  10. Armscye: Overlock Sleeve to bodice armscye (Shell & Lining).
  11. Finishing up: Slip-stitch Lining CB to zipper tape. Understich CF & CB hem by hand (pick-stitch) to keep Lining from peaking out. All done!

The Verdict

What I like:

  • The cowl! I like the asymmetry. It looks more natural. I like that there’s a fair bit of drape, but from the side it doesn’t give me a middle heavy look, and the attachment to the fitted lining keeps it from exposing too much!
  • The peplum! Especially how it disguise my droopy bum by breaking up that long stretch of hollow small of the back.

What didn’t quite work:

  • The corset idea didn’t really work. The stretchy fabrics undid all the good work! (But makes the top much more comfortable to wear!) So no heaving bosom this time. Any cleavage will have to come from additional shapewear & chicken fillets beneath.
  • The top feels a bit too short. I can only wear it with high waisted skirts & pants if I don’t want to catch a cold. I think the negative ease might have caused the top to contract vertically while stretching side-ways. I still haven’t gotten my head around stretch fabric tension lines, hence this oversight. I think next time I will make it 0 ease (rather than negative ease) and/or add a tad more length.

Overall though I think it’s a good effort and a pretty top. So much more could have gone wrong! But taking the time to baste & try on saved my bacon even if it meant Ms Diva missed the Jungle January Party. I’ve been let off only after Photoshopping her into a lush Jungle with her her own pet snake. Phew.
Older But Not Wiser

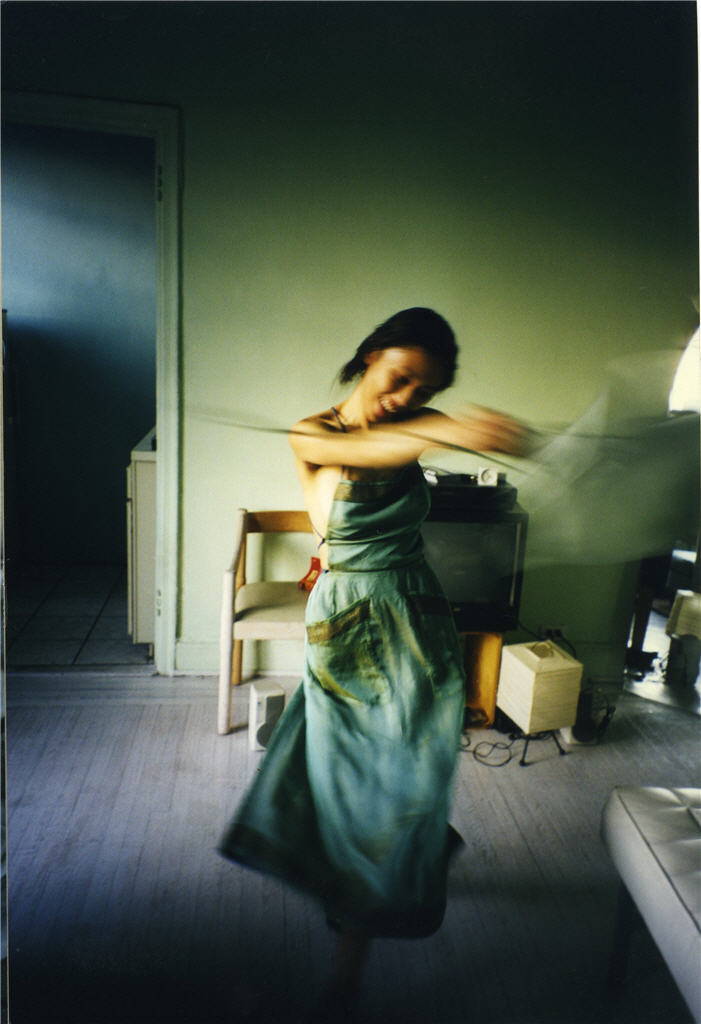
Decades ago, when I was a relative sewing novice, I was much more adventurous with my sewing.

Slapdash Pattern Happy!

I thought nothing of my poor techniques, and happily dabbled with making my own patterns. Like this dress…

Apology for the blurry photos. My Mom wasn’t exactly ace with the camera and this was in the days before digital cameras. So you had to wait for the films to be developed to find out that you got some dud photos!

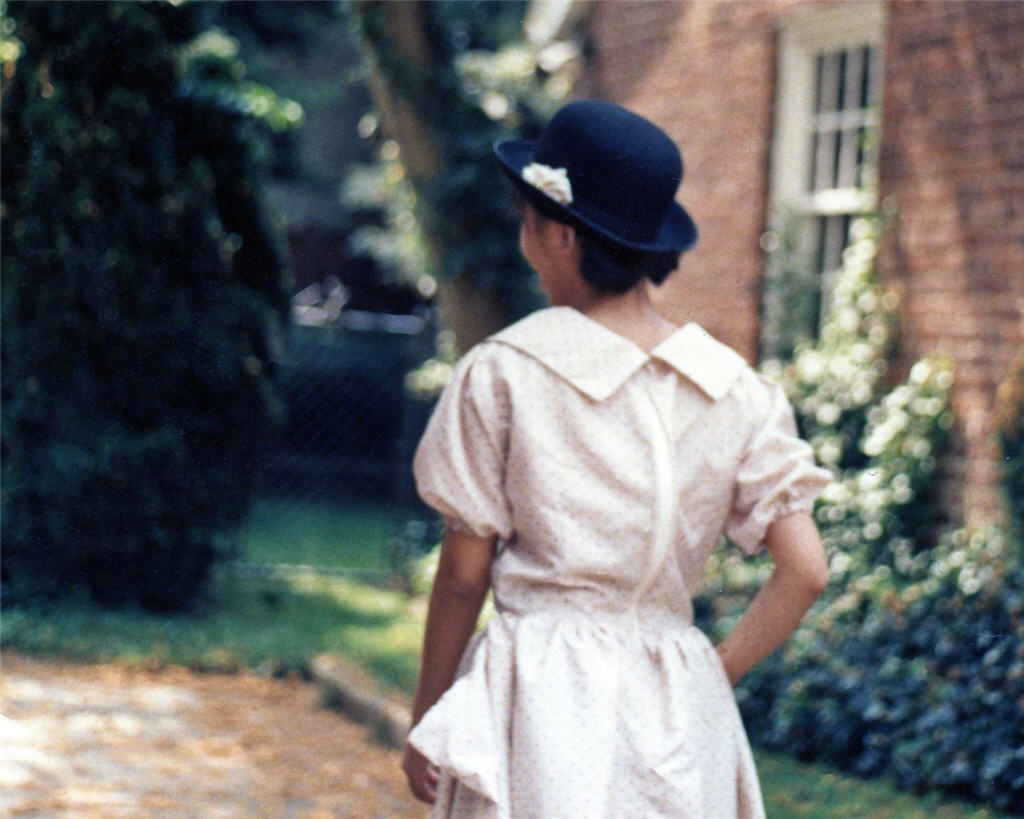
Note the stiff exposed back zipper. The collar probably wasn’t properly interfaced either. But it was my own design, probably inspired by some magazine photos. And then there’s this one…

What was I thinking of? LOL. My head was in the cloud back then. I don’t even remember making this one. (You know I must love you to share such unflattering photos of myself with you! 😉

Designer Love Love Love!!

Many were the attempts at copying designer clothing I liked but couldn’t afford. There was the Romeo Gigli coat wannabe I wrote about a while back. But my main love back then was the Japanese design house COMME des GARÇONS.

Here’s an example, modeled after a skirt from COMME des GARÇONS Spring Summer 1988 collection…


With the twinkly sequins and sparkling tear drop crystals, the lace skirt was like the widowed Scarlett O’Hara on a crisp rainy day. Rain in its romantic glory of course, not London gloomy.

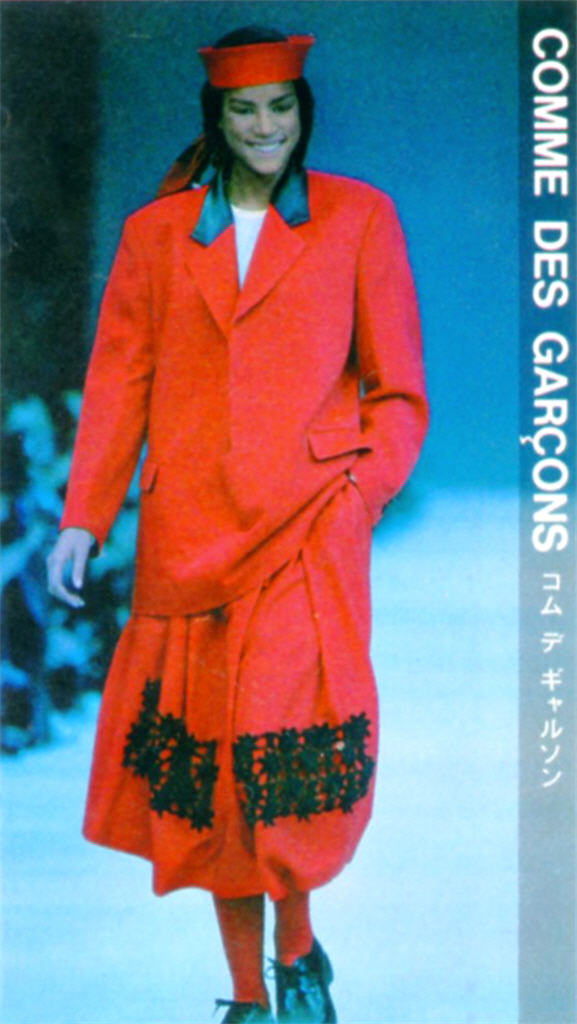
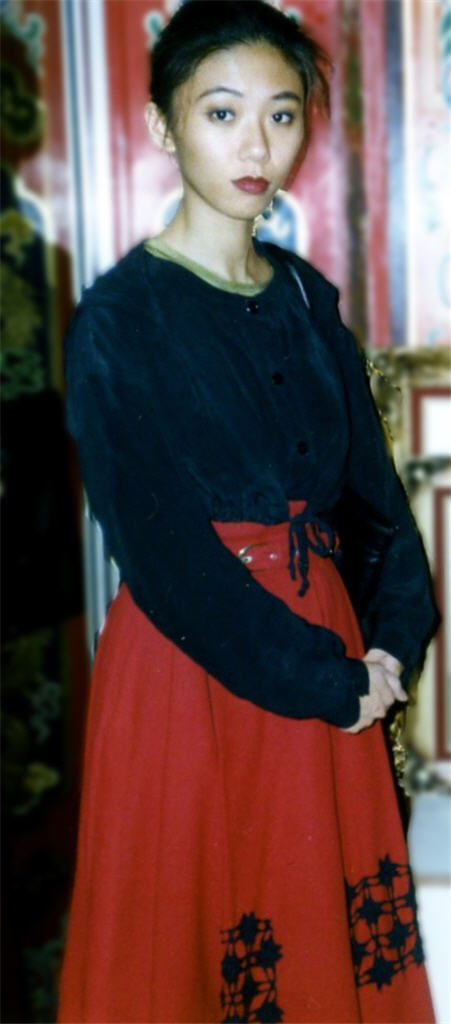
And another inspired by COMME des GARÇONS Autumn Winter 1988-89 collection…

A red flannel pleated skirt with crochet lace embellishment and self-fabric belt.

I love that folklore inspired collection! There were many more ideas that I didn’t get around to try out.

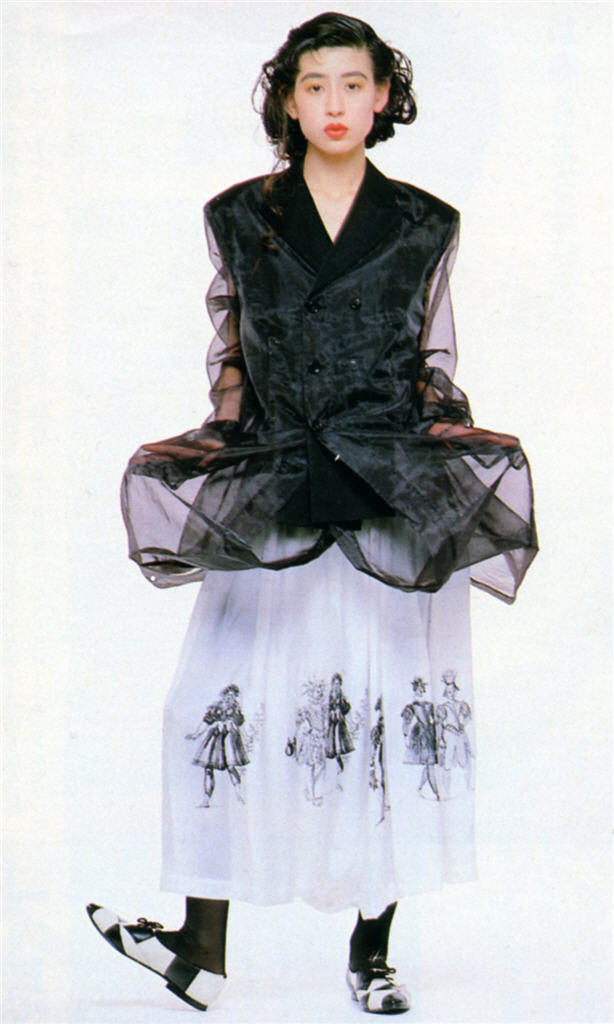
From the next collection – COMME des GARÇONS Spring Summer 1989 – there were at least two more…


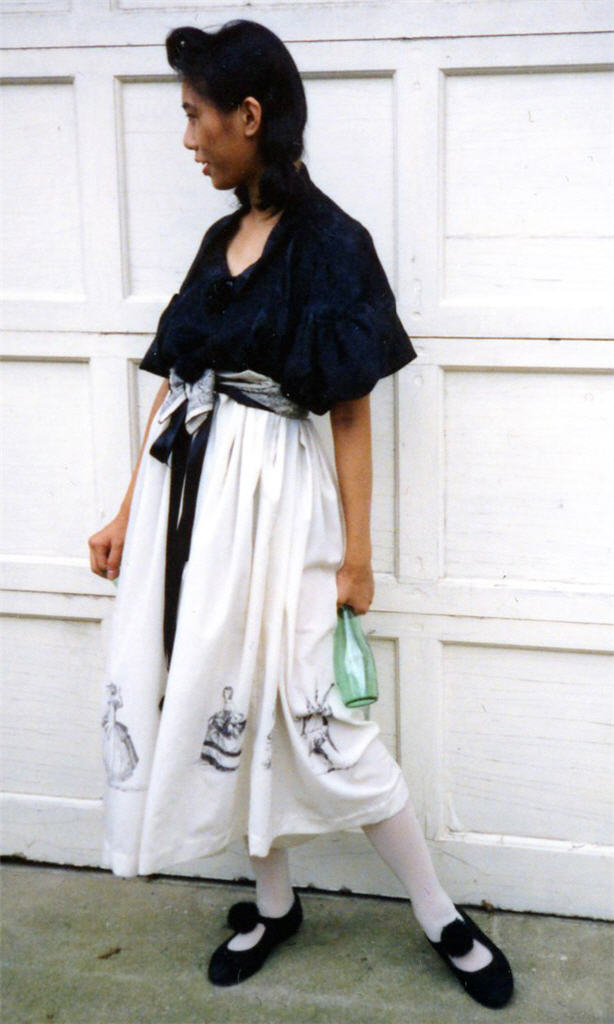
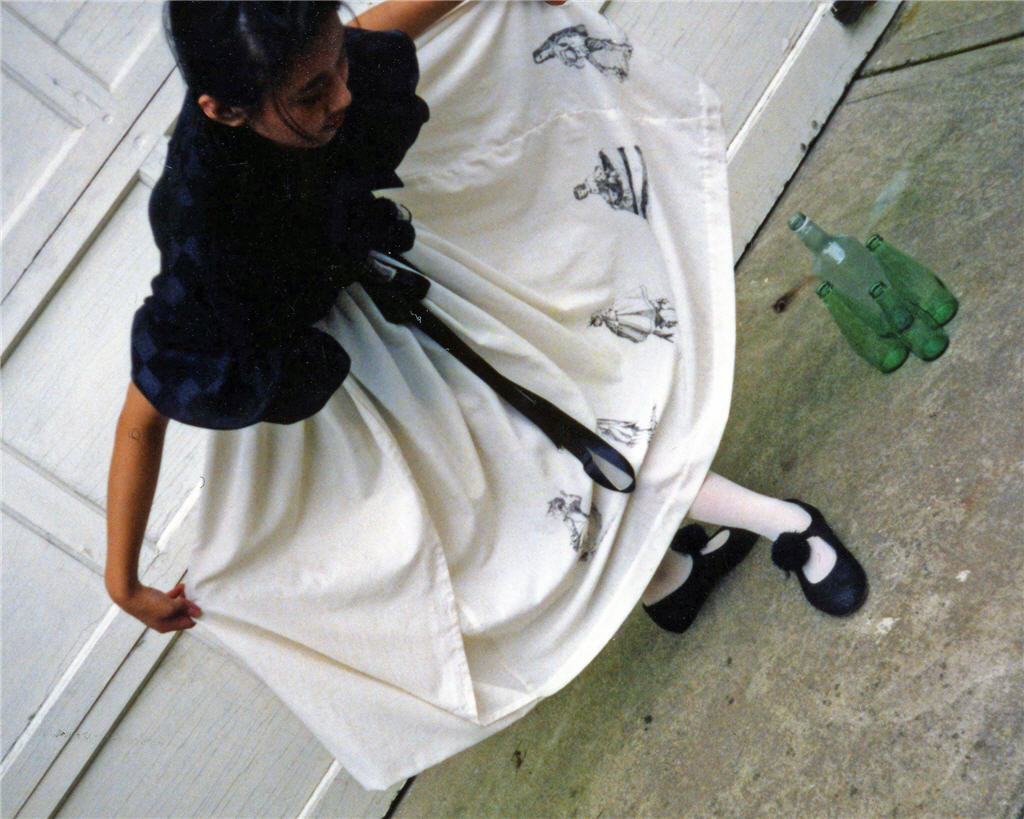
A gathered skirt with one panel folded back up at the hem and hand drawn Renaissance style Pierrot characters.

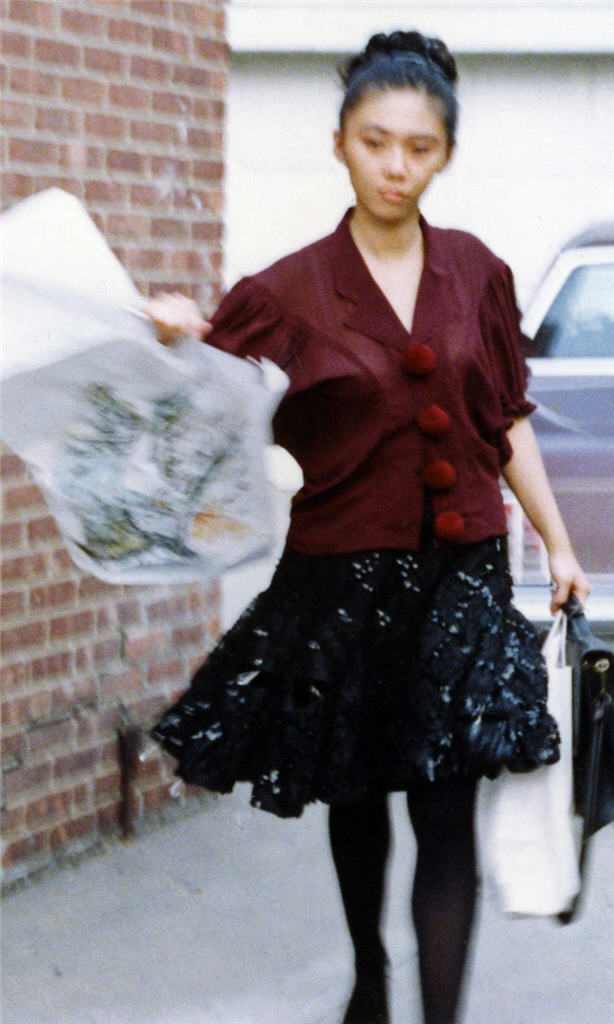
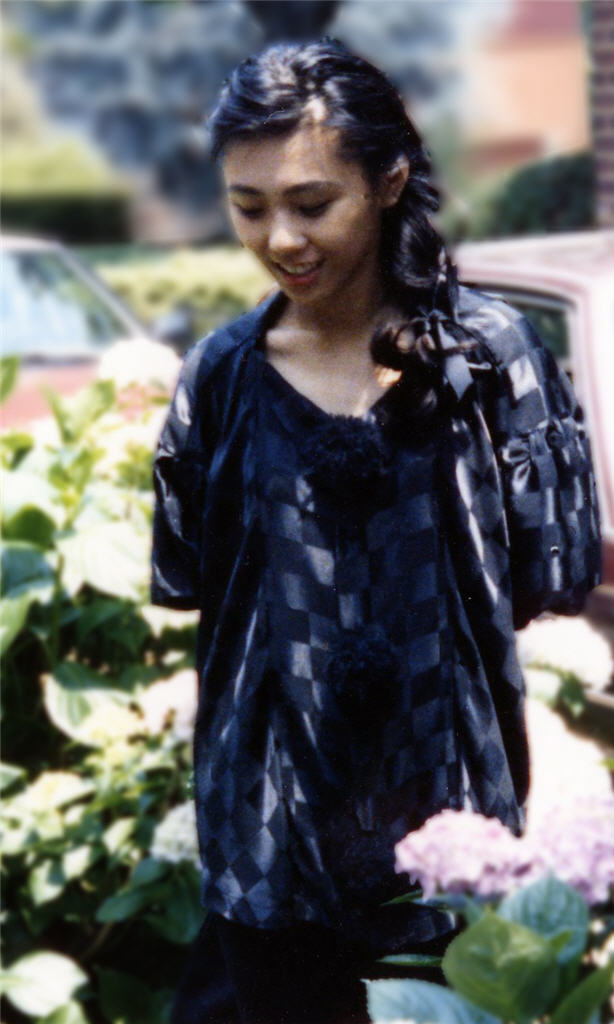
The blouse pattern was rather interesting. The sleeves were cut as one with the bodice, not separate pieces. They were like bat-wings extending up beyond the shoulder seam. Halfway up the armholes they separate from the upper armhole of the bodice, then were gathered and reattached to the upper armhole. You know those Japanese designers, they like their origami! And yes, those are pom-pom faux buttons.

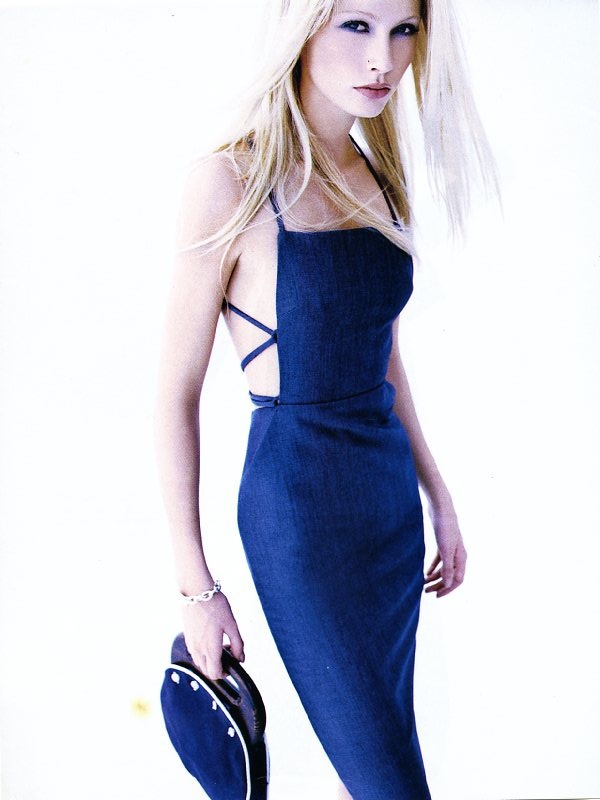
Sometimes I’d take the liberty to “improve” on the original. Like with this Marc Jacobs dress. I made my version reversible.

Bring On Them Tailoring Challenges!!!

I also wasn’t afraid to tackle tailoring. Here’s my first Vogue suits – Vogue Pattern 9199…

The result is a bit conservative for me at the time, so I didn’t wear it much and have no idea what happened to it.

But then under the lens of the right photographer – my university friend in this case – even a plain old suits can look fashionable!

That suits though didn’t make use of proper tailoring. But this Vogue Pattern 1224 one did… Apology about the lack of mug shots. I guess I used to take sewing for granted so didn’t think to document my projects. Anyway, this one had the pad stitching, the hair canvas, the roll line tape  and everything.

Jolly Old Midlife Crisis!?!?!

So what happened? Well this for example:

Note all the drag lines. Fitting has never been my forte. Nor was picking the right proportion and silhouette. The V1224 suit above for example had wide lapels and extended shoulder that doesn’t really flatter my short-waisted figure. I also didn’t think to lower the waist band slightly to create the illusion of a longer torso. I mean a waist goes where your waist naturally is or where the pattern designer intended it to go, right? So naive I was. I simply took instruction and the pattern at face value. I didn’t think to customize it to suit my own figure quarks.

The other thing that happened was aging. Although I wasn’t great at fitting, stuff I made before didn’t look too bad. The T-Shirt above is actually a recent make. Shock Horror – my figure has changed. And in exactly the ways described in Fit For Real People! The rounded upper back, forward shoulder, fuller bust front and narrower back, fuller tummy, sway back and droopy behinds. You name it, I got it. Makes fitting so much more difficult.

Hence my current obsession with making slopers instead of lovely clothing from the Big 4 patterns  and Burda magazines I’ve collected.

What about you? Have you grown wiser with age and sewing experience? Have you ever hit a sewing midlife crisis like me & got over it? Please, please tell me there’s light at the end of the tunnel! 😉

UFO Revisit 3: Faux Shearling Stole

OK, last UFO Revisit for the year. What with Xmas coming up I don’t think there’s any chance of finishing anything else. So here you go.

Not my favorite styling, but at least it illustrate the wearing options courtesy of multiple hooks in different places!

The inspiration…

…Was this fabulously faux Comme des Garçons Garcons design from Autumn/Winter 1989-90…And I’m fabulously late of course!

Actually, I had been planning on making one since the beginning. But finding the right faux fur wasn’t easy. Obviously what I ended up using isn’t the same type of  faux fur, but it’s fabulously luxurious darling!

And in the intervening years, I’ve also picked up this lovely Michael Kors take on the fur stole. (In 2D form of course, I have no filthy rich but widely hated nowaday sugar daddy to fund my wardrobe.)

I love Love LOVE the juxtaposition with manly tweed. I’m still plotting to make that coat in the right one day.

And as usual I didn’t document which year this clipping is from. Can you ID the collection?

Of course lately there have been other retro faux fur stole in fashion. Like this clipping for UK Glamour, again date unknown, but I know it’s definitely recent.

So, when I finally found the Luxe Plus faux shearling at B&J in NYC last Feb, I thought the time is nigh for a faux fur stole.

Looking for the perfect pattern

First the search for the right pattern. I have no idea what shape it would be. It seems like just a straight cut of fabric. But then would it mold well to the shoulder? And if curved, how curved and where curved?

I initially cut the fabric to this Japanese pattern clipping I have. It’s from a feature on faux fur garments in So-En from ages ago. (Sadly So-En is no longer a pattern magazine, but just a fashion forward fashion magazine. And I’ve been a bit sacrilegious, having clipped out only those patterns I liked at the time. And you know how some  tastes changes over time… 🙁

I like the oversized edgy look – I didn’t want to go too dainty. But when I tried it on and it looked unruly. I think my double cloth shearling is a bit too stiff for this much fabric. I had to move on to Plan B.

I briefly toyed with idea of Burda Style 2011-12-117. But I ruled it out because the shaping seam running length-wise in the middle of the stole won’t work on my double-faced faux shearling. There’s no lining to cover up the seam and I think it’d look weird having the seam exposed in a stole.

So the final Plan B is an adaptation of another design from the same So-En article…

This is  a little bit more dainty than what I wanted. So I ditched the CF gathering; enlarged it to make full use of the fabric piece I already cut out; and curved the edges. In retrospect maybe I should have curved it more for a better fit around the shoulder. But it’s good enough to wear.

The furry sewing experiment

It got a bit furry when it came to the sewing. My RTW faux shearling coat has straight stiching along the cut edges with no seam allowances. But when I tried the same on a scrap, it didn’t look right nor feel right.

The edge felt a bit rough, which is a problem for a garment close to the skin. The top edge was also shedding fur and showing the cut edge.

I tried blanket stitching the edges. Still no good. So in the end I went for one of the techniques recommended for double-faced fabrics…

  • I peeled the edges of the double-cloth,
  • straight and zig-zag stitched the edges to reinforce them,
  • freed some trapped furs, but then promptly sheared off the one in the seam allowance to minimize bulk,
  • turned the seam allowance of the fur side in and hand-stitched in place,
  • finally turned the seam allowance of the suede side in and slip stitch the two layers at the edges.

Closure choices

I checked out other stoles and decided against the decidedly dainty ribbon closure. It wouldn’t work on my slightly oversized stole anyway. Fur hooks on the fur side doesn’t quite work either as my fur pile isn’t long enough to hide them. And with the double-faced cloth, there no way to sew the hooks to the wrong side with only the hook and loop bits poking through to the right side. So I ended up sewing 2 sets to the edges of the suede side, then throw in a bar tack loop for good measure.

Now you see it now you don’t!

A few strands of thread loops coved with blanket stitches blends into the furry background quite easily. In fact, sometimes I had trouble finding it when I want to. I also tried thread loops made with chain stitches, but it didn’t blend so well and seems a bit too fragile.

Getting crafty with it

And you thought that’s the end of it? Oh no, not so fast! There are still these inspirations to tackle…

On second thought, maybe that’s enough image porn  for one post. Stayed tuned for crafty part 2.

Byzantine dreams

OMG, I can’t believe I’ve just finished not 1, but 2 sewing projects! Granted, both left a bit to be desired in the fitting department. But still, it’s unheard of. Almost.

London weather being dull as ever, no evidence of my minor achievements just yet. Instead you’ll have to make do with part 2 of my Gigli coat quest. Nope, you haven’t heard the end of it yet! :o)

While Gigli attempt no. 1 was hibernating, I stumbled across Folkwear 503 Poiret Cocoon Coat pattern. It’s vaguely Gigliesque. So I thought I’d try a store-bought pattern for a change as my attempts at copying designer garbs have been a bit of the luck of the draw.

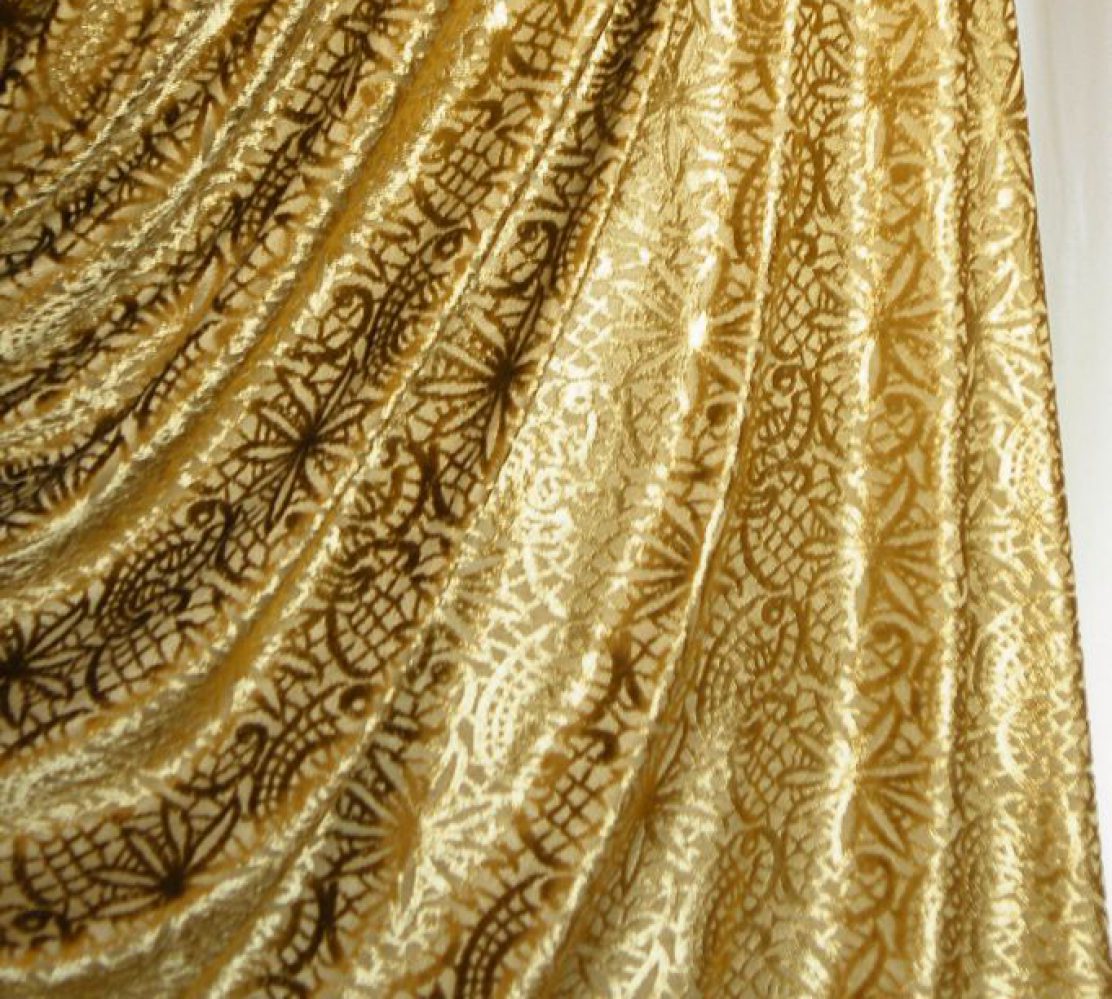
The example on the pattern envelope is a bit ugly to be honest. But I thought with a classier fabric it might look glam enough. So I plucked for a gorgeous brown cut velvet with silver-gray satiny lining.

And here’s the result…

Well, the almost-finished result anyway. You see, the trouble is once it’s mostly made up I lost heart. It felt more like a dressing gown for Ladies who Lunch than a Byzantine Princess Coat. So I never put the finishing touch on it. Instead it’s been languishing for years in the TBA pile.

A real shame as I  even added some nicely finished welt pockets with almost perfectly matched pattern. And extra double-welt pockets in the lining as well!

(Why anyone would want to laden such delicate coat with dead weight is beyond me now, but I vaguely recall being obsessed about lack of pocket practicalities in women’s clothing back then.)

Here’s the not so graceful back view. The drapes just look wrong so low down. It reminds me of an oversized diaper: Squarish. Bottom heavy. Not very flattering no matter what shape you are.
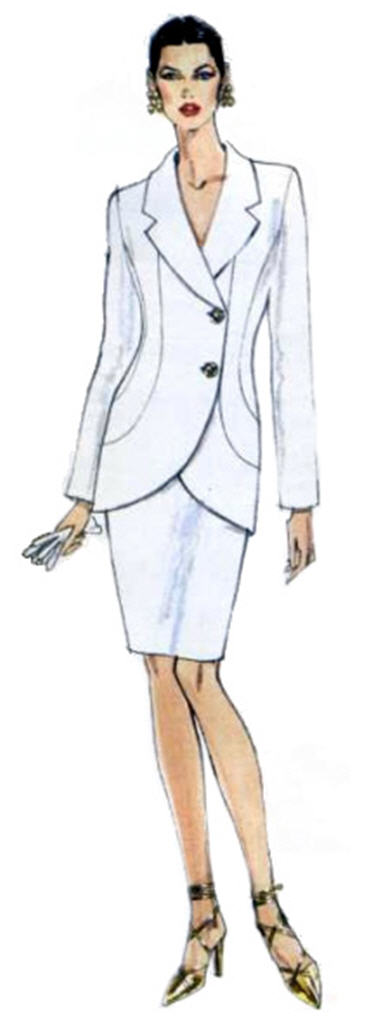
Here’s a Poiret illustration for comparison.

And it gets weirder. Here’s the batwing. I feel like a flying squirrel. Or is it the sleeve equivalent of a Hammer pants? 😉

If I were to do it again, I’d go for something a bit more like this:

But given my lack of success with the Gigli coat attempts, I doubt I’ll try this style of coat again. Especially with the advance of middle age spread where my already small frame subcomb to gravity and grow sideways!

Instead I think I’ll look to my old favorite Comme des Garçons for inspiration on refashioning this lovely cut velvet coat.

Comme des Garçons Fall 1996

Probably not another coat though.

Maybe a top like this sketch I drew of a lady in a CdG top at the Metropolitan Museum of Art.

I love the contrast between the austere muslin and the sumptuous cut velvet.

So maybe I’m not cut out to be a Byzantine Princess. But a Byzantine Peasant wouldn’t be too much to ask for innit?

Blast from the past: back-burner CdG top

Hurrah! La Chemise is done!

And for once I’m quite pleased with the result. There were hiccups for sure. But not bad enough to make me want to feed to the TBA pile. More about La Chemise soon. London weather has turned all Spring-y and changeable. So it’s too dark to take pictures. And a blog post is no fun without the pictures.

In the meanwhile here’s a blast from the past. Another back burner project. Another attempt to raise the glorious dead! 🙂

The sketch is from a long time ago, in a notebook I hardly use anymore.

Like most of my attempts back then, it was an attempt to copy designer clothing I couldn’t afford as a student – I was much more fearless back then. The inspiration for this one was…as the sketch indicates…Comme des Garcons’ Spring / Summer 1987 collection. I adored CdG at the time. It was my first designer love. This collection was quite feminine – a bit unusual for the avant-garde brand better known for weird baggy stuff. Actually there were a few seasons back then that were quite feminine / wearable.

My copies were mostly guesswork. Occasionally I got to examine the real deal in store and make a few sneaky notes. Sometimes the guesswork paid off. But mostly there were no cigars – like my various attempts to recreate Romeo Gigli Autumn / Winter 1989-90 coats…more about that epic attempt another time!

I made this top once back in the days and it was relatively successful. Unfortunately I don’t have pictures of the result from that incarnation.

I’m now hoping to create it again. This time with a thinner, flimsier jersey. I’m hoping for a slightly more fluid, drapy  effect, like the variation in the collection that was the same sort of bias-tape-lace effect, but on what looks like chiffon or voile.

I’m a bit worried that this fabric is going to stretch out of shape while I sew the bias tape on. Hence the procrastination. Maybe a bit of dissolvable stabilizer like those used for machine embroidery?

In the meanwhile, here are some more luscious CdG SS 87 clippings for you to oggle!

Comme des Garcons Spring / Summer 1987