
Next up are items made from a couple of my Indian outfit kits. I was half thinking of taking one of my sari outfits, but in the end thought I’d be too uncomfortable to relax. Beautiful as they are, they’re not my heritage & I don’t feel I can pull them off so nonchalantly. Instead, I went fusion. For these outfits I canabalised the Dupatta scarves, bits of the main Anarkali tunic, & the fabrics for the Churidar trousers from my Jinaam Floral Tulip outfit kits.


Jinaam Floral Tulip 7363
For the marroon outfit, my inspiration was a Spring/Summer 2015 Dries Van Noten outfit featured in a travel magazine.
Self-drafted Bandeau Tunic Top


Fabrics: sleeve fabric from Jinaam Floral Tulip 7363 Anarkali tunic for the bodice & Dupatta scarf for the skirt part, nylon/lycra stretch Bodystocking & Silhouette fabrics from Funki Fabrics for bodice underlining & lining.
Pattern & construction: The skirt part is just a rectangle pleated at the princess lines. The strapless bodice was based on my last bodice cling film wrap. To minimise risk of wardrobe malfunction I made a muslin. Good thing I did because I forgot that because it takes a while to do a cling film wrap, you inevitably wrap in breathing ease. So without taking away this ease, any strapless top based on this will flash strangers. For this one though, because the shell fabric is woven, I decided to keep the ease, but used negative ease stretch fabric for the underlining & lining + elastic at top & bottom of the bodice for extra insurance. Because the top has minimum ease, I had to add hook & eye opening at one side seam to get in & out. I added rigilene boning to the bodice side seam & side opening to minimise the bodice collapsing / wardrobe malfunction. Unfortunately the boning ends poked through while I was on holiday. I melted the ends like previous times, so I’m not sure what I did wrong this time. Maybe it’s the nature of the fabrics I used this time. I may have to retroactively pad the ends with something sturdier … if I get a chance to wear this more often.


Self-drafted Slim Elasticated Trousers


Fabrics: Jinaam Floral Tulip 7363 rayon Churidar trousers fabric, border from the Anarkali tunic’s skirt
Pattern & construction: Although I went for a Western elasticated + draw-string pajama pants look, the pattern is based on traditional Indian churidar trousers pattern instruction. These are usually drafted directly on the fabric using hip & leg measurements. They’re cut with only seams on the inseam & crotch, and side seam on the bias fold. Normally they’d cut the wasitband separately, but mine is just cut-on. I also wanted pockets, so I added small waist dart at the side seam to attach side-seam pockets. Unfortunately this approach didn’t work out for me. I thought the bias grain would provide moving ease while creating a slender look. But it was rather uncomfortable to wear despite not being skin-tight – the front thigh feels tight at the same time the front crotch looke unsightly baggy. I ended up having to take a wedge from front crotch through the thigh area and add that back to the back crotch as gussets. Not an elegant solution & still a bit uncomfortable. Maybe I have strange legs, maybe it’s an acquired taste. Anyway, now I know to stick to my legs cling film wrap Trousers Block.


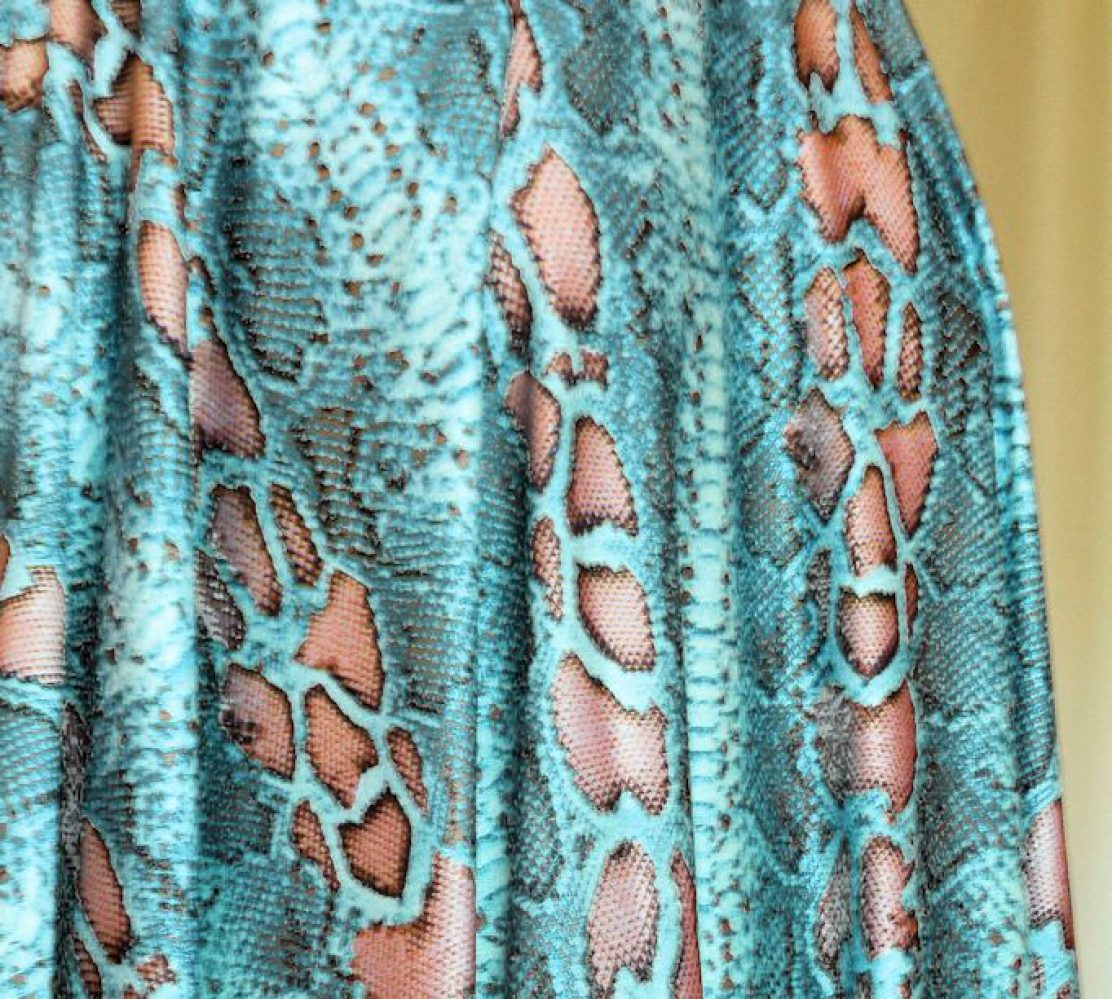
Jinaam Floral Tulip 7365
Inspiration for the beige outfit was a hodgepodge of things…
Franken V1390 Gigli Wannabe Wrap Top


Fabrics: Jinaam Floral Tulip 7365 Dupatta scarf
Pattern & construction: The wrap top was inspired by Romeo Gigli 1989 Spring/Summer collection. I had already attempted to recreate one before by adapting 90s Vogue Genny Designer Pattern 1390. But because I had limited amount of fabric to work with this time, I couldn’t reuse that pattern as is. Instead, I used the slide & pivot method to tweak that pattern for a more economical layout. I also changed the neckline border trim from shaped to straight for a stand-up collar look that’s more like Japanese kimono collar. The CB seam wasn’t necessary design-wise, but because I wanted to squeeze a skirt out of the scarf as well, this was the only way I could fit both garments into the yardage I had. Because the fabric is translucent, I went with french seams & manual blind hem.


Self-drafted Cover-up Panel Skirt
 Egoist video")


Fabrics: Jinaam Floral Tulip 7365 Dupatta scarf
Pattern & construction: The panel skirt was inspired by one I saw in a K-pop video. The back panel is just a rectangle with elasticated waist. The front panel is shaped to fit the leftover fabric I had & to provide dart shaping without seaming or gathering. I had hoped the skirt would work well as a beach cover-up, but I don’t think the translucent fabric work well with this design. It’s not so bad worn as a floaty overskirt over an underskirt though.


Self-drafted Tulip Trousers
OK I lied. This one didn’t actually make it to Maldives. I wanted to take it, but I ran out of time to birth it. So it wasn’t made until I got back.


Fabrics: Jinaam Floral Tulip 7365 rayon Churidar trousers fabric
Pattern & construction: Since the traditional Indian churidar trousers pattern instruction didn’t work well for me, I went back to my Slim Trousers Block for this take on Indian tulip / samosa pants. I’m still a bit timid with volume – especially with fabric that isn’t limp as fish. So I chose a slimmer modern version as my inspiration. Mine is basically slim pants without side seam & with the front double-layered at the waist. It looks like there is some drapes on the inseam side in that inspiration photo, but for the life of me I couldn’t work out how they’re formed. So I experimented with waist pleats on the inner front layer. I couldn’t be bothered to work out complicated closure, so I just elasticated the back waist up to the Block’s front side seam. Back waistband is just a rectanglar casing for the elastic. Front waistband is contoured & interfaced, with a fake closure at the left princess line – which was a pain to construct because I didn’t think the order through. The end result is certainly more comfortable to wear than the slim churidar trousers above, but the legs flare a bit rather than wrap snugly like in the inspiration photo. I tried salvaging this by tacking the hems closer at the ankle and added buttons to disguise this pattern-drafting mishap. Doesn’t look too bad. But the front top layer pulls a bit at the waist forming those unsightly diagnol draglines. Ah well, nothing ventured nothing gained. I can always wear it under a longer top to hide the draglines. Or just own these battle scars proudly.


 For the armhole, after stitching & turning the bands right-side out, the band was sewn right-sides together to the upper portion of the armhole first, then the facing/binding was sewn right-sides together to the underarm portion of the armhole – overlapping the bands slightly, the band is then pressed out while the facing/binding is pressed to the inside, the whole armhole is then top-stitched to secure the band seam allowance & facing/binding.
 I replaced the weight at CF cowl tip with a boning stay that gets tucked into the bra to keep the cowl from gaping if I lean forward. This is just a short piece of plastic boning encased by self-fabric & one end sewn to the CF cowl tip. I read about this trick in


