Having worked out my SVPD (Standard Vogue Patterns Deviations), I set to try out FFRP tissue fit and fit-as-you-sew approachon a proper fashion pattern.
I combed through my Vogue Patterns collection looking for one as similar to the bodice fitting pattern as possible, and preferably without bottom / skirt nor sleeves. Because I’m that timid. Baby steps dear, baby steps.
Unbelievably I had only one candidate. Almost all others were princess seams of one type or another, or complicated seaming, or too loose. So the top from out-of-print V2686 by Tom and Linda Platt it is then.


I must confess I didn’t obey FFRP’s instruction to try on the tissue without alteration first. I went ahead and compare the patterns to my SVPD slopers and dived in for the kill. Which is just as well since the bust point on the pattern is weirdly low. Don’t know if it’s printing mistake or drafting mistake. In any case, my boobs may be maturing, but they haven’t head that far south just yet. To get into the Pattern Reviews habit, here’s my write up in roughly the standard PR format…
Size Used:
8, per my SVPD fitting trials and tribulation. I would have otherwise used a 10 if I go by FFRP / chest measurement, or even a 12 if I had went for the size that’s closest to my bust measurement.
Changes Made:
Fitting Alterations I initially made:
- Forward Shoulder
- Wide Shoulder
- Narrow Back at Under Arm / Bust level
- Repositioned Back Waist Darts towards CB
- Sway-Back
- Full Bust (B to C cup)
After reading reviews on Pattern Reviews site, I also made minor Style Alterations:
- Added an extra row of neckline top-stitching at the neck edge so the neckline isn’t so wide that the shoulders won’t stay put.
- Added another row of neckline top-stitching at the outer / shoulder edge and extended the shoulder seam so the outer rows of top-stitching aren’t cut off by the armhole. What’s the point of having this lovely details if it’s flimsily insubstantial I say!
 Final pattern: Black lines are tracing of the original pattern. Blue bits are additions. Red and Green lines are various iterations of my changes.
And here is the initial tissue fitting:


To my untrained eyes it looks darn good to me. Apart from the slight gap in the back arm hole. I’m not surprised by that, but I’m not sure what to do to fix it. My SVPD back sloper shows that I needed a deeper shoulder dart. In fact, it’s twice the width of the fitting shell shoulder dart. FFRP call this Slightly Rounded Upper Back. In my other fitting book it’s closest to a Prominent Shoulder Blade. Regardless, I needed shaping for curvature there. But this fashion pattern doesn’t have dart there. Nor do many other. So what do you do?
I decide to go ahead with fashion fabric pin fitting and see how bad the gap is in fabric.
Here is my first fabric fitting:


A bit baggy here and there I’d say. And the back armhole gap is definitely there. Even the front armhole gap a little. Here’s what I ended up doing:
- Increase front side bust darts to get rid of front armhole gap.
- Extend back darts upward closer to my blade points to get rid of mid back bagginess.
- Made back shoulder slightly more sloped and extended it towards neck and armhole a little bit for dart-wannabe that will be converted into ease when sewing. Any further gap I’d stay-stitch and ease into a slightly shorter back armhole binding.
Here’s my second fabric fitting:


And here’s the finished result:


Hmm, where did all those back wrinkles come from?!?!?! Is this a fail? Or can I blame it on the fabric? Speaking of the devil…
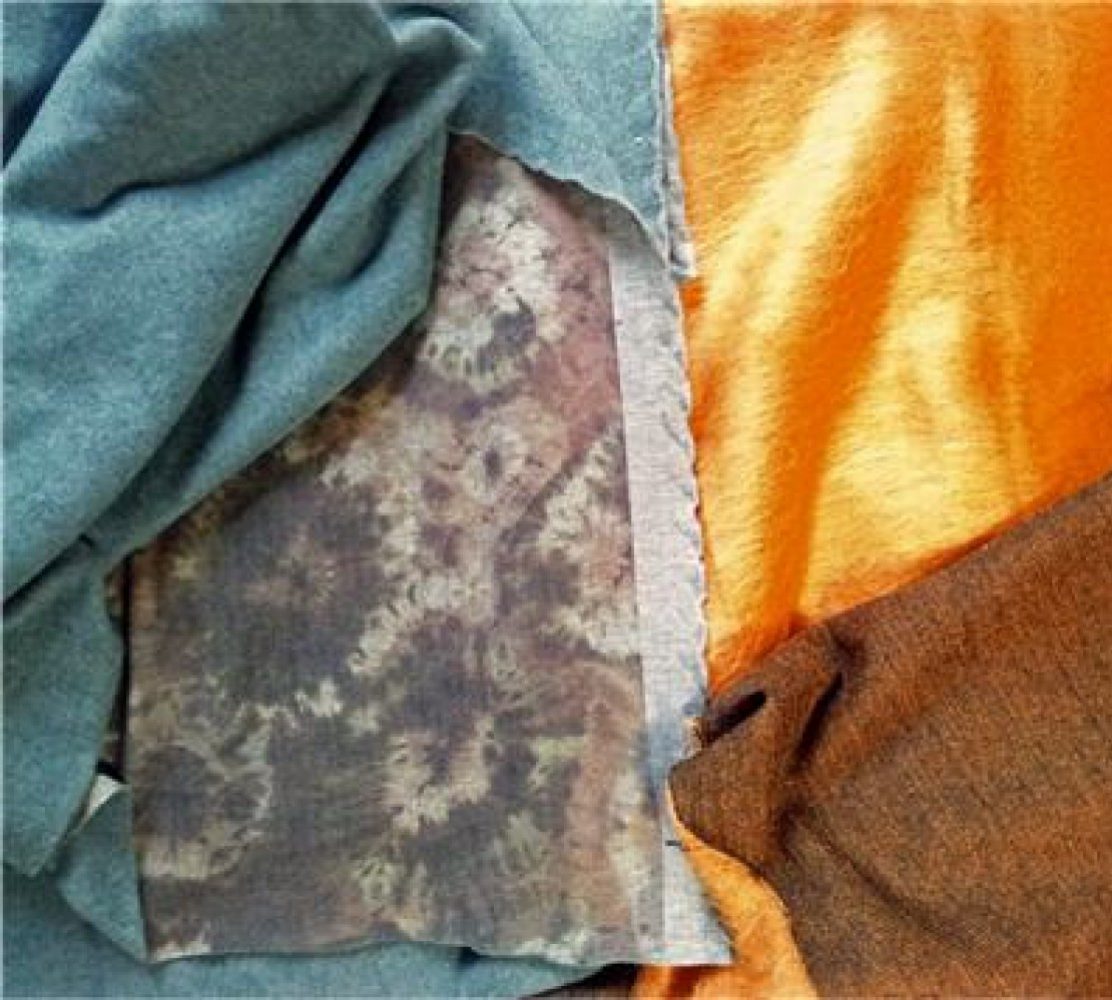
Fabric & Notions Used
 The weird pale blue-cream two-tone silk dupioni that I got 11 yards of for some unfathomable reason ages ago. I figure I wouldn’t cry if it didn’t work out – I’d still have yards and yard of it, even if the fabric wasn’t cheap. It’s Twilight Como Silk from Wolf Home (formerly Silk Trading Co. in the basement of ABC Carpets) in NYC.
Contrasting Guterman topstitching thread in a lovely orange. I think recent sewing room makeover color scheme is really getting into my head. I can’t get away from orange-turquoise combinations!
Lovely plastic button with irregular clear and milky stripes in a pale green that matches the two-tone dupioni perfectly!
Cotton sew-in interfacing.
Verdict on the Instructions
I did read through it. But I also took advice from Pattern Review and sew the top-stitching after joining the shoulder seams. Because frankly my dear, my seam matching and parallel straight-stitching skills aren’t up to par. (Glad I’m not a Quilter.)
I also deviated from the instruction on how to finish the facing edges. I was concerned about bulkiness showing through my light weight dupioni. I did tests with the layers that the instruction would have landed me with, as well as 2-thread overlocked edges with both overlock thread and woolly nylon. All too heavy for my taste.
So I resorted to that hallmark of home sewing – pinking, reinforced with a straight-stitch 1/8” from the edge. This I used to finish all the seam edges as well.
 Whatever rock your boat I say. I mean it’s not like I’m going to take the top off to show you the pinked innards!
I wouldn’t dare telling professionals using specialised machinery to make things my way, but when it comes to my own sewing, my own machine’s quarks, my own skill shortfalls…Anything goes as long as it works – better than it would have if I had followed instructions to the T that is.
Would I sew it again
As a Basic Block, yes. I’ve invested in all that fitting effort after all. But probably only as a Block. Or if this one wears out.


Back buttoning isn’t exactly easy. I can just about reach the buttons right now. But you know what they say about age and flexibility. And oops, I missed one button in my photo shoot. Point proven.
Zipper would be easier.

 I’ve done a couple of above hip length fitted tops before with back zipper that zip down instead of up so that I can get through the fitted waist. The zipper stops about shoulder blade level and I find that manageable to get into.
So that’s probably what’ll happen to this V2686 top in future incarnations. It’ll also avoid interrupting the top-stitching line with button and button hole. A happy win-win then.
Like this:
Like Loading...