Me Made Maldives – Dresses edition

I say “dresses” but these really aren’t suitable for wearing solo…unless you don’t mind flashing strangers. One has slit up to the waist, the other is a tad short. But both are so perfect as beach cover-ups. Just make sure that you have some swimwears that aren’t too diva-ish to share the limelight. I made that mistake. Most of mine had something – hardware, neckline, tie, whatever – that clashed with these. So I end up not getting to wear these as much as cover-ups.


Burda 2013-07-125
Mult-style Beach Cover-up Wrap Dress


This is the more flattering of the rectangle-as-cover-up concept. In the same issue of Burda there was another one that looks like a lot of the commercial versions I’ve seen but seem a bit shapeless to me. Plus you can’t argue with multi-styling option when it comes to travel pieces can you? I only got to wear style A v1 during the holiday though due to the aforementioned diva swimwear issue. If you want to try the other two styling variations, be warned that A v2 may be a bit low cut. I find the slit does still stretch – even when reinforced with a bit of elastic like I did. Or maybe I just don’t have the boobs to prop it up? But as a swimwear cover-up it shouldn’t be a problem.

Size made: 34

Fabric: Silk Touch 95 polyester/ 5 lycra jersey from Tia Knight

Changes made:

  • Skipped the centre seam. Seems a bit pointless to me if your fabric is wide enough. It may be necessary for larger sizes though.
  • Instruction for the slit elastic was really confusing – the materials list mentioned 3/8″-wide elastic, but instruction then talk about 1/8″-wide elastic!?! I ended up using 1/4″ clear elastic. Initially I did the whole slit, but that made the narrow shoulder strap part a bit restrictive, so I had to remove the portion along the strap side of the slit. Maybe it is meant to be 1/8″ finisthed elastic width after you “trim away remainder” of the 3/8″ elastic?
  • Even with the stretchy fabric, I couldn’t manage the turn & stitch slit hem without pleats forming at the slit ends. So I ended up using a separate binding.

Self-drafted Halter-tie-neck Bias Dress

I’ve been putting off using this lovely fabric my Mom gave me because there’s not a lot of it & I was worried I’d waste it on the wrong design. But as I regret not taking my Mom to the Maldives while she was still alive, I decided to take the plunge this time & have her with me in spirit via her fabric.

I had no idea what the fabric is made of, but it felt like a silk scarf. So I had been inclined towards a halter neck-tie top. But I was unsure whether   neckline gather (for some of the bust dart allowance) would work or would you need fabric with more drape for this to look elegant. Also, what length – top or dress. In the end the meager amount of fabric (1-3/8 yd x 39″) dictated the design. I had to plot the pieces in a drawing program to figure out what I can get, which is bias bodice with no pleats in the neckline, and a short dress length – dress when I’m feeling brave, top on other days.

Maybe the silhouette is a bit too tent-like. But I love the feel of this dress / top flapping in the wind. And so glad to have memory of my Mom with me in heavenly Maldives❣️
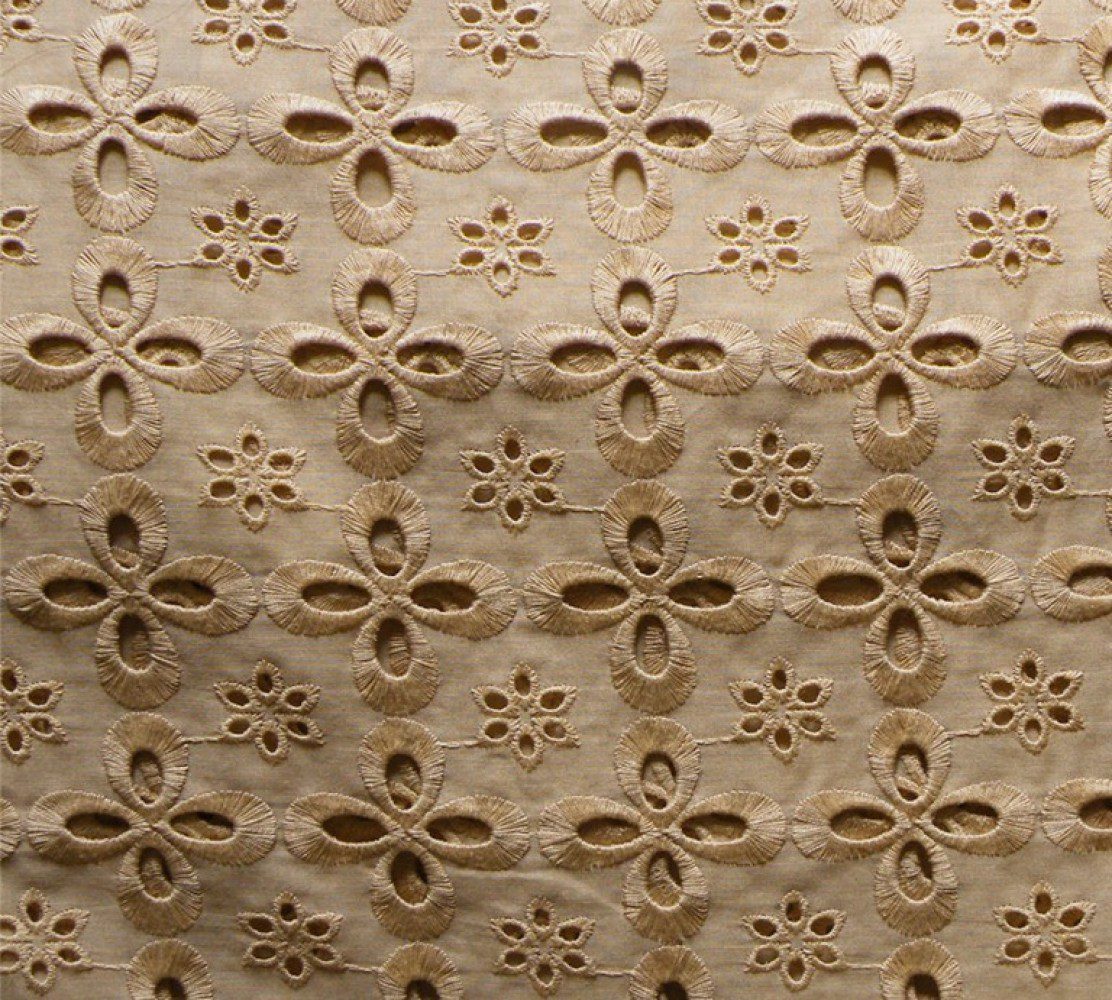
Floral Burda 2012-04-128 Cowl Neck Dress

The companion dress to my CdG wannabe hoodie, this one also started out with high aspiration…and fell way short.

Because the fabric is slightly see through, I toyed with the idea of something like this Jean-Paul Gaultier 1990 Autumn/Winter dress ? extended vest ? But Ms Practicality vetoed the high side slits & I ended up with yet another variation of Burda 2012-04-128 dress…previously incarnated as a shimmering snake print dress & a defective yet still much worn camisole.

I had wanted to make this dress longer like the JPG inspiration, but Ms Cheapskate didn’t buy enough fabric. So the result – especially when worn together with the matching top – is just this side of twee.

The Pattern

Style Shots & Mug Shots

WORN WITH: 1 Burda 2018-01-106 Top; 2-3 all by her lonesome self;

WORN WITH: 4 Self-drafted Hooded Top based on Burda 2014-03-119 + Altered RTW HiLo Skirt;

Size Used

Same as my last make – 36, as recommended by the size chart.

Changes Made

Fitting changes

Same as last time.

Design changes
  1. Removed the right hem flounce
  2. Changed the skirt shape from pegged to slight A-line

Fabric & Notions Used

  • Fabric: Polyester 93% Lycra 7% Floral Jersey from Minerva Crafts UK – pretty to look at & yucky to touch.
  • Lining: Nylon 80% Lycra 20% Power Mesh from Tia Knight / Tissu Fabrics UK – much nicer against the skin than the shell fabric despite both being synthetics.
  • Notions: 3/8” clear elastic as insurance agasint knit fabric shoulder straps stretching from the weight of the dress!
  • Tools: Corn starch! (for temporarily stiffening the jersey & tame the edge curling for easier sewing & handling)

Construction Notes

  • As with last time I back stitched the darts by hand for wave-free soft seaming & slip stitched the strap-binding closed (rather than top-stitch by machine).
  • This time because the shell fabric is thicker, instead of narrow seam & rolled hem, I went with normal overlocked seams & turn and twin-needle stitched hems.
  • Again, because the shell fabric isn’t as translucent, there’s no extra modesty layer.
  • The lining’s actually the same length as the shell, but maybe because of different drape of the fabric, the lining hangs lower. So thank goodness I chose a nicely contrasting lining that doesn’t mind flashing strangers!

The Verdict

Comfy if a bit boring by herself. But some days boring is good. And other days you take styling inspirations from the crazy fashion crowd or iconic historical heroines and entertain yourself if no one else!

But this Burda pattern still got stome mileage to go. I’ve already altered for a version without the cowl neck, hoping to fly closer to my JPG sun. Let’s hope the humongous resulting bust dart doesn’t send me crashing down into the sea!

Floral CdG FW1996 wannabe hoodie top

This one started with the fabric. Rejected for the Burda draped back T I felt I owed it one. Unfortunately it’s handicapped by having a 70s polyester hand, so not so comfortable against the skin. But the print reminds me slightly of a beloved 1996 A/W COMME des GARÇONS collection. I love the fancy duvet look, the contrast between rich brocade print & humble muslin – a bit yin & yang, just my cup of tea.

The Design

For the specific design, I went with a sketch of a CdG top I saw a lady wearing at the NYC Met Museum back in the days.


The runway shots don’t look as appetizing anymore, but the memory’s still rosy. And the fabric not precious enough to not risk it!

Style Shots & Mug Shots

WORN WITH: 1 Self-drafted Petticoat Skirt; 2 mid-rise Ginger Jeans 2018 + Camisole based on Burda 2012-04-128;

WORN WITH: 3 Self-drafted Lace Straight Skirt; 4 Modified Burda 2012-04-128 dress + Altered RTW HiLo Skirt;

WORN WITH: 4 Self-drafted Lace Straight Skirt; 5 Altered RTW HiLo Skirt;


The Pattern

Base Pattern Used:

Because I haven’t quite worked out a boxy Block yet I went with a commercial pattern as the base. There’s actually two versions of this Burda pattern and I had wanted to make both since the magazine came out. The other version – a tie front top – looked like the right amount of volume for my vague design. But my sketch had no CF seam, so I went with this pull-over version instead. It’s the exact same base pattern.

Size Used

Graded down to 34 instead of the 36 recommended by the size chart.

Changes Made

Fitting changes

Compared with Tunic Block & made the following changes to give me 3″ extra bust ease on top of the 1.5″ ease already in the looser fitting Tunic Block. As I said, baby steps!

  1. Removed 1/4″ from CB
  2. Removed 3/8″ from Front shoulder-sleeve seam to bring B & F to the same level

Here’s how this one compares with my recent ventures into loose fit tops…

pattern block block ease design ease total ease
BS 2014-02-117 v-neck T woven tunic 1.5″ 16.75″ 18.25″
BS 2018-01-106 draped back T knit loose fit 2.5″ 0″ 2.5″
BS 2016-08-125 tie front T knit loose fit 2.5″ 0.5″ 3″
BS 2014-03-119 (this top) woven tunic 1.5″ 3″ 4.5″
Design changes
  1. Omit sleeve & bodice peplums
  2. Extend bodice & create high-low hem (muslin lining is slightly longer than shell fabric to create the hem border)
  3. Extend sleeves
  4. Separated the kimono sleeve from bodice to conserve fabric
  5. Widen front neckline by 1/2″
  6. Bring back neckline up to jewel neckline (based on Block)
  7. Added hood with drawstring tie

Fabric & Notions Used

  • Fabric: Polyester 93% Lycra 7% Floral Jersey from Minerva Crafts UK
  • Lining: Cotton Muslin from the Stash
  • Notions: Vilene Bias Tape to stablise the necklines
  • Tools: Corn starch! (for temporarily stiffening the jersey & tame the edge curling for easier sewing & handling)

Construction Notes

Another blur I’m afraid. That’s the problem with the more experimental self-designs – figuring out the construction as you go along & not remembering the steps afterwards!

The only thing I remember is that the corner where the hood overhangs join the sides of the square front neckline was tricky to do neatly. I had to fudge with hand-sewing afterwards. Oh and that I might have bagged the lining with the opening at the hood-neckline seam (hand slip-stitch closed).

The Verdict

Not bad if I may say so myself. Unfortunately I ran out of fabric to make the matching dress long & kabuki like for full-on CdG effect. But otherwise a cute top. Just a shame that London has gotten too global warminingly hot to wear this right now.

Stripy Burda 2016-08-125 T with front neckline ties

Or Stripe & Drape Take 2… This one started out as an after-thought: Ms Cheapskate insisted on squeezing a second top out of the stripe fabric. But I ended up liking this better than the star of the Stripe & Drape show!

The Pattern

The pattern is actually designed for woven. But I struggled to find another loose-fitting knit top pattern in my Stash that would both showcase the stripe and fit the scraps I have. The direction of the cut-on tie patterns vs the direction the finished ties hang makes it a more successful match than the drape on my Burda 2018-01-106.

Style Shots & Mug Shots

WORN WITH: 1 mid-rise Ginger Jeans 2018; 2 Self-drafted Slim Trousers;

WORN WITH: 3 Refashioned RTW pleated skirt; 4 Self-drafted Lace Straight Skirt + Mom’s shrug; 

Size Used

34, instead of 36 recommended by the size chart, chosen because it’s closest to my Dartless Semi-Fitted Knit Top Block

Changes Made

Fitting changes
based on comparison to Dartless Semi-Fitted Knit Top Block

Sorry, my changes seem a bit whimsical & hard to summarise into any clear principles…

  1. Shortened above bust to bring bottom of armhole no lower than bust line & back neck-shoulder point hitting my Block’s back shoulder line. (This also brought the pattern’s back waistline closer to my waistline.) On the front did this only on the simpler half without the tie (right side).
  2. Tilted right front at armhole bottom level to bring front shoulder slope closer to the angle of my Block & front armhole hem slope closer to back armohole hem slope.
  3. Ensured there’s at least as much ease in the bodice as my Block – back needed no change, front needed more ease at the hem so tilted at bust point.
  4. Ensure back & front side seam are same lengths – shorten back below the waist to match the front.
  5. Folded front in half. Shortened & tiled the left tie piece to match the right side shoulder & armhole hem slopes. Shortened & tilted the left side of the main front piece to match the raglan seam slope & front neckline… or something like that 😕
Design changes
  1. Added Front Neckline Facing as I was worried my fabric would be too limp for the ties if used single layer.
  2. Change banded hem to high-low hem with side seam slit… Because I wasn’t I can rock the blouson silhouette… And because I ran out of fabric anyway!

Fabric & Notions Used

  • Fabric: Cotton & Lurex Stripy Jersey from Moods Fabric NYC
  • Notions: Vilene Bias Tape.
  • Tools: Corn starch (for temporarily stiffening the jersey & tame the edge curling for easier sewing & handling)

Construction Notes

  • Stablised the necklines.
  • For neckline finishes used standard Burda cowl neckline instruction (binding-facing for back neckline, sandwiched shoulder seam between front & front facing).
  • Stretch-stitched seaming & overlocked edge finishes. Hand catch-stitch for bodice hem & stretch stitch for armhole hems.

The Verdict

Despite the struggle to style this multiple ways this one is a win. I can definitely seeing myself sewing a replacement should this one wears out from too much love.

Something about the drape that I can see (rather than one in the back that I can’t see) just turns me into a kitty chasing a laser point! 😻

Stripy Burda 2018-01-106 T with back drape & cutout

In theory this combination of pattern (just enough twist in the back) & fabric (just enough sparkle in the stripes) should have given me Sports Luxe. But Reality always gets her own ways and the result was a bit of a disappointment.

The Pattern

I mean look at that back. Just look at that back. How can I not be seduced? I knew I wanted to make this, but wasn’t sure which fabric – this stripe or the floral you see in the dress below. Of course I asked DH & promptly picked the other one. 😈

Style Shots & Mug Shots

WORN WITH: 1 Burda 2012-04-128 Dress;

WORN WITH: 2 Ginger Jeans ’18;

Size Used

36, as recommended by the size chart & chosen because it’s closest to my Dartless Semi-Fitted Knit Top Block

Changes Made

Fitting changes
based on comparison to Dartless Semi-Fitted Knit Top Block
  1. Bodice – tried to get shoulder angles to match my Block + back side seam to mirror my Block (ensuring between F & B there’s similar amount of ease to my Block)
  2. Sleeve – shortened. A bit too much. Ended up with uncomfortable thumb holes, so had to close them up & live with just plain old long sleeve.
Design changes – none

Fabric & Notions Used

  • Fabric: Cotton & Lurex Stripy Jersey from Moods Fabric NYC
  • Notions: Vilene Bias Tape.
  • Tools: Corn starch (for temporarily stiffening the jersey & tame the edge curling for easier sewing & handling)

Construction Notes

  • Stablised both back neckline & shoulder seams
  • Tidied up the innards by
    • sandwiching the seam allowance of right back facing / drape / left back seam
    • used binding on left back cutout to hide ugly interfacing

The Verdict

Meh. Both front & back look a bit more frumpy than in the pattern photo, which looks longer (bum length?) & with more fluid drapes. I didn’t shorten the pattern, so I’m putting this down to different body proportion compared to the model.

Sadly, unlike my last foray into loose fit, this one I haven’t quite made peace with yet.