
OK, last UFO Revisit for the year. What with Xmas coming up I don’t think there’s any chance of finishing anything else. So here you go.


The inspiration…
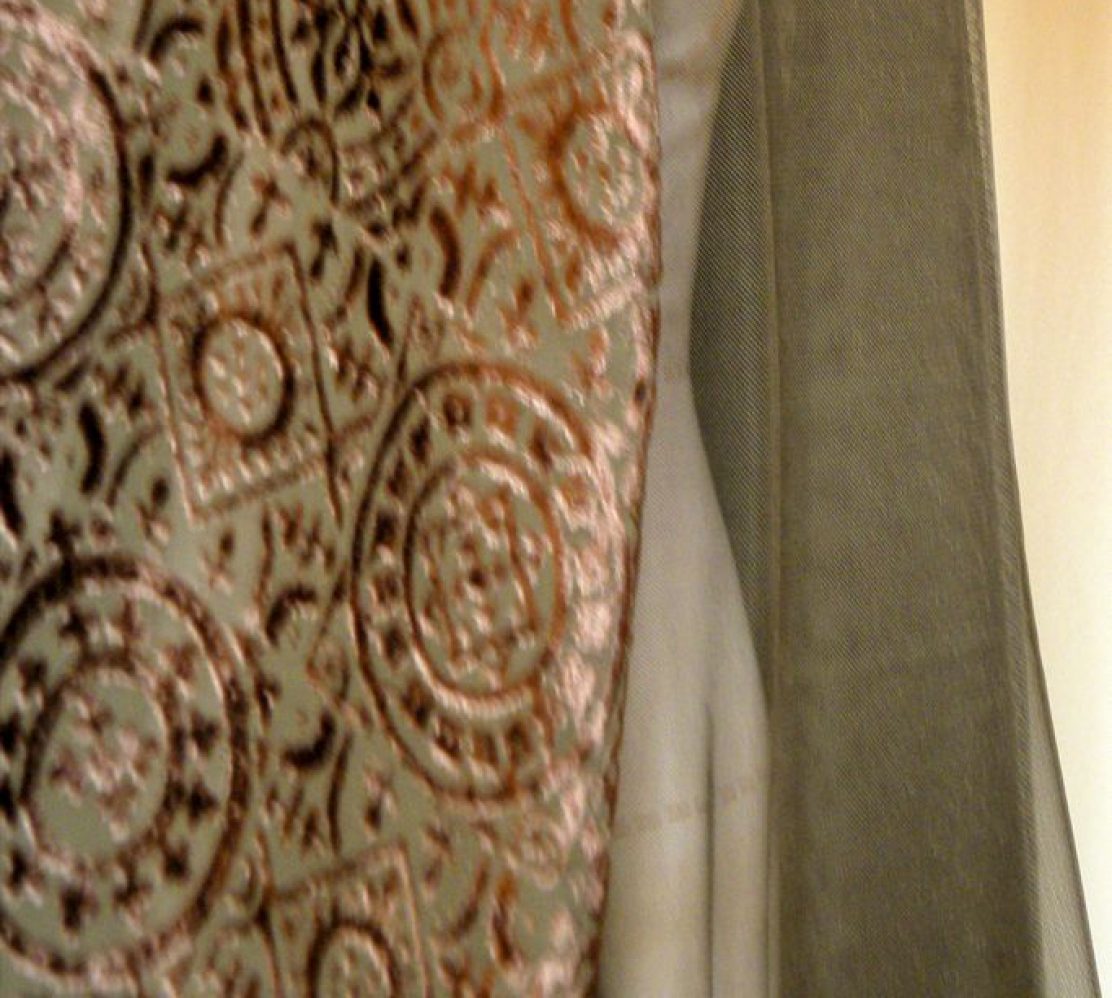
…Was this fabulously faux Comme des Garçons Garcons design from Autumn/Winter 1989-90…And I’m fabulously late of course!

Actually, I had been planning on making one since the beginning. But finding the right faux fur wasn’t easy. Obviously what I ended up using isn’t the same type of faux fur, but it’s fabulously luxurious darling!
And in the intervening years, I’ve also picked up this lovely Michael Kors take on the fur stole. (In 2D form of course, I have no filthy rich but widely hated nowaday sugar daddy to fund my wardrobe.)
I love Love LOVE the juxtaposition with manly tweed. I’m still plotting to make that coat in the right one day.
And as usual I didn’t document which year this clipping is from. Can you ID the collection?

Of course lately there have been other retro faux fur stole in fashion. Like this clipping for UK Glamour, again date unknown, but I know it’s definitely recent.
So, when I finally found the Luxe Plus faux shearling at B&J in NYC last Feb, I thought the time is nigh for a faux fur stole.
Looking for the perfect pattern
First the search for the right pattern. I have no idea what shape it would be. It seems like just a straight cut of fabric. But then would it mold well to the shoulder? And if curved, how curved and where curved?
I initially cut the fabric to this Japanese pattern clipping I have. It’s from a feature on faux fur garments in So-En from ages ago. (Sadly So-En is no longer a pattern magazine, but just a fashion forward fashion magazine. And I’ve been a bit sacrilegious, having clipped out only those patterns I liked at the time. And you know how some tastes changes over time… 🙁
I like the oversized edgy look – I didn’t want to go too dainty. But when I tried it on and it looked unruly. I think my double cloth shearling is a bit too stiff for this much fabric. I had to move on to Plan B.

I briefly toyed with idea of Burda Style 2011-12-117. But I ruled it out because the shaping seam running length-wise in the middle of the stole won’t work on my double-faced faux shearling. There’s no lining to cover up the seam and I think it’d look weird having the seam exposed in a stole.
So the final Plan B is an adaptation of another design from the same So-En article…

This is a little bit more dainty than what I wanted. So I ditched the CF gathering; enlarged it to make full use of the fabric piece I already cut out; and curved the edges. In retrospect maybe I should have curved it more for a better fit around the shoulder. But it’s good enough to wear.
The furry sewing experiment


It got a bit furry when it came to the sewing. My RTW faux shearling coat has straight stiching along the cut edges with no seam allowances. But when I tried the same on a scrap, it didn’t look right nor feel right.

The edge felt a bit rough, which is a problem for a garment close to the skin. The top edge was also shedding fur and showing the cut edge.
I tried blanket stitching the edges. Still no good. So in the end I went for one of the techniques recommended for double-faced fabrics…
- I peeled the edges of the double-cloth,
- straight and zig-zag stitched the edges to reinforce them,
- freed some trapped furs, but then promptly sheared off the one in the seam allowance to minimize bulk,
- turned the seam allowance of the fur side in and hand-stitched in place,
- finally turned the seam allowance of the suede side in and slip stitch the two layers at the edges.
Closure choices
I checked out other stoles and decided against the decidedly dainty ribbon closure. It wouldn’t work on my slightly oversized stole anyway. Fur hooks on the fur side doesn’t quite work either as my fur pile isn’t long enough to hide them. And with the double-faced cloth, there no way to sew the hooks to the wrong side with only the hook and loop bits poking through to the right side. So I ended up sewing 2 sets to the edges of the suede side, then throw in a bar tack loop for good measure.
Now you see it now you don’t!


A few strands of thread loops coved with blanket stitches blends into the furry background quite easily. In fact, sometimes I had trouble finding it when I want to. I also tried thread loops made with chain stitches, but it didn’t blend so well and seems a bit too fragile.
Getting crafty with it
And you thought that’s the end of it? Oh no, not so fast! There are still these inspirations to tackle…
On second thought, maybe that’s enough image porn for one post. Stayed tuned for crafty part 2.


