
This one was a tortoise. I made the first muslin like a year ago. Maldives was what it took to push through with a proper make. Or sort of proper. You see, part of the delay was due to my attempt to alter this no-alteration pattern. There was a fair bit of “I feel lucky” going on.
The Pattern


It’s a lovely feminine pattern. All of the makes on Pattern Review have been gorgeous, even if many complained about the low cut armhole and front gap-ahoy.
Style Shots & Mug Shots


Fabric & Notions Used
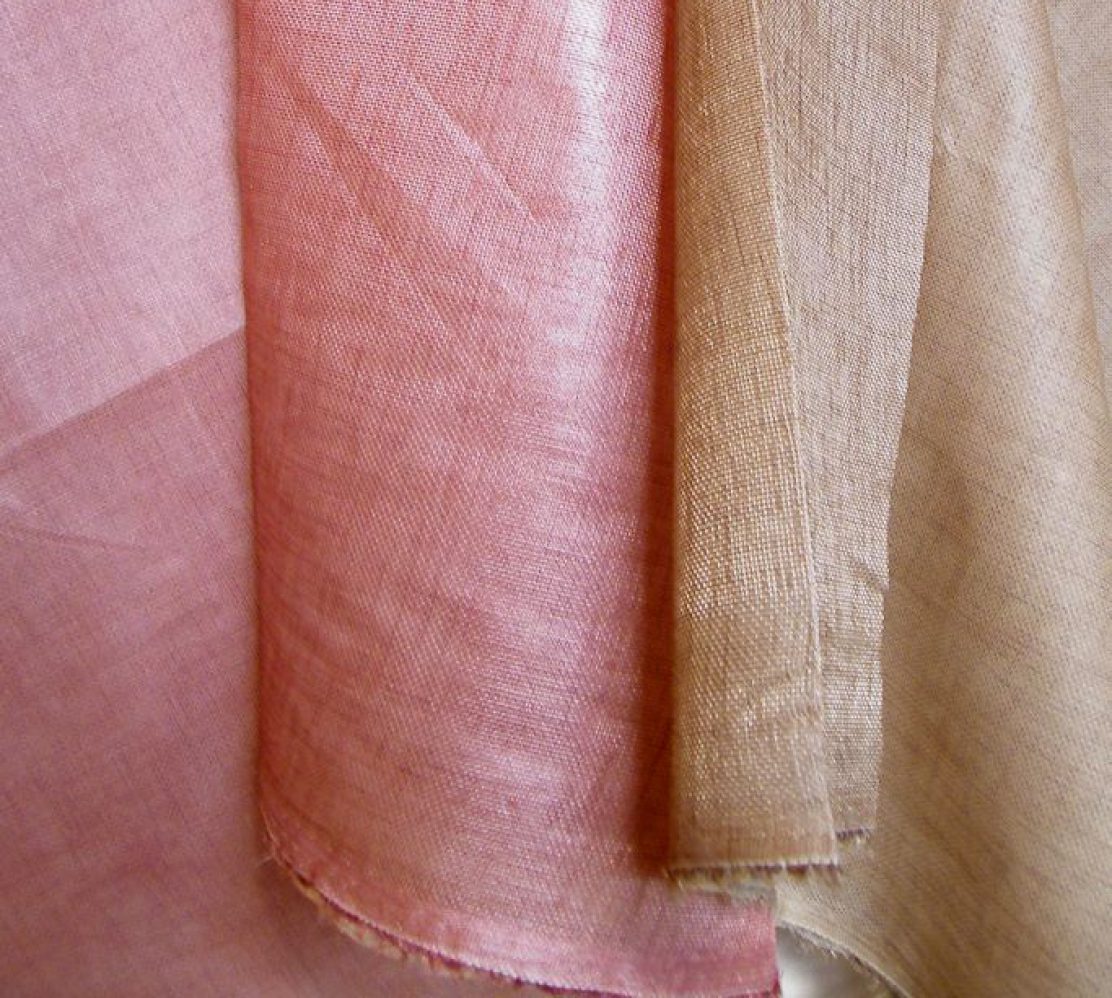
- Burnt Orange Microfibre 4 Way Stretch Polyester Lycra from Tia Knight / Tissu Fabrics. with 60% cross/40% length-wise stretch
- MaxiLock serger thread from Wawak (formerly ATS). 3/8” clear elastic. Vilene Bias Tape.
Size Used
My first muslin was a 10 based on high bust measurement. For this one I used am 8 with alterations.
First Muslin
 For my first I followed the instruction closely. Or so I thought.


Like others, I noticed that front drape crisscrossed in the opposite direction to the pattern photo and tech drawing.
It wasn’t until I took apart the muslin and tried to trace my alteration guidelines that I noticed I didn’t pay enough attention to the cutting layout instruction: I had the wrong side facing up instead of the right side when I cut my fabric. It’s an easy mistake to make since most of the time you’re cutting folded fabric with wrong sides on the outside, facing up.
I thought it turned out alright though. The drape plus the stretchy fabric make it a rather forgiving pattern. It does have the minor flaws noted by others, though non-matching notches wasn’t a problem in size 10 and 8.
Heeding their warnings I had raised the armholes by about 1-1/2”, but they were still a bit low and gappy. The front was fine if I stand up straight, but immodest if I lean forward – like to get up from a chair. So I decided that I’d attempt alteration for my next make.
BTW, the profile looks horrible, especially the skirt, only because the fabric I chose wasn’t really appropriate. It felt more like sweatshirt material. So too stiff to drape gracefully. I learnt my lesson and chose a more drapy fabric for this make.
Changes Made


- Narrowed lower back.
- Sway-back adjustment.
- Full-bust adjustment and pivoted FBA dart to shoulder pleats and waist / skirt drapes. Interestingly, I think this might have made the shoulder more like the slight cap sleeve in the pattern photo.
- Shorten front fold to get rid of gaps.
- Lower left shoulder adjustment.
- Raised armhole. I think I might have overdone this a bit. Together with the FBA, the armhole has become a bit too small / binding. The Vilene Bias Tape I use to stabilize the armhole probably doesn’t help either. When I get home I might unpick this, get rid of the bias tape, re-stitch with stretch stitch, and pray that the natural give of the fabric will remedy the over-zealous armhole reduction!
- Changed skirt seam to CB seam (to make it easier to diagnose skirt fitting problems).
- Omit skirt lining. Extended bottom edge of the “Upper Back” pattern to meet at CF. Added interfaced facing to make this extension sturdy enough to support the weight of the front draped skirt.


Verdict on the Instruction
It is convoluted. This is one pattern where I had to follow the instruction faithfully. At least for the first muslin. The illustrations helped tremendously because the verbal instruction is a jumble due to the poor pattern area naming. How are you suppose to make sense of “shoulder pleats in FRONT AND BACK (1)”??? In fact, when I mapped it out, all pattern pieces cover the front and the back, just different parts of them. This is because they all warp around your body.
To help others who want to make this dress, here’s my rough mapping of pattern areas and numbered matching seams in a somewhat Burda style. Who knows, maybe some of you may also be brave enough to attempt alteration! 🙂


And here are some details of my muslin, especially the inside, to help you figure out what’s going on with the pattern areas.


For this make, I tried to stabilize edges that I thought might stretch out of shape:
- Vilene Bias Tape on back neckline, armholes, and front drape crossing hems. I might omit it from the front armholes in future make or enlarge my altered armholes slightly.


- Clear elastic on shoulder seams, waist seams, under-bust seams in the front.


 I also tacked the folds of the top front drape in place. That’s the only way the folds will stay gracefully small and Grecian. Otherwise it’d morph into an unflatteringly wide Beauty Pageant Sash look.
Would I sew it again
Probably. Once I work out the kinks. I think it’s a wardrobe classic. I might even alter the armhole area to take sleeves. It’d be a lovely LBD with 3/4 sleeves!

Just discovered your blog, via PR. Thanks for the incredibly detailed and precise instructions for V1159. The burnt orange was a superb choice, it looks fantastic!. I have described myself as an advanced beginner on PR, but after seeing the alterations you courageously made to this pattern, I think I should consider myself a beginner.
Thank you Carol. You’re so modest!
I think we all have our strengths and weaknesses. I felt the same way you did when I was completing my PR profile. I had started reading many sewing blogs and are amazed at what people have achieved, some of whom had only been sewing for a short while.
Having been sewing since Junior High School – that’s like 2+ decades ago! – I felt I should be further ahead. But I still struggle with a lot of the sewing tasks.
I’m the more patient and plodding type. So I do manage to complete some more complicated projects. But it takes me ages. And it’s not really special skills, just commitment.
So don’t let labels deflate you! We all can learn from each other regardless of what label we choose! 🙂
Unbelievable detailing and photos with all parts labelled…whoa girl…you are what everyone needs…an online mentor to hold our hand during the tough times!!!!!! I’m keeping this tutorial handy in case a client ever wants this dress made!
🙂 I wouldn’t go so far as calling myself a mentor. But sharing of experience and hard graft helps everyone get further innit! Hopefully others will join in. One of these days we’ll have those mind-twisting origami patterns sussed out!
Hi, i’m just wondering how you made your dressform. Could you share this?
Thumbs up!
Big Bertha is a Duct Tape Double. I paid for detailed instruction from Leah Crain (http://www.leanna.com/DuctTapeDouble/) – which I subsequently lost during some move :-(. You might also be able to find free instruction online if you google Duct Tape Double.
The things I think were important to getting the shape right were the tips on taping, and getting the shape of the cardboards for the neck hole, arm holes, and bottom of the form right by measuring with L-shaped rulers or using flexible bendy rulers or wires.
I wrote about Big Bertha in a bit more detail in a previous post, and also other dress form options I explored: http://overflowingstash.wordpress.com/tag/dress-forms/
Good luck with making your dress form!
THX for you’re quick reply piakdy!
Wonderful detailed review of your alterations — much appreciated. This type of garment that wraps and drapes is much more difficult to alter without a teacher assisting, as it can never be found in an alterations book, so I really appreciate your visuals on what you altered! Ditto on your photos showing where you placed stay tape!
I also really appreciate that you HAVE alterations!! So many women on Pattern Review seem to sew wonderful things b/c they have very few alterations to make!! As a sewer who has great difficulty getting beyond alterations to actually sewing, you are a real breath of fresh air!
Thank you! Glad to be of help 🙂
I envy too those PR folks who are able to get away with very little alteration. But I’ve made one garment too many where the sewing was fine, but the fit disappointing. It’s especially disheartening when you’ve made such effort to sew yourself. So now I take my time to learn to fit better.
Good luck with your fitting. I do hope you will get some sewing done with wonderful results!