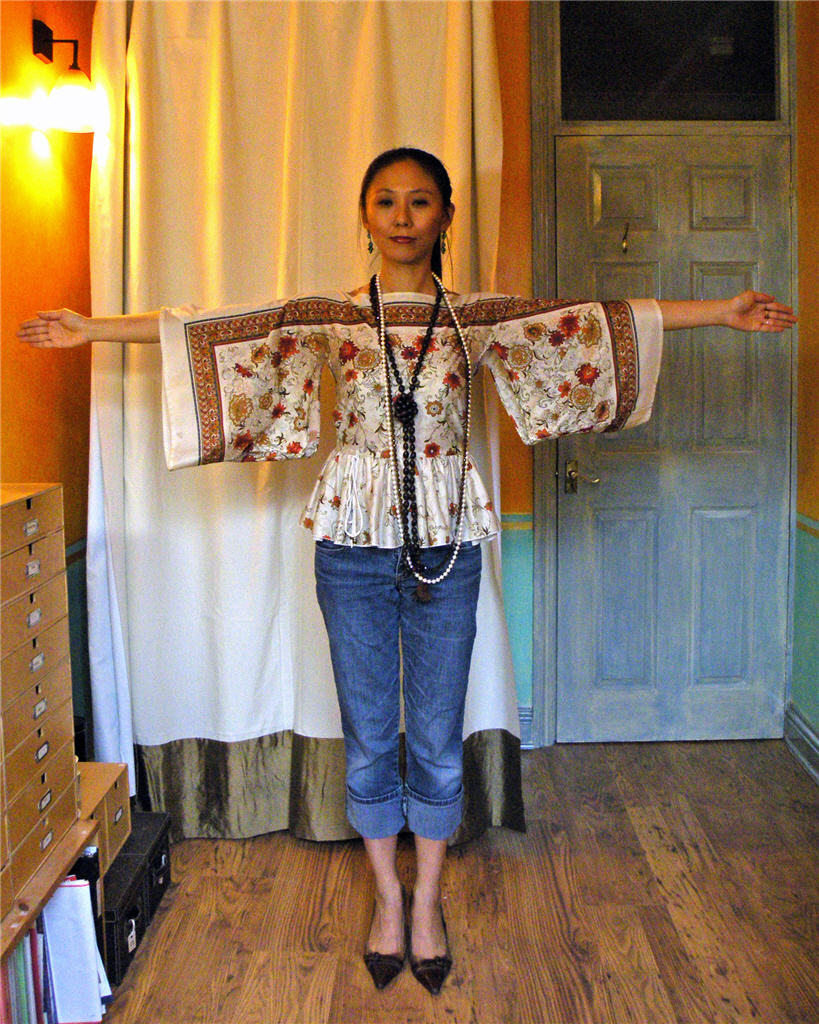
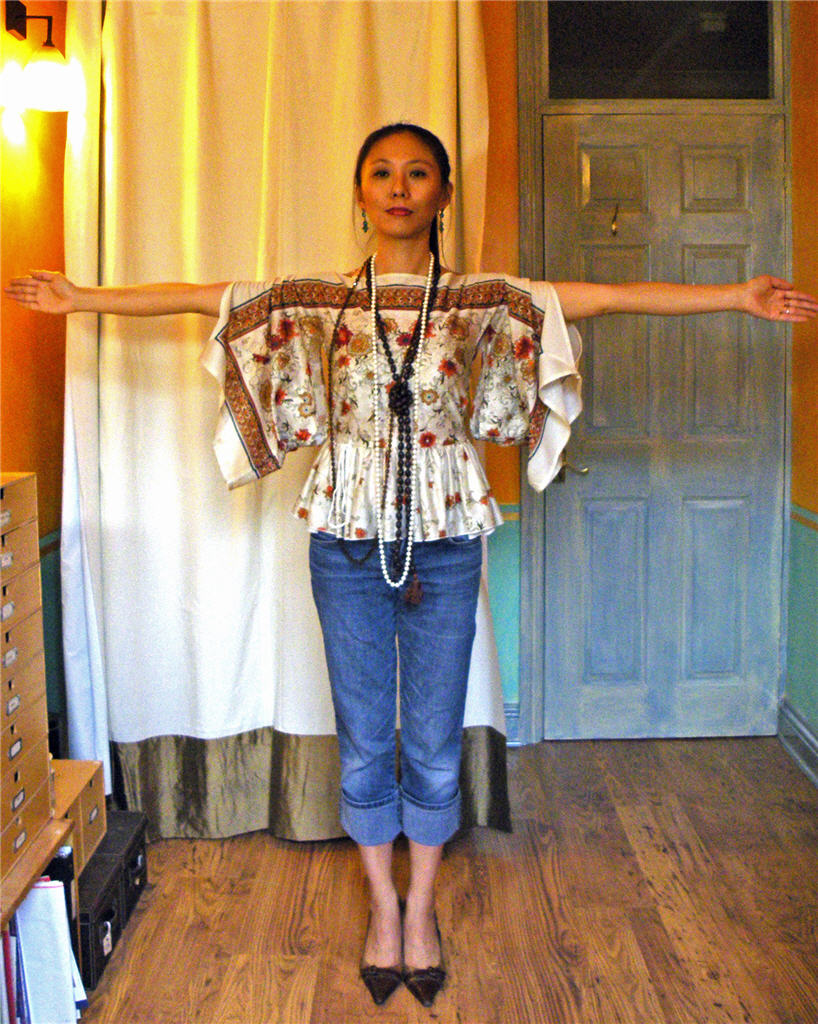
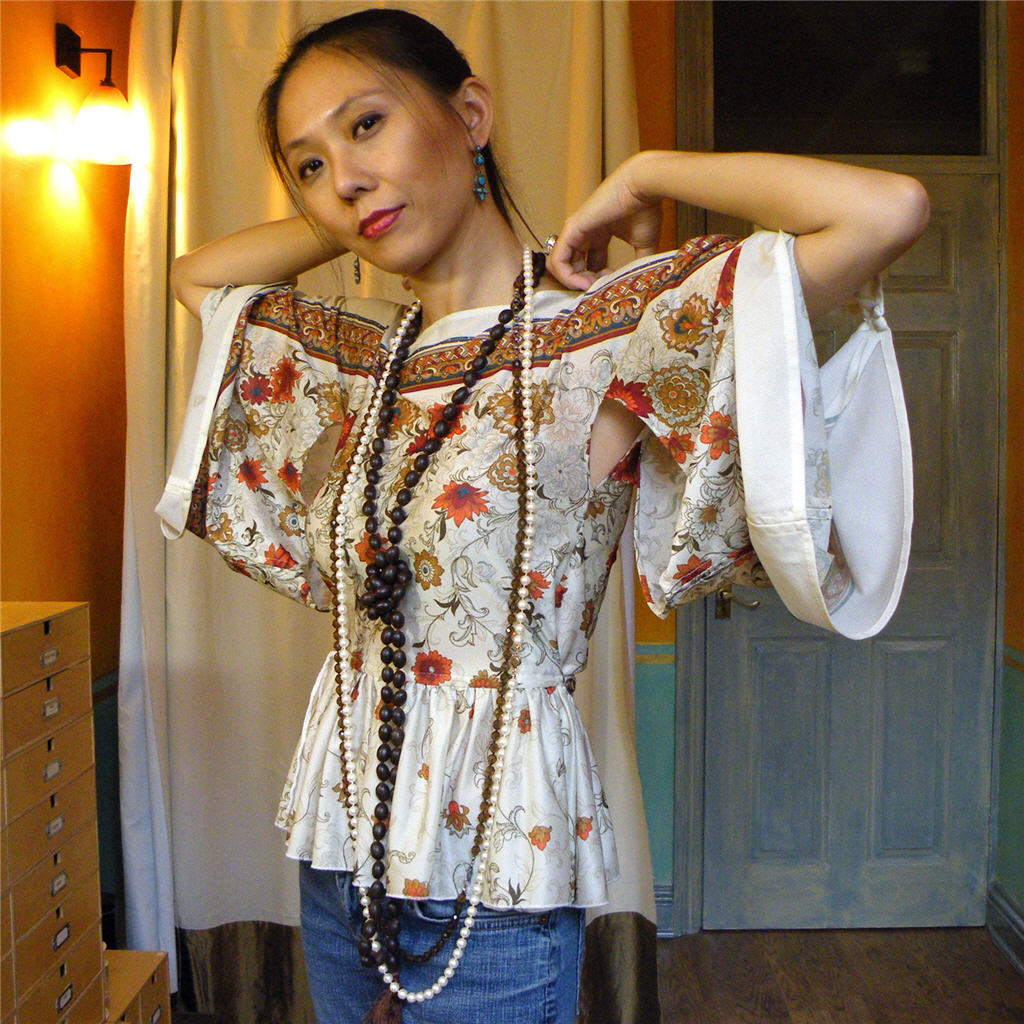
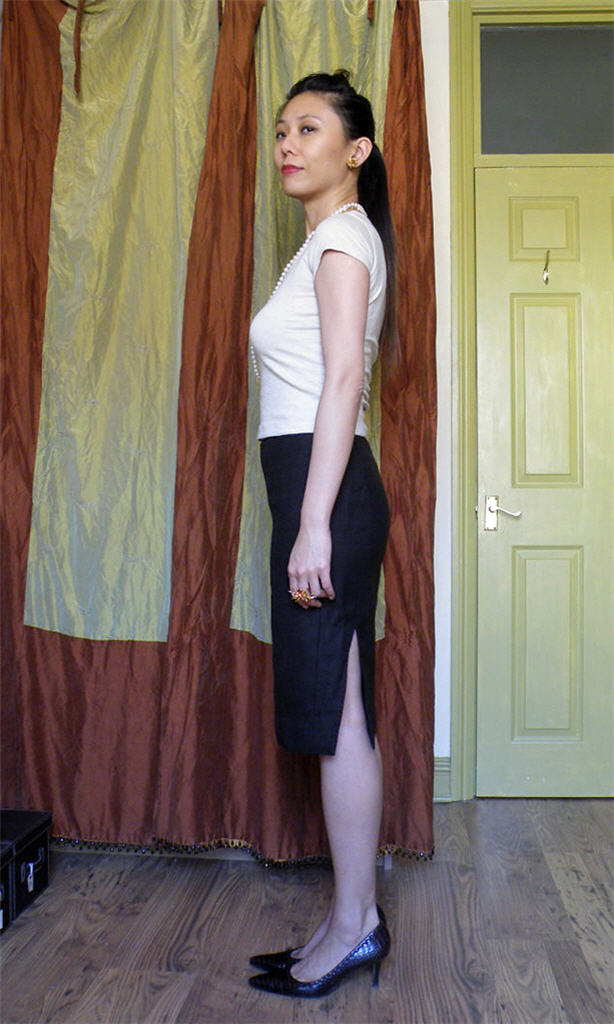
 So here goes. Some notes on my experiment with Palmer/Pletsch’s Fit For Real People fitting approach.
Pattern:

 I’m working with Palmer / Pletsch’s McCall fitting shell (M2718). In retrospect I could have just used my Vogue fitting shell (V1004) because I didn’t need any of the extension outlets. But I was curious whether the instruction would be more comprehensive and aligned with FFRP book.
As I said before, I wanted a Big4 fitting shell so I can use the result to guide alteration of my numerous Big4 fashion patterns. Well Vogue Patterns anyway. I also want to use it as a sloper to create my own patterns.
Size:
My chest is 32-1/2″, bust 34″, under bust 29″.
That makes me closest to size 12 in Vogue Patterns. And P/P’s old instruction (still used in M2718) would also have me as a size 12, because my chest – bust difference is less than 2″ (2-1/2″ for M2718), so I would have been told to use my bust measurement to choose the size.
But following FFRP’s current instruction, I’ve used my chest measurement as if it was the bust measurement. So that would be a size 10 (my 32-1/2″ chest = Vogue size 10’s 32-1/2″ bust). I would need to learn Full Bust Adjustment to get the size 10 to fit my bust.
Luckily my V1004 is also in size 10. When I bought it my bust must have been smaller, for I would have used the normal bust measurement to choose the size. So once I figure out what alterations I need for McCall, I can also practice on Vogue. There is slight difference between McCall and Vogue fitting shells, so it’d be interesting to see if one requires less adjustment than the other.
Interestingly, standard bra size calculation would have me as a B-cup, and Vogue Pattern’s instruction would also place me as a B-cup. So theoretically I should be able to use fashion patterns as is since they’re all based on B-cup sloper. But recent fitting mishaps + FFRP’s size selection guide have made me think I’m one of those weird case mentioned in FFRP page 141 – ie a B-cup wearer with full rib cage who needs the bust room of a bigger cup.
Jumping slightly ahead, I can confirm that size 10 and a D-cup front seem to be working well. So I’m glad I didn’t use a size 12 and B-cup front – I wold have had to do more alterations.
Actually, I’m wondering if I should try a turbo-charged FBA on a size 8. I read recently online – probably Pattern Review’s Fitting Woes forum – that one’s frame (shoulders, bone structure) doesn’t change with age even when everything else starts to droop and spread. I used to be a size 8. I cut up so many expensive Vogue Patterns in size 8. It would be great if size 8 is in fact what I still need, except with a more generous bust adjustment. Then I would be able to use all those old patterns – most of which I haven’t even made up yet. What do you think? Too greedy? 😉
And interesting that boobs do grow bigger with age. My well-endowed friend was complaining about her girls giving her increasing backache. I didn’t believe her when she told me this fact because my bra size had never needed changing yet. Hmmm, maybe I’m wearing the wrong size. Did You Make That recently wrote about having her girls professionally assessed by the Queen’s bra-maker Rigby & Peller in Mayfair. There was no measuring, just years of experience and a bit of manhandling. But she was impressed with the results. Maybe I should get myself down there and see if the seasoned eyes could shed some light on my bust fitting woes!
Pattern Preparation:
Rather than using the original pattern, I’m using traced copies. Ever since I over-committed to size 8, I’ve been paranoid about cutting up the original patterns. So I’m using gift shop tissue paper instead. Unfortunately it’s not as translucent as the Big 4’s pattern tissue. But it’ll have to do.

One advantage of using tracing is that you can trace as many copy as you need. And as a tissue fitting novice, I needed many. I’m up to copy 5 for the back bodice now (copies 1-4 shown above). Imagine if I had optimistically cut into M2718 itself! I’d be crying right now.
 I am using Scotch Magic Tape as recommended. But I had gotten this batch long time ago in 3/4″ width, not the 1/2″ as recommended. So I’ve been taking a long length at a time, sticking it to my cutting mat, slicing it in half lengthwise with my craft knife, then again into lengths of approx 1-1/2″.
 For inserts where I have to slash and spread, I use strips of tissue in a different color to make it easier to see the alteration. As recommended, I’ve pre-cut strips in standard widths: 1″ and 1-1/2″ so far. I haven’t had to use wider strips just yet.
 For gridded cardboard surface to pin pattern pieces onto during alterations, I bought a Dritz Superboard cutting board on sale. I’m using normal dressmaking pins for this.
  But for pinning pattern pieces for fitting, I’m using Clover Patchwork Fine Pins (CL2507). They’re glass-headed pins and the thinnest I can find (0.40mm diameter & 36mm long). Be warned, though, they also bend quite easily, and are sharp. But then I’m used to being pricked by acupuncture needles, so no problemo for me! 🙂
A word or two on ironing the pattern. Firstly, as promised by FFRP, wool (2 dots) setting is better at getting wrinkles out of the tissue, but I still couldn’t get all creases completely out. Wrinkles I created while wearing the pattern do come out, but the factory folds are too stubborn to budge. I’m hoping it won’t make much difference.
 Secondly, I find that even ironing from the back as recommended, the tape do seem to shrink slightly. Or at least compared to the tissue paper. Which is another reason why I’m glad to be working with copies – I can make a fresh copy when the old one gets too wrinkly, or tatty, or stiff from too much taping.
Next time on the FFRP Odyssey…
Notes on getting the patterns to lie better and prepping to try on pinned pattern. Right now I need sleep…..zzzzzzzzz
Like this:
Like Loading...
 What prompted this recount is the arrival of yet another goodie package. We’re planning on a beach holiday soon and I got nothing to wear. I thought a proper make of Vogue Pattern V1159 would make a nice holiday dress.

 But it was the only 2-way stretch material I had for this muslin fitting. (Or “4-way stretch” in British parlance. I would never know why they call it “4-way stretch”. As if it’s possible to stretch to the right without stretching to the left, or up without stretching down. Weird Brits! 😉
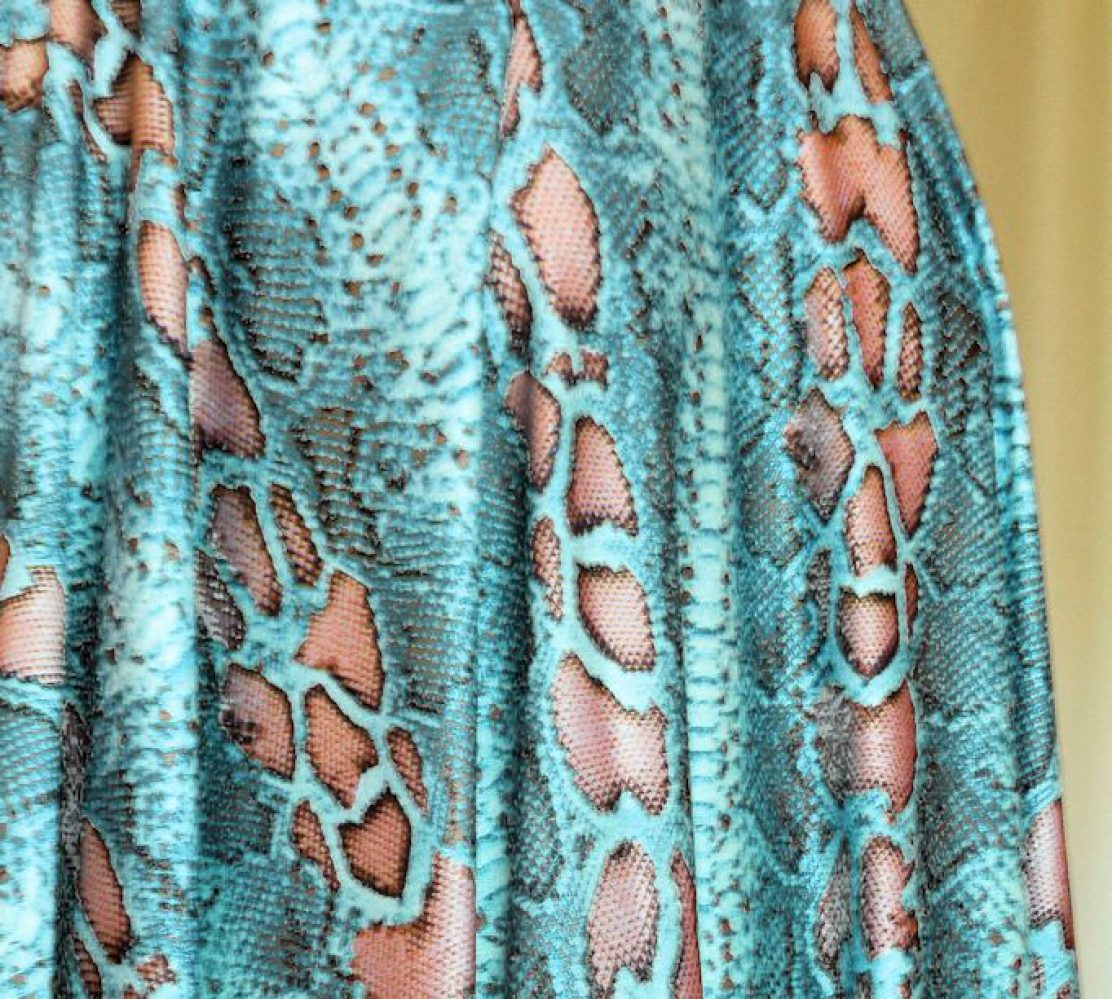
 And of course if that was the only 2-way stretch material I have, I would have to order more to do a proper make! Step in Tissu Fabrics, aka Tia Knight on eBay. I got 6 cut of fabrics from them, with about 16 more on my wish list. I’ve read good things about the store and they didn’t disappoint. Quality seems on par with RTW garments. Shipping was next day. And as I ordered from the website instead of eBay, I got the free shipping for the over £50 orders.
 I had previously compiled little swatch books of my stash. But I have failed to keep them up to date because I didn’t want to swatch new arrivals for fear of not having enough when it comes to frugal pattern layouts. The swatch books are also becoming too bulky to carry around when, erm, doing more fabric shopping.
 I have 11 yards of this dupioni / shantung in a weird very pale blue-cream color that doesn’t even flatter my skin tone. What was I thinking of???!!!