Older But Not Wiser

Decades ago, when I was a relative sewing novice, I was much more adventurous with my sewing.

Slapdash Pattern Happy!

I thought nothing of my poor techniques, and happily dabbled with making my own patterns. Like this dress…

Apology for the blurry photos. My Mom wasn’t exactly ace with the camera and this was in the days before digital cameras. So you had to wait for the films to be developed to find out that you got some dud photos!

Note the stiff exposed back zipper. The collar probably wasn’t properly interfaced either. But it was my own design, probably inspired by some magazine photos. And then there’s this one…

What was I thinking of? LOL. My head was in the cloud back then. I don’t even remember making this one. (You know I must love you to share such unflattering photos of myself with you! 😉

Designer Love Love Love!!

Many were the attempts at copying designer clothing I liked but couldn’t afford. There was the Romeo Gigli coat wannabe I wrote about a while back. But my main love back then was the Japanese design house COMME des GARÇONS.

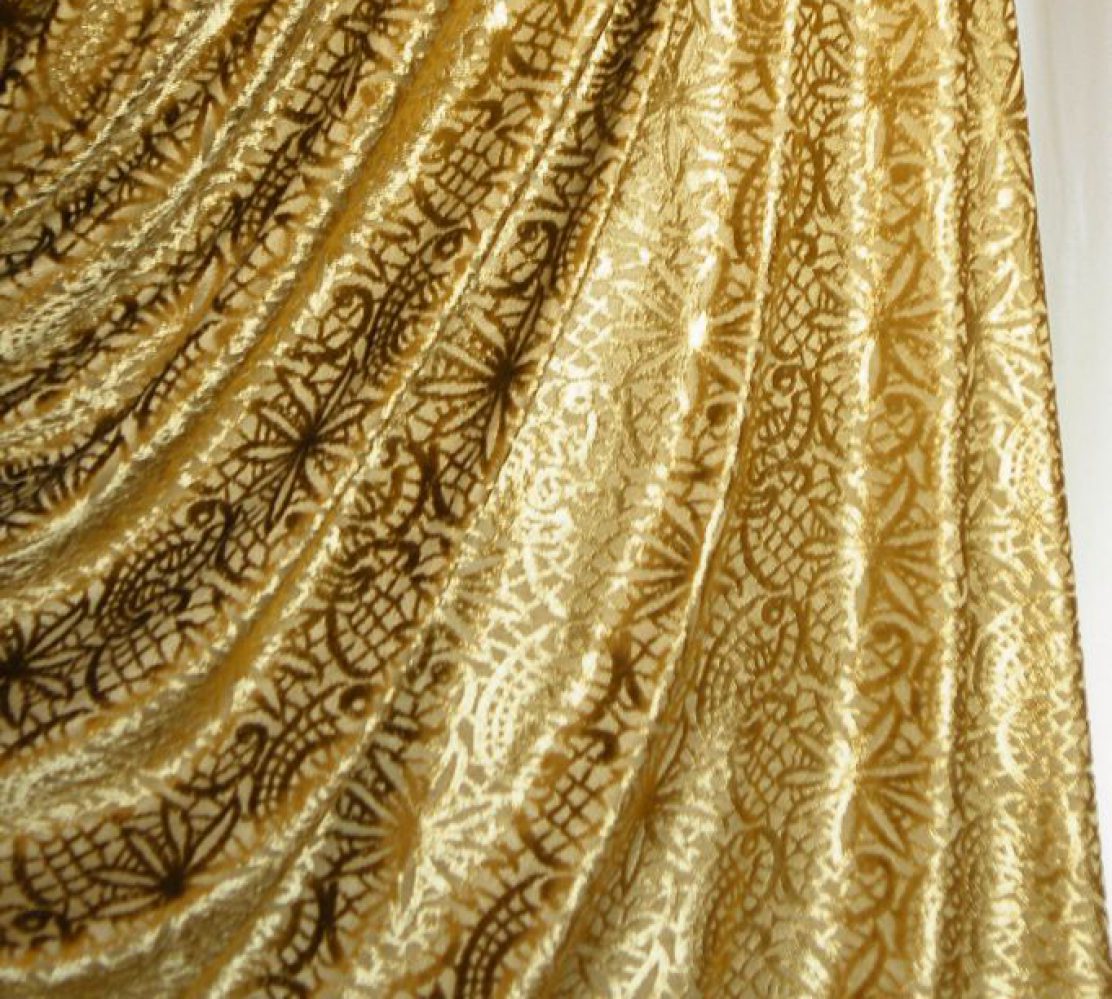
Here’s an example, modeled after a skirt from COMME des GARÇONS Spring Summer 1988 collection…


With the twinkly sequins and sparkling tear drop crystals, the lace skirt was like the widowed Scarlett O’Hara on a crisp rainy day. Rain in its romantic glory of course, not London gloomy.

And another inspired by COMME des GARÇONS Autumn Winter 1988-89 collection…

A red flannel pleated skirt with crochet lace embellishment and self-fabric belt.

I love that folklore inspired collection! There were many more ideas that I didn’t get around to try out.

From the next collection – COMME des GARÇONS Spring Summer 1989 – there were at least two more…


A gathered skirt with one panel folded back up at the hem and hand drawn Renaissance style Pierrot characters.

The blouse pattern was rather interesting. The sleeves were cut as one with the bodice, not separate pieces. They were like bat-wings extending up beyond the shoulder seam. Halfway up the armholes they separate from the upper armhole of the bodice, then were gathered and reattached to the upper armhole. You know those Japanese designers, they like their origami! And yes, those are pom-pom faux buttons.

Sometimes I’d take the liberty to “improve” on the original. Like with this Marc Jacobs dress. I made my version reversible.

Bring On Them Tailoring Challenges!!!

I also wasn’t afraid to tackle tailoring. Here’s my first Vogue suits – Vogue Pattern 9199…

The result is a bit conservative for me at the time, so I didn’t wear it much and have no idea what happened to it.

But then under the lens of the right photographer – my university friend in this case – even a plain old suits can look fashionable!

That suits though didn’t make use of proper tailoring. But this Vogue Pattern 1224 one did… Apology about the lack of mug shots. I guess I used to take sewing for granted so didn’t think to document my projects. Anyway, this one had the pad stitching, the hair canvas, the roll line tape  and everything.

Jolly Old Midlife Crisis!?!?!

So what happened? Well this for example:

Note all the drag lines. Fitting has never been my forte. Nor was picking the right proportion and silhouette. The V1224 suit above for example had wide lapels and extended shoulder that doesn’t really flatter my short-waisted figure. I also didn’t think to lower the waist band slightly to create the illusion of a longer torso. I mean a waist goes where your waist naturally is or where the pattern designer intended it to go, right? So naive I was. I simply took instruction and the pattern at face value. I didn’t think to customize it to suit my own figure quarks.

The other thing that happened was aging. Although I wasn’t great at fitting, stuff I made before didn’t look too bad. The T-Shirt above is actually a recent make. Shock Horror – my figure has changed. And in exactly the ways described in Fit For Real People! The rounded upper back, forward shoulder, fuller bust front and narrower back, fuller tummy, sway back and droopy behinds. You name it, I got it. Makes fitting so much more difficult.

Hence my current obsession with making slopers instead of lovely clothing from the Big 4 patterns  and Burda magazines I’ve collected.

What about you? Have you grown wiser with age and sewing experience? Have you ever hit a sewing midlife crisis like me & got over it? Please, please tell me there’s light at the end of the tunnel! 😉

Vogue 2980 Show & Tell

So here it is, my latest sewing project: Vogue 2980 Today’s Fit knit top by Sandra Betzina.

Here’s the pattern envelope pictures for comparison:

The pictures look a bit twee to me, but I definitely don’t feel twee wearing it. In fact I’ve worn it a few days in the row now! Pew I hear you say? It’s in the wash now.

Hopefully it won’t shrink much. Because I picked the wrong project to try out Fit For Real People‘s suggestion of using the high bust / chest measurement as the bust measurement, and do a Full Bust Adjustment for the aging girls. So where I would have cut a size 12/B top according to Vogue instruction – I went with a size 10/A, but widened out to 12/B at the bust (see drawing below). Not a good idea for a pattern designed for 2-way stretch lycra fabrics which probably has negative ease for a close fit.

I tell you, boy was I glad I hand-basted & tested the fit before I put it under the needle – a first for me too, fitting with fashion fabric instead of muslin. I looked like an overstuffed sausage. In the end I sewn with 1/4″ seam allowance instead of the planned 5/8″. And the finished pattern was closer to a size 12/B. Typical! All that fuss for nothing.

The other problem the fitting highlighted was an unflattering pool of fabric at the back neck & shoulder seams. If I had used the recommended fabric it might have looked intentionally “draped”. But mine was a mid-weight cotton knit. So I looked like the Hunchback of Notre-Dame. I checked my Victoria’s Secret dress with a similar neckline design for ideas. I noticed that it has a more traditionally shaped back neckline. I followed suit & altered my pattern as follows:

I also tried a Sway Back Adjustment as previous T-Shirt attempts have resulted in an unsightly pool of fabric just above my back waist. It’s not entirely successful – there’s still a few wrinkles. But it’s definitely better.

To be honest, I don’t really know how to do SBA nor a FBA with dartless seamless knits. Have you tried either adjustments in knit with success? Can you share your tips?

As usual with sewing knit on my sewing machine, I’ve added a light-weight iron-on non-woven interfacing with cross-wise stretch for the hems. It makes my sewing machine overlock stitches look neater. I’d imagine I wouldn’t need this if I had only plucked up the courage & learn to use my new overlocker.

I also added clear elastic to the front neckline and front facing hem. I was worried the fabric would stretch out of shape & I’d be left with immodest front neckline gap. This was another idea courtesy of the VS dress. In fact, the VS dress cut the facing as a separate piece & sewn the elastic into the seam allowance. I had to sew mine just inside the fold. Next time I’m cutting the facing separately.

And I’m also going to redraft the collar piece to be more like the VS dress. It doesn’t look nor feel quite right. It feels tight across the front shoulder area, pulling on the sleeves a bit – you can see that in the side view photo above. With all the drape & fold you would have thought this wouldn’t be a problem.

But not enough of a problem to chuck this top to the back of the closet. Not yet anyway. We shall see after the first few washes!

One step forward two steps back

The weight of the next project hangs around my neck. Sigh, sewing shouldn’t be so stressful! So I’ve decided to go fabric shopping. Again!

You see, since I’ve started reading other people’s sewing blogs, I’ve realised the errors of my way. I get my fabric fixes mostly in NYC. So splashing out on expensive fabrics is the norm. In fact, on my last trip the cheapest was $7/yard. And that was for China Silk, good mostly for expensive lining or lingerie. Most are at least 3 times that. Hence my reluctance to make anything, especially as fitting is not my forte.

So I got three options on the table at the moment.

Option 1…

Finish the T-shirt block that’s a bastardization of Burda 2011-06-120. I chickened out with the pattern. Comparing the pattern to my store-bought T-shirts the pattern always won in bagginess, even with the looser-fitting store-bought T-shirts. So I’ve decided to take 4+” off at the hip and waist, 3+” off at the bust, raise the underarm seam / shrink the arm hole, shorten the bodice, and scoop out an U-neckline. So by the end, it bears little resemblance to the Burda original. I’ve got a fabric picked out – actually a tiny scrap I got from someone else. As expected, it curls a bit at the edges and grain isn’t straight. I’ve just got starch to sort out the curling. So it is ready to go. But rather uninspiring.

Option 2…

Perfect a basic sloper with the aid of Connie Crawford’s Patternmaking Made Easy, then figure out what modifications I’d need to make for each of the pattern brands. Once done I imagine I’d be able to churn out projects after projects like a well run Chinese Sweat Shop!

But gosh, it seems like an awful lot of effort to get there, and I’m not sure my web-conditioned attention span could cope.

Options 3…

Do as all you lot do – pick a pattern and just check the fit with really REALLY cheap fabric. That would of course require shopping for more fabrics!

So much for whittling down 191 pieces of fabrics. All of my recent projects bar one failed to diminish that pile. Frugal me managed to use the bare minimum so that I can squeeze yet more projects out of the scraps. So the current count remains. Maybe minus one – it’s awfully hard to keep track of that many pieces!

I’ve got a couple of patterns in mind already. Both Vogue Donna Karan. Both  inspired again by you lot…

So why these two despite everyone saying the patterns are rather difficult to understand, let alone alter? Well, that’s precisely the point. If it’s almost impossible to alter I’ll have no choice but to just make it without fretting about perfecting the fit first. But that of course hinges on using cheap fabric that I won’t regret messing up. Hence the need to go fabric shopping again.

See there is always method to my madness!

So I’m tending towards Option 1 while finalising plan for Option 3.  I’d imagine it’d take me a while to figure out where to get dirt cheap fabric in London / UK that isn’t utterly revolting. (Sorry, I can only go so low, the NYC snob that I am at heart! 😉

Catching the Kimono Train

I was reading about Chanel No. 6’s blue cut velvet kimono the other day, and thought I’d share my 2 cents from my clipping stash (and past obsession with many things Japanese, though mostly pop / modern).

So here’s the lovely kimono she made, with her step-by-step instruction inspired by an authentic kimono she got from a friend.

And here’s how to wear it
if you really must do housework in it…

Keeping Your Sleeves out of the Soup (and Laundry)

I’m glad I found this, for I thought my mind was going. I vaguely recall seeing something like this, but can’t find any evidence in my clipping stash. Must have been some girl’s manga I was into way back when.

I wished I had found it earlier though. I had made this kimono robe a few years ago. But it got little wear because…well, the sleeves was sharing my soup and much more.

It also doesn’t help that it’s a bit immodest in the back – thanks to not enough yardage as it was just another fabric from the stash. And as Channel No. 6 mentioned, you really do need a very soft, drapy fabric. Mine was a bit spongy – soft, but not limp enough. So it feels a bit too boxy for a shorty like me.

Construction-wise…

Mine is a little bit different from the version Channel No. 6 detailed. It also has the open underarm and inner edge of the sleeve flaps, but without the rectangular insert mentioned in her step 6.

I made mine unlined and reversible as I find the peach side more flattering for my skin tone than the lovely iridescent blue side.

Mine was based on a Threads article on kimono from Jan 1991. Unlike the recent Burda 7/2011-124, it’s all rectangular pieces of fabric…

It seems relatively authentic – if you can trust Japanese Jenny doll kimono pattern and instruction to be faithful to the real thing…

Variations & Styling…

I love the extra long sleeves of girl’s / single women’s formal kimono. So decadent! There are some styles that don’t seem to be as well known in the west. Like the middle picture below, which is a Meiji period school girl uniform.

Kimonos from different periods

Interestingly the Japanese versions don’t seem to be drapy. Yet the way they wear it still makes them look slim and elegant. I guess what looks like a padded middle and the resultant high-waisted effect create a vertical column that’s slimming…Unlike my unpadded attempt which by betraying a narrower middle paradoxically ended up exaggerating the width above and below the obi belt (actually a wide scarf ).

And the long sleeves of course further emphasize the graceful vertical lines. Love to catch a breeze in those!

Also note how the collar hangs away from the back of the neck in the most deliciously seductive way. As they say, less is more – just a tiny peak of a graceful long neck is way more enticing than acres of skin.

But can one pull off a Japanese styling if one’s not Japanese? I think I’d feel foolish. Costumy is not an issue, but I’d wouldn’t know how to move in it with conviction. And that, I think, is a key ingredient of style.

My all time favourite western styling of a kimono has to be this one from John Galliano’s Autumn/Winter 1994 collection…

John Galliano Autumn/Winter 1994

Supposedly he was so broke he had to resort to cheaper lining fabrics for this collection. Yet the result is stunning.

A real shame then about his recent disgraceful behaviour. But I’ve never been one to put talented people on pedestal. So the fall in no way affects my appreciation of his designs.

The Chinese Knitting Machines

This morning I saw a lady knitting on the Tube (London subway). It’s quite rare to find people knitting in public here in London. I was doing it myself just this past year when I tried to learn how to knit.

It’s rather a useful skill to have as you generally can’t sew on the go, but knitting is much more portable. The only problem is, if I find home sewing pattern frequently rather dowdy, home knitting seem much worse. I like knit clothing that you’d buy in stores, so it’s not like I don’t like knits. But my own knitting projects so far have turned out 2 Oops (sweaters / jumpers) and 1 oops-but-still-good-enough (boyfriend scarf). And ones knitted presumably by experts and featured in knitting pattern books don’t seem much better style-wise.

Oops # 1: big chunky short sleeve sweater

My second knitting project, this one is destined for the Frogging Pile despite looking OKish in the end. I had already frogged it once, the original pattern being one size smaller yet still too big. Thankfully the Rowan Drift yarn was very fast to knit – I almost finished half of it on one 6 hour flights to the States – and easy to frog.

But call me frigid if you will, if I go chunky I need everything covered. Chunky + short-sleeve is knitting oxymoron. Chunky is actually also rather uncomfy under the arm. Maybe I’m just a princess with her pea. Anyway, Plan B is a puncho. I’m waiting to see if the August Burda have any skinny retro pants or skirt to go with it. Not the Poodle Pants that Channel No. 6 had already poo-poo’ed though!

Oops # 2: bat wing sweater

Project # 3 turned out more Michelin Man than chic. I’m terribly disappointed. Again I had already went one size too small and further. But it’s still a balloon. (Is it that I’m just too short for all these Western patterns, sewing and knitting?)

Style it right and captured from the right angle I might just be able to get away with it in photos. But in full motion life it’s going to the Stay At Home Pile – the Rowan Kidsilk Aura being too hairy to frog…Unless I can somehow alter it by sewing, basically treating it as a knit fabric. A real shame anyway, as I managed to knit it in the round so there’s practically no bulky seams at all.

oops-BSGE: boyfriend scarf

k-boyfriend-scarfGlenn’s Scarf by Katherine BuckspanGlenn's Scarf from Ravelry by Katherine Buckspan This was the beginning. And probably most successful despite minor oops. I mean, you can’t really go wrong with a scarf can you?

The oops is in the pattern. I read the instruction wrong, so the first 3 rows of repeats are not reversible. No biggy though, I just turn the last 3 rows into the same and make it look intentional.

But the whole point of this post is to…

…Point out how fast the Chinese knit. The lady on the Tube presumably is knitting the English way. Many different finger movements were involved which seems to slow things down. I tried to learn from an UK book, but my Mom then showed me the way she learnt, which supposedly is the Japanese way. It’s a bit more efficient, but still nothing compared with the way a Chinese lady showed me when  I was knitting while waiting in a shop. Her fingers were like a knitting machine. Up down up down, the loops spilling out in no time at all. What took me weeks to knit she claimed would have been done in one day in China.

chinese knitting video (see 4:55)

chinese knitting video (see 17:58)

Those Chinese, tough & capable as … I’ll leave you with this inspiring image then.

Let’s hope prosperity won’t turn them soft! 😉