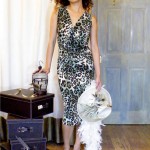
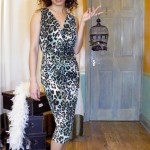
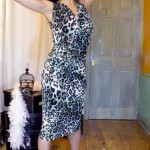
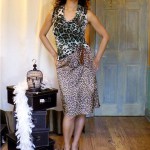
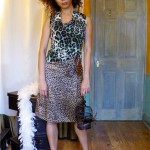
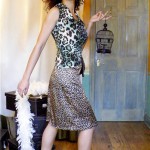
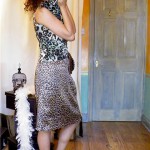
Watch out! Psychedelic Leopards on the loose!

This one is dedicated to the MC of Junglist Massive,
a Ms Anne of Pretty Grievances.

I’m not convinced the 3 Psychedelic Leopard cubs want to play nicely together, nor with other regular leopards either. But seeing as I’m terribly late for Jungle January, I thought the least I can do is to herd all of them into the same room for some OTT Jungle Fever photo ops. So here goes…

First off:
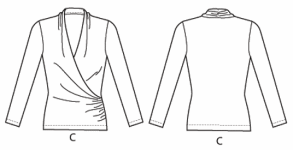
Vogue Donna Karan 1282 Cowl-Neck Top
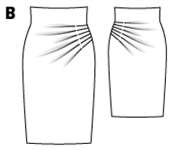
& Burdastyle 2012-05-113 Skirt,
with well-worn Joan & David Circa lizard skin  pumps.

Next up:
Modified McCall 6078c Cowl Neck Top,
Skirt restyled from old H&M Dress,
Mini-Beret restyled from old scarf (never blogged),
with threadbare Anne Klein leopard print pumps.

No birds were killed during the making of these pictures. Well, not by me anyway. I blame the friend who gave me the feathers.

Fashionably Late Of Course

Hurrah, I finally have my cutting table back. For over a couple of months now it’s been the dumping ground for our bathroom bits while the room was getting a make over.

Pretty Grievances's Jungle January Party

So that’ll be my official excuse for not arriving at Pretty Grievances’ Jungle January party on time. Not that I’m there yet. But finishing that Plenty Good Enough tote bag has emboldened me to get on with my Psychedelic Leopard projects.

20121111_112221.jpg

Projects plural I said. For I’m ambitiously trying to squeeze 2 tops and 1 skirt out of 2 yards of the 60″ wide turquoise leopard print fabric. Remember, this is the fabric that if I were to follow instruction obediently wouldn’t even be enough for 1 wrap dress. But tweaking the McCall 6078 view B cowl neck top I made last summer, I discovered I can go way down in size, especially with these stretchy spandex jersey. So I’m hoping that by going down to a size 4-6/XS and then some (from a recommended size 12), then throw in industry standard narrower seam allowances for knit, I just might conjure up a miracle.

But just in case, I’ve already purchased another 3-1/2 yards of this lovely from B&J Fabrics. Just need to hop on a plane to pick it up from my brother’s across the pond. Going by my sewing rate though there’ll be plenty of time to pick it up. (Speaking of stashes, OMG, have you checked out Modern Vintage Cupcakes and Mercury – Handmade Fashion‘s stashes? Big sigh of relief that I’m not alone.)

So here’s Plan A:

Burdastyle Magazine 2012-05-113 skirt
BSmag_2012-05-113B_tech.gif

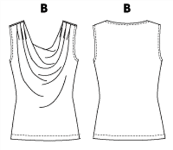
Donna Karan Vogue Pattern 1282 cowl-neck top
1282-top-line

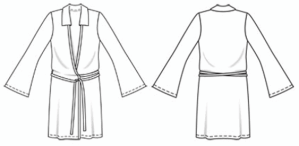
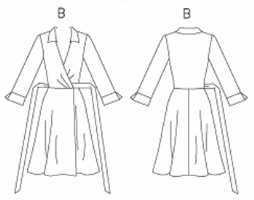
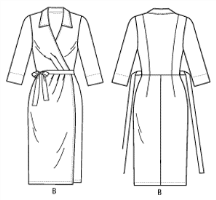
Burdastyle Magazine Blumarine 2011-06-139 wrap dress
shortened to be a 3/4 sleeve wrap shirt
bsmag-2011-06-139_tech.gif

Next up:

Tracing out & adjusting the patterns. And pray, pray, PRAY that I won’t need a Plan B.

Honey, really, I don’t have enough…

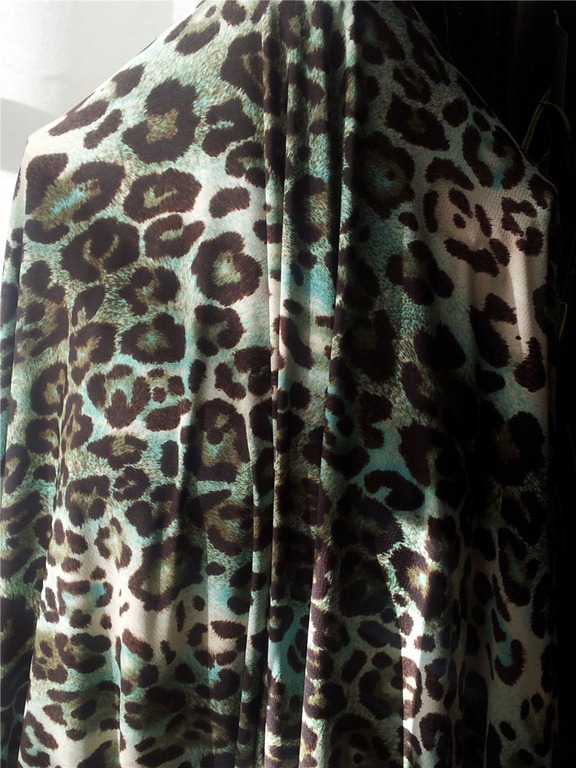
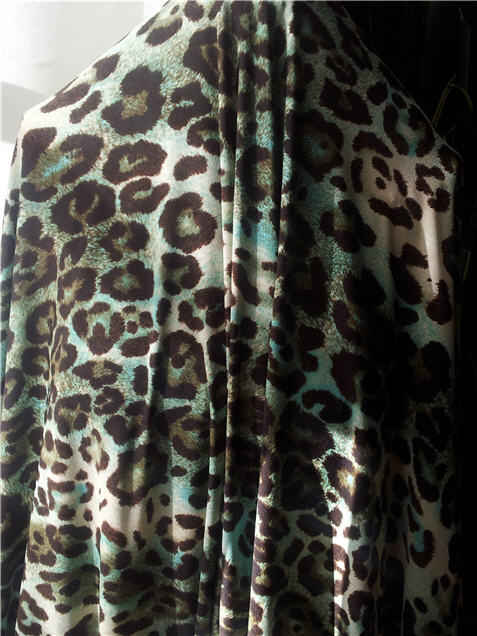
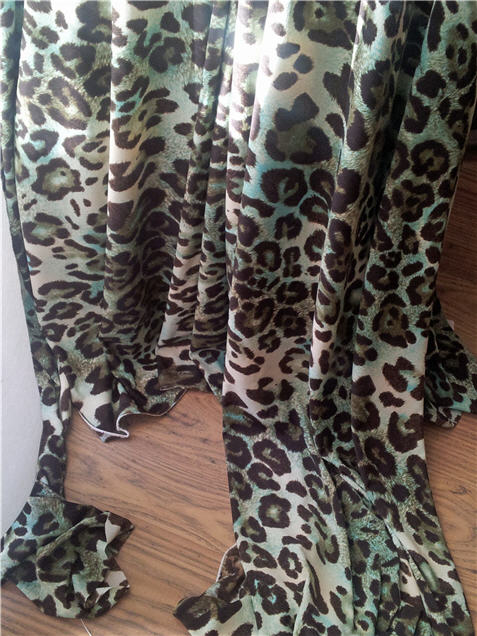
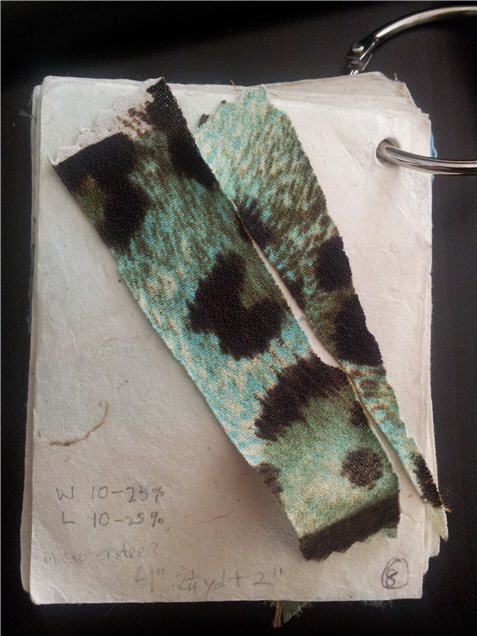
The Spring Coat(s) have fallen by the way side of course. My next project(s) of fantasy desire will be fashioned from this gorgeous turquoise leopard print jersey from B&J Fabrics. Drool.

turq leopard print jerseyturq leopard print jerseyturq leopard print jersey

My initial thoughts were a cowl neck top and a wrap dress.

Actually, this fabric looks a lot like the one Assorted Notions used for her Burda Blumarine wrap dress (Burdastyle Magazine 2011-06-139).

bsmag-2011-06-139_tech

I don’t think it’s exactly the same, at least from what I can see of her close-ups. Mine has short strokes in the turquoise area presumably to simulate the furriness of leopard skin. Anyway, I love her wrap dress. But I’m not sure it would work so well on my rectangular figure – you need a bit of VaVaVroom to bring this preternatural creature to live. But at least it’s an option.

Then there’s Vogue 8379, a classic DvF style wrap dress that everyone seem to rave about.

V8379B_line

Or the slightly straighter Vogue 8784, though that’s designed for woven rather than knit so might have too much ease.

V8784B_line

And for the cowl neck, I think McCall 6078 view B can be pressed into service again, maybe with an extended collar to up the drape quotient.

M6078B_line

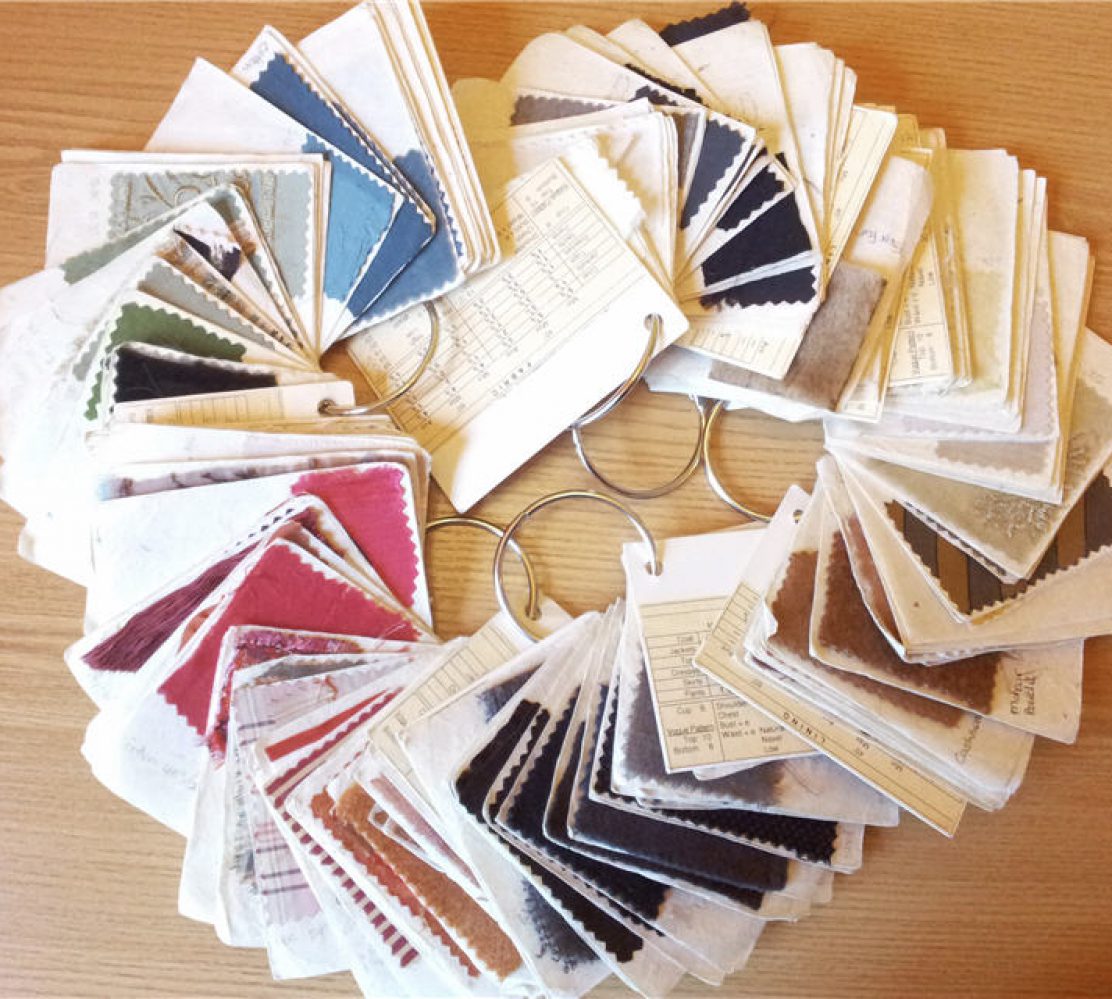
Then I thought this cowl neck might be a good accent to build a wardrobe sewing plan around. Looking through my other swatches there are a few that would be a lovely combination with this. Hmmm…maybe I should make that wrap dress a separate 3/4 sleeve top and skirt to up the mix-and-match possibilities.

Maybe Vogue 8790 for the top and Burdastyle Magazine 2012-05-113 for the skirt. I’d probably line the skirt with a power mesh for a bit more heft – this knit is a bit on the thin side. And I’ll have to insert a zipper because the fabric doesn’t really have enough stretch.

V8790C_lineBSmag_2012-05-113B_tech

I was getting quite giddy from the thoughts of all these possibilities. So imagine my dismay when I discovered that my 2-1/4 yards are not even enough for one of those wrap dresses.

With all my expensive fabric habit, I failed where it counts. Am so regretting not getting more. Now I can’t find anything as nice. 🙁

It’s always the case. I’d find some heavenly but expensive fabric. I’d think to myself if I only get a yard or two it’ll still be somewhat affordable. And then I’d find myself afraid to make anything because I have so little of it that I can’t decide what to make. Where as the uglier cheaper stuff I’d get yards and yards, but then not be inspired to make anything.

I’ll have to wait until my brother’s gone home to spread out the fabric and see what I can possibly squeeze out of it. Wish me luck on that!

But what do you think? If you have 2-1/4 yards of this fabric, what would you make? And if you find a gorgeous fabric what’s the minimum you’d usually buy?

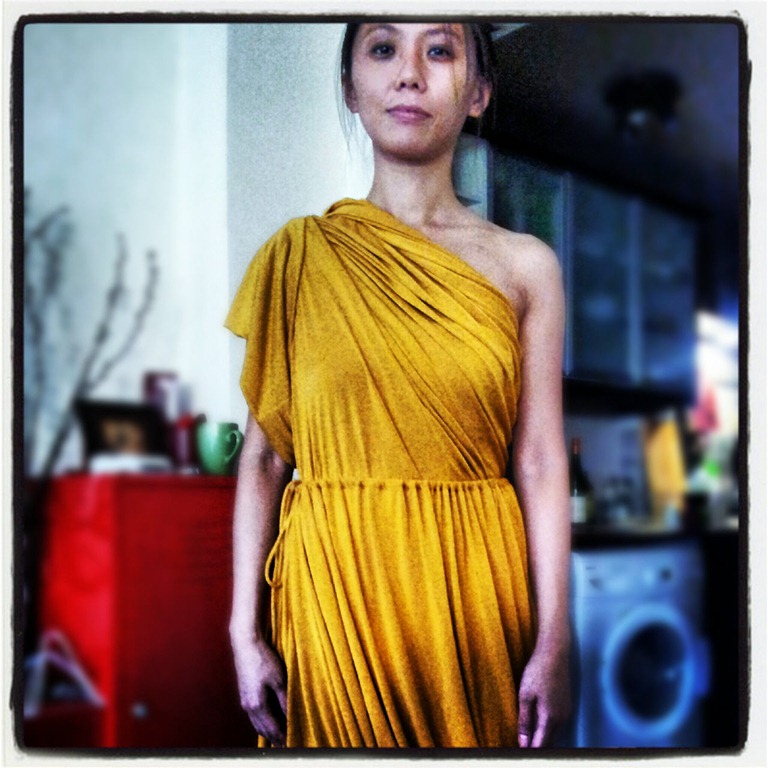
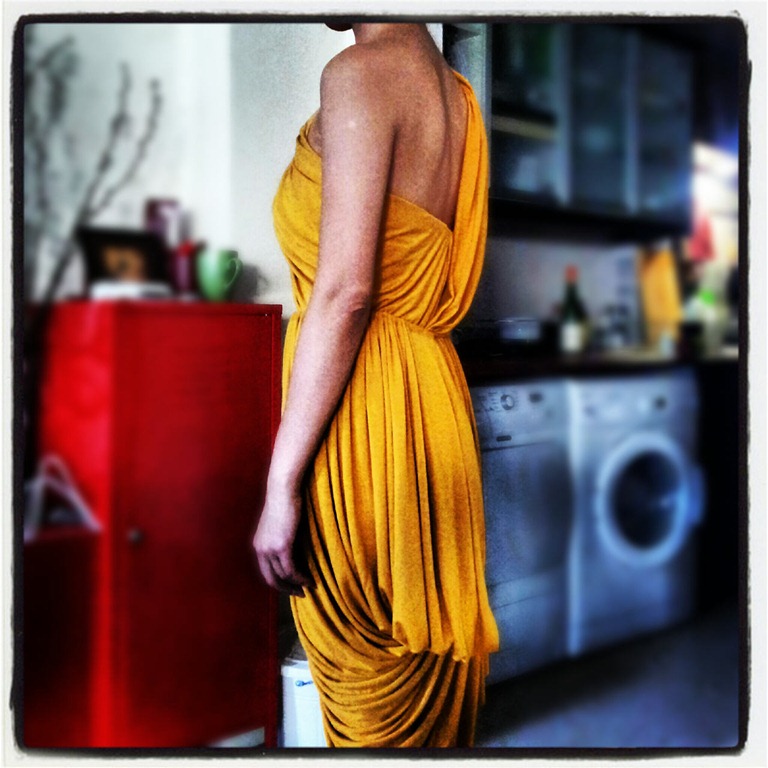
Made myself an Endless Dress

The rabbit hole has been a pit of sweat shop lately. I’ve never sewn so much. Not that I’ve gotten any quicker. There was just about time to tidy up before I had to move on to the next one. You see, I’m sewing for a dream holiday in the Maldives. So there was no time to rest.

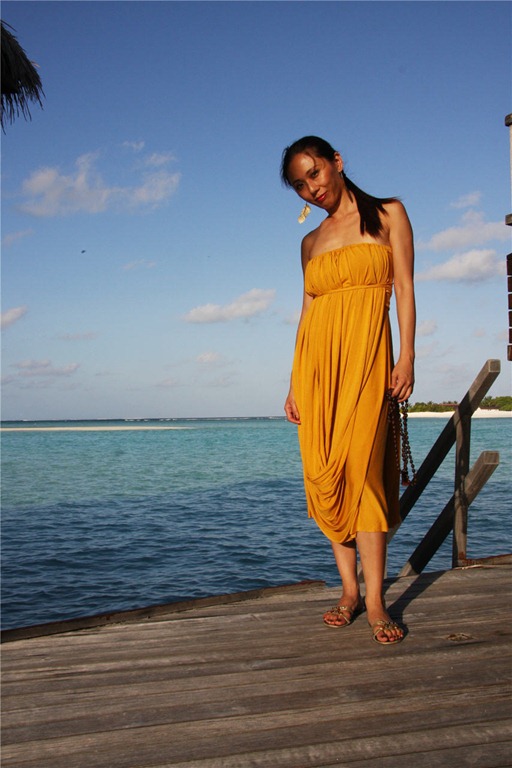
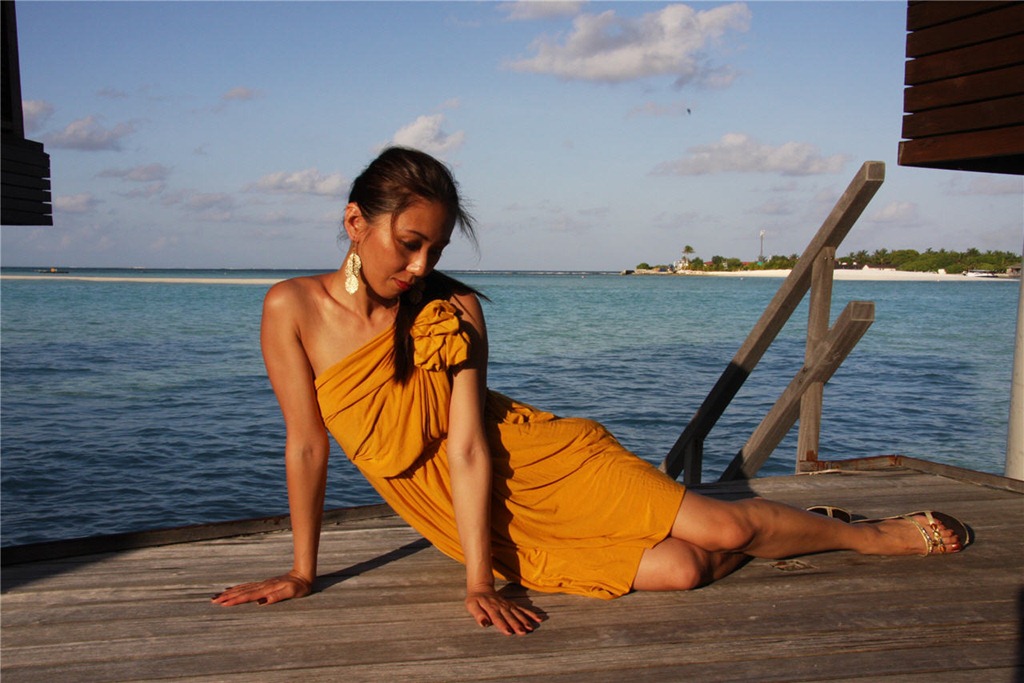
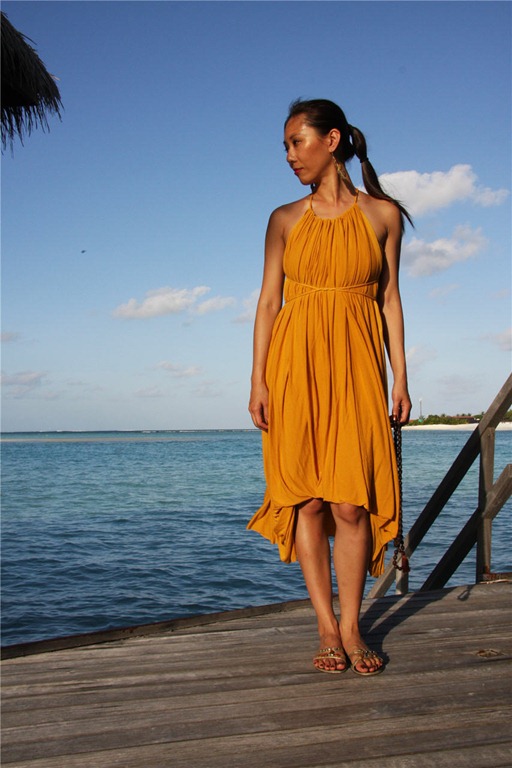
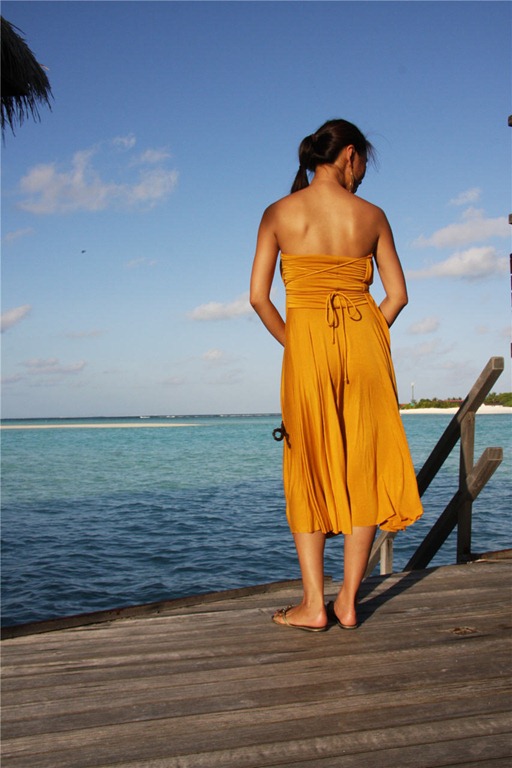
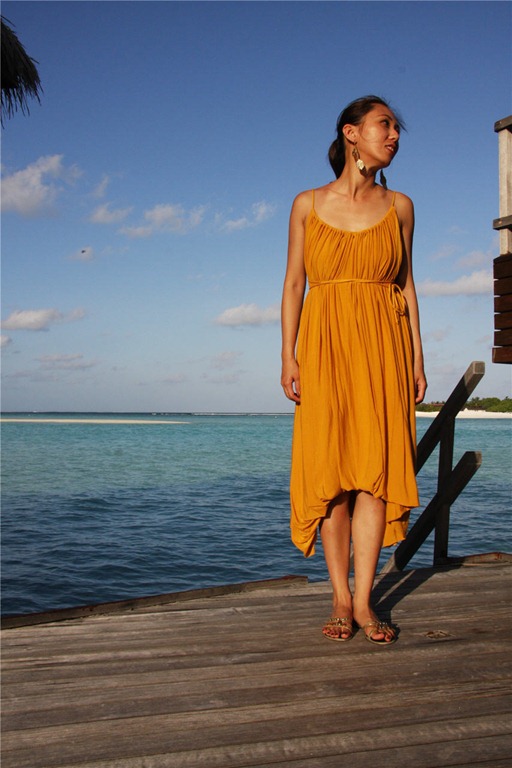
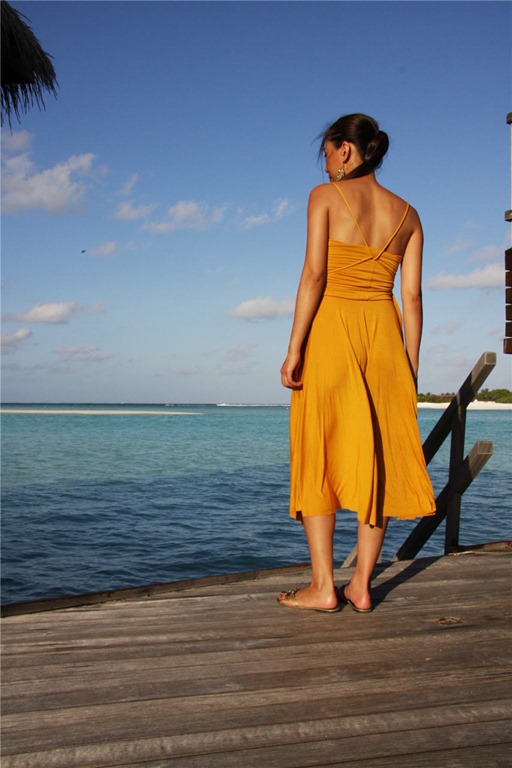
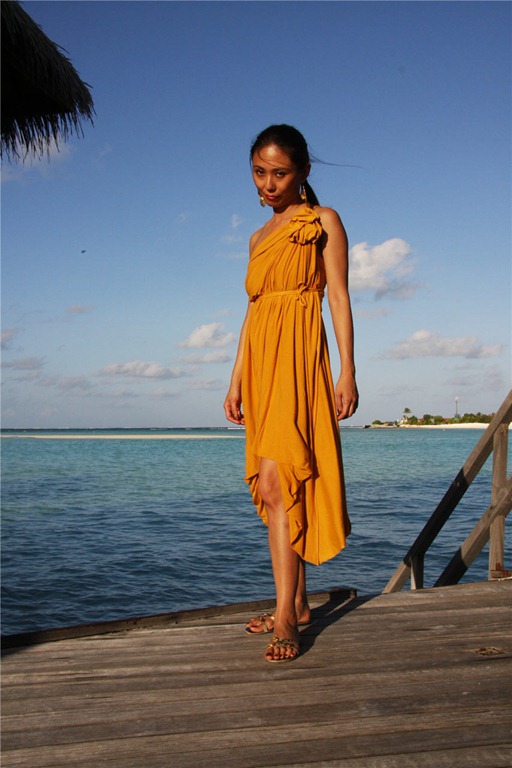
endless_s1_4First off the assembly line…An Endless / Limitless Dress / Skirt / Asian Pants.

Because it’s suppose to be easy. And because as a convertible I’d have options even if I don’t manage to finish anything else.

endless_s2_4
endless_s4_6

The Design & Inspiration

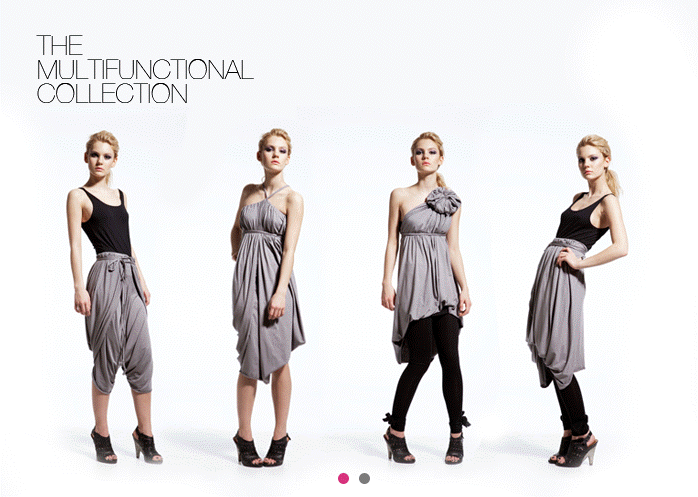
So this is the one I saw in Threads then stumble upon the instruction online by chance. The very clever Marybeth Bradbury had came up with the instruction for her Endless Convertible Dress after being inspired by the Limitless Convertible Dress by Danish designer Emami.

original_1Actually, I had came across Emami’s Limitless Dress before. Friends who were into fashion had discovered it years ago. I thought it was really clever. But as it was expensive, I didn’t buy one.

This time, I did feel pangs of guilt and wonder if I should buy one. You know, to support independent designers who come up with clever design ideas. For the art of this garment is in the wearing instructions, which Emami provides video demonstration for on their website. As Marybeth’s instruction shows, there’s very little sewing involved. Plus the price seems to have come down.

In the end I made one instead of buy one. Because the colors Emami offer were a bit too drab for my current taste. Sorry…

The Making

OK, so this is suppose to be dead easy. Depending on fabric you should be able to get away with 3 seams and probably finish in an hour or two. But as I’m fairly new to 4-way stretch fabric and to using a overlocker, it took me a bit longer. Also, being a visual person, it took me a little longer to follow Marybeth’s verbal instruction and quick sketch.

So here are my learnings. Maybe it will be helpful if you decide to make your own Endless dress.

Fabric & Notions Used

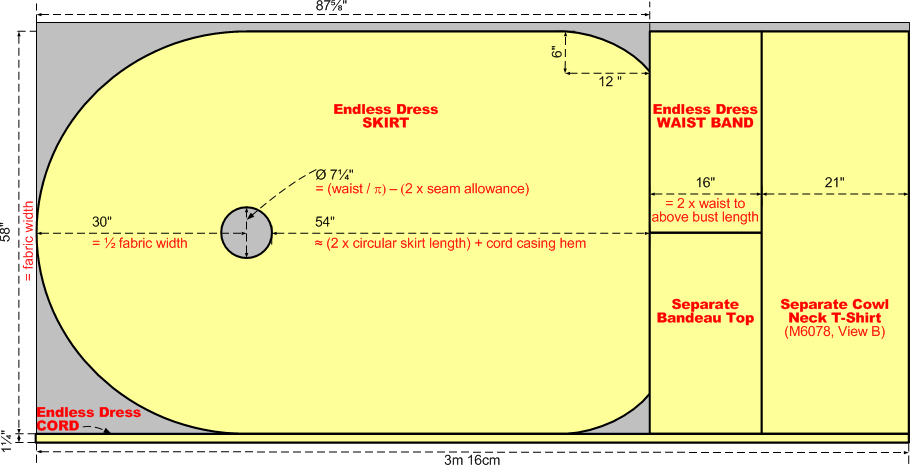
Mustard color Viscose Cotton Lycra 4-way Stretch Fabric from Tia Knight / Tissu Fabrics. I ordered 3 meters, but probably got like 3 m 16 cm because I had enough left over for a separate bandeau top and a sleeveless cowl neck top. It was the lightest 4-way stretch fabric I had and it has a lovely soft touch and fabulous drape – perfect for a dress like this.

Skin color lightweight Power Mesh from Tia Knight / Tissu Fabrics for the underlining.

Gutermann polyester thread, and some woolly nylon I got in America long time ago. 3/8” clear elastic.

Size Used

It’s kind of a one-size design utilizing full width of the fabric. Depending on your fabric and your waist measurement, it’ll come out differently length-wise.

Changes Made

endless_pattern

  • My fabric curled at the selvedges, so I cut off about 1-1/4” at both selvedges. I forgot to adjust the 30” measure to the center of the waist hole. So this leaves me with a slightly shorter skirt at the sides. Thankfully, the dress style make the mistake less noticeable.
  • I used one of the selvedges to make a matching spaghetti cord instead of buying separate cord.
  • My waist hole is slightly bigger because my fabric doesn’t seem as stretchy. You need to make sure the circumference of the hole for the waist will stretch to fit your hip so you can pull the dress / skirt on. But don’t make it so large that the skirt slips down while you wear it. It’s knit, so you probably want 0 ease or even negative ease at the waist (ie your waist measurement or smaller). I also reinforced the waist hole with clear elastic in the hope that this will prevent the waist from being stretched out of shape with wear and becoming too loose. We shall see if it works over time!
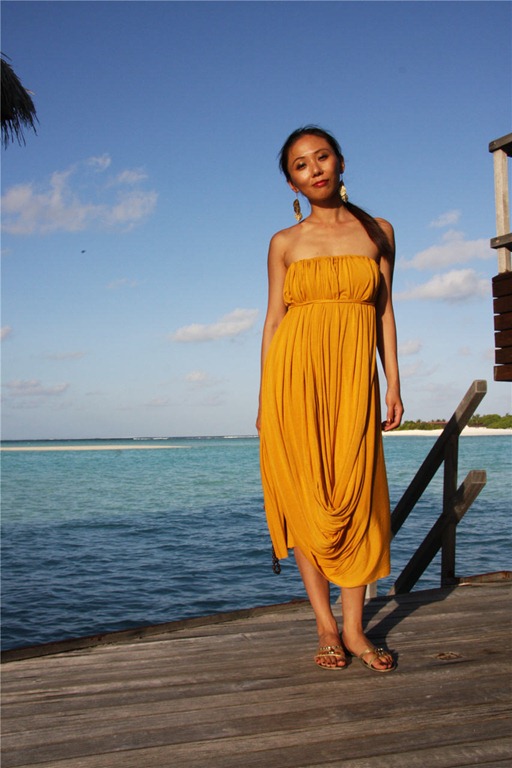
  • I made my waistband taller / longer thinking that I can then wear the band as a strapless tube bodice. Now having worn the dress I can tell you that it’s a bad idea. The weight of the skirt will pull the band down leading to wardrobe malfunction a la Janet Jackson. (Luckily I was wearing the draped part of the skirt as a haltered front at the time.) Separate bandeau top is the way to go.
  • I also added a layer of lightweight power mesh as underlining to make the waist band less flimsy as a tube top. This turns out to be a bad idea again. I didn’t tack the underlining to the fashion fabric at the fold. So when I wore it, the underlining wouldn’t stay up and instead bunched up near the waist.

When I get home, I’ll probably reduce the waist band to Marybeth’s original suggestion of approx. 6” finished height and tack the underlining or remove it completely.

Verdict on the Instruction

Marybeth’s instruction is a bit sketchy, so I think you do have to have some sewing experience to know how to finish the garment. It’s not difficult, but if you’re someone who like each step to be spelt out in details, you’d struggle a bit. I’m happy to muck about with pattern drafting and improvise the sewing, so it’s not a problem for me.

You can see how I interpreted her pattern instruction in the diagram above.

Sewing-wise, I used mostly my sewing machine to give me better control over the stretchy fabric. I’d sew on my sewing machine first with reduced pressure foot pressure, a walking foot, and my machine’s basic stretch stitch – a kind of narrow zig zag stitch. For the waist seam I then sew on the clear elastic, again on the sewing machine. For waist band center back seam and waist seam I then reinforce & clean finish on the serger with a 3-thread overlock.

The hem / casing for the cord is simply folded over twice and edge-stitched with the sewing machine basic stretch stitch.

For the rest of the skirt, I did consider doing a rolled hem. But the experiments on scraps weren’t promising. The fabric was stretching into lettuce edge hem which I didn’t want. It also made the hem stiffer which doesn’t work well with this drapy dress style. So in the end I left the hem as raw edges – as implied by Marybeth’s instruction. The fabric doesn’t fray, so the unfinished edges aren’t a problem.

Would I sew it again

Probably not.

While I do love the idea of convertible garments, the ones I tried so far have all been a bit uncomfortable to wear. The threat of wardrobe malfunction is always on my mind as nothing is firmly anchored.

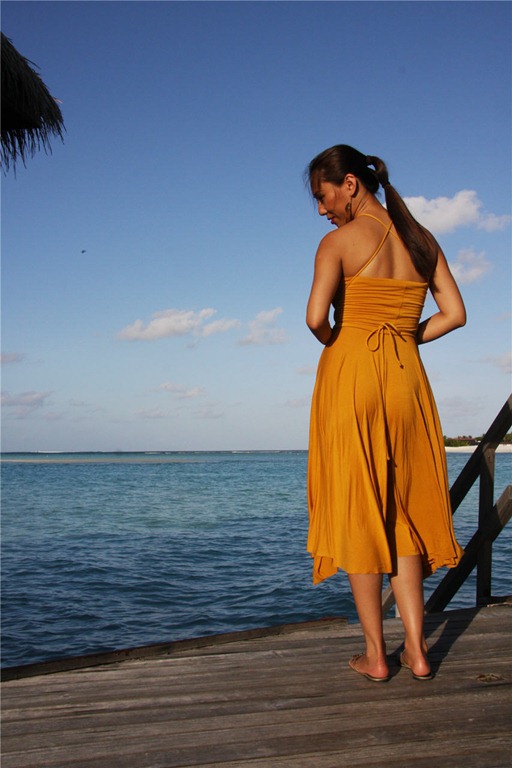
It can also be difficult to make the garment look good from all angles. I love how this dress look in the front. But with the styles I’ve tried so far the back always seem to look the same and not reflect the lovely style promised by the front.

Here are the styles I tried on holiday. It was really too hot to experiment more.

endless_s1_2endless_s1_3

endless_s2_1endless_s2_2

endless_s3_1endless_s3_4

endless_s4_2endless_s4_3

And here’s one taken before I went on holiday. It’s my Buddhist Monk look! 🙂

endless_s5_5endless_s5_6

I need to experiment more with the wearing options. In any case, making and wearing this one has given me ideas on styles that would look great with this fabric (hint: lots of drapes). And it goes to show beautiful garments aren’t always about complicated design and sewing. Simple can be just as beautiful.

Older But Not Wiser

Decades ago, when I was a relative sewing novice, I was much more adventurous with my sewing.

Slapdash Pattern Happy!

I thought nothing of my poor techniques, and happily dabbled with making my own patterns. Like this dress…
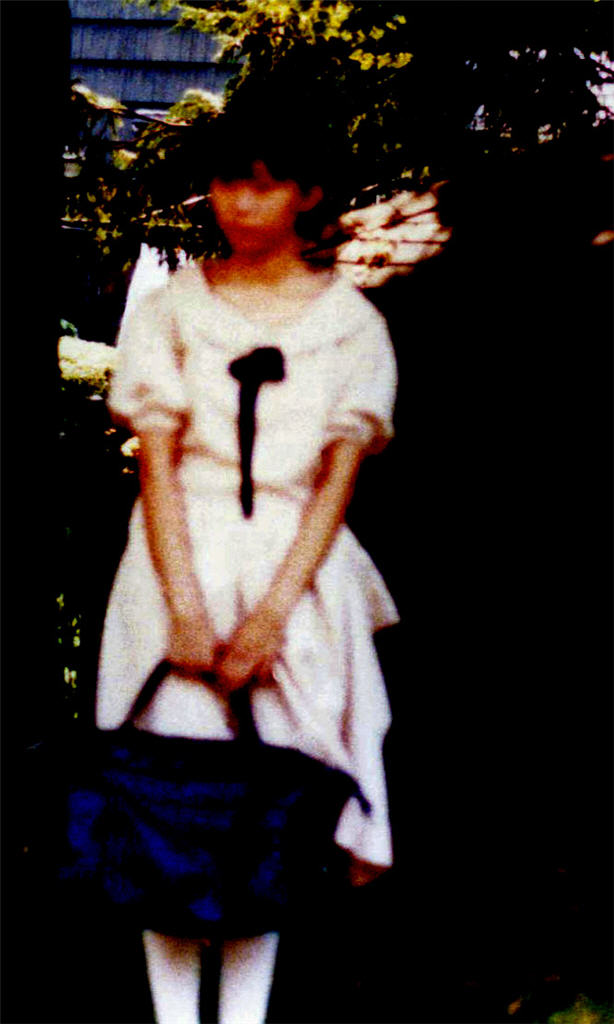
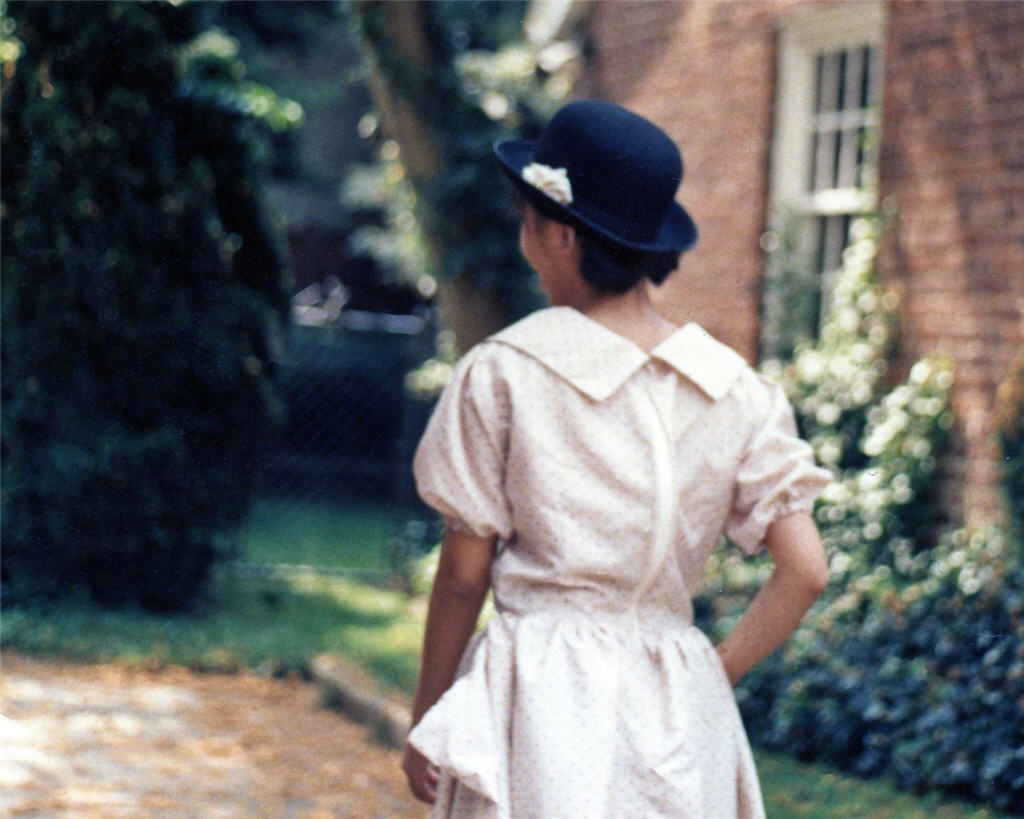
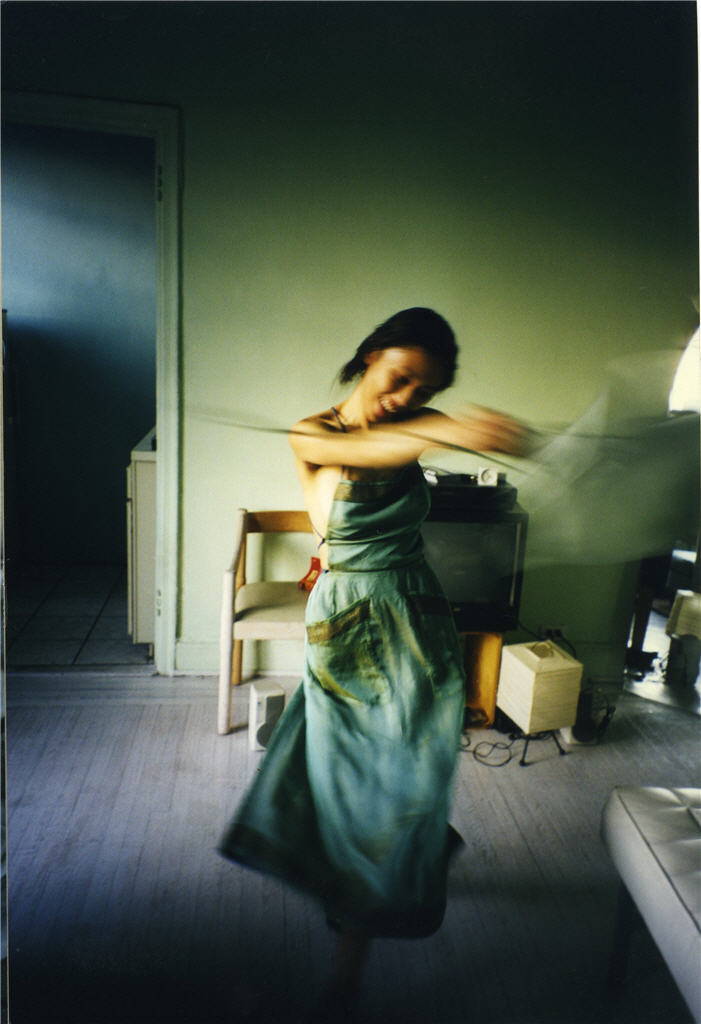
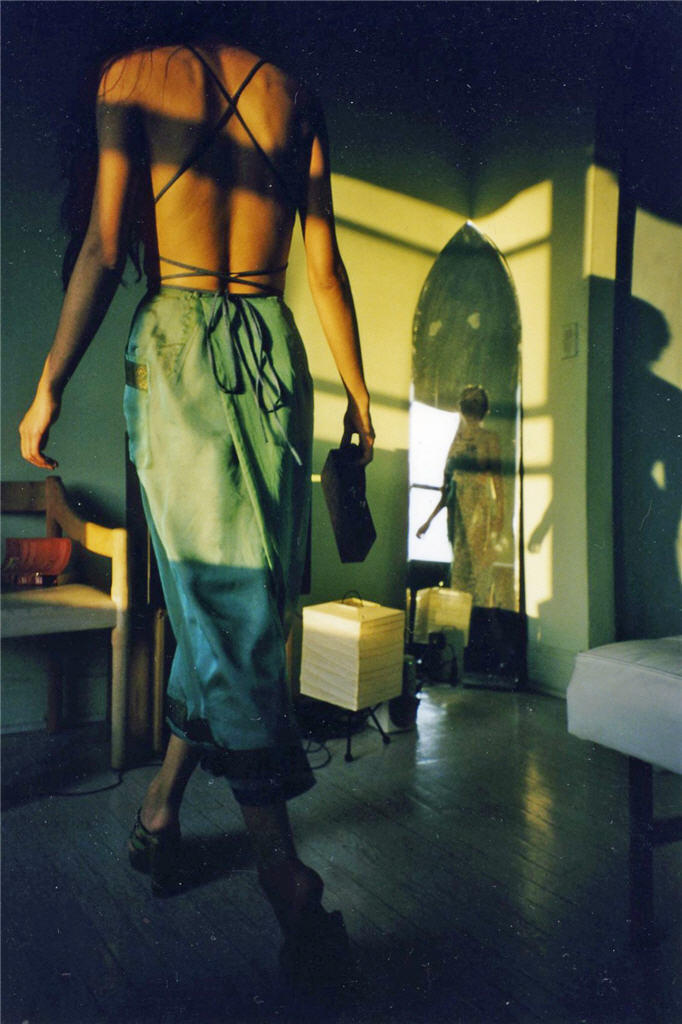
Apology for the blurry photos. My Mom wasn’t exactly ace with the camera and this was in the days before digital cameras. So you had to wait for the films to be developed to find out that you got some dud photos!

Note the stiff exposed back zipper. The collar probably wasn’t properly interfaced either. But it was my own design, probably inspired by some magazine photos. And then there’s this one…
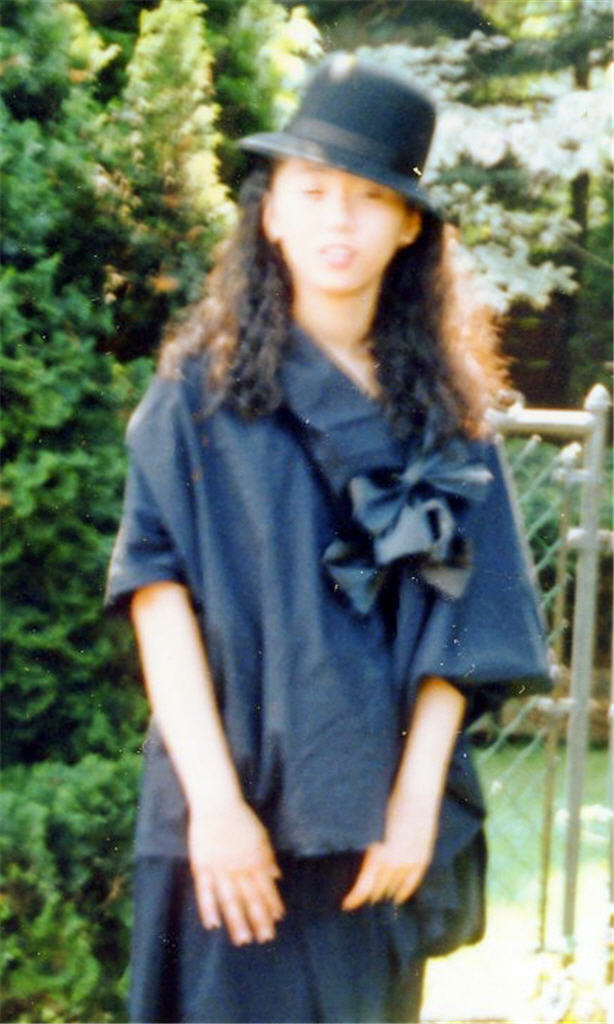
What was I thinking of? LOL. My head was in the cloud back then. I don’t even remember making this one. (You know I must love you to share such unflattering photos of myself with you! 😉

Designer Love Love Love!!

Many were the attempts at copying designer clothing I liked but couldn’t afford. There was the Romeo Gigli coat wannabe I wrote about a while back. But my main love back then was the Japanese design house COMME des GARÇONS.

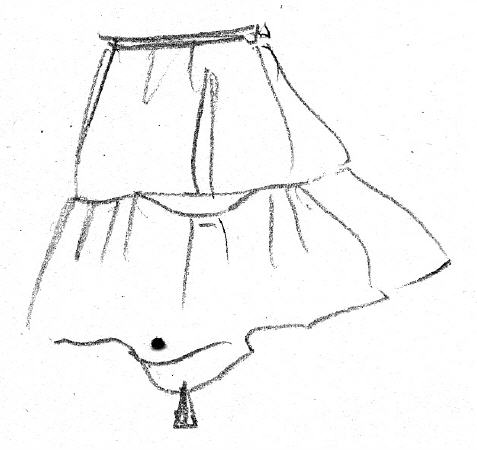
Here’s an example, modeled after a skirt from COMME des GARÇONS Spring Summer 1988 collection…
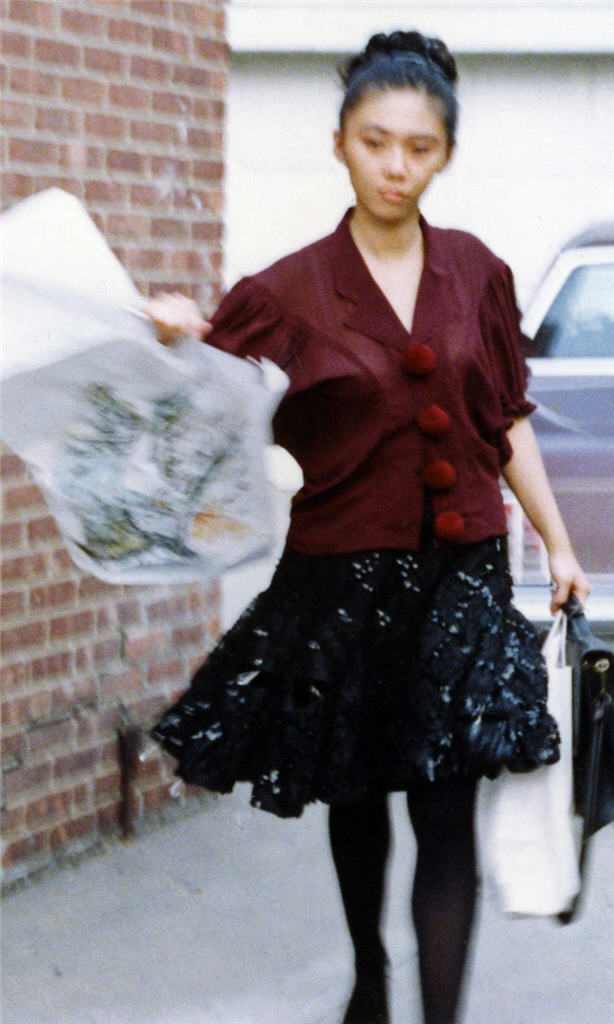

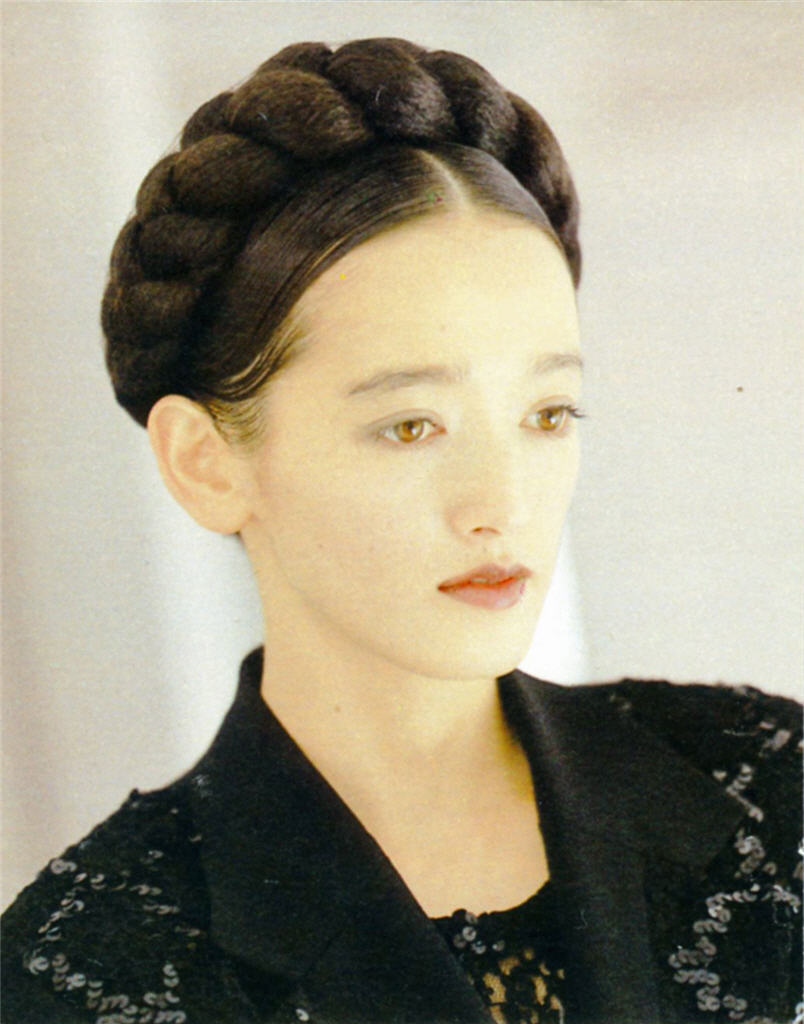
With the twinkly sequins and sparkling tear drop crystals, the lace skirt was like the widowed Scarlett O’Hara on a crisp rainy day. Rain in its romantic glory of course, not London gloomy.

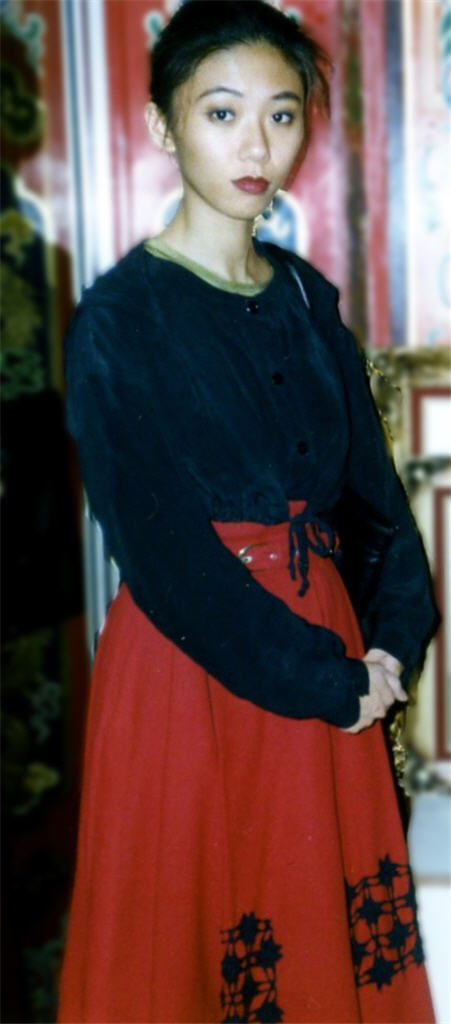
And another inspired by COMME des GARÇONS Autumn Winter 1988-89 collection…
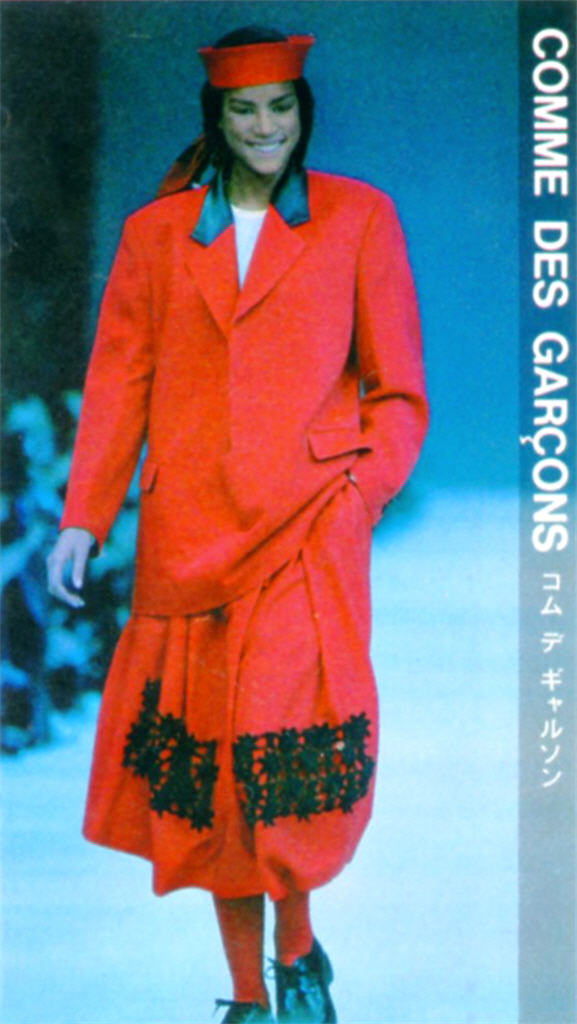
A red flannel pleated skirt with crochet lace embellishment and self-fabric belt.

I love that folklore inspired collection! There were many more ideas that I didn’t get around to try out.

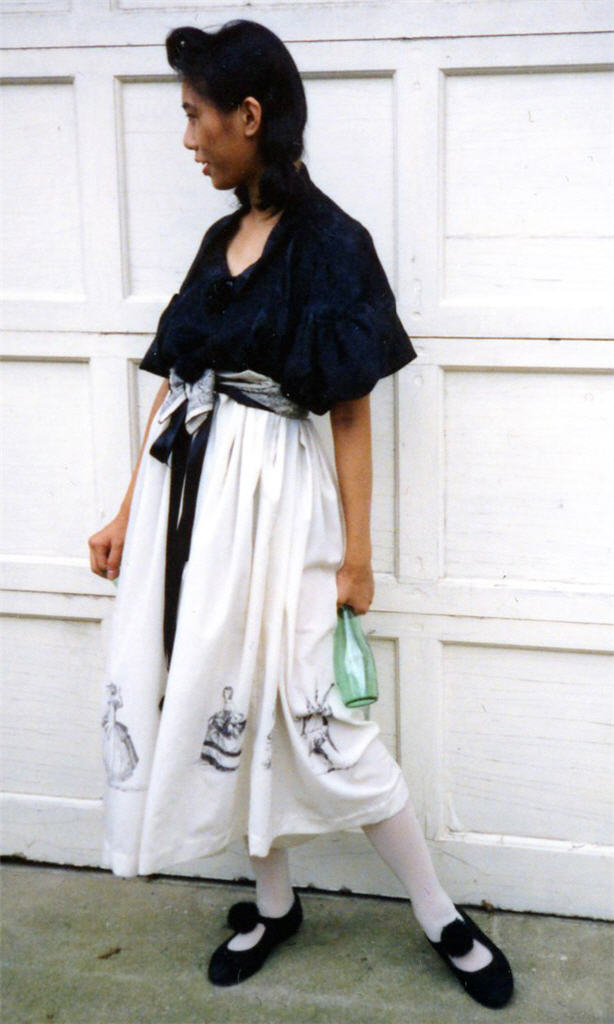
From the next collection – COMME des GARÇONS Spring Summer 1989 – there were at least two more…
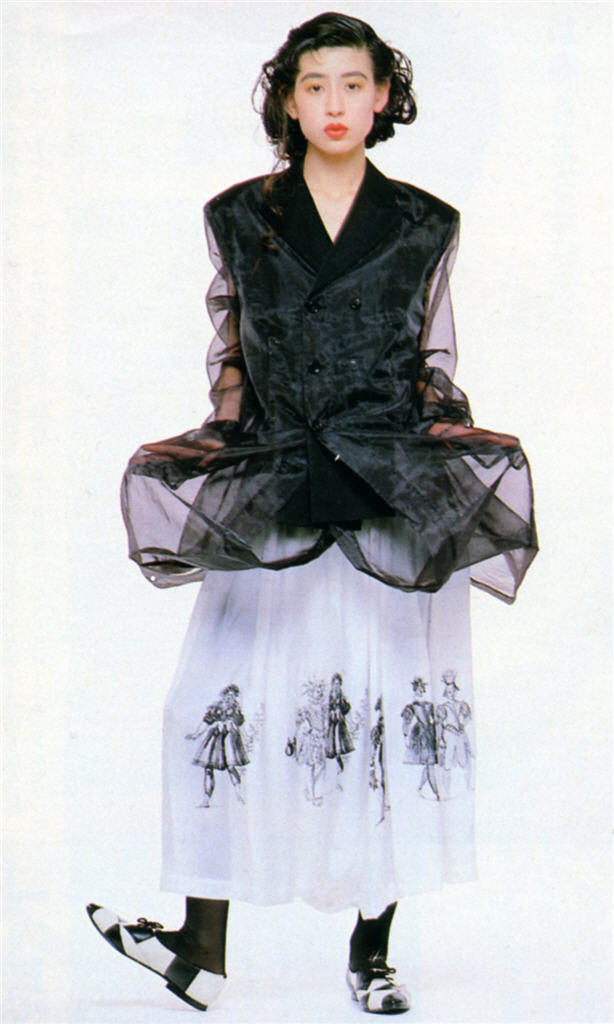

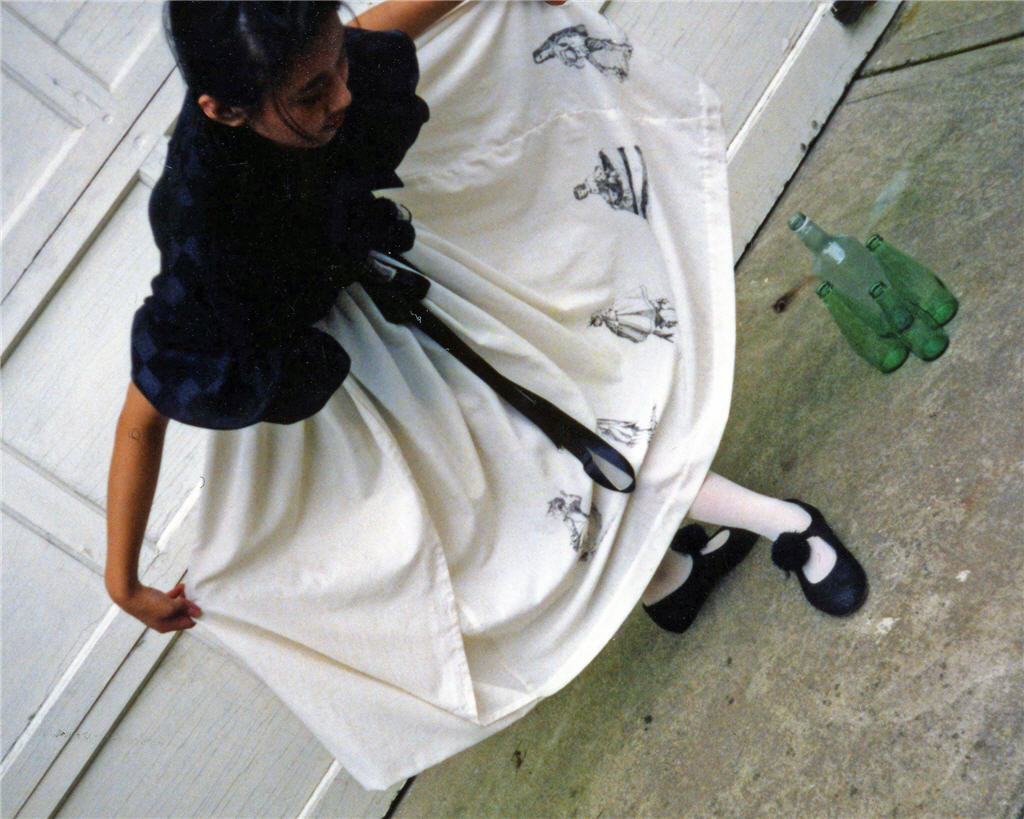
A gathered skirt with one panel folded back up at the hem and hand drawn Renaissance style Pierrot characters.

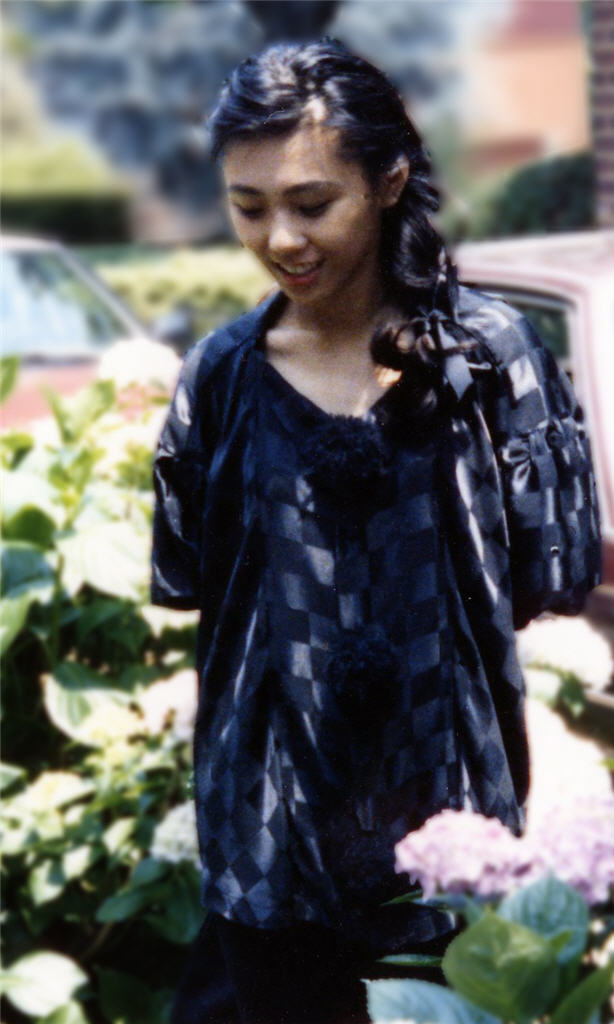
The blouse pattern was rather interesting. The sleeves were cut as one with the bodice, not separate pieces. They were like bat-wings extending up beyond the shoulder seam. Halfway up the armholes they separate from the upper armhole of the bodice, then were gathered and reattached to the upper armhole. You know those Japanese designers, they like their origami! And yes, those are pom-pom faux buttons.

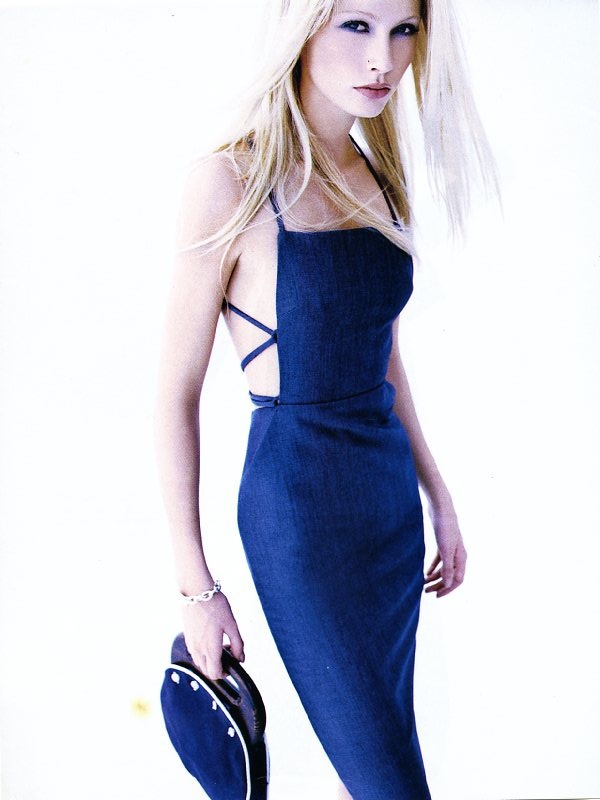
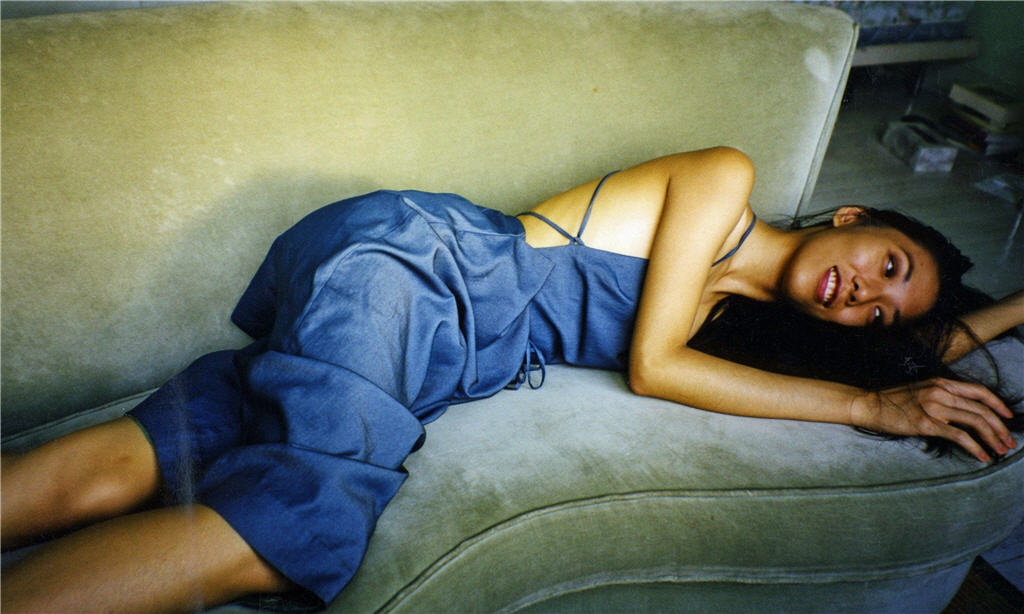
Sometimes I’d take the liberty to “improve” on the original. Like with this Marc Jacobs dress. I made my version reversible.
Bring On Them Tailoring Challenges!!!

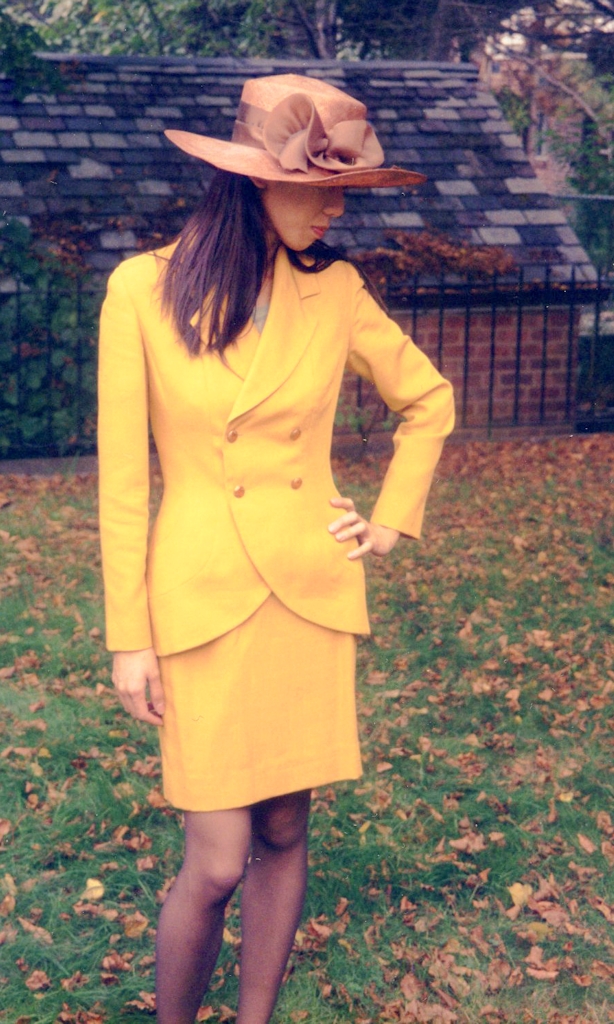
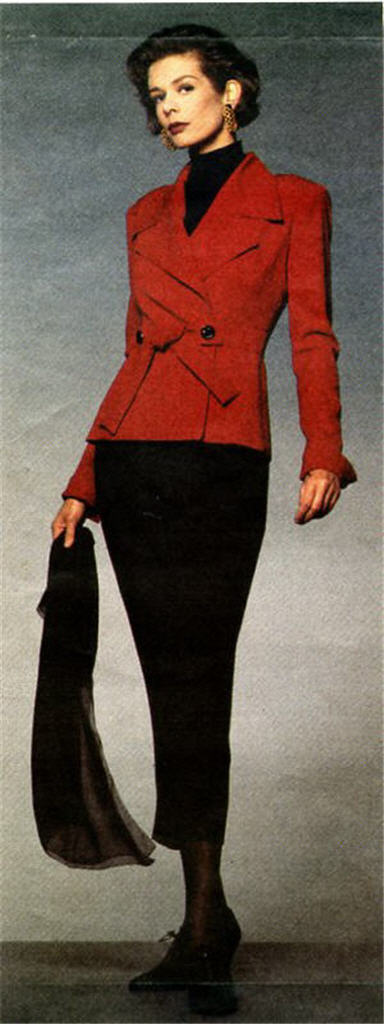
I also wasn’t afraid to tackle tailoring. Here’s my first Vogue suits – Vogue Pattern 9199…
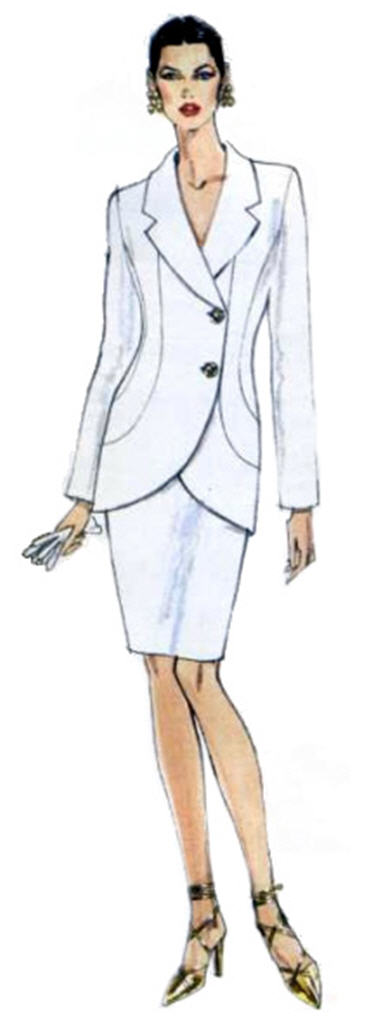
The result is a bit conservative for me at the time, so I didn’t wear it much and have no idea what happened to it.

But then under the lens of the right photographer – my university friend in this case – even a plain old suits can look fashionable!
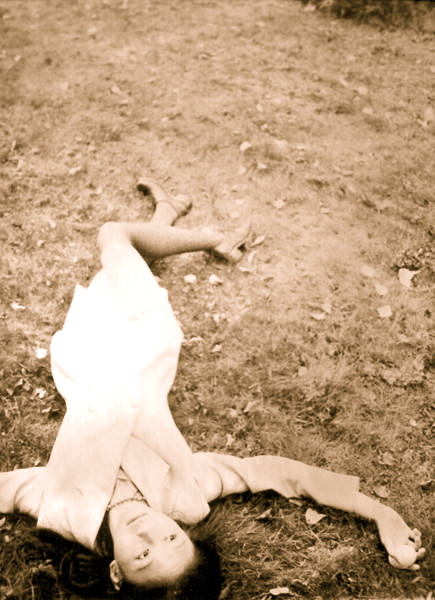
That suits though didn’t make use of proper tailoring. But this Vogue Pattern 1224 one did… Apology about the lack of mug shots. I guess I used to take sewing for granted so didn’t think to document my projects. Anyway, this one had the pad stitching, the hair canvas, the roll line tape  and everything.
Jolly Old Midlife Crisis!?!?!

So what happened? Well this for example:
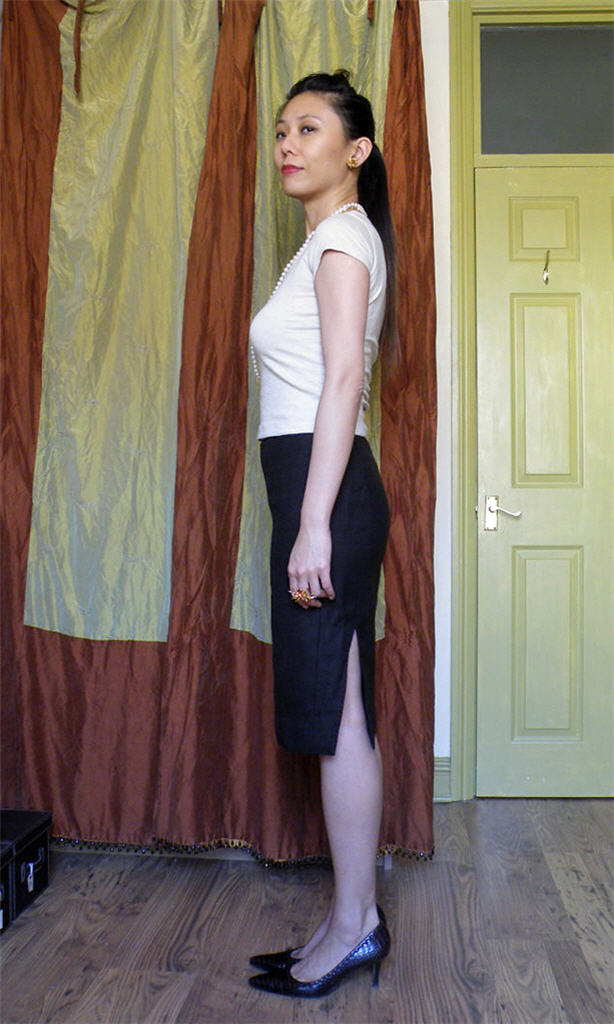
Note all the drag lines. Fitting has never been my forte. Nor was picking the right proportion and silhouette. The V1224 suit above for example had wide lapels and extended shoulder that doesn’t really flatter my short-waisted figure. I also didn’t think to lower the waist band slightly to create the illusion of a longer torso. I mean a waist goes where your waist naturally is or where the pattern designer intended it to go, right? So naive I was. I simply took instruction and the pattern at face value. I didn’t think to customize it to suit my own figure quarks.

The other thing that happened was aging. Although I wasn’t great at fitting, stuff I made before didn’t look too bad. The T-Shirt above is actually a recent make. Shock Horror – my figure has changed. And in exactly the ways described in Fit For Real People! The rounded upper back, forward shoulder, fuller bust front and narrower back, fuller tummy, sway back and droopy behinds. You name it, I got it. Makes fitting so much more difficult.

Hence my current obsession with making slopers instead of lovely clothing from the Big 4 patterns  and Burda magazines I’ve collected.

What about you? Have you grown wiser with age and sewing experience? Have you ever hit a sewing midlife crisis like me & got over it? Please, please tell me there’s light at the end of the tunnel! 😉