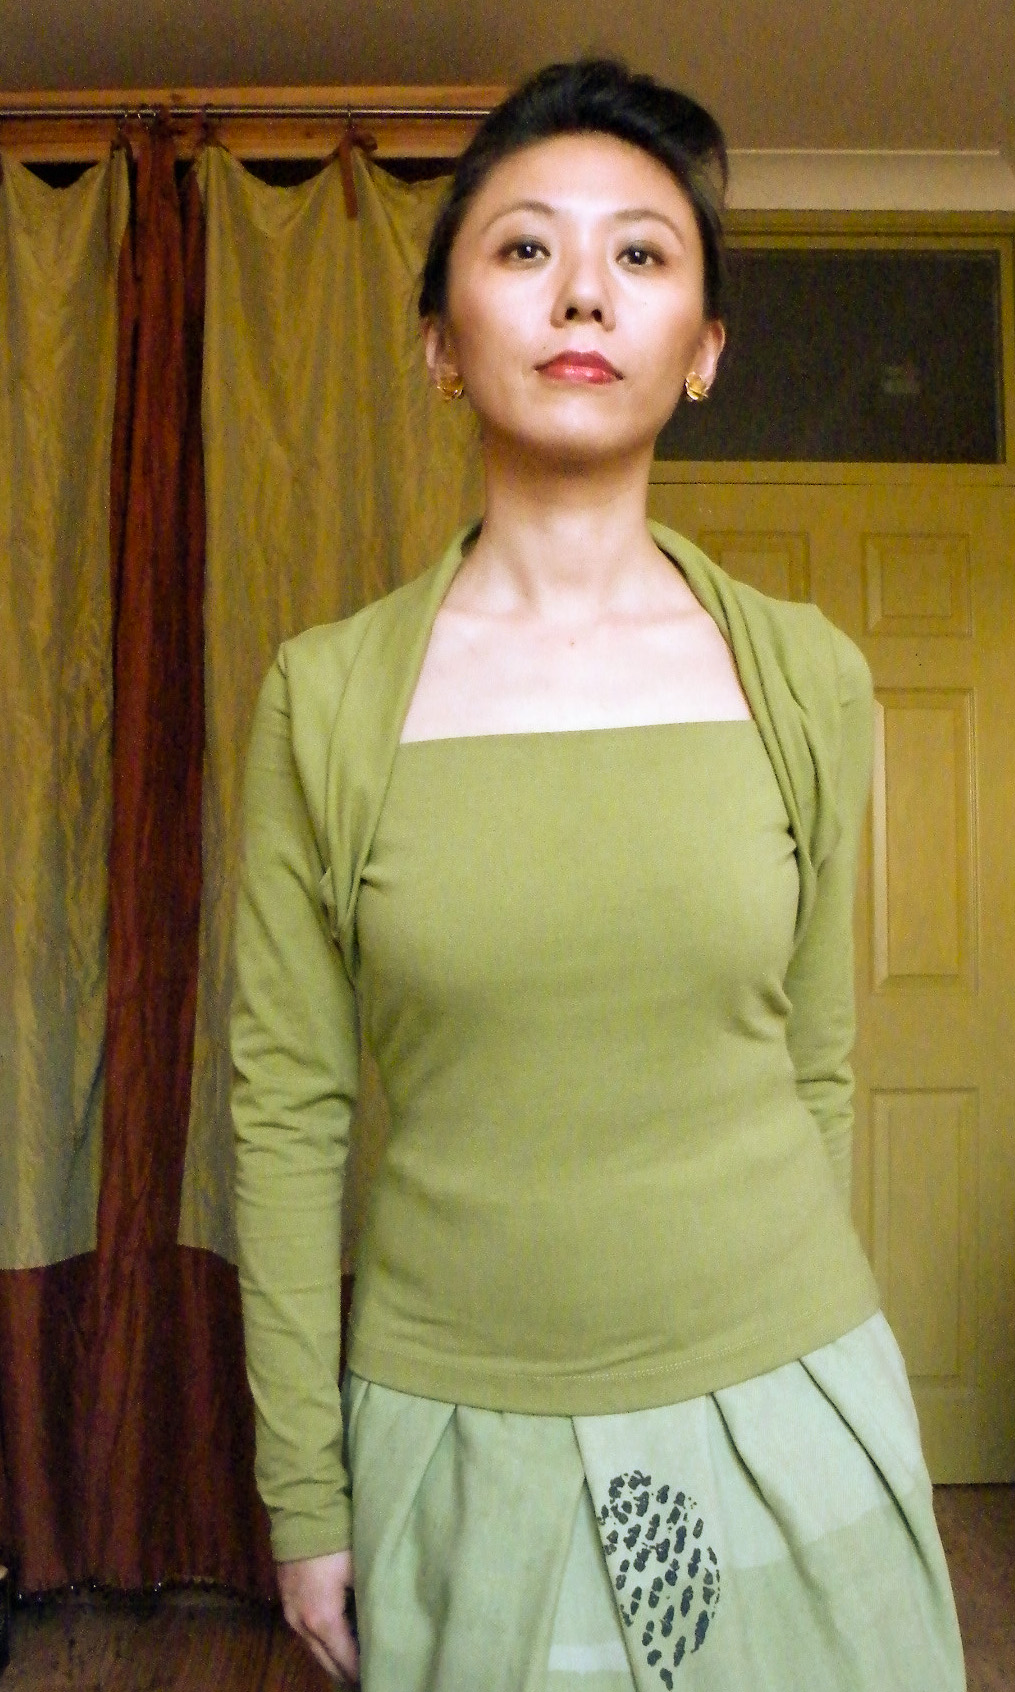
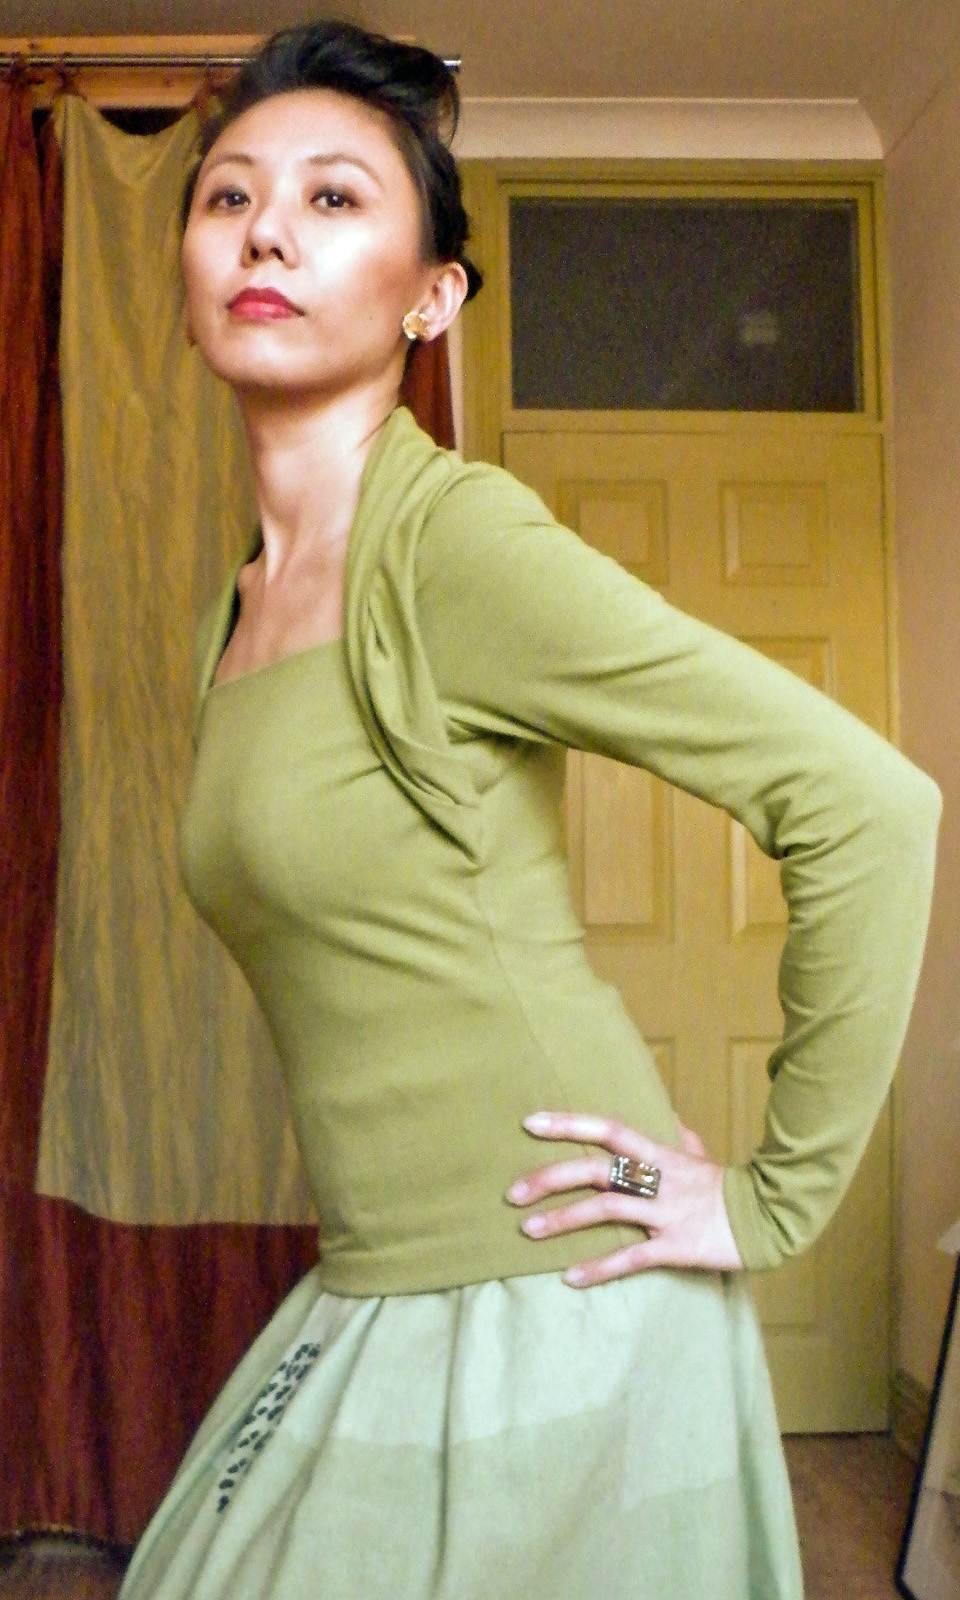
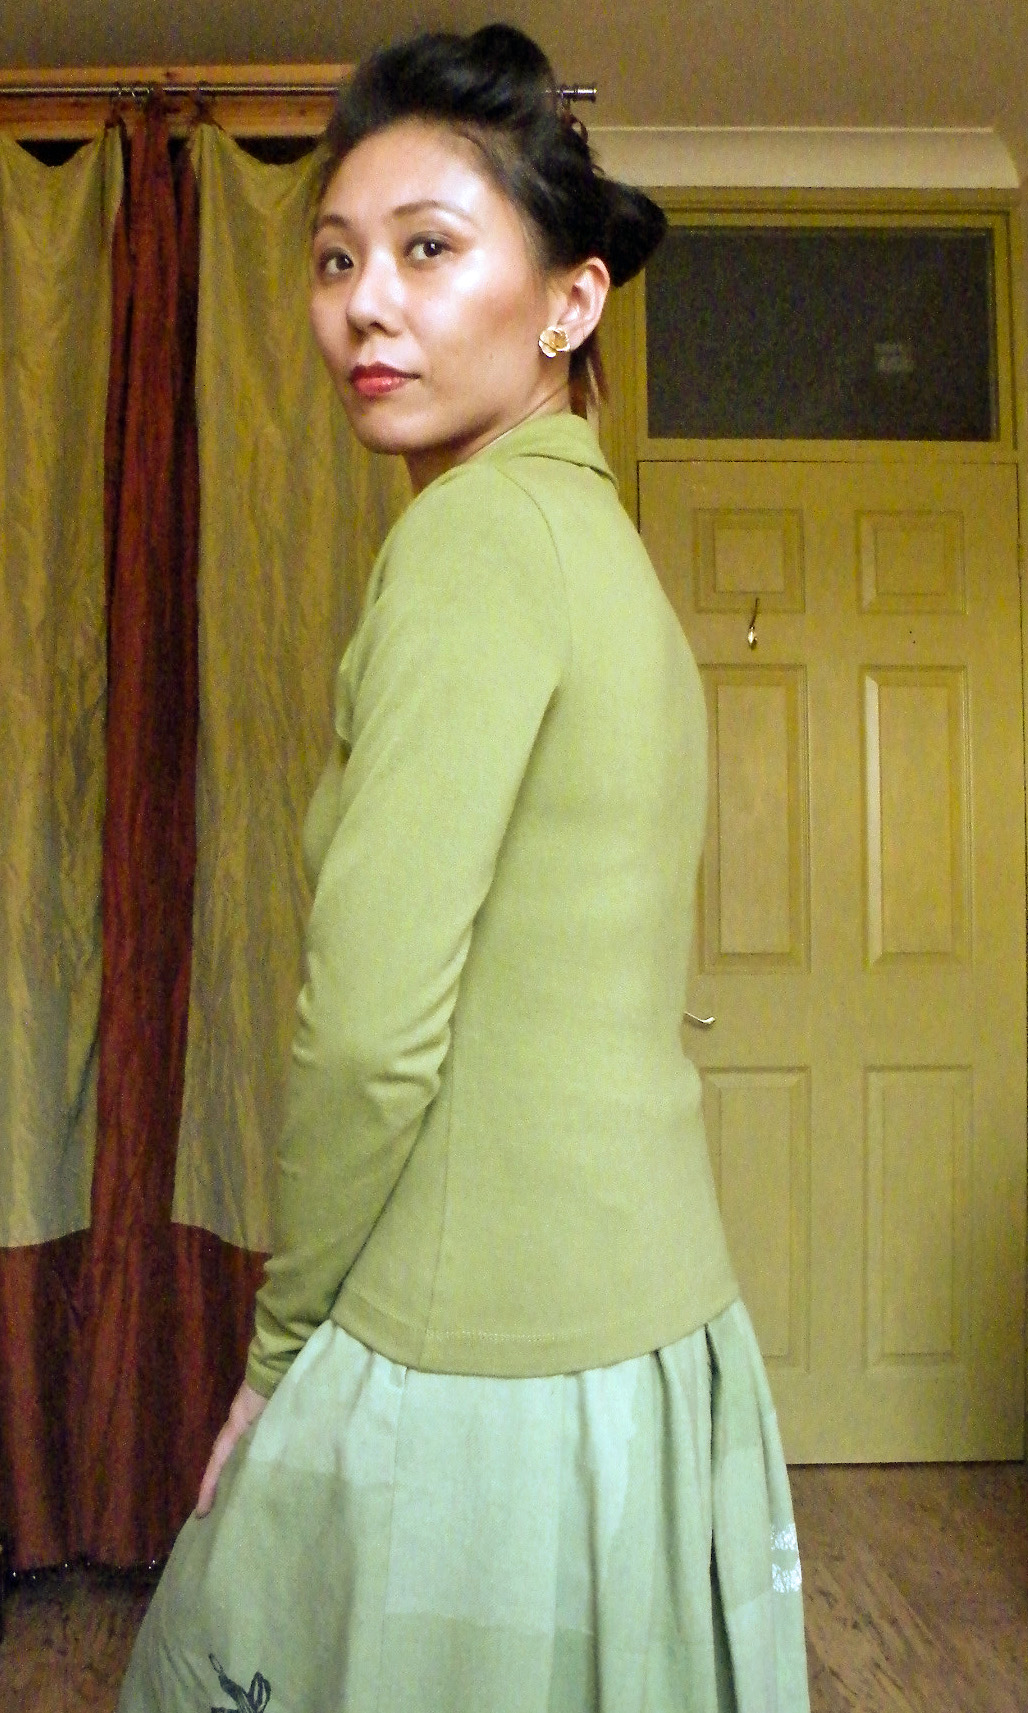
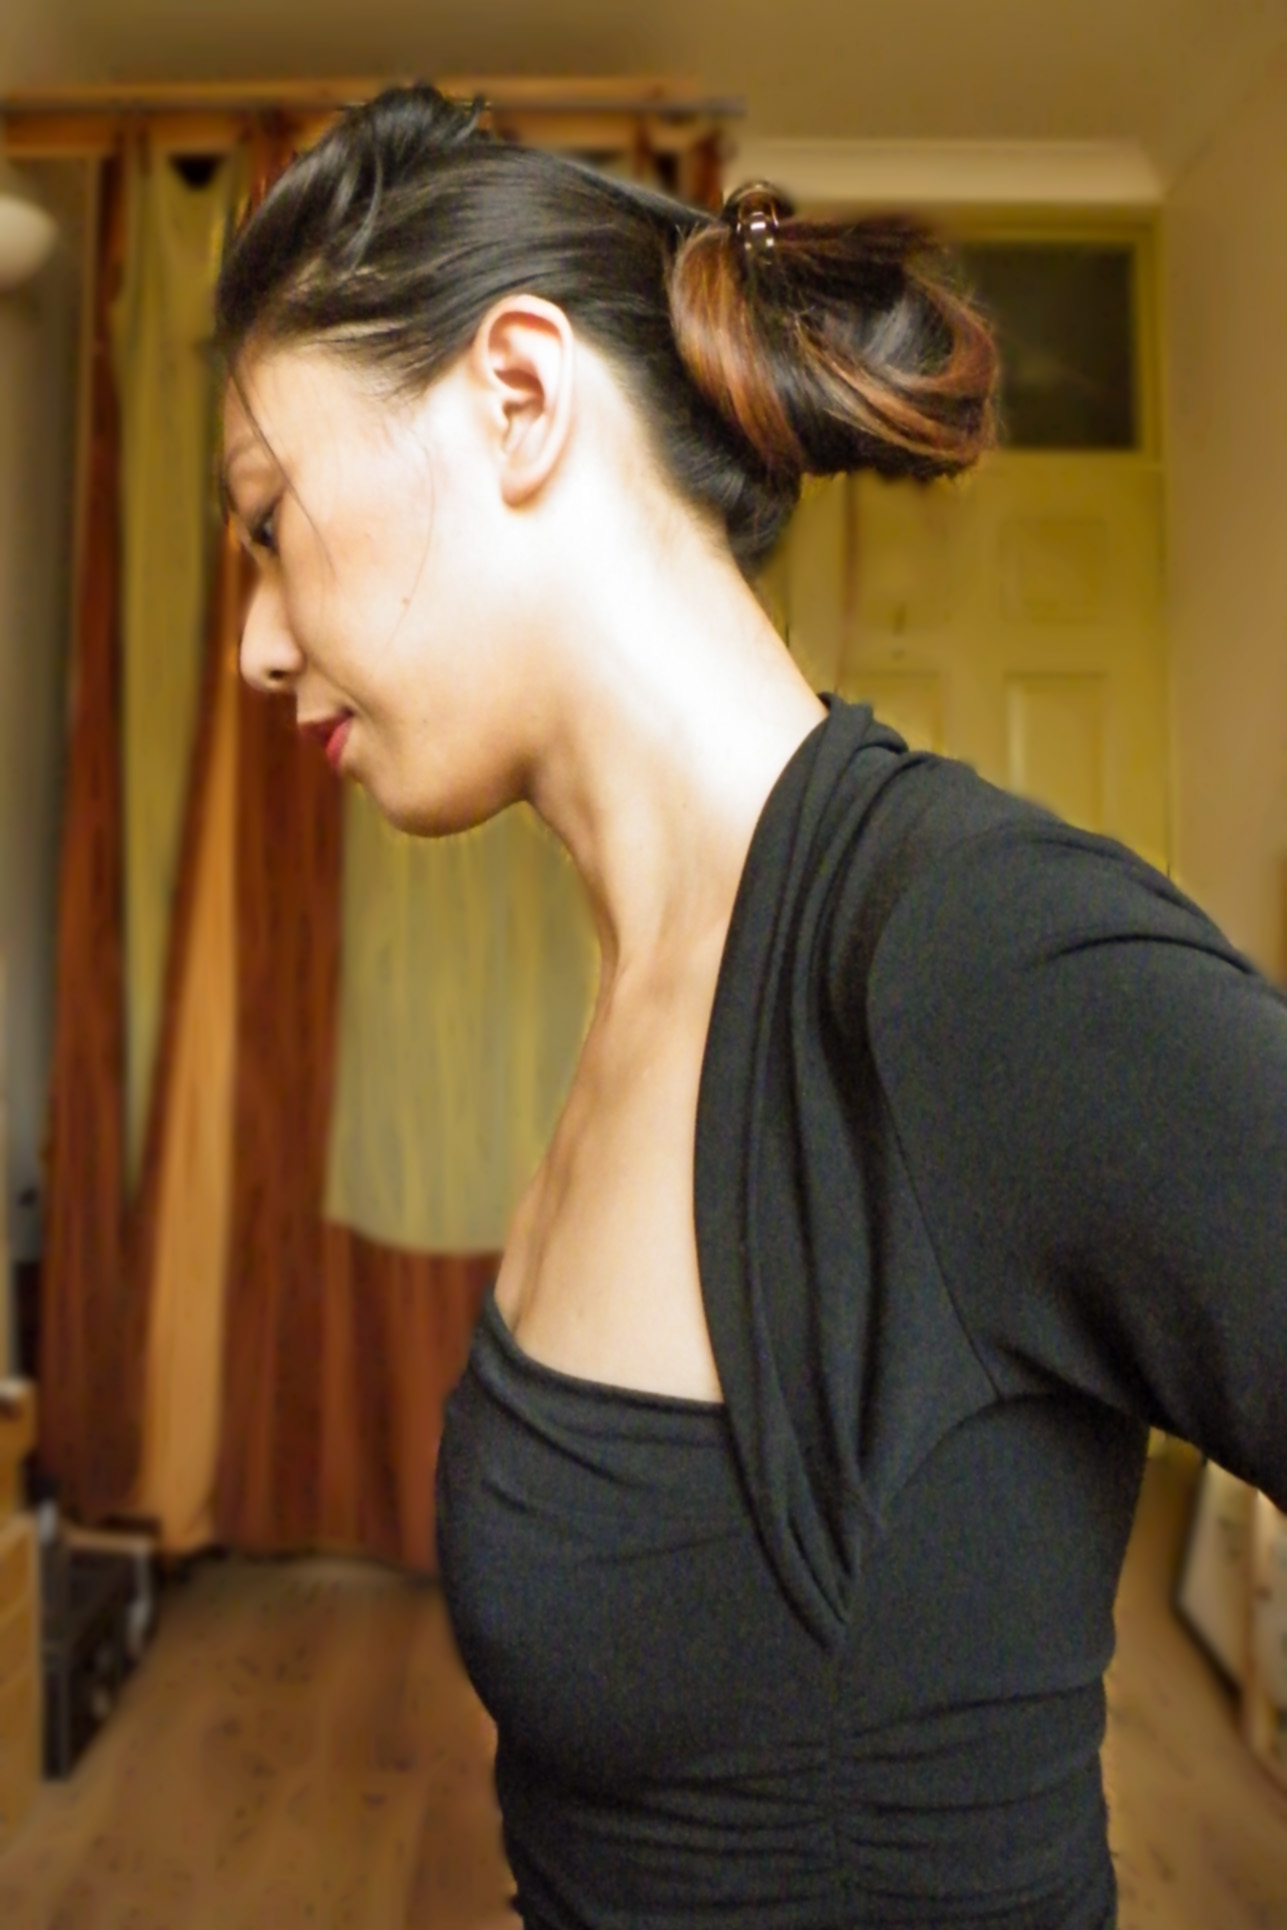
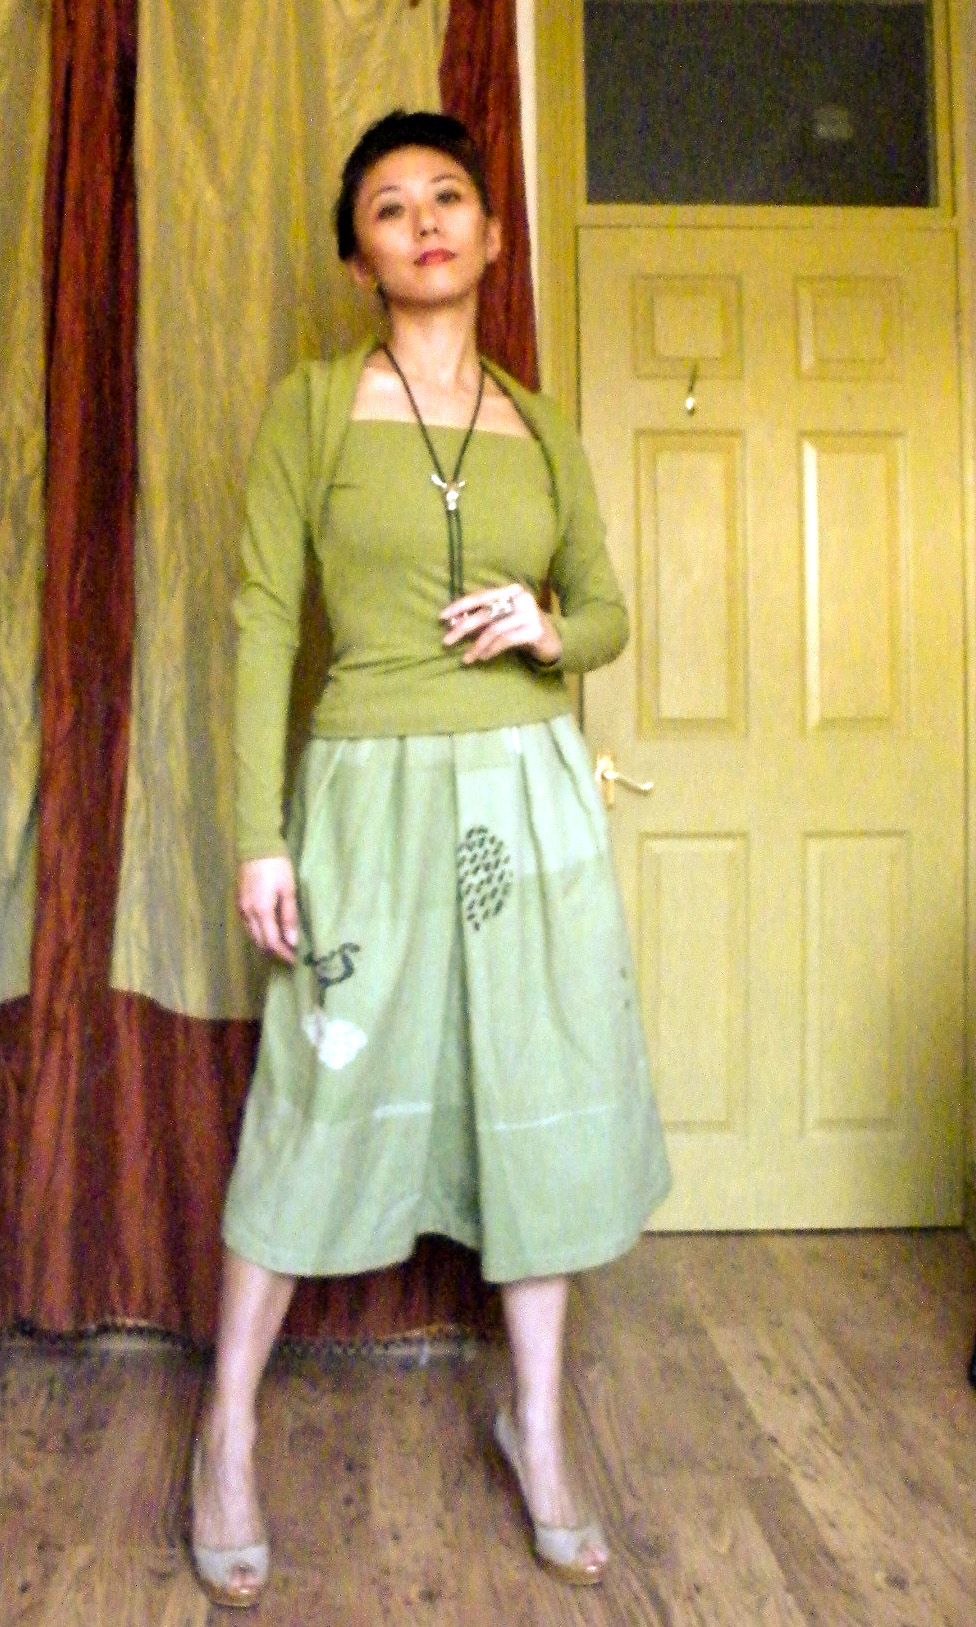
M6078…A classic Cowl Neck Sleeveless T

Not one to waste scraps, I used the 21” x 58” leftover from my Endless Dress to make a cowl neck top.

During the last Vogue / McCall / Butterick sales I got a few basic but classic patterns. So there were two cowl neck patterns to choose from. I’m sure there are more in the few issues of Burda Style magazine I own. But I don’t like how Burda tends to drape the cowl to one side or use stiff fabrics that resulting in a single ungraceful large fold. For me cowl neck is all about Grecian style: Lots of fluid mini folds.

The Pattern

So the candidates were:

In the end I went with M6078 view B. M6563 is designed for woven fabrics, so had more ease than M6078. And more ease means more unnecessary alterations. Sometimes it’s best to go with the instruction and not make grief for yourself!

Style Shots & Mug Shots

m6078B-s-01m6078B-s-05
m6078B-0-1Fm6078B-0-2SLm6078B-0-3B

Fabric & Notions Used

Mustard color Viscose Cotton Lycra 4-way Stretch Fabric from Tia Knight / Tissu Fabrics. It’s soft and drapy – perfect for a cowl neck.

Gutermann polyester thread, and some woolly nylon I got in America long time ago. 3/8” clear elastic. Vilene Bias Tape

Size Used

XS (4 – 6).

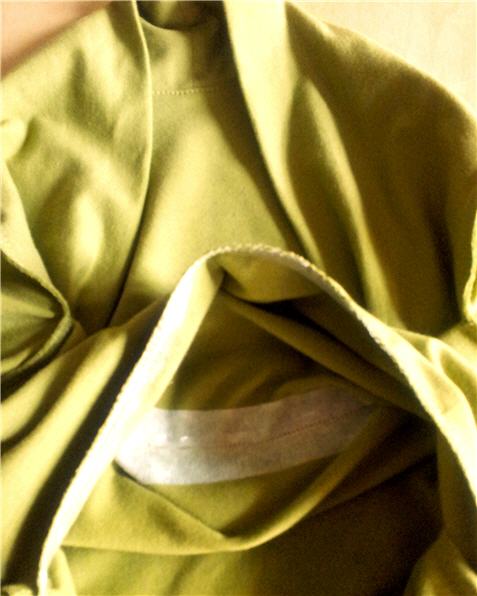
Having read on Pattern Review that the sizing runs big, I was careful to go by the finished bust, waist, and hip measurements indicated on the patterns rather than by standard sizing chart. Sizing chart would have me using a M (12 – 14). But recently I’ve been experimenting with using my old sizing (8 / S) with a FBA or otherwise widening at the side seams rather than all around. However, as this pattern is for knit and I like a more fitted look, I went down one more size to XS.

Changes Made

I compared the pattern to my tentative moderate stretch sloper first before deciding what fitting changes to make.

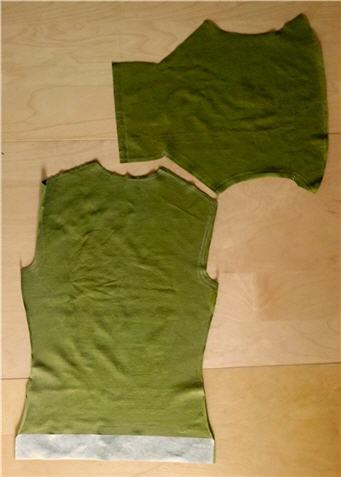
  • Narrowed lower back 1/4” – 1/2”.
  • Sway-back adjustment – shortened CB by 3/4”. There’s still a bit of fold at back waist line, but I don’t mind it in this style of slightly drapy top.
  • Raised back neckline 3/8”.
  • Widen shoulder by 1/4”.
  • Prominent shoulder blade adjustments – added 1/4” ease to back shoulder.
  • Forward shoulder adjustment on front only – raised front shoulder at neck 1/4”.
  • Deepen front-facing to 6” at CF (insurance to prevent the facing from flipping out).
  • Cut on the lengthwise grain because I didn’t have enough fabric. This was fine on a 4-way (or 2-way) stretch fabric. If mine was a fabric with only 1-way (crosswise) stretch, then I wouldn’t deviate unless I go with a larger size with enough ease built into the pattern itself.

Verdict on the Instruction

Easy to follow and quick to make. I did deviate in places though.

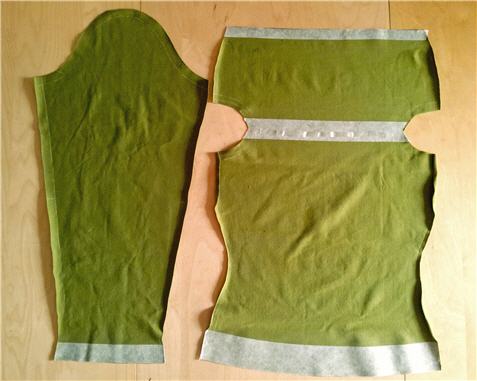
I did a Burda style stabilized back back neckline and armholes using Vilene Bias Tape, then clear elastics to stabilize shoulder seams. All seams are done on sewing machine with lowered foot pressure, walking foot, and narrow zig-zag stretch stitch. Side and shoulder seams and the bottom hem are finished with 3-thread overlock on the serger. Neckline, armholes, and bottom hem are stitched with stretch stitch.

For a softer drape and because my fabric doesn’t fray, I left the facing edge unfinished.

Would I sew it again

Most definitely! It’s a great wardrobe builder. I could see this with long sleeves as well. It’s slightly loose in the waist, so if I were to use a less drapy fabric I might narrow through the waist a bit more.

Bandeau Tube Top: Carrie or Tarty?

So, as I only needed half of the fabric width for my Endless Dress waist band, I turned the other half into a matching Bandeau Top.

bandeau_s_3bandeau_0_1Fbandeau_0_2SLbandeau_0_3B

bandeau-satcI was thinking SATC Carrie (S2 E17). My other half’s verdict? “Tarty”. Men. Go figure.

In any case, it can still act as a Modesty Preserver for my Endless Dress, now that I’ve learnt that yards of skirt attached to a flimsy bodice = wardrobe malfunction.

Making of this bandeau top should have been dead easy. But it was actually like solving an Escher puzzle. Or a game of Twister.

FYI, this is how NOT to do it:

bandeau_oops_1bandeau_oops_2

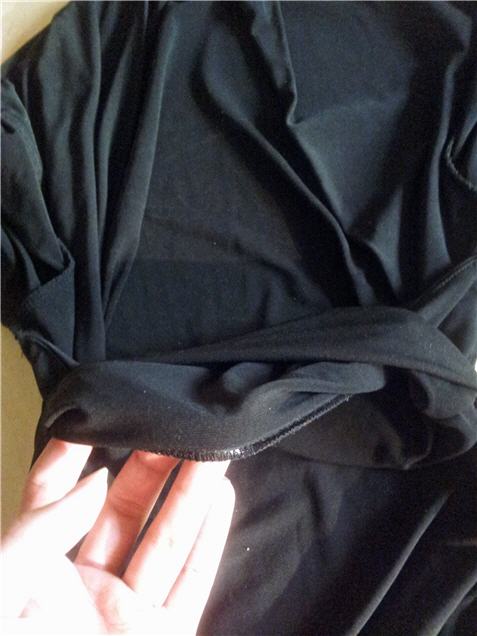
While it looked neat and tidy, when I turned the thing right side out, it was all twisted the wrong way. (Sorry, forgot to take pictures for your and my education.) I had to unpick the bottom edge. Then from the right sides fold in the seam allowances, grab hold of the SA inside and pull it out for sewing. Sewing the full circle the correct way was a twisted and Escheresque experience. But turned right side out everything fell right into place.

I’m sure there must be a clear how-to in some sewing book or somewhere online. But I didn’t have the luxury of time to look for it. I got a whole travel wardrobe to sew!

As you can see, I’ve already thought to make the top less flimsy by adding the Power Mesh underlining. So that’s one point against tartiness. Plus the top and bottom edges are reinforced with clear elastics. That’s another point against tartiness. Having said that, wear it in weather inappropriate Britain, and I can definitely see tartiness creeping in. Guess it’s another garment that’s not going to get much wear }:-)

Made myself an Endless Dress

The rabbit hole has been a pit of sweat shop lately. I’ve never sewn so much. Not that I’ve gotten any quicker. There was just about time to tidy up before I had to move on to the next one. You see, I’m sewing for a dream holiday in the Maldives. So there was no time to rest.

endless_s1_4First off the assembly line…An Endless / Limitless Dress / Skirt / Asian Pants.

Because it’s suppose to be easy. And because as a convertible I’d have options even if I don’t manage to finish anything else.

endless_s2_4
endless_s4_6

The Design & Inspiration

So this is the one I saw in Threads then stumble upon the instruction online by chance. The very clever Marybeth Bradbury had came up with the instruction for her Endless Convertible Dress after being inspired by the Limitless Convertible Dress by Danish designer Emami.

original_1Actually, I had came across Emami’s Limitless Dress before. Friends who were into fashion had discovered it years ago. I thought it was really clever. But as it was expensive, I didn’t buy one.

This time, I did feel pangs of guilt and wonder if I should buy one. You know, to support independent designers who come up with clever design ideas. For the art of this garment is in the wearing instructions, which Emami provides video demonstration for on their website. As Marybeth’s instruction shows, there’s very little sewing involved. Plus the price seems to have come down.

In the end I made one instead of buy one. Because the colors Emami offer were a bit too drab for my current taste. Sorry…

The Making

OK, so this is suppose to be dead easy. Depending on fabric you should be able to get away with 3 seams and probably finish in an hour or two. But as I’m fairly new to 4-way stretch fabric and to using a overlocker, it took me a bit longer. Also, being a visual person, it took me a little longer to follow Marybeth’s verbal instruction and quick sketch.

So here are my learnings. Maybe it will be helpful if you decide to make your own Endless dress.

Fabric & Notions Used

Mustard color Viscose Cotton Lycra 4-way Stretch Fabric from Tia Knight / Tissu Fabrics. I ordered 3 meters, but probably got like 3 m 16 cm because I had enough left over for a separate bandeau top and a sleeveless cowl neck top. It was the lightest 4-way stretch fabric I had and it has a lovely soft touch and fabulous drape – perfect for a dress like this.

Skin color lightweight Power Mesh from Tia Knight / Tissu Fabrics for the underlining.

Gutermann polyester thread, and some woolly nylon I got in America long time ago. 3/8” clear elastic.

Size Used

It’s kind of a one-size design utilizing full width of the fabric. Depending on your fabric and your waist measurement, it’ll come out differently length-wise.

Changes Made

endless_pattern

  • My fabric curled at the selvedges, so I cut off about 1-1/4” at both selvedges. I forgot to adjust the 30” measure to the center of the waist hole. So this leaves me with a slightly shorter skirt at the sides. Thankfully, the dress style make the mistake less noticeable.
  • I used one of the selvedges to make a matching spaghetti cord instead of buying separate cord.
  • My waist hole is slightly bigger because my fabric doesn’t seem as stretchy. You need to make sure the circumference of the hole for the waist will stretch to fit your hip so you can pull the dress / skirt on. But don’t make it so large that the skirt slips down while you wear it. It’s knit, so you probably want 0 ease or even negative ease at the waist (ie your waist measurement or smaller). I also reinforced the waist hole with clear elastic in the hope that this will prevent the waist from being stretched out of shape with wear and becoming too loose. We shall see if it works over time!
  • I made my waistband taller / longer thinking that I can then wear the band as a strapless tube bodice. Now having worn the dress I can tell you that it’s a bad idea. The weight of the skirt will pull the band down leading to wardrobe malfunction a la Janet Jackson. (Luckily I was wearing the draped part of the skirt as a haltered front at the time.) Separate bandeau top is the way to go.
  • I also added a layer of lightweight power mesh as underlining to make the waist band less flimsy as a tube top. This turns out to be a bad idea again. I didn’t tack the underlining to the fashion fabric at the fold. So when I wore it, the underlining wouldn’t stay up and instead bunched up near the waist.

When I get home, I’ll probably reduce the waist band to Marybeth’s original suggestion of approx. 6” finished height and tack the underlining or remove it completely.

Verdict on the Instruction

Marybeth’s instruction is a bit sketchy, so I think you do have to have some sewing experience to know how to finish the garment. It’s not difficult, but if you’re someone who like each step to be spelt out in details, you’d struggle a bit. I’m happy to muck about with pattern drafting and improvise the sewing, so it’s not a problem for me.

You can see how I interpreted her pattern instruction in the diagram above.

Sewing-wise, I used mostly my sewing machine to give me better control over the stretchy fabric. I’d sew on my sewing machine first with reduced pressure foot pressure, a walking foot, and my machine’s basic stretch stitch – a kind of narrow zig zag stitch. For the waist seam I then sew on the clear elastic, again on the sewing machine. For waist band center back seam and waist seam I then reinforce & clean finish on the serger with a 3-thread overlock.

The hem / casing for the cord is simply folded over twice and edge-stitched with the sewing machine basic stretch stitch.

For the rest of the skirt, I did consider doing a rolled hem. But the experiments on scraps weren’t promising. The fabric was stretching into lettuce edge hem which I didn’t want. It also made the hem stiffer which doesn’t work well with this drapy dress style. So in the end I left the hem as raw edges – as implied by Marybeth’s instruction. The fabric doesn’t fray, so the unfinished edges aren’t a problem.

Would I sew it again

Probably not.

While I do love the idea of convertible garments, the ones I tried so far have all been a bit uncomfortable to wear. The threat of wardrobe malfunction is always on my mind as nothing is firmly anchored.

It can also be difficult to make the garment look good from all angles. I love how this dress look in the front. But with the styles I’ve tried so far the back always seem to look the same and not reflect the lovely style promised by the front.

Here are the styles I tried on holiday. It was really too hot to experiment more.

endless_s1_2endless_s1_3

endless_s2_1endless_s2_2

endless_s3_1endless_s3_4

endless_s4_2endless_s4_3

And here’s one taken before I went on holiday. It’s my Buddhist Monk look! 🙂

endless_s5_5endless_s5_6

I need to experiment more with the wearing options. In any case, making and wearing this one has given me ideas on styles that would look great with this fabric (hint: lots of drapes). And it goes to show beautiful garments aren’t always about complicated design and sewing. Simple can be just as beautiful.

Vogue 2980 Show & Tell

So here it is, my latest sewing project: Vogue 2980 Today’s Fit knit top by Sandra Betzina.

Here’s the pattern envelope pictures for comparison:

The pictures look a bit twee to me, but I definitely don’t feel twee wearing it. In fact I’ve worn it a few days in the row now! Pew I hear you say? It’s in the wash now.

Hopefully it won’t shrink much. Because I picked the wrong project to try out Fit For Real People‘s suggestion of using the high bust / chest measurement as the bust measurement, and do a Full Bust Adjustment for the aging girls. So where I would have cut a size 12/B top according to Vogue instruction – I went with a size 10/A, but widened out to 12/B at the bust (see drawing below). Not a good idea for a pattern designed for 2-way stretch lycra fabrics which probably has negative ease for a close fit.

I tell you, boy was I glad I hand-basted & tested the fit before I put it under the needle – a first for me too, fitting with fashion fabric instead of muslin. I looked like an overstuffed sausage. In the end I sewn with 1/4″ seam allowance instead of the planned 5/8″. And the finished pattern was closer to a size 12/B. Typical! All that fuss for nothing.

The other problem the fitting highlighted was an unflattering pool of fabric at the back neck & shoulder seams. If I had used the recommended fabric it might have looked intentionally “draped”. But mine was a mid-weight cotton knit. So I looked like the Hunchback of Notre-Dame. I checked my Victoria’s Secret dress with a similar neckline design for ideas. I noticed that it has a more traditionally shaped back neckline. I followed suit & altered my pattern as follows:

I also tried a Sway Back Adjustment as previous T-Shirt attempts have resulted in an unsightly pool of fabric just above my back waist. It’s not entirely successful – there’s still a few wrinkles. But it’s definitely better.

To be honest, I don’t really know how to do SBA nor a FBA with dartless seamless knits. Have you tried either adjustments in knit with success? Can you share your tips?

As usual with sewing knit on my sewing machine, I’ve added a light-weight iron-on non-woven interfacing with cross-wise stretch for the hems. It makes my sewing machine overlock stitches look neater. I’d imagine I wouldn’t need this if I had only plucked up the courage & learn to use my new overlocker.

I also added clear elastic to the front neckline and front facing hem. I was worried the fabric would stretch out of shape & I’d be left with immodest front neckline gap. This was another idea courtesy of the VS dress. In fact, the VS dress cut the facing as a separate piece & sewn the elastic into the seam allowance. I had to sew mine just inside the fold. Next time I’m cutting the facing separately.

And I’m also going to redraft the collar piece to be more like the VS dress. It doesn’t look nor feel quite right. It feels tight across the front shoulder area, pulling on the sleeves a bit – you can see that in the side view photo above. With all the drape & fold you would have thought this wouldn’t be a problem.

But not enough of a problem to chuck this top to the back of the closet. Not yet anyway. We shall see after the first few washes!

One step forward two steps back

The weight of the next project hangs around my neck. Sigh, sewing shouldn’t be so stressful! So I’ve decided to go fabric shopping. Again!

You see, since I’ve started reading other people’s sewing blogs, I’ve realised the errors of my way. I get my fabric fixes mostly in NYC. So splashing out on expensive fabrics is the norm. In fact, on my last trip the cheapest was $7/yard. And that was for China Silk, good mostly for expensive lining or lingerie. Most are at least 3 times that. Hence my reluctance to make anything, especially as fitting is not my forte.

So I got three options on the table at the moment.

Option 1…

Finish the T-shirt block that’s a bastardization of Burda 2011-06-120. I chickened out with the pattern. Comparing the pattern to my store-bought T-shirts the pattern always won in bagginess, even with the looser-fitting store-bought T-shirts. So I’ve decided to take 4+” off at the hip and waist, 3+” off at the bust, raise the underarm seam / shrink the arm hole, shorten the bodice, and scoop out an U-neckline. So by the end, it bears little resemblance to the Burda original. I’ve got a fabric picked out – actually a tiny scrap I got from someone else. As expected, it curls a bit at the edges and grain isn’t straight. I’ve just got starch to sort out the curling. So it is ready to go. But rather uninspiring.

Option 2…

Perfect a basic sloper with the aid of Connie Crawford’s Patternmaking Made Easy, then figure out what modifications I’d need to make for each of the pattern brands. Once done I imagine I’d be able to churn out projects after projects like a well run Chinese Sweat Shop!

But gosh, it seems like an awful lot of effort to get there, and I’m not sure my web-conditioned attention span could cope.

Options 3…

Do as all you lot do – pick a pattern and just check the fit with really REALLY cheap fabric. That would of course require shopping for more fabrics!

So much for whittling down 191 pieces of fabrics. All of my recent projects bar one failed to diminish that pile. Frugal me managed to use the bare minimum so that I can squeeze yet more projects out of the scraps. So the current count remains. Maybe minus one – it’s awfully hard to keep track of that many pieces!

I’ve got a couple of patterns in mind already. Both Vogue Donna Karan. Both  inspired again by you lot…

So why these two despite everyone saying the patterns are rather difficult to understand, let alone alter? Well, that’s precisely the point. If it’s almost impossible to alter I’ll have no choice but to just make it without fretting about perfecting the fit first. But that of course hinges on using cheap fabric that I won’t regret messing up. Hence the need to go fabric shopping again.

See there is always method to my madness!

So I’m tending towards Option 1 while finalising plan for Option 3.  I’d imagine it’d take me a while to figure out where to get dirt cheap fabric in London / UK that isn’t utterly revolting. (Sorry, I can only go so low, the NYC snob that I am at heart! 😉