The ever festering dress

I’m on route to my brother’s graduation with nothing to do on the flight. So finally, some time to catch you up on the gazillion projects I always seem to be working on (if not finish).

First off, a lemon.

It started life as a RTW dress from Camden Market. As expected of the Camden aesthetic it’s a bit Lolita Goth. It’s an interesting combination of a thin stretchy knit that clings for the long sleeve top and a floaty soft muslin for the A-line gore skirt. Inside the skirt at each vertical seam there’s a twill tape that allows you to draw up the skirt to form irregular bubble hem.

camden-dress2-0-2camden-dress2-0-3camden-dress2-detail-1

I liked the dress well enough, but that knit top was never going to keep its shape with a full skirt dragging it down. So I decided to multiply my investment and turn each section into a separate garment.

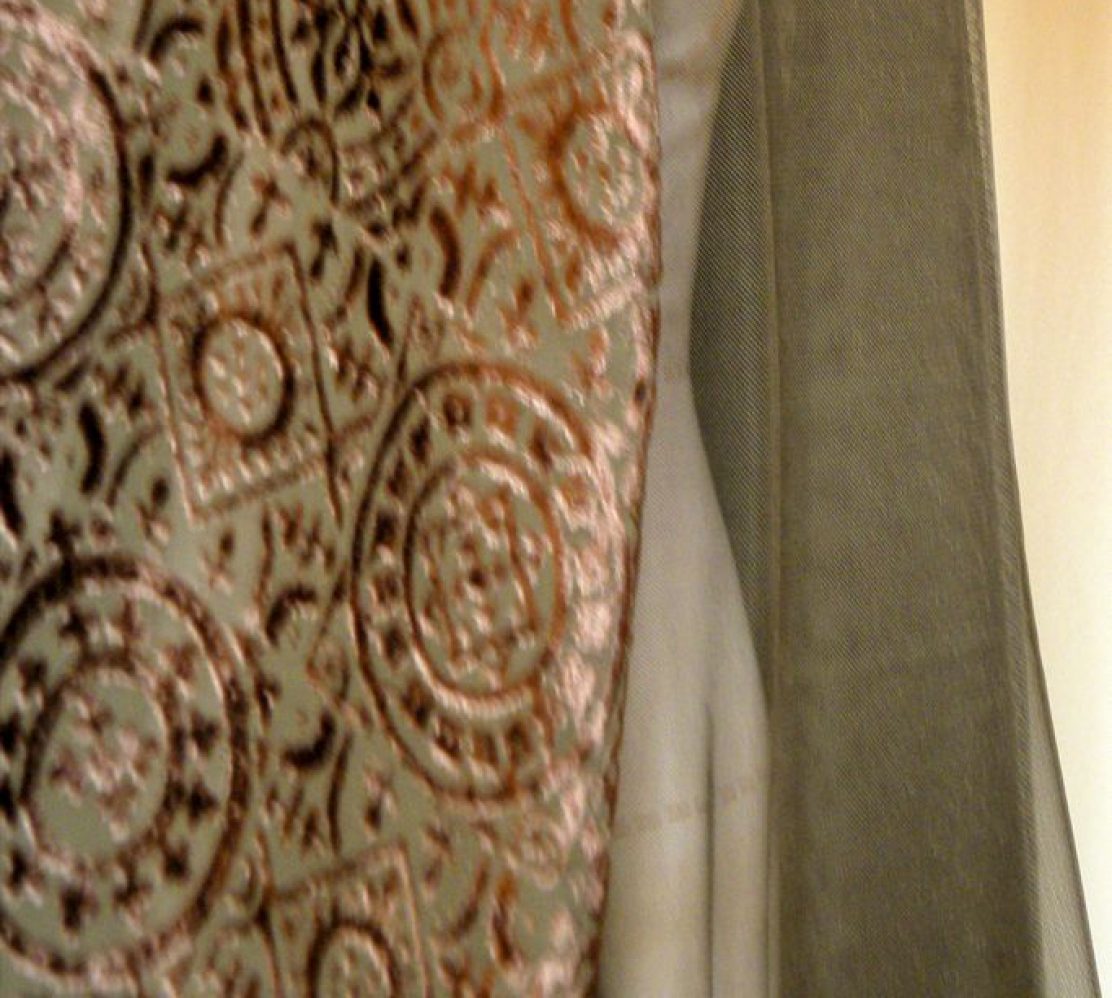
First off, the skirt. I thought I’d keep to the Victorian Undergarment feel and keep it light and airy in thin China Silk and as a pull on with no zip, no closures. After much agonizing I settled on a spaghetti strap camisole top with empire waist in the front slopping to a natural waist in the back. I didn’t have the right shade of matching off-white, so I went for what seems like a complementary shade light mocha, along with a lovely organdy ribbon with gold scroll print for a border.

camden-dress2-dsgn camden-dress2-detail-3

For pattern, I base it on my most recent bodice sloper result. camden-dress2-patternThe bust darts have been pivoted into one single French dart, and bodice cropped at under-bust in the front. The back waist darts have been pivoted out, resulting in a continuous curved back piece. But I then had to pivot the dart back in to make the waist big enough to slip the dress on. OK, no big deal I thought and continued my merry way finishing the damn slippery top and attached it to the skirt.

Boy was I wrong. The result was less than stellar. The combination of the color and silhouette just does not work for me. Especially in the back where the unflattering puffy band of the back bodice cuts my body into unflattering proportions.

camden-dress2-1-F-3camden-dress2-1-SL-2camden-dress2-1-B

The angle of the straps also look a bit weird. But I had to shift them so close to the CB to prevent the straps from falling off my sloping shoulder / muscular neck.

I tried my best to style it to no avail. So it’s a case of “Sounds Good In Theory…”

camden-dress2-2-04camden-dress2-2-05camden-dress2-2-07camden-dress2-2-10

But fear not. The dress isn’t going to be binned. camden-dress2-detail-2

The doubled spaghetti straps with matching bows are too pretty to bin. I’m just going to dissect and multiply the dress again and turn this lemon into a lemon meringue. Stayed tuned to find out what becomes of 1 that became 2 that then became 3 dresses.


Burda Style, it’s complicated

Being formerly American, I’m fairly new to the world of Burda Style magazines. Most of my past pattern purchases have been Vogue Patterns. But since I started lurking on other sewists’ blogs a year ago, I started buying the odd issues. I did consider subscribing, but (A) it’s not any cheaper, and (B) our love affair has not been true and constant. Towards the end of last year there were a few months of love-ups. But recently it’s been mostly blah disappointments.

That’s until the current issue. I saw this picture in the July 2012 issue and I just had to get it:

“But it’s just a simple square top!” I hear you protest. Well yes. I didn’t exactly buy this issue for the patterns. I bought it for the image of this scarf fabric. Because it reminds me of another Restyled Ready-To-Wear in my closet…

Like my newly decorated sewing room, the colors and pattern make me happy.

It’s from Top Shop, a second-hand top I think. There was only one on the rack and it’s made from this 70ish plasticky polyester. I wish the fabric were smooth drapy silk, for the original design might have worked better. As it was, I had to restyled it to avoid looking puffy. Here’s the Before & After diagrams (click on the images to enlarge and see the details):

The alterations:

  1. To create a slimmer silhouette I cut apart the sleeves from the bodice along the original stitching lines. Sewed the front & back side seams I just created about 2/3 way up. Hemmed the remaining part of the slits to create Japanese style kimono sleeves. (See close-up photo below.)
  2. To further slim it down I replaced the elastic gathering at the waist with loops at the waist side seams that pull the extra fullness towards a couple of buttons on the back. (See enlarged After diagram above.)
  3. For a bit of Greco-Roman flair – and that all important extra wearing option – I opened up the shoulder / sleeve top seams part-way to create slits. (See top two photos below.)
  4. Lastly a decorative waist tie thrown in for good measure. A couple of venetian beads weigh these fabric tubes down.

Et Voilà…


I like it too with a couple of shawls for a remotely English Civil War inspired look. In my rather irreverent muddled head anyway.

And back to Burda Style 7/2012…

I’m hoping to track down scarfs like the one used in that series of patterns. Sadly Roeckl, which supplied the ones used in the magazine, doesn’t seem to have that exact pattern anymore.

Anyone has suggestions for where to look?

Baby step back to sewing

My first sewing project post redecorating is a simple restyling of an old H&M leopard print slip dress.

It never fitted properly on the top. Plus with typical London Summers, there wasn’t much chance of this Tropical Baby wearing it as a slip dress. So it was mostly worn under a black tee.

But the ill-fitting top showed through as unsightly bumps. I finally decided to chop off the top and make it into a proper skirt.

The Alterations

Shape-wise it was neither here nor there. Too loose to be a pencil skirt, but too narrow to be an A-line skirt. As a dress it worked, just. For the longest time I had a brooch scrunching up all the excess looseness into a drape at the center bust line. As a skirt that won’t work well – I don’t want bumps under untucked tops. Nor do I want a gathered waist as it might look too frumpy.

So I added front darts and gathered all the looseness into a pleat positioned at one of these darts. I also deepen the back darts for a better fit.

Rather than waistband I raised the waist 1″ and complete with shaped facing. I’m avoiding horizontal lines at the waist because my low bust and short waist already make my upper body look squat.

The fabric actually is a bit stretchy – it’s a poly-spandex mix. I could have made it into a pull on skirt. But I wanted a tight fit around the waist and avoid bagginess from over-stretching the fabric. So I’ve kept the invisible zipper that was already in the dress. I also stablized the waist seam with clear elastic sewn into the waist seam allowance – a trick I picked up from a few Victoria’s Secret skirts and dresses.

So here are the mug shots:

Gosh my bum’s flat. Like Great Plains flat. Ah, the joy of aging. Not.

The obligatory Frou-Frou:

Now no project of mine would be complete without the non-committal extra frilly bits. So it is with this skirt.

The decapitated top has been turned into this hook on sash.

The front left & right top pieces were stitched together on 3 sides. Ditto with back left & right top pieces. Both turned inside out, pleated at the open end. One has the pleated open end’s seam allowance turned under. The second one’s open end was then tucked into first one’s open end, then slipped stitched in place. I used a flat skirt / pants hook for a secure and discreet attachment to the skirt.

On the skirt side, I added a blanket stitched thread loop at the waist seam edge. It’s unobtrusive when the sash isn’t attached, but close enough to the skirt right side so that the sash would hang right when attached.

So there you go, a few more years squeezed out of an old dress! Told you I was Scottish in my previous life. Don’t ask me to do a Scottish accent though.

Vogue 2980 Show & Tell

So here it is, my latest sewing project: Vogue 2980 Today’s Fit knit top by Sandra Betzina.

Here’s the pattern envelope pictures for comparison:

The pictures look a bit twee to me, but I definitely don’t feel twee wearing it. In fact I’ve worn it a few days in the row now! Pew I hear you say? It’s in the wash now.

Hopefully it won’t shrink much. Because I picked the wrong project to try out Fit For Real People‘s suggestion of using the high bust / chest measurement as the bust measurement, and do a Full Bust Adjustment for the aging girls. So where I would have cut a size 12/B top according to Vogue instruction – I went with a size 10/A, but widened out to 12/B at the bust (see drawing below). Not a good idea for a pattern designed for 2-way stretch lycra fabrics which probably has negative ease for a close fit.

I tell you, boy was I glad I hand-basted & tested the fit before I put it under the needle – a first for me too, fitting with fashion fabric instead of muslin. I looked like an overstuffed sausage. In the end I sewn with 1/4″ seam allowance instead of the planned 5/8″. And the finished pattern was closer to a size 12/B. Typical! All that fuss for nothing.

The other problem the fitting highlighted was an unflattering pool of fabric at the back neck & shoulder seams. If I had used the recommended fabric it might have looked intentionally “draped”. But mine was a mid-weight cotton knit. So I looked like the Hunchback of Notre-Dame. I checked my Victoria’s Secret dress with a similar neckline design for ideas. I noticed that it has a more traditionally shaped back neckline. I followed suit & altered my pattern as follows:

I also tried a Sway Back Adjustment as previous T-Shirt attempts have resulted in an unsightly pool of fabric just above my back waist. It’s not entirely successful – there’s still a few wrinkles. But it’s definitely better.

To be honest, I don’t really know how to do SBA nor a FBA with dartless seamless knits. Have you tried either adjustments in knit with success? Can you share your tips?

As usual with sewing knit on my sewing machine, I’ve added a light-weight iron-on non-woven interfacing with cross-wise stretch for the hems. It makes my sewing machine overlock stitches look neater. I’d imagine I wouldn’t need this if I had only plucked up the courage & learn to use my new overlocker.

I also added clear elastic to the front neckline and front facing hem. I was worried the fabric would stretch out of shape & I’d be left with immodest front neckline gap. This was another idea courtesy of the VS dress. In fact, the VS dress cut the facing as a separate piece & sewn the elastic into the seam allowance. I had to sew mine just inside the fold. Next time I’m cutting the facing separately.

And I’m also going to redraft the collar piece to be more like the VS dress. It doesn’t look nor feel quite right. It feels tight across the front shoulder area, pulling on the sleeves a bit – you can see that in the side view photo above. With all the drape & fold you would have thought this wouldn’t be a problem.

But not enough of a problem to chuck this top to the back of the closet. Not yet anyway. We shall see after the first few washes!

UFO Revisit 3: Faux Shearling Stole

OK, last UFO Revisit for the year. What with Xmas coming up I don’t think there’s any chance of finishing anything else. So here you go.

Not my favorite styling, but at least it illustrate the wearing options courtesy of multiple hooks in different places!

The inspiration…

…Was this fabulously faux Comme des Garçons Garcons design from Autumn/Winter 1989-90…And I’m fabulously late of course!

Actually, I had been planning on making one since the beginning. But finding the right faux fur wasn’t easy. Obviously what I ended up using isn’t the same type of  faux fur, but it’s fabulously luxurious darling!

And in the intervening years, I’ve also picked up this lovely Michael Kors take on the fur stole. (In 2D form of course, I have no filthy rich but widely hated nowaday sugar daddy to fund my wardrobe.)

I love Love LOVE the juxtaposition with manly tweed. I’m still plotting to make that coat in the right one day.

And as usual I didn’t document which year this clipping is from. Can you ID the collection?

Of course lately there have been other retro faux fur stole in fashion. Like this clipping for UK Glamour, again date unknown, but I know it’s definitely recent.

So, when I finally found the Luxe Plus faux shearling at B&J in NYC last Feb, I thought the time is nigh for a faux fur stole.

Looking for the perfect pattern

First the search for the right pattern. I have no idea what shape it would be. It seems like just a straight cut of fabric. But then would it mold well to the shoulder? And if curved, how curved and where curved?

I initially cut the fabric to this Japanese pattern clipping I have. It’s from a feature on faux fur garments in So-En from ages ago. (Sadly So-En is no longer a pattern magazine, but just a fashion forward fashion magazine. And I’ve been a bit sacrilegious, having clipped out only those patterns I liked at the time. And you know how some  tastes changes over time… 🙁

I like the oversized edgy look – I didn’t want to go too dainty. But when I tried it on and it looked unruly. I think my double cloth shearling is a bit too stiff for this much fabric. I had to move on to Plan B.

I briefly toyed with idea of Burda Style 2011-12-117. But I ruled it out because the shaping seam running length-wise in the middle of the stole won’t work on my double-faced faux shearling. There’s no lining to cover up the seam and I think it’d look weird having the seam exposed in a stole.

So the final Plan B is an adaptation of another design from the same So-En article…

This is  a little bit more dainty than what I wanted. So I ditched the CF gathering; enlarged it to make full use of the fabric piece I already cut out; and curved the edges. In retrospect maybe I should have curved it more for a better fit around the shoulder. But it’s good enough to wear.

The furry sewing experiment

It got a bit furry when it came to the sewing. My RTW faux shearling coat has straight stiching along the cut edges with no seam allowances. But when I tried the same on a scrap, it didn’t look right nor feel right.

The edge felt a bit rough, which is a problem for a garment close to the skin. The top edge was also shedding fur and showing the cut edge.

I tried blanket stitching the edges. Still no good. So in the end I went for one of the techniques recommended for double-faced fabrics…

  • I peeled the edges of the double-cloth,
  • straight and zig-zag stitched the edges to reinforce them,
  • freed some trapped furs, but then promptly sheared off the one in the seam allowance to minimize bulk,
  • turned the seam allowance of the fur side in and hand-stitched in place,
  • finally turned the seam allowance of the suede side in and slip stitch the two layers at the edges.

Closure choices

I checked out other stoles and decided against the decidedly dainty ribbon closure. It wouldn’t work on my slightly oversized stole anyway. Fur hooks on the fur side doesn’t quite work either as my fur pile isn’t long enough to hide them. And with the double-faced cloth, there no way to sew the hooks to the wrong side with only the hook and loop bits poking through to the right side. So I ended up sewing 2 sets to the edges of the suede side, then throw in a bar tack loop for good measure.

Now you see it now you don’t!

A few strands of thread loops coved with blanket stitches blends into the furry background quite easily. In fact, sometimes I had trouble finding it when I want to. I also tried thread loops made with chain stitches, but it didn’t blend so well and seems a bit too fragile.

Getting crafty with it

And you thought that’s the end of it? Oh no, not so fast! There are still these inspirations to tackle…

On second thought, maybe that’s enough image porn  for one post. Stayed tuned for crafty part 2.