
This one snuck in just as I resumed my SWAP Fall/Winter 2014…Because a slouchy pullover seemed so overwhelmingly right for this double-sided sweater knit.
The Pattern


To be honest I wasn’t entirely sure about this sweater pattern. I can’t decide if it’s ugly or is it cool. The low-lying horizontal styleline might draw too much attention to my low-hanging boob / middle age spread. This + the curved shoulder seams also look a bit American footballer-ish at the same time constrictive – as I’ve learnt from a previous Burda cape project with similar shoulder shaping. But as I’m using a knit, & I’m not afraid to tinker with commercial patterns, I thought I’d give it a go. I can always test with muslin first.
Style Shots & Mug Shots


WORN WITH: 1 TopShop Martha jeans; 2 Self-drafted straight skirt; 3 Re-fashioned gore skirt;


WORN WITH: 4 Burda 2015-03-116 flare trousers; 5 Self-drafted mock-wrap skirt, Burda 2013-11-117 jacket, Self-drafted hat, Self-drafted mittens; 6-7 Self-drafted petticoat skirt; 8 Refashioned straight skirt;


Size Used
34 rather than recommended 36.
Changes Made
With the above doubts in mind, I was merciless with the pattern tweak even before I sewn up the first muslin.
Changes


- Shorten Yokes: Initially I remove an equal 2″. But when I made up the muslin, the styleline dip at the biceps & front. So I ended up shortening the front & sides further. Also, raising this seam lines also shortens them. As I was concerned about looking short-waisted & chunky – especially in a thick sweater knit – I opted to slim down the bodices & sleeves to match.
- Raise armholes: Again, paranoid looking short, I raised the armholes on the bodice & slim the sleeves the same amount to match so it won’t look like I only have like 3″ of torso.
- Forward shoulder adjustment: In the muslin the equivalent of shoulder seams definitely wanted to lie towards the back. So I move the seam slightly towards the Front (widen Back Yoke & narrow Front Yoke).
- Flatten shoulder curve: The muslin also shows weird bumps at the biceps as if the sleeves were mis-shapened set-in sleeves. I rather it look like slouchy kimono sleeves. So I flattened the shoulder curves on the Yokes.
For my wearable muslin made in a rather unstable cotton interlock from Tia Knight / Tissu Fabrics I stopped here. For the final reversible sweater I made some minor changes:
- For a more slouchy yet elongating look…Lengthened the bodices & sleeves, and exaggerated the high-low hem a bit more. I also smooth the transition of the hem at CF & CB for a less overtly edgy look.
- Cut Front & Back bodices on straight-grain on the CF/CB fold. Not sure the bias in the original adds anything if you’re not using a fabric with obvious pattern for that symmetrical chevron look. For mine it would just gobble up precious fabric & leave me not enough for 3 garments + 2 accessories!
- Because I want mine to be reversible & my fabric is too thick / spongy to double up, I cut the Yokes off at the fold lines.
Fabric & Notions Used
- Fabric: 2.5 yd Mohair/Acrylic/Nylon Double-sided sweater knit from NY Elegant Fabrics ($59.95/yd)
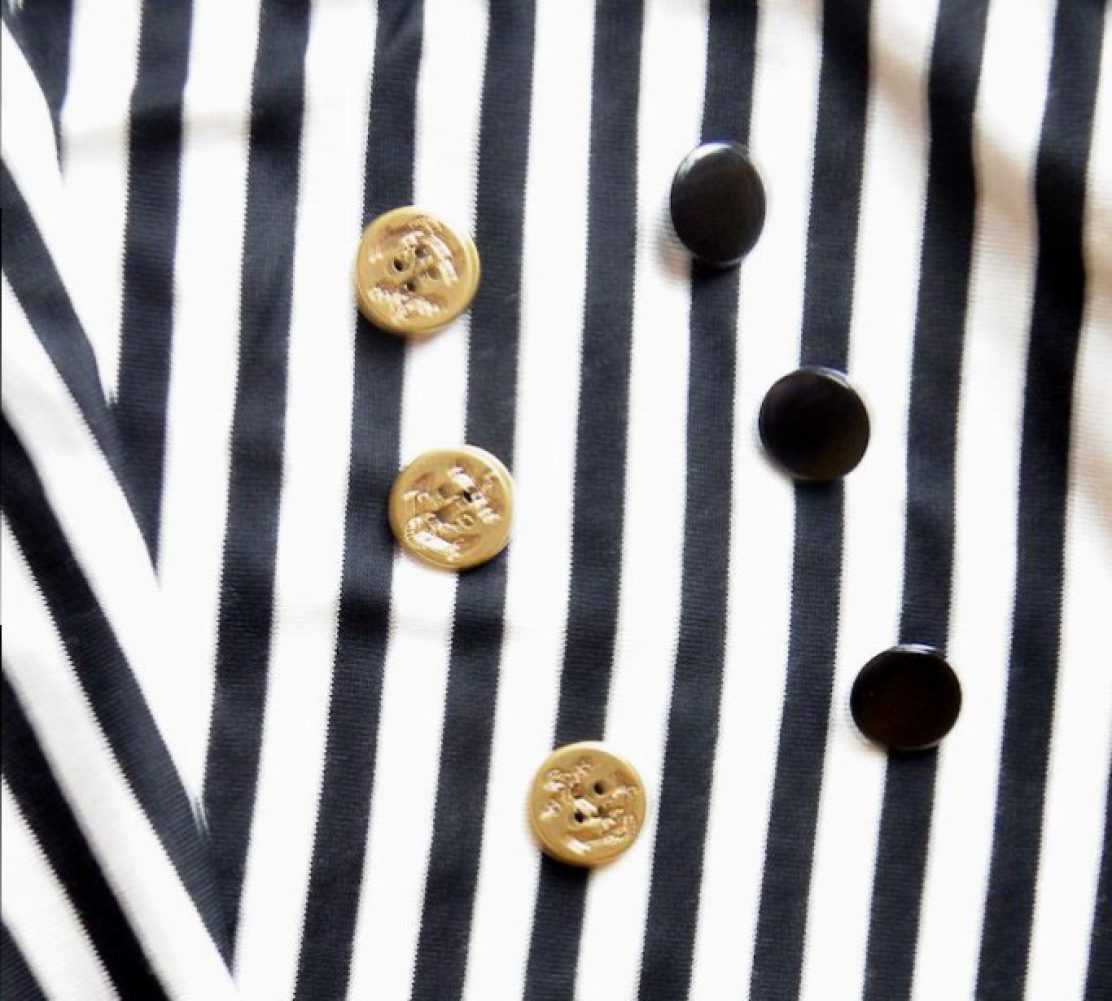
- Notions: Vilene Bias Tape.
Construction Notes
- For the Wearable Muslin I followed Burda’s illustrated instruction exactly. And I kind of regret it. The stay tape on the Back Yoke-Bodice seams feel restrictive when I slouch / reach forward. It may be due to my alterations, I don’t know. Anyway, this step didn’t suited me. So in my final Reversible Sweater I omitted the stay tape on the Front/Back Yoke-Bodice seams.
- And the obligatory Oops: This would have been a really quick make had I known ahead of time that the zipper wasn’t going to work with my sweater knit. The invisible zip worked fine in my Wearable Muslin (though I don’t seem to ever wear it unzipped). But for some reason the reversible zipper I used for the the final make was too stiff for the fabric. I did put it in, then had to take it out & redo the seam like on the other side. So in the end my Reversible Sweater has a symmetrical funnel neck. And I should have sewn in this order…


The Verdict
I like the sports lux feel of the final make. It reminds me of Alexander Wang aesthetic. Looking at the photos, I’m still not 100% about the silhouette. But it certainly feels very cozy & comforting to wear! And I got a slouchy-day wearable muslin along the way. I wear that like other non-office-workers wear their sweats. It most certainly is in heavy rotation around here 🙂
I think my fitting/design tweaks worked well.
- Moving the styleline away from the fullest part of my upper torso was definitely the right thing to do. While my middle is still short & wide (in the side view), at least this sweater isn’t shouting about it.
- And slimming the bodices & sleeves down in the process was a plus. It still has a ‘Relax-fit’. I can’t imagine how huge this would have been if I hadn’t done this. Maybe the original width would have worked in a drapier fabric. For my fabric however I think this sizing is just about right.
- Lengthwise I probably have added back most of the length I removed from the Yoke to the hem, except in the CF. This does look a tiny bit short. I might lengthen CF next time. (This could also be due to the fact that I didn’t make any FBA. But I still haven’t decided where I sit when it comes to FBA on a slouchy oversized design – would it make the garment way to big?)
So yeah, overall I think it’s a pattern I could make again – when these two went to garment heaven, or if the perfect fabric comes along.


 As I’m still grieving for Mom, this year’s Jungle January pets (and maybe others) will all be refashioning items from her closet. First up is this psychedelic purple top which is now a skirt & a sash scarf/belt. I can’t tell whether this is a Zebra or Tiger stripe. So Tigra-Zeber it is then. Or should that be Tiber-Zegra instead? Anyway, don’t Google “zebra tiger” – the first image that comes up is seriously disturbing!