
Last but not least in the why-the-hell-am-I-Sewing for Kids Trilogy is the pile on the left.

The Pattern


My niece picked the black mesh fabric and had wanted a jacket out of it. But I was worried that a see-through jacket might be a bit too sexy / grown-up so I tried to J-Crewfy it. I thought the fabric would work well with a drapy design like this – the flounce especially. As added insurance against parental objection I also added the sleeves. The Franken-drawing looked alright to me. But of the 3 makes, I’m most meh about the result of this one…
Catalogue Shots

Is it just me or does this dress look dowdy? I’m wondering now if I shouldn’t have just made another gathered tier skirt with black lining.
Fabric & Notions Used
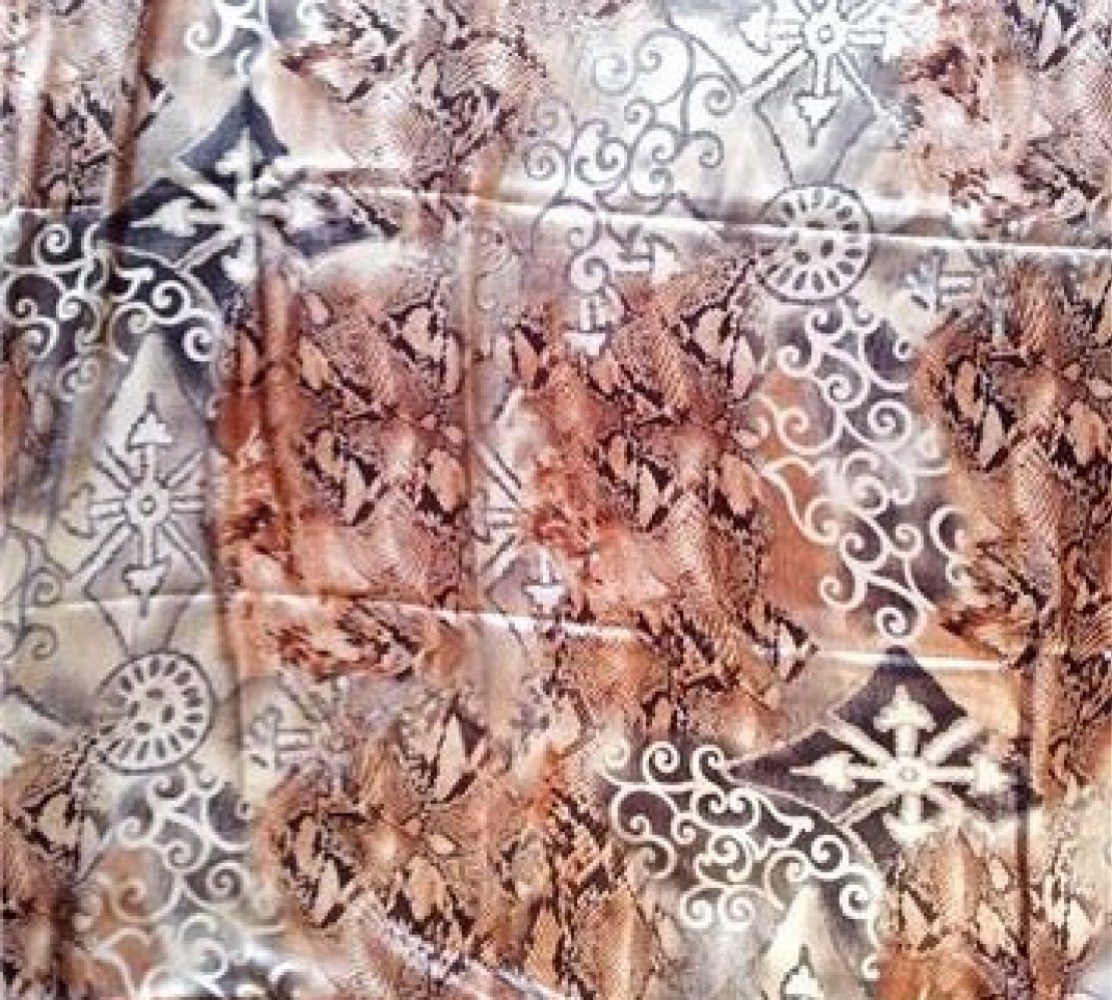
- Black & pink floral print mesh knit from Joann in the USA.
- Cerise 4 way Stretch Soft Touch Lycra Jersey from Tissu Fabrics.
- Sheer D’Light featherweight non-woven fusible interfacing for the facings.
- Spray starchy. Lots and lots of it.
I was needlessly apprehensive about sewing the mesh knit and unduly confident about sewing the Lycra underlining. The mesh in fact sewed easily on the overlocker. The Lycra lettuced like crazy on both the overlocker (with differential feed turned right up) and sewing machine…until I spray starch the hell out of it. I even resorted to homemade starch when I ran out of the commercial one. Once it’s stiff like paper it behaved itself.
Size Used
Like with the Burda jacket I made a 12 – supposedly a size larger than my niece’s current measurements. But unlike the Burda jacket this one is L-A-R-G-E. Even I could fit into it. Not sure if it’s the typical over-generous ease problem that many have reported on the Big 4 patterns, or if the fault is with me for choosing stretchy fabrics.
I would have said “that’s OK as she can grow into it”. But of the 3 garments I think this is the most kiddy design. The other two could easily be teenage or even grown up fashion. This one looks too sickly sweet to be worn by anyone other than little girls & tweenies.
Changes Made
Frankenpatterned view A sleeves onto view E dress. And underlined the whole thing.
Verdict on the Instruction
I read the instruction but did my own thing because of the changes I made. Otherwise the instruction is pretty straight-forward (and easier to follow than Burda in my opinion).
Like with the cut-lace tier skirt, I treated the underlining as a separate layer for the main bodice. Only in the armscyes, sleeve hems, and back neck opening did I treat the layers as one.

As much as possible I kept the seams and hem stitching as light-weight as possible. So the mesh shell had narrow overlocked seam and roll hems – first time I did this and it came out without a hitch thanks to the easy-to-handle mesh fabric. The underlining had slightly wider seams with a machine-stitched single-fold narrow hem.

I was debating whether to finish the sleeve hems the same way, but decided to make it look more like the other upper edges – neck hem, back opening. This is to avoid distracting from the design line of the fluid flounce which flows into the fluid bottom hem. (There’s a bit of design thoughts going into this after all, even if the result isn’t quite as fashionable as I had hoped! }:-)
Would I sew it again / Would I recommend it to others
It is a sweet looking dress. And if you get the sizing right and picked the right fabric I think it would look good on young girls & younger Tweenies.
Somehow I don’t think I’ll be sewing this again though. Unless this Tweeny Trilogy turn out to be unexpected mega-blockbusters I’m done sewing for kiddies. Back to regularly scheduled adult sewing next.


