Invisible standards & splitting hair

Well hello there. Sorry about the lack of progress report. I haven’t been entirely idle. In fact I’ve taken the bodice tissue fitting as far as I can me thinks.

But I can’t seem to get a single decent photo to illustrate my findings. And I really wanted to have pictures of thousands words. I find it useful to see other people’s photos illustrating fitting issues.

That’s one reason why I really liked Fit For Real People – the abundance of photos and guinea pigs of all shapes and sizes. I have another fitting book and half that I use as reference – Fitting & Pattern Alteration, both editions of it. While it seems more comprehensive at a glance, I find the use of drawings instead of photos and the isolation of individual fitting problem actually harder to know which fitting problems are relevant.

I might bite the bullet and write up my findings anyway. But not today. Today I want to talk about how much is “much” and when do you stop being “standard”.

So following FFRP’s instruction I got my other half to help me create this Body Graph.

Now FFRP have some guidance on what deviation is considered sloping or square shoulder, low- or high-waisted, long- or short-legged, and where some of the other body parts fall in a standard 8-head-tall figure. But I need more.

Like does my big headedness skew all the length evaluations? Is my underarm lower than expected or is that just my big head throwing everything off? How long is a standard neck? How long the standard arm joint? My Big Bertha have arm hole shapes that seem shorter and wider and tilted the other way than what I’ve seen on standard dress forms. So I’m assuming I’m non-standard in that department too.

And how much narrower should the waist be to be hour-glass shape rather than rectangular? I use to think I’m an inverted triangle as that seems like the widest part compared to the bust, waist, and hip. Also because my hip measurement is always smaller than the pattern size I use for the bodice. But judging by the Body Graph, I’m most likely a boring rectangle – like almost half of American population surveyed according to this “Shape of Things to Wear” article that Tanit-Isis found via another blogger. My waist width is at best 1.5″ narrower than my hip and 1.75″ narrower than my shoulders on either sides. Is that enough indentation to qualify me for hourglass? I fear not.

Do you get equally confused when following these fitting and figure-evaluation instructions? Or is it just me? I’m blaming my fuzzy Neptune straying too close to my Sun for this hair-splitting tendency. What’s your excuse?

How many angels can you fit on the tip of a pin? What if it’s a super-fine bridal pin?
The Siren Call of Tissue Fitting

The Holy Grail

It seems like I’m not the only one on a quest for the perfect fit with personal slopers.

Frabjous Couture is working on one following Kenneth D King’s Moulage class instructions. Tanit-Isis Sews made one a few months ago using  Winnifred Aldritch’s “Metric Pattern Cutting for Women’s Wear” book. And who can blame them when you see all the fun Petit Main Sauvage has bringing her designs to life using her slopers.

The Odyssey

I’ve attempted many time before. They all seem to fizzle out somehow, leaving a trail of useless fitting muslins behind. You can then understand my reluctance to make a toile for every singe new pattern.
But how else do you get a decent fit? I obviously don’t have the answer, judging from the drag lines on quite a few of my recent makes. But it doesn’t stop me from trying and try again.

The Siren’s Call

So when I bought Palmer / Pletsch’s “Fit For Real People” book on the recommendations of many a Sewist online, I was quite taken with their approach. First of all, FFRP is a great read. So many interesting factoids! I now have more appreciations for the Big 4 even if they don’t deliver me the perfect fit out of the envelope.

Palmer / Pletsch’s approach seem so empowering. A method to fit patterns – any size patterns – so that you’re no longer limited by what the pattern companies can afford to offer. Best of all, very little measuring and no more piles and piles of useless toiles…I’m SOLD on this “Tissue Fitting + Fit-As-You-Sew with Fashion Fabric” approach!

Don’t get me wrong, I will still be making toiles for some projects. Like many have said before, tissue paper doesn’t behave like fabrics. So I don’t see how I can tissue fit a negative-ease knit pattern or a design with some flowy billowy details. Or any of those origami patterns from Vogue pattern’s Donna Karan line!

But then not all fabrics behave the same either.

If you fit with muslin / calico fabric that doesn’t behave the same way as your fashion fabric, you might still end up with garments that look / fit differently than your toile. Hence the appeal of Fit-As-You-Sew step.

Plus I don’t know how you’d handle slash alteration method if you’re working with fabric. You can’t exactly tape fabric together, can you? If your alterations are many I’d imagine you might end up making a few toiles just for one pattern.

Yes, you might have to do that with tissue fitting too. But tissues are easier to recycle. I always feel guilty about throwing away fitting toiles or poorly fitted projects. What DO you do with your toiles afterward?

The other thing I like about Palmer / Pletsch’s approach is that by starting with a Big 4 fitting pattern, I’ll learn how my shape differ from their target shape. That’ll help with altering any patterns from the Big 4 as well as having a basic sloper to create my own designs from.

If I had drafted a pattern from scratch – which I’ve done many times – then I wouldn’t have their target shape as a point of reference. Yes, you can compare a fashion pattern to a self-drafted sloper. But then you might end up altering the design because you won’t know if the difference between your sloper and the pattern is due to the design or differences between your shape and the pattern company’s target shape. (That’s another reason I’m weary of Burda Style patterns. There’s no way to find out what their target shape is now that they seem to have discontinued their fitting pattern.)

All Aboard!

I’m sure there’ll be pit-falls. Theories always sound good. The reality may not always be so rosy. But you can’t knock it until you tried it. And I mean really tried it.

So hop abroad for the ride! I’ll share my trials & errors with you as I go along.

And if you’ve tried the Palmer / Pletsch’s approach, do share your knowledge and wisdom! Tell us your experience in the comments. Link to your blogs or forum postings if you’ve wrote about your experience before.

Vogue 2980 Show & Tell

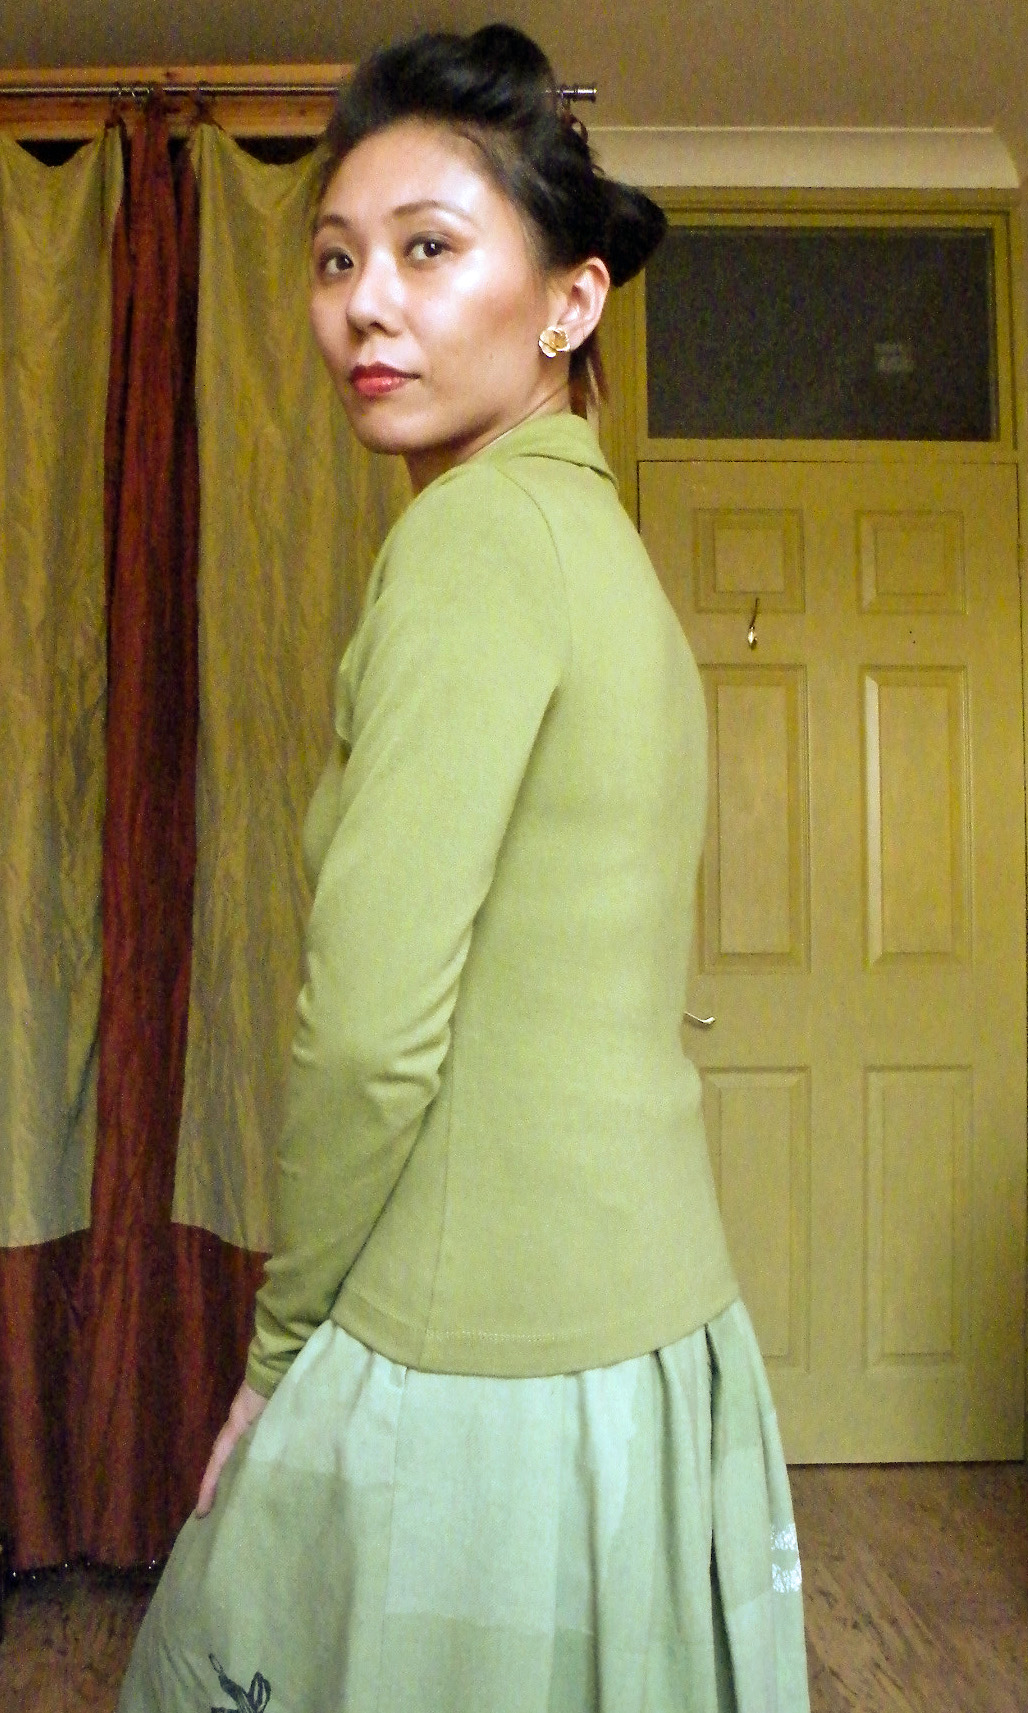
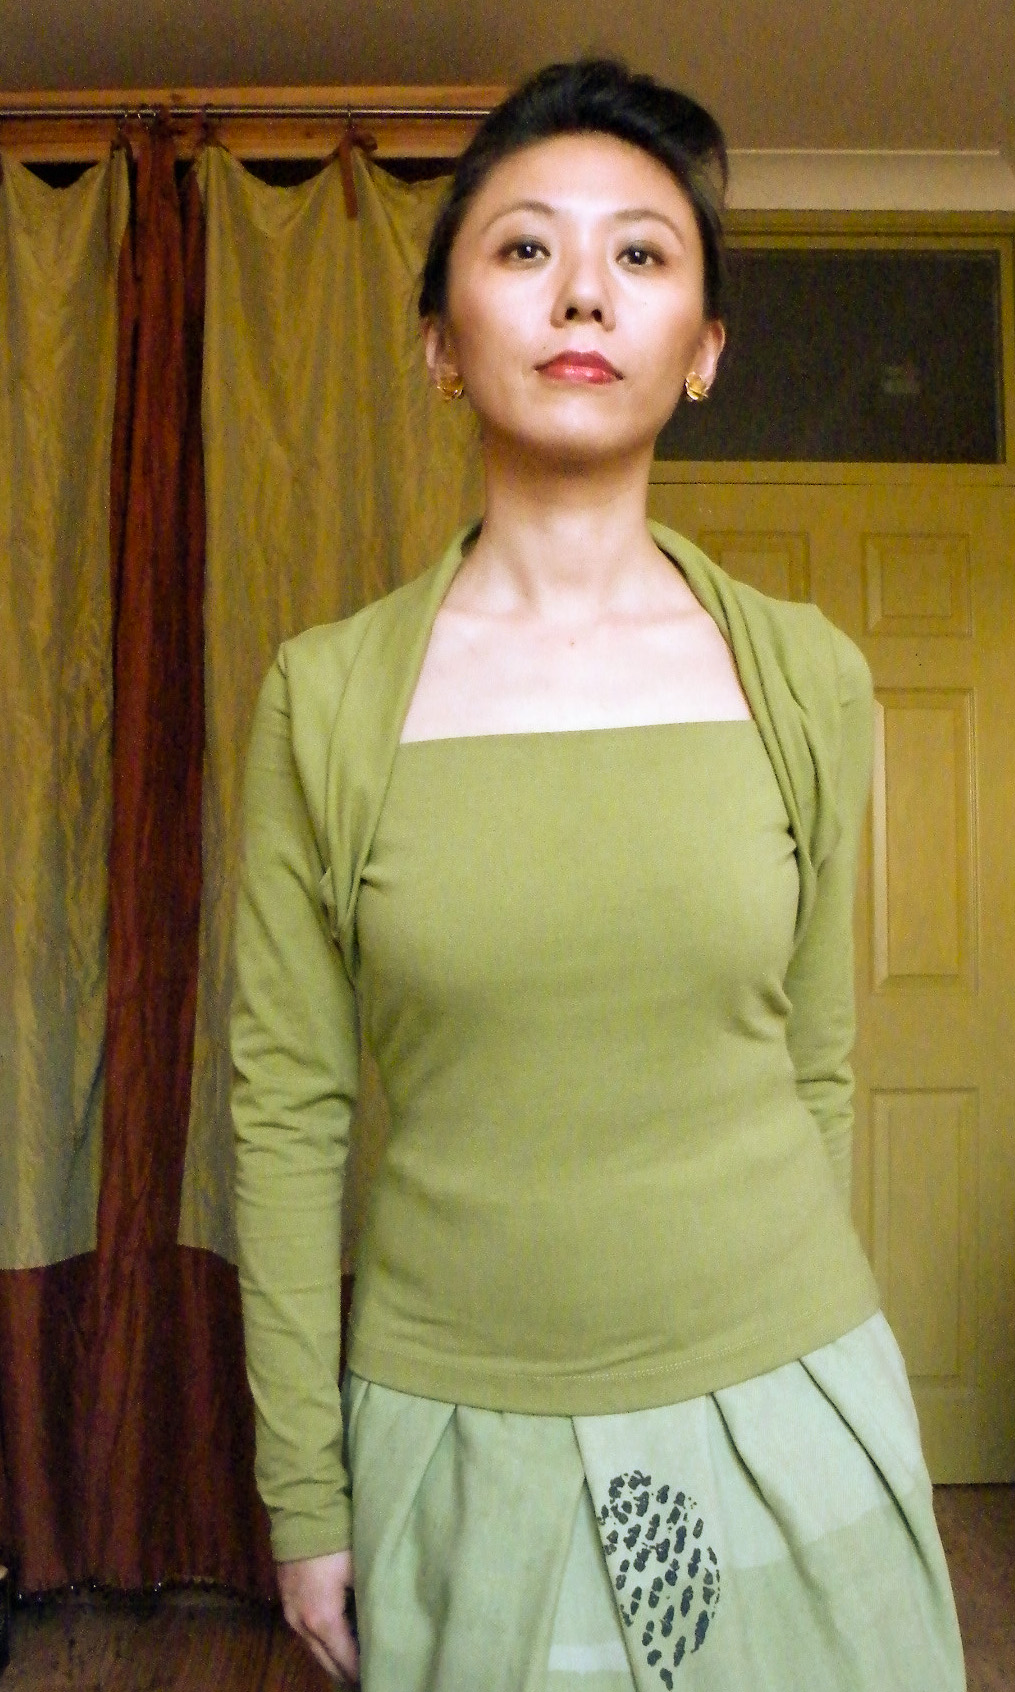
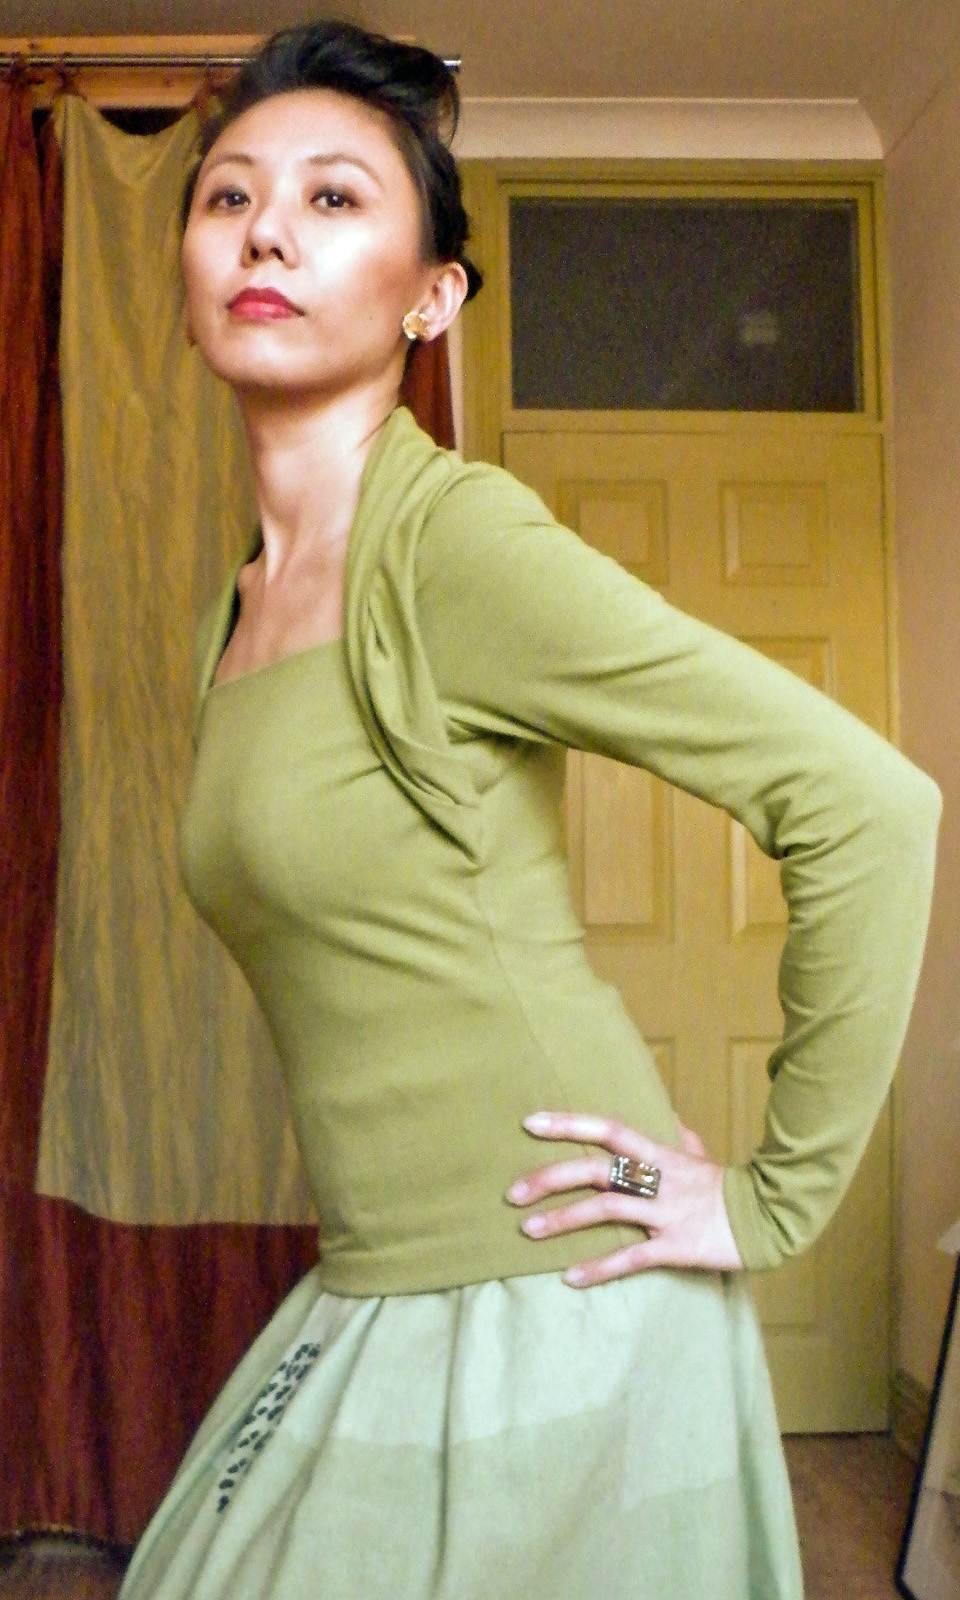
So here it is, my latest sewing project: Vogue 2980 Today’s Fit knit top by Sandra Betzina.

Here’s the pattern envelope pictures for comparison:

The pictures look a bit twee to me, but I definitely don’t feel twee wearing it. In fact I’ve worn it a few days in the row now! Pew I hear you say? It’s in the wash now.

Hopefully it won’t shrink much. Because I picked the wrong project to try out Fit For Real People‘s suggestion of using the high bust / chest measurement as the bust measurement, and do a Full Bust Adjustment for the aging girls. So where I would have cut a size 12/B top according to Vogue instruction – I went with a size 10/A, but widened out to 12/B at the bust (see drawing below). Not a good idea for a pattern designed for 2-way stretch lycra fabrics which probably has negative ease for a close fit.

I tell you, boy was I glad I hand-basted & tested the fit before I put it under the needle – a first for me too, fitting with fashion fabric instead of muslin. I looked like an overstuffed sausage. In the end I sewn with 1/4″ seam allowance instead of the planned 5/8″. And the finished pattern was closer to a size 12/B. Typical! All that fuss for nothing.

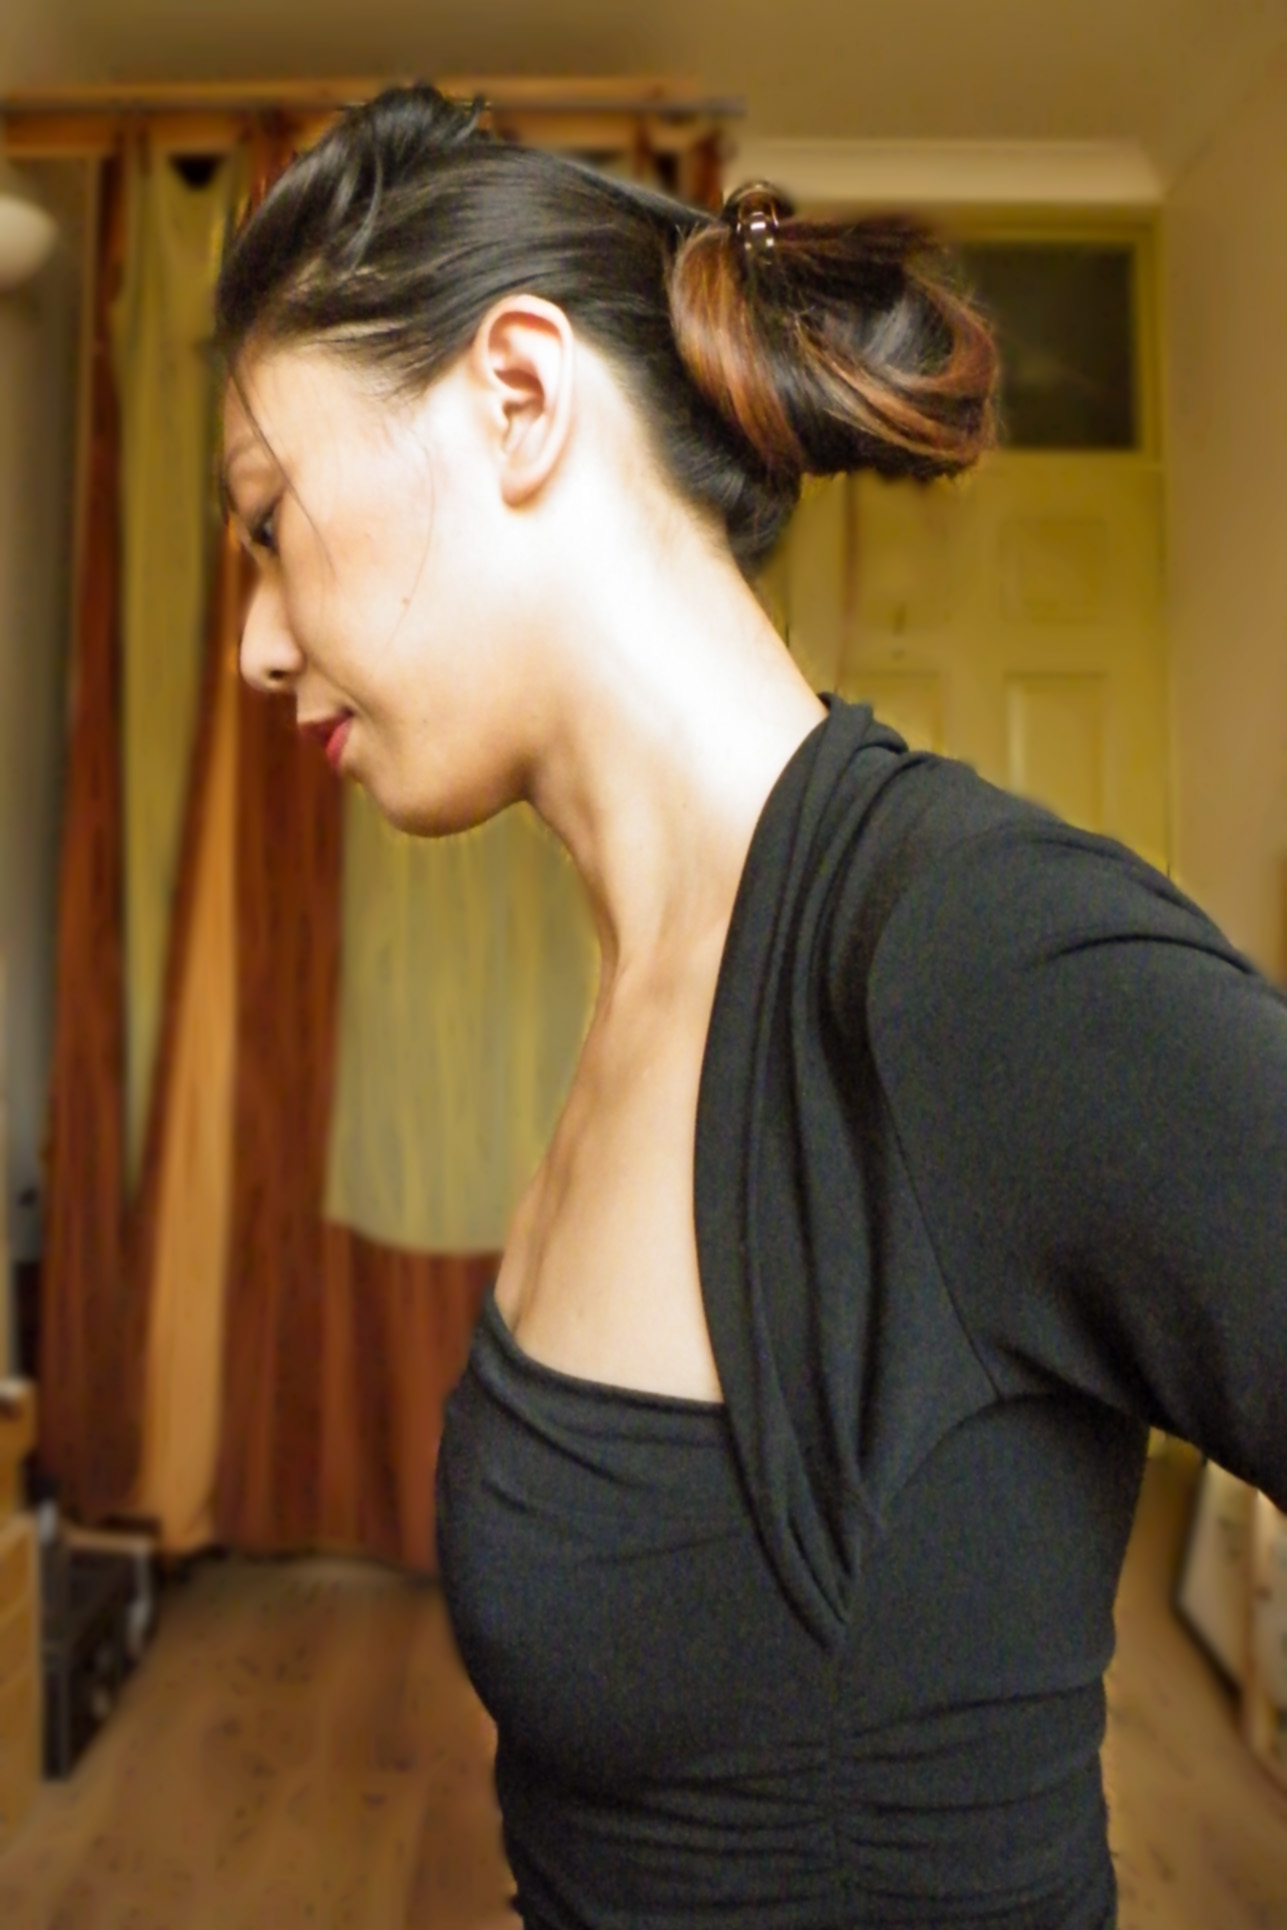
The other problem the fitting highlighted was an unflattering pool of fabric at the back neck & shoulder seams. If I had used the recommended fabric it might have looked intentionally “draped”. But mine was a mid-weight cotton knit. So I looked like the Hunchback of Notre-Dame. I checked my Victoria’s Secret dress with a similar neckline design for ideas. I noticed that it has a more traditionally shaped back neckline. I followed suit & altered my pattern as follows:

I also tried a Sway Back Adjustment as previous T-Shirt attempts have resulted in an unsightly pool of fabric just above my back waist. It’s not entirely successful – there’s still a few wrinkles. But it’s definitely better.

To be honest, I don’t really know how to do SBA nor a FBA with dartless seamless knits. Have you tried either adjustments in knit with success? Can you share your tips?

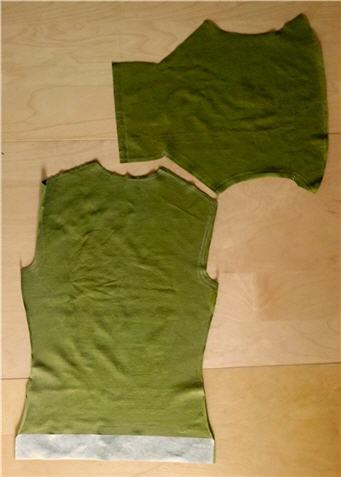
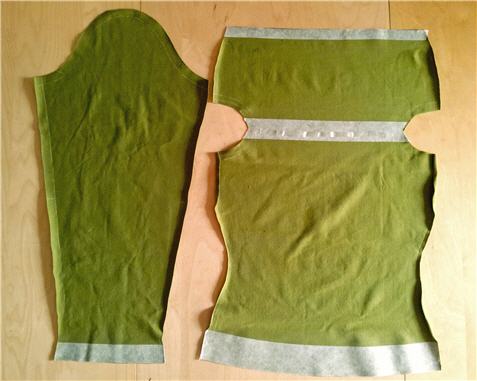
As usual with sewing knit on my sewing machine, I’ve added a light-weight iron-on non-woven interfacing with cross-wise stretch for the hems. It makes my sewing machine overlock stitches look neater. I’d imagine I wouldn’t need this if I had only plucked up the courage & learn to use my new overlocker.

I also added clear elastic to the front neckline and front facing hem. I was worried the fabric would stretch out of shape & I’d be left with immodest front neckline gap. This was another idea courtesy of the VS dress. In fact, the VS dress cut the facing as a separate piece & sewn the elastic into the seam allowance. I had to sew mine just inside the fold. Next time I’m cutting the facing separately.

And I’m also going to redraft the collar piece to be more like the VS dress. It doesn’t look nor feel quite right. It feels tight across the front shoulder area, pulling on the sleeves a bit – you can see that in the side view photo above. With all the drape & fold you would have thought this wouldn’t be a problem.

But not enough of a problem to chuck this top to the back of the closet. Not yet anyway. We shall see after the first few washes!

The Fitting Hampster Wheel

Urgh, the Sloper 2011 project is really dragging me down. A couple of weeks into my sewing holiday and I still haven’t made anything. Instead all my energy has gone into trying to perfect a new sloper. The idea is that once I get this basic fitting shell right it’ll open up a whole new world of design. So much for the theory! Here’s what really happened so far…

Draping on Big Bertha

My last sloper was also derived from draping on Big Bertha. But either the draping instruction wasn’t very clear or I’m not very good a following instruction, the fitting lines seemed off. So this time I vowed to keep the bust, back bodice, and skirt fitting lines level with the aid of gridded pattern fleece (a bit like non-woven interfacing, but for pattern drafting & fitting, source long forgotten!).

So far so good. And I discovered a good use for my used needles: They’re great for pinning into Big Bertha / Duct Tape Doubles. Yes, they still gum up. But they’re more sturdy. And the larger, rounder end that fit into the sewing machine also provide a good and less painful grip for pinning into Big Bertha’s thick skin.

So voilà, new bodice sloper!

This time I also tried to keep all other darts as symmetrical as possible to minimize the amount of adjustments needed for future pattern fitting. But see how the left shoulder still slope more than the right? And it wasn’t a simple lowing the shoulder and underarm seams. The armhole actually scoops in more.

As a precaution I decided to try these non-woven fitting shell. And shock horror, it’s not perfect. I can’t remember exactly what happened next – there’s been like 9 fittings since – but anyway, I got it into my head that my right shoulder also slopes and Big Bertha is no longer my faithful twin.

I decided to use the sloping left side for further fitting trials. I think this photo was taken after that though I can’t be sure any more. See how the right side now look about right.

On to gingham fitting shell hell

I followed Connie Crawford’s instruction for drafting a sleeve pattern, then proceeded with the gingham fitting a la Vogue Pattern instruction. And here’s the initial result:

Erm, where did that big horizontal wrinkle on the back come from???!!! And the sleeves, see those dreadful twisted drag lines. Urgh!

I checked my other books and decided the sleeve might have been drafted incorrectly. I didn’t exactly followed Connie’s instruction to the T. She’d have you draft  to standard sizes. But what’s the point of standard size sleeve on custom sized bodice? Anyway, I know my arms are skinnier than standard, so I adapted her instruction for custom larger sizes. But this resulted in a 2″ ease. When I later checked my draping book sleeve drafting instruction, it says the ease should be no more than 1.5″. So that might have been part of the problem. But the twisting…I have no clue.

I decided to remove the sleeve and check the fit again, in case the rogue sleeves were distorting the fit. Still no luck. Back bodice still wrinkled. The bust fitting line isn’t level and there are folds at the side seams. The skirt too had diagonal wrinkles from front high hip to bottom of back buttock. And the hem swings towards the front slightly.

Anyway, tweaks after tweaks later, I finally did away with most of the back wrinkle in fitting 7. But now the whole bodice is hitched up about 1″.

I checked the shoulder slopes and, erm, they’re like the original Big Bertha draped results! I’ve gone the full circle and I was feeling really sorry to have doubted Big Bertha.

So I undid the whole basting, retraced the original draped slopers, rebasted, and voilà…

Huh? The back horizontal wrinkle is back???!!!

By this point I’m feeling a bit like this, but obviously not as cute.And my apartment is a mess
with patternmaking & sewing bits & bobs strewn all over…

Oh, I forgot to mention, in the process Big Bertha has also acquired an arm and me a few cuts  from my boyfriend trying to free my arm from the Duct Tape shell. There’s her arm in the top picture…not that I’ve done anything useful with it since.

Plan B C

In my typical fashion my solution was to order more books! Thanks to a birthday Amazon gift voucher, 3 more fitting books are on their way to me. (Plus 2 on serging.) I’ve finally succumbed to the sewing community’s rave reviews and ordered the Palmer/Pletsch fitting for Real People series.

I also ordered Fitting & Pattern Alteration 2nd edition (far left). I actually have the first edition already (near left). It’s like an encyclopedia of fitting issues. But because it’s mostly drawings, and each fitting problem is shown separately, I still wasn’t able to figure out how to solve my compound fitting problems. The new edition seems to have more photographic illustrations. And some reviewers mentioned clearer explanation on order of fitting. I’m hoping these changes will be enough to help me get off the Fitting Hamster Wheel on to the straight road of finally cracking that fitting shell!

In the meanwhile, I’m going to Plan C: looking for some simpler, less fitted projects to put the joy back into sewing.

What about you? Have you had fitting problems sapped the life out of your sewing? How did you crack it?

No straight walls for England & no straight lines for my sloper

Urgh. Sloper making is like DIY. Nothing’s ever straight!

I’ve been trying to even out the left-right bodices, and checking measurements against Big  Bertha every few minutes. But this is what I ended up with:

I mean how can it be that the bust line is not perpendicular to the CF? Everything seems to measure up alright. But this just doesn’t make sense.

And in the process Big Bertha has acquired a few more tattoos…

I tried drawing a few more guidelines to help me with the measurement. Problem is getting them level and straight. I tried using a DIY spirit level. But of course with all her curves it’s impossible to get a straight line going round her body. What looks straight from the front (the chest level lines) looked slanted from the side (higher at CF than at the side). Urgh.

So, tommorrow, Plan B:

I’m starting from scratch. I’m going to try Connie Crawford’s custom draping sloper making method. I got these really old pattern-making nonwoven interfacing I can use. It’s lined with 1″ squares. I’m hoping that will help keep my future bustline and CF squared.

Wish me luck!