What do you do when you can’t sew?

Why go shopping of course!

This time it’s patterns, not fabrics. I had seen this Donna Karan Vogue Pattern for a cowl neck top (v1282) and lusted after it. But not at $19.20.

So I waited. And waited. And waited for that spam mail about $4.99 sale. But nothing came. I must have been blacklisted. Or my spam filter gotten too diligent.

As luck would have it, while investigating the problem I checked the Vogue Pattern site a couple of days ago and it was…wait for it…$3.99 a pop! And McCalls Patterns at $1.99 a pop. OK, add on international shipping and it’s no longer dirt cheap, but it’s still the cheapest I’ve ever paid for Vogue Patterns. So I popped for 7 – the cut off point at which shipping cost jumps a whopping 120%.

V1282 I hope will work for this non-spandex cotton knit I have in a lovely turquoise leopard print.

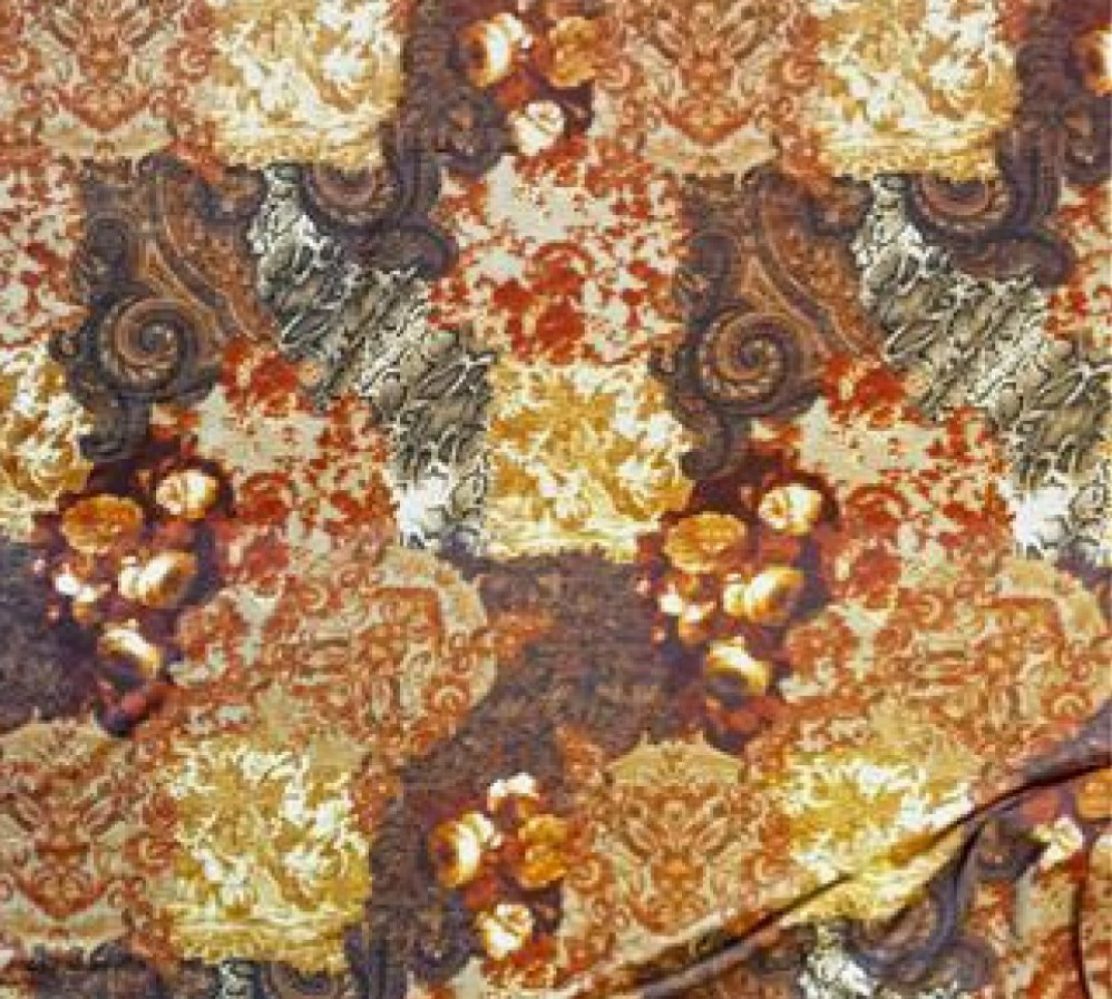
I think I’ll also make one with the gold fabric I salvaged from this Victoria Secrets convertible dress that’s just too tarty for my taste. As you see though, it drapes quite nicely, so should be a good fit for this pattern.

So apart from v1282, I also got:

Vogue Pattern 1258

The pattern photo actually doesn’t do much for me. I got this on account of Erika B’s and Allison C’s versions. It’s good to know that models don’t always wear it better! Hurrah for real women.

Having said that, the Vena Cava – Fall 2010 original does look quite good on the model.

Vogue Pattern 1233

because it’s just too cute…and…

Vogue Pattern 8774

because I haven’t got any jeans pattern and this one doesn’t look not too momsy.

Vogue Pattern 8701

Again the photos don’t do much for me. But the drawings reveal a jacket with potential, and a raglan dress that can be a classic block.

Maybe the jacket in a gray denim? Tailored denim – I like that: Somewhat unexpected combinations. Just like a jean made from a more formal fabric that I saw in agnès b homme ages ago

McCall Pattern 2718

Yes, another fitting pattern – I seem to be forever fiddling with fitting! I’m already on my second Vogue fitting pattern. The first one was when I was size 8 too many decades ago. The second a fatter size 12.

But having read Palmer/Pletsch’s Fit For Real People book, I’m persuaded that I had gotten the wrong size based on full bust measurement as instructed by Vogue Pattern instead of high bust measurement recommended in the book.

If I was going to get a new fitting pattern I might as well get Palmer/Pletsch’s latest – McCall’s version. They had designed the original Vogue version in 1975, but have since refined the technique. This new McCall version supposedly has more fitting guidance built in. We shall see if anything come out of this nth fitting attempt!

McCall Pattern 6464

While I was at it, I thought I might as well try one of Palmer/Pletsch’s patterns for McCall and see if they are easier to fit properly.

This shift dress, while nothing special, does look rather elegant with an empire waist in the front dropping to natural waist in the back. Another classic block me thinks.

Now I just need to finish painting my sewing room without fainting or getting too high from the fumes!

Free Alexander McQueen designer kimono jacket pattern

Another one worth sharing while I’m watching paint dry in my sewing room…

Pattern from showstudio.com.
Link courtesy of Lisa who left a comment on my kimono post. Thanks!

The McQueen. Really. Looks like fun. Especially as there’s only one size and there’s no indication which it is. One giant origami puzzle from l’enfant terrible of British fashion. Anyone up for a challenge?

Vogue 2980 Show & Tell

So here it is, my latest sewing project: Vogue 2980 Today’s Fit knit top by Sandra Betzina.

Here’s the pattern envelope pictures for comparison:

The pictures look a bit twee to me, but I definitely don’t feel twee wearing it. In fact I’ve worn it a few days in the row now! Pew I hear you say? It’s in the wash now.

Hopefully it won’t shrink much. Because I picked the wrong project to try out Fit For Real People‘s suggestion of using the high bust / chest measurement as the bust measurement, and do a Full Bust Adjustment for the aging girls. So where I would have cut a size 12/B top according to Vogue instruction – I went with a size 10/A, but widened out to 12/B at the bust (see drawing below). Not a good idea for a pattern designed for 2-way stretch lycra fabrics which probably has negative ease for a close fit.

I tell you, boy was I glad I hand-basted & tested the fit before I put it under the needle – a first for me too, fitting with fashion fabric instead of muslin. I looked like an overstuffed sausage. In the end I sewn with 1/4″ seam allowance instead of the planned 5/8″. And the finished pattern was closer to a size 12/B. Typical! All that fuss for nothing.

The other problem the fitting highlighted was an unflattering pool of fabric at the back neck & shoulder seams. If I had used the recommended fabric it might have looked intentionally “draped”. But mine was a mid-weight cotton knit. So I looked like the Hunchback of Notre-Dame. I checked my Victoria’s Secret dress with a similar neckline design for ideas. I noticed that it has a more traditionally shaped back neckline. I followed suit & altered my pattern as follows:

I also tried a Sway Back Adjustment as previous T-Shirt attempts have resulted in an unsightly pool of fabric just above my back waist. It’s not entirely successful – there’s still a few wrinkles. But it’s definitely better.

To be honest, I don’t really know how to do SBA nor a FBA with dartless seamless knits. Have you tried either adjustments in knit with success? Can you share your tips?

As usual with sewing knit on my sewing machine, I’ve added a light-weight iron-on non-woven interfacing with cross-wise stretch for the hems. It makes my sewing machine overlock stitches look neater. I’d imagine I wouldn’t need this if I had only plucked up the courage & learn to use my new overlocker.

I also added clear elastic to the front neckline and front facing hem. I was worried the fabric would stretch out of shape & I’d be left with immodest front neckline gap. This was another idea courtesy of the VS dress. In fact, the VS dress cut the facing as a separate piece & sewn the elastic into the seam allowance. I had to sew mine just inside the fold. Next time I’m cutting the facing separately.

And I’m also going to redraft the collar piece to be more like the VS dress. It doesn’t look nor feel quite right. It feels tight across the front shoulder area, pulling on the sleeves a bit – you can see that in the side view photo above. With all the drape & fold you would have thought this wouldn’t be a problem.

But not enough of a problem to chuck this top to the back of the closet. Not yet anyway. We shall see after the first few washes!

Aside

Vogue Men’s Patterns Give-Away

OMG, I finished a top! But the sun has gone down now. So too late to show & tell. Another day then.

Between the craziness of a new job and redecorating at home, I haven’t made much progress on the sewing front. But I have gone through my pattern collection recently, and earmarked a couple for a Give Away.

Don’t get too excited yet. These are men’s patterns. Sorry, I’m hanging on to most of the women’s ones, even if many are a couple sizes too small now. Hoarder’s finger grip is strong. You can pry those other patterns off my hand over my dead body! 😉

So here they are:

Give-Away 1: Vogue 1928 Men’s Jacket, Pants & Shorts, chest sizes 32-34-36, uncut.

Loose-fitting, partially interfaced, lined, below hip jacket has shoulder pads, side panels, no side seams & long, 2-piece sleeves with mock vent & button trim.

A: collar, flaps, & pockets. A,B: welt. C: button/loop closing. B,C: side front pockets.

Shorts, above mid-knee or tapered pants have waistband, carriers, side front/back pockets & mock fly zipper.

D: stitched hems. F: cuffs.

Give-Away 2: Vogue 8918 Men’s Pants, waist sizes 26-28-30, cut to 30.

Tapered pants have front button wasitband, carriers & fly zipper closing.

A: side front welt pockets. B: shaped, side front pockets & back pockets. C: side pockets. A,C: back button welt pockets.

Both are not in the pattern envelopes anymore. But neither have been used. My other half has gotten a bit too well fed for these to be useful to me. So in the spirit of freecycle, I’m passing these on to those who can make better use of them.

How to get these:

It’ll be on a first come first serve basis. I’ve been a bit negligent in updating this blog, so I don’t expect there’ll be enough instant traffic for a proper prize draw.

So just leave a comment with your email address and I’ll get in touch to get postal address.

UFO Revisit 3: Faux Shearling Stole

OK, last UFO Revisit for the year. What with Xmas coming up I don’t think there’s any chance of finishing anything else. So here you go.

Not my favorite styling, but at least it illustrate the wearing options courtesy of multiple hooks in different places!

The inspiration…

…Was this fabulously faux Comme des Garçons Garcons design from Autumn/Winter 1989-90…And I’m fabulously late of course!

Actually, I had been planning on making one since the beginning. But finding the right faux fur wasn’t easy. Obviously what I ended up using isn’t the same type of  faux fur, but it’s fabulously luxurious darling!

And in the intervening years, I’ve also picked up this lovely Michael Kors take on the fur stole. (In 2D form of course, I have no filthy rich but widely hated nowaday sugar daddy to fund my wardrobe.)

I love Love LOVE the juxtaposition with manly tweed. I’m still plotting to make that coat in the right one day.

And as usual I didn’t document which year this clipping is from. Can you ID the collection?

Of course lately there have been other retro faux fur stole in fashion. Like this clipping for UK Glamour, again date unknown, but I know it’s definitely recent.

So, when I finally found the Luxe Plus faux shearling at B&J in NYC last Feb, I thought the time is nigh for a faux fur stole.

Looking for the perfect pattern

First the search for the right pattern. I have no idea what shape it would be. It seems like just a straight cut of fabric. But then would it mold well to the shoulder? And if curved, how curved and where curved?

I initially cut the fabric to this Japanese pattern clipping I have. It’s from a feature on faux fur garments in So-En from ages ago. (Sadly So-En is no longer a pattern magazine, but just a fashion forward fashion magazine. And I’ve been a bit sacrilegious, having clipped out only those patterns I liked at the time. And you know how some  tastes changes over time… 🙁

I like the oversized edgy look – I didn’t want to go too dainty. But when I tried it on and it looked unruly. I think my double cloth shearling is a bit too stiff for this much fabric. I had to move on to Plan B.

I briefly toyed with idea of Burda Style 2011-12-117. But I ruled it out because the shaping seam running length-wise in the middle of the stole won’t work on my double-faced faux shearling. There’s no lining to cover up the seam and I think it’d look weird having the seam exposed in a stole.

So the final Plan B is an adaptation of another design from the same So-En article…

This is  a little bit more dainty than what I wanted. So I ditched the CF gathering; enlarged it to make full use of the fabric piece I already cut out; and curved the edges. In retrospect maybe I should have curved it more for a better fit around the shoulder. But it’s good enough to wear.

The furry sewing experiment

It got a bit furry when it came to the sewing. My RTW faux shearling coat has straight stiching along the cut edges with no seam allowances. But when I tried the same on a scrap, it didn’t look right nor feel right.

The edge felt a bit rough, which is a problem for a garment close to the skin. The top edge was also shedding fur and showing the cut edge.

I tried blanket stitching the edges. Still no good. So in the end I went for one of the techniques recommended for double-faced fabrics…

  • I peeled the edges of the double-cloth,
  • straight and zig-zag stitched the edges to reinforce them,
  • freed some trapped furs, but then promptly sheared off the one in the seam allowance to minimize bulk,
  • turned the seam allowance of the fur side in and hand-stitched in place,
  • finally turned the seam allowance of the suede side in and slip stitch the two layers at the edges.

Closure choices

I checked out other stoles and decided against the decidedly dainty ribbon closure. It wouldn’t work on my slightly oversized stole anyway. Fur hooks on the fur side doesn’t quite work either as my fur pile isn’t long enough to hide them. And with the double-faced cloth, there no way to sew the hooks to the wrong side with only the hook and loop bits poking through to the right side. So I ended up sewing 2 sets to the edges of the suede side, then throw in a bar tack loop for good measure.

Now you see it now you don’t!

A few strands of thread loops coved with blanket stitches blends into the furry background quite easily. In fact, sometimes I had trouble finding it when I want to. I also tried thread loops made with chain stitches, but it didn’t blend so well and seems a bit too fragile.

Getting crafty with it

And you thought that’s the end of it? Oh no, not so fast! There are still these inspirations to tackle…

On second thought, maybe that’s enough image porn  for one post. Stayed tuned for crafty part 2.