
And finally, we have a finished project to show!
If you’ve been following any British sewing blogs – or any Western European ones – you’d probably know by now we’re “enjoying” an unusual summer heat wave. Scratch that, make it an unusual Summer. Period.
So it’s been either too hot to sew or too nice to sew. I did not help matters further by complicating all three of my Sewing For Tweenie projects. Hence they’ve been like this for the longest time:

But I’m happy to report that thanks to a minor down turn on the work front I’ve finally managed to complete one. First off the assembly line is the jacket pile on the left.
The Pattern


It was notoriously difficult to get my niece to pick a children’s pattern. She kept reaching for the grown up Project Runway patterns! Eventually she did pick this jacket pattern herself. So let’s hope she likes the result!
Catalogue Shots
No life modelling this time. Not even a dress form modelling as this is so not my size! 🙂


Fabric & Notions Used
- Tan polyester faux suede with copper foil dots from Joann in the USA
- Golden orange poyester Silkytex lining from A-One Fabrics on Goldhawk Road, London
- Sheer D’Light featherweight non-woven fusible interfacing for the bodice & sleeves. Armo Weft Suit Maker fusible interfacing for the facings.
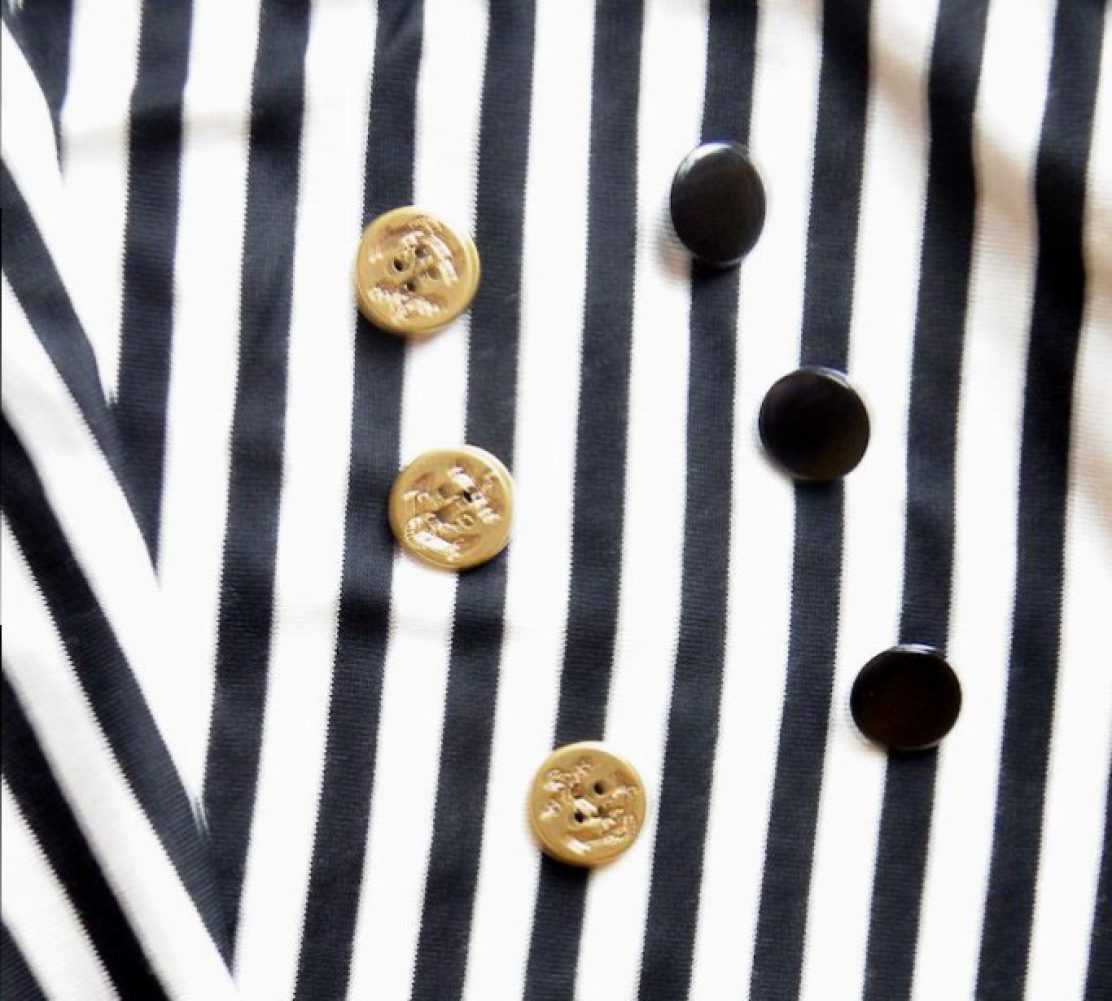
- Metal flower buttons from NYC that I bought for myself a long long looooooooooong time ago. I love these! But of the buttons I have these look best with the fabric. So I’m sacrificing them for my niece. She better appreciate them! In fact, I’m going to ask my brother to salvage the buttons and send them back to me if she decides the jacket isn’t for her.
Size Used
My niece’s Spring measurements are closer to a size 11 (146). But I was advised to make a size larger in case she gets a sudden growth spurt. So size 12 (152) it is. Not a clue how this will fit her. Fingers crossed it won’t be any worse than RTW.
Changes Made
As I don’t have her here for fittings, I made a straight 12/152. But I did add a full lining and made the facing slightly wider.
Verdict on the Instruction
I did glance through the instructions and followed a step here or there. But while these packaged Burda patterns have better instruction than the Burda magazines, they’re still not as detailed as the Vogue/McCall patterns that I’m more used to.
The pattern marking was a bit confusing too. The center front cut line was marked as Center Front. I couldn’t figure out if they mean the corresponding (unmarked) seam line 5/8″ in is the CF or if the printed cut line is the CF. I hope it’s the former. Otherwise the finished front would be a bit too small, especially as this one have butted CF rather than overlapped like a typical jacket.
The pattern for the button loops was also a bit ambiguous. Firstly, I can’t find any button size instruction. So without button size how do you know how long a loop strip you need and how big a loop to make? The marking on CF is for the smallest size only. So you’ll just have to experiment yourself. F.i.d.d.l.y.!.!.!.!.!
Lousy instruction aside, I slowed myself down further by deciding to try a few new-to-me jacket sewing techniques.
First off, interfacing.
I started out interfacing just the facings & the hems. But I had a mini crisis over this. Mainly because I was too mean with interfacing in the past. So I have a whole pile of fusibles that are over 20 years old. The first one I tried did not stick well. No problem, I’ll stick fusible web where it’s not sticking. But that made hems too stiff and I had to pull these off, leaving adhesive gunk behind. Cry. Tantrum. And vows to ditch all these geriatric fusibles.
After a few cups of decafs the natural meanness crept back. I decided to test rest of the fusibles before deciding who goes and who stays – in case it was the polyester faux suede’s fault. Turns out most of the rest are not too bad. Especially on fabrics that can take the heat & moisture – like everyone’s favorite – 100% cotton. So most of them stay. But I’ve learned to be less stingy with the interfacing.
In fact I then decide to interface the whole jacket – front, back, sides, sleeves, the whole shebang – because the faux suede felt a bit too limp for a jacket.
Next up the lining.
I decided to try a few of Kathleen Fasanella aka Fashion Incubator‘s recommendations.
- For the lining patterns, I followed the instruction on p154-157 of her book “The Entrepreneur’s Guide to Sewn Product Manufacturing” and added 1/2″ vertical ease between the bottom of the armhole and the hems. On the body this was eased into the front facing instead of being left as a fold at the bottom of the lining (like I’ve done previously following everyone else’s example).
- I also tried her jacket bagging online tutorials 1 & 2 as well as her tutorials for a neat machine finish where the bottom of the front facing joins the lining & hem. Even with photos these were a bit difficult to follow. I had to proceed slowly. But in the end they did work! The bit for joining the sleeve with the sleeve lining was especially magical. I kept wondering if I was going to end up with an Escher straitjacket. Thankfully when turned right side out it was a perfectly formed sleeve with machine stitched sleeve hem/lining seam!
Below are a few pictures of what it looks like just before I turned it right side out…


And after it was turned right side out…


A couple of things I did differently than the standard bagging instruction:
- I found it easier to finish the facing-lining/hem joint first before sewing the CF shell-facing seam.
- I decided to leave the gap for turning the jacket right side out at the back hem rather than in one of the sleeve seams. I find lining fabric fray too easily – especially as I had reduced most seam allowances to 3/8″ like Kathleen instructed. So I didn’t want to deal with a fiddly/difficult to reach area like a sleeve seam. Back hem is easier to work with. I just slip stitch the small stretch of unfinished hem by hand.
Speaking of fraying lining, how do you finish lining seam allowances?
I Googled the earth & checked every sewing book I have and no one has a single recommendation on this. I ended up stitching two parallel lines, pinking the edge, then pressing to one side. But I’m wondering if there’s a better way.
Would I sew it again / Would I recommend it to others
It’s a cute jacket I think. But as I can’t check the fit, and I’ve been warned that Tweenies are very hard audience to please, I probably won’t sew it again.
And I think it’ll be wiser for me to wait for my niece’s verdict before I go recommending it to anyone else!


