Next up on my shopping list are books. London used to have a bookshop aimed at fashion students with hard to find text books etc. But it seem to have closed down. Last time I was in LA, I come across one such book store in the Fashion District. So this time I decided to stock up on unusual finds to keep me busy on that sleepless flight back home.
An Eye-Opening Education
 First up is the Fashion Book Store in California Market Center building on E 9th St between S Main St & S Los Angeles St. Here I took the plunge and got a couple of specialist books. They cost an arm and a couple of legs. But I figured that I can’t get the same info easily elsewhere. Plus they’ll last me a lifetime (or what’s left of it anyway). Besides, someone took the trouble to collect, collate, and share all these insights (rather than regurgitate what others have already written loads about). And they deserved to earn some money for their effort.
 By Beverly Johnson. It’s not just a book about sewing bras. It actually has lots of discussion and pattern diagrams for different types of bras. Some shows the different grainlines required for different pieces. There are also info on pattern alterations for different bra fitting problems. Very interesting.


 By Keith Richardson. This one is very timely for me. I’ve been compulsively shopping a bunch of stretch knits at Tia Knight’s Tissu online fabric store, and trying to devise a basic knit pattern block.
This book has just what I need: Instructions for creating slopers for different types of stretch fabrics. It also has a stretch terms and jargon buster, and simple flat pattern design instructions for stretch garments.


It even has the answer to a question that has been bugging me for ages: What does bias on knit do? The answer: Not a whole lot. It says “bias garments are never created with knit fabrics. Knit bias does not have any of the stretch and drape characteristics that woven bias would impart to garments.”

 Which begs the question: Why does the cutting instruction for V1282 top recommends a bias layout. For 2-way stretch fabrics no less!!!???
Speaking of 2-way vs 4-way stretch – another question that has been bugging me for a while – this book again has the answer: 4-way stretch is essentially 2-way stretch with spandex added to help with recovery. Stretch outward sideways and up & down without spandex = ‘2-way stretch’. Without the spandex this eventually sags or stretch out of shape. With spandex added to aid recovery, it becomes ‘4-way stretch’. Presumably the additional ‘2-way’ refer to the fabric ‘stretching’ back into shape – ie inward sideways and up & down.
(I just checked the Amazon reviews for this book. I was surprised to see the low score. This seems to be because of numerous typos in the book. But considering the scarcity of pattern drafting books for knits, I still think the book is worth it. As Kathleen Fasanella aka the Fashion Incubator says in her review of the book: “no book is perfect”. I will just keep an eye out for those typos.)
I almost got “Professional Sewing Techniques for Designers” as well. But I decided it was too similar to other sewing technique books. And I already have too many of those and not enough room to store them. Besides, the tips for working with difficult fabrics don’t cover the type of temperamental fabrics I’m currently wrestling with – stretch fabrics.
 I also visited Kinokuniya the Japanese book store in Weller Court, Little Tokyo. Surprisingly it also has a good selection of fashion and sewing books. I was a bit tempted by the Pattern Magic & Drape Drape series and others like them. But my days of weird boxy Japanese garment aesthetics is really behind me. There was a time decades ago when I was a big fan of COMME des GARÇONS. But now I’m making the most of what figure I still have. Maybe one day I’ll get back into hiding the body again! For now I got this:
 By Bunka Fashion College in Japan. This is the first in a series of textbooks. Thankfully they have all been translated into English. I only got this one because the other focus on specific types of garments like dresses and jackets, and again, they’re a bit too boxy for my liking.
Unlike western fashion textbooks, this intro book covers a wider range of topics. The bits I find particularly interesting are the overview of how anatomy, different body proportions, and movements affect garment design; measurements insights; Bunka-style sloper instruction; and examples of sloper fitting adjustments shown on Asian women, some with combinations of fitting issues.


Then there’s the answer to my other pestering question: What happens to that back shoulder dart in designs without a dart in that area? It seems like the dart is pivoted to the armhole and/or neckline as eased volume (presumably held in check by sleeves and collars). But it’s never pivoted to the waist dart. So that’s this sloper axed then!


 There’s also a curious mention of a “Half Bias Tape”. The photo illustration shows a tape with grainline that doesn’t look like true bias grainline. But there’s no mention of “Bias Tape” at all!!!??? It’s described as having “moderated stretch and to some degree controls stretching. Front edges, shoulders, necklines, etc.” So I’m assuming it’s used instead of true bias tape. But why?
Last but not least are a series of Fabric Dictionary & Swatch Books I ordered directly from Rain City Publishing:


Thanks La Karibane for suggesting this series. It’s great to have nice fabric samples illustrating the different types of fabrics. Descriptions alone are no good as most are so generic as to be pointless for identifying fabrics.
And that was it…Or was it?
Well, not quite. There are always those bits and pieces that are invisible in the results, but absolutely essential in the making. Like…
 A bunch of Vogue, McCall, Butterick patterns bought during the recent online sale.
 A bunch of highly recommended interfacing from Fashion Sewing Supply of Pam’s Off-The-Cuff sewing blog.
 From Wawak, formerly Atlantic Thread Supply, more MaxiLock overlocker threads than I have storage space for.
 Plus a small velvet pressing board at the cheapest price I can find. Everywhere else I looked it’s over $100. It’s pictured here with my sleeve board for size comparison.
 I also got a bunch of zippers to catch up with the wilder color fabrics I started collecting. These are from Mood Fabrics and B. Black & Sons. Zip Up Zippers has a wider selection of zippers and notions.
But it was too chaotic to find what I want and I can’t just help myself. I don’t like getting a sales person involved unless I’m desperate. I always feel too much pressure to buy.
 Finally, there are these C-thru rulers which I got from Golden Cutting & Sewing Supplies. You can also get them at art stores like Pearl Paint. I’ve tried lots of different rulers, but always come back to these. They’re thin, so don’t cast shadows that make it hard to align the ruler edge with lines. I’m a imperial measure girl, and I like the handy 1/8” grid which make pattern work easy.
Unfortunately the # 1 item on my wishlist was nowhere to be found in LA. It’s loose sheets of large 26” x 19.5” dressmaker’s carbon paper that I used to get from Steinlauf & Stoller in NYC. (It’s not listed on their site, but I swear they carry it. Or used to anyway.) All I can find in Downtown LA were pre-packaged small sheets. I guess I will just have to stick to Burda Carbon Paper for now. Or plan a trip to NYC soon!
As you can imagine, it was a bit of a struggle fitting all these into my luggage. In the end it was like 13 lb overweight. And at $200 surcharge you bet I was frantically transferring stuff into my carry-on’s at the airport check-in desk.
Now I better get back down my rabbit hole and churn out some more garments, so I don’t feel so guilty for spending a small fortune and taking over so much space in our tinsy winsy London apartment!
Like this:
Like Loading...


 So this is the one I saw in Threads then stumble upon the instruction online by chance. The very clever


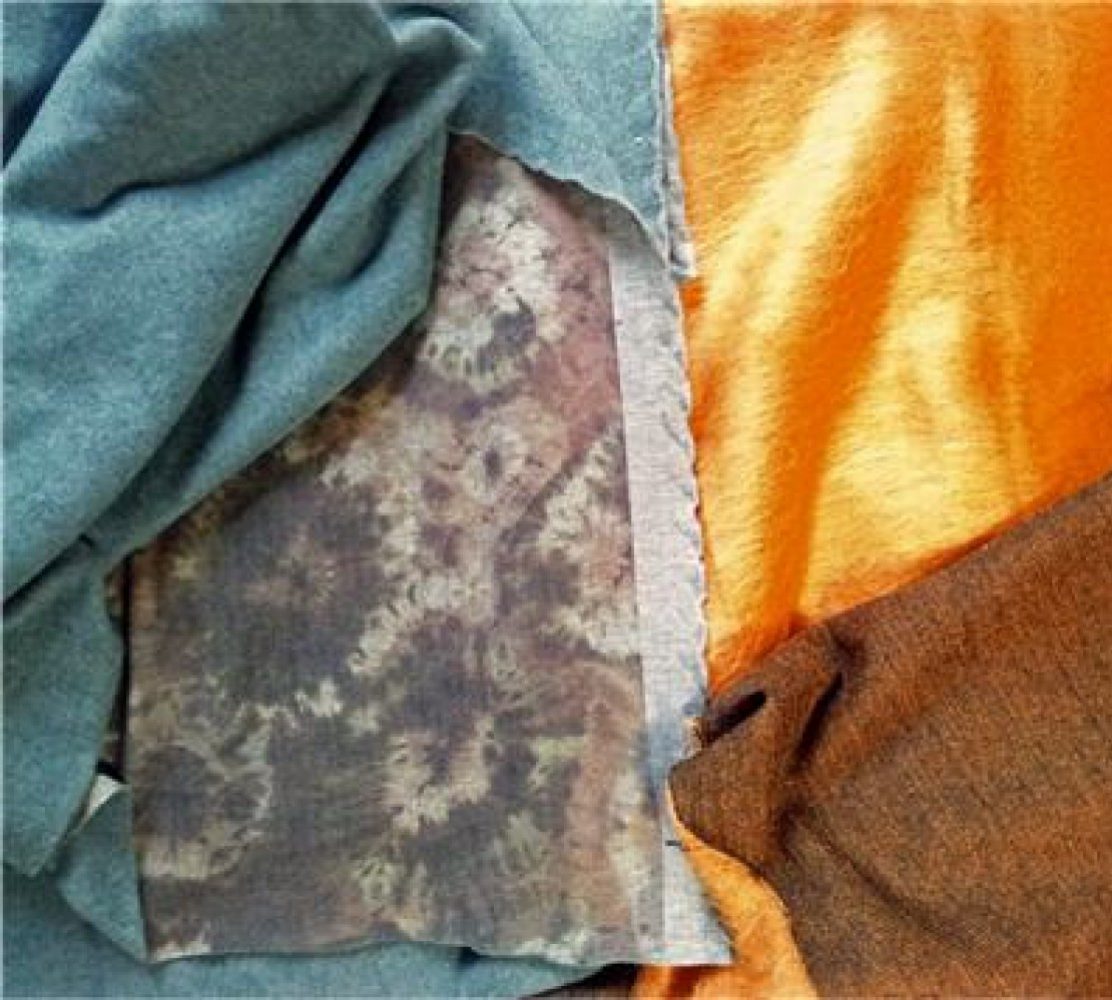
 Another exciting and surprising fabric find was some lovely jacquard lining fabrics from

 And last but not least – this time not in Downtown – a couple more pieces from


