Baby step back to sewing

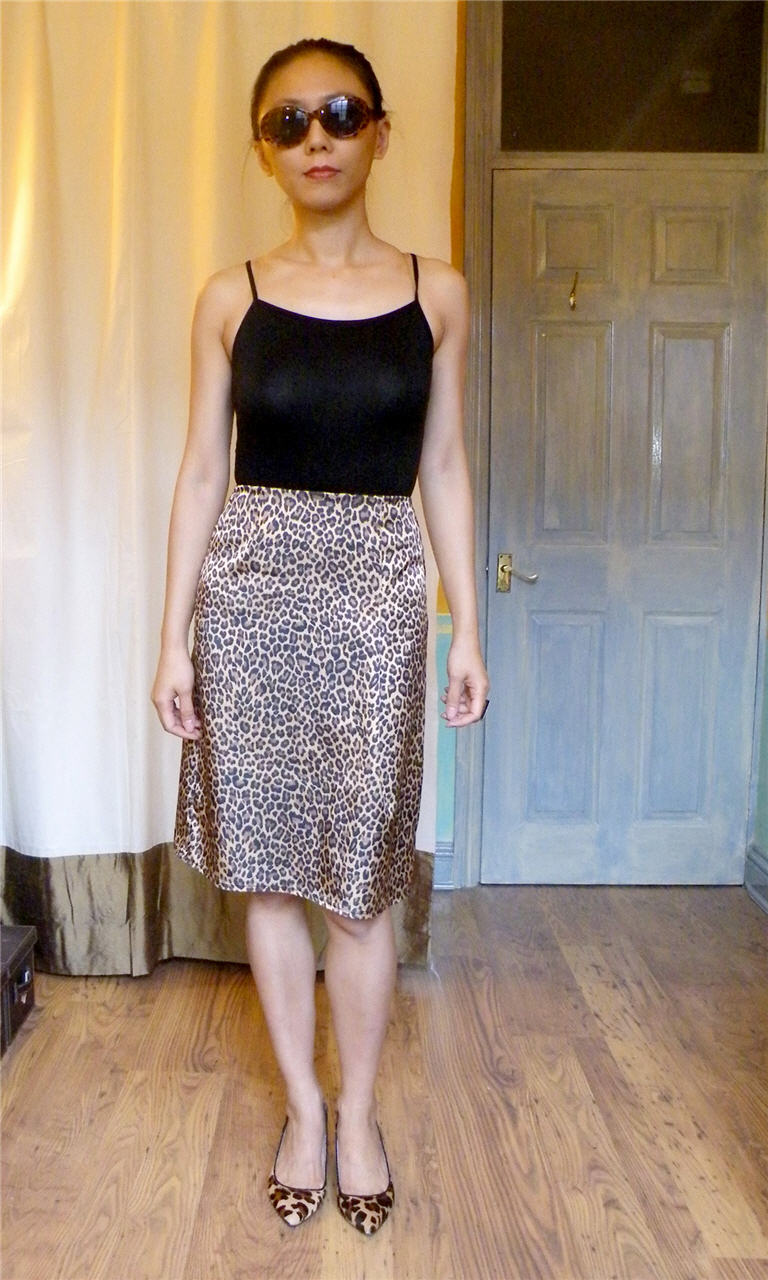
My first sewing project post redecorating is a simple restyling of an old H&M leopard print slip dress.

It never fitted properly on the top. Plus with typical London Summers, there wasn’t much chance of this Tropical Baby wearing it as a slip dress. So it was mostly worn under a black tee.

But the ill-fitting top showed through as unsightly bumps. I finally decided to chop off the top and make it into a proper skirt.

The Alterations

Shape-wise it was neither here nor there. Too loose to be a pencil skirt, but too narrow to be an A-line skirt. As a dress it worked, just. For the longest time I had a brooch scrunching up all the excess looseness into a drape at the center bust line. As a skirt that won’t work well – I don’t want bumps under untucked tops. Nor do I want a gathered waist as it might look too frumpy.

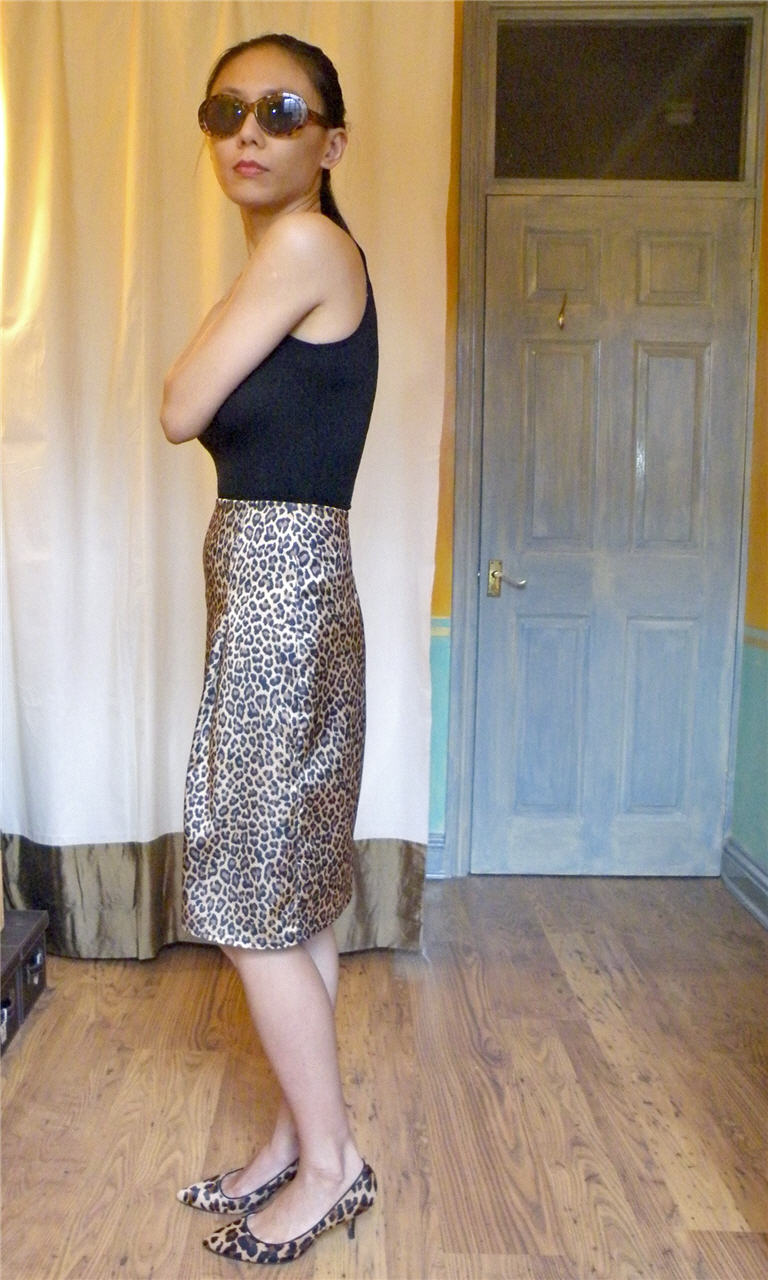
So I added front darts and gathered all the looseness into a pleat positioned at one of these darts. I also deepen the back darts for a better fit.

Rather than waistband I raised the waist 1″ and complete with shaped facing. I’m avoiding horizontal lines at the waist because my low bust and short waist already make my upper body look squat.
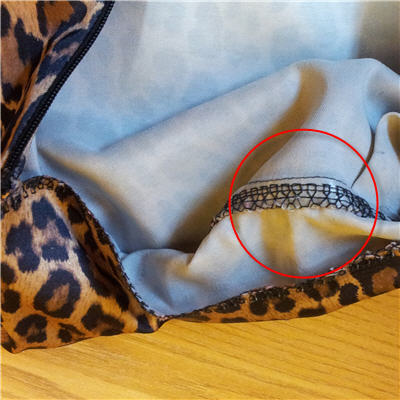
The fabric actually is a bit stretchy – it’s a poly-spandex mix. I could have made it into a pull on skirt. But I wanted a tight fit around the waist and avoid bagginess from over-stretching the fabric. So I’ve kept the invisible zipper that was already in the dress. I also stablized the waist seam with clear elastic sewn into the waist seam allowance – a trick I picked up from a few Victoria’s Secret skirts and dresses.

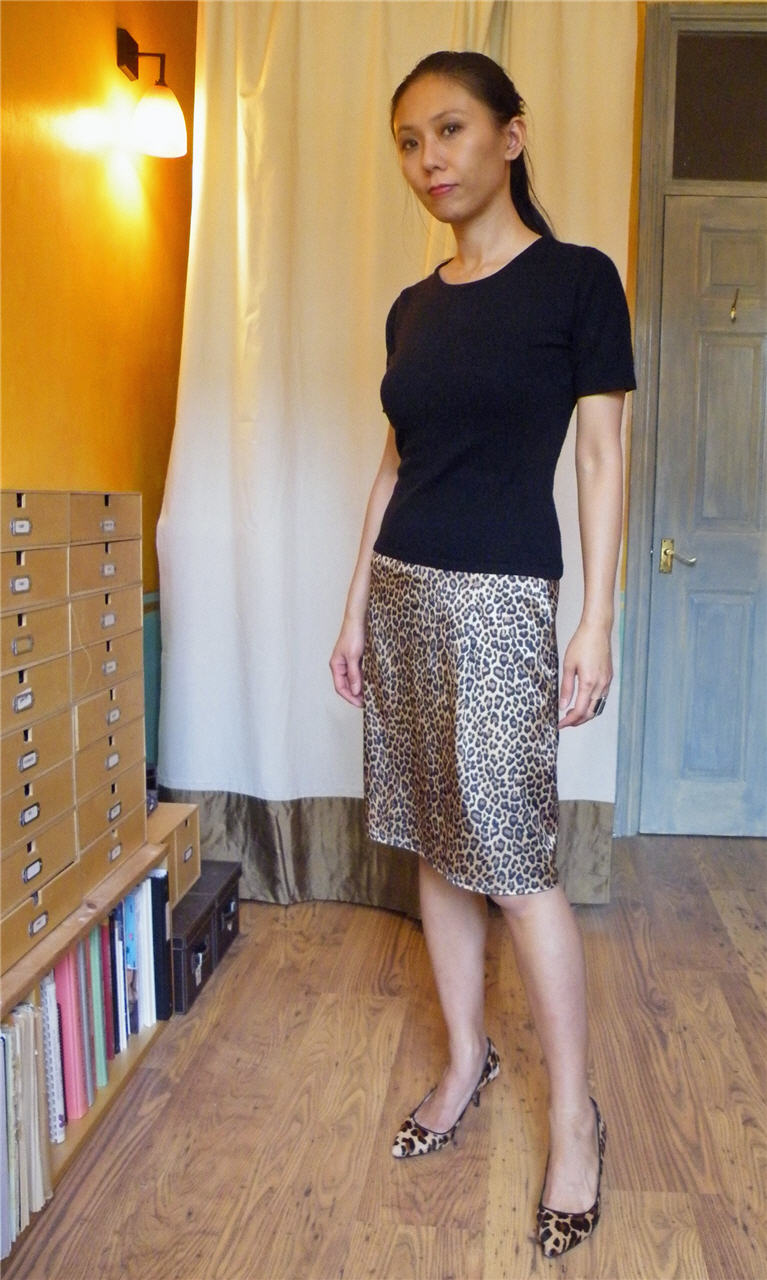
So here are the mug shots:

Gosh my bum’s flat. Like Great Plains flat. Ah, the joy of aging. Not.

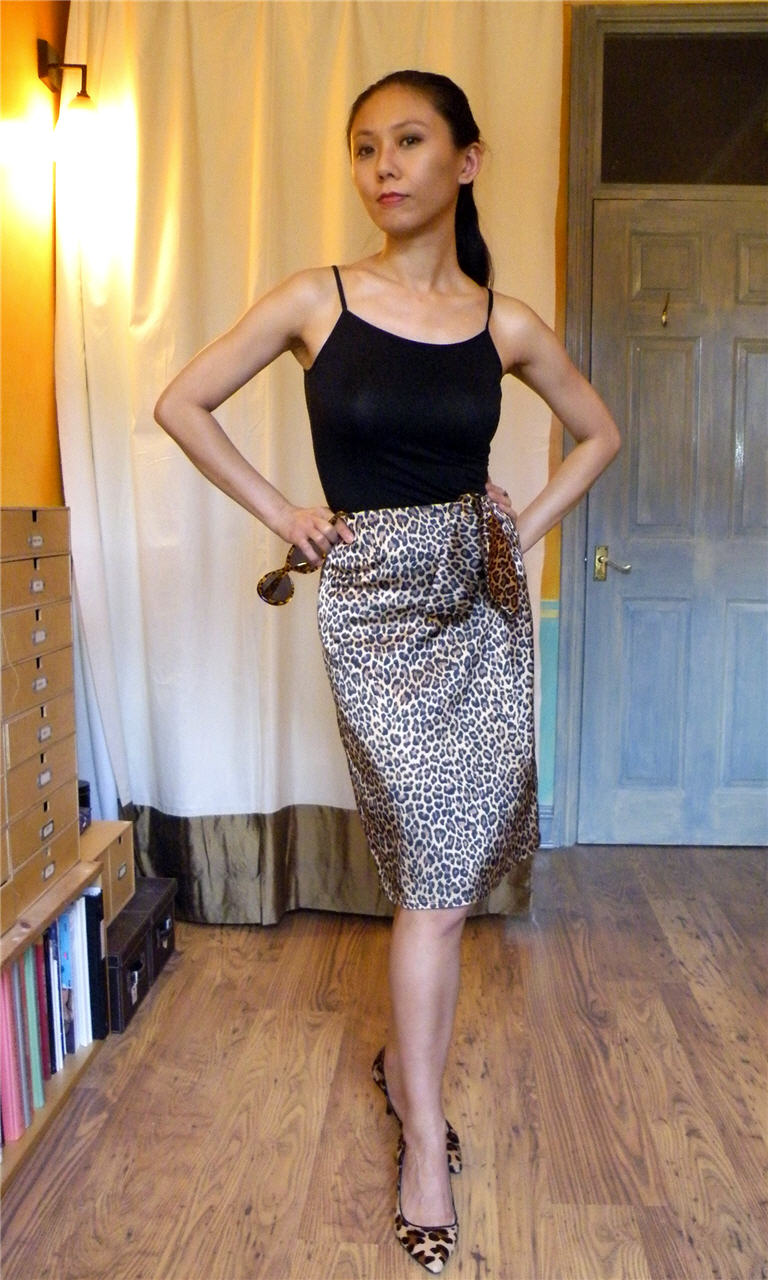
The obligatory Frou-Frou:

Now no project of mine would be complete without the non-committal extra frilly bits. So it is with this skirt.

The decapitated top has been turned into this hook on sash.
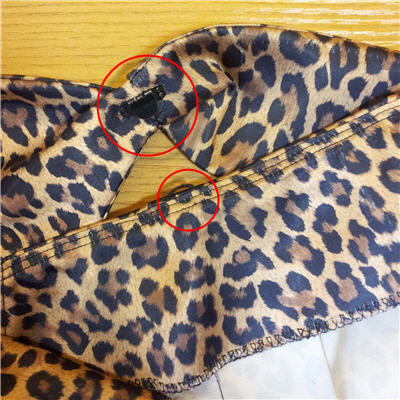
The front left & right top pieces were stitched together on 3 sides. Ditto with back left & right top pieces. Both turned inside out, pleated at the open end. One has the pleated open end’s seam allowance turned under. The second one’s open end was then tucked into first one’s open end, then slipped stitched in place. I used a flat skirt / pants hook for a secure and discreet attachment to the skirt.

On the skirt side, I added a blanket stitched thread loop at the waist seam edge. It’s unobtrusive when the sash isn’t attached, but close enough to the skirt right side so that the sash would hang right when attached.

So there you go, a few more years squeezed out of an old dress! Told you I was Scottish in my previous life. Don’t ask me to do a Scottish accent though.
UFO Revisit 2: Faux Shearling Pillbox

Next up, my Russian hat. Heartless that I am, I’m replacing this long-lost John Lewis faux fur hat with a younger model:

Many a happy moments I had in that warm cozy hat, for it is very handy in damp cold Blighty. And I felt a billion Russian roubles in it! I was heartbroken when I lost it for the second time. (I eventually found it after the first parting. But no such luck second time around.)

I resolved to replace it. And as it’s a simple pillbox, it seems easy enough to make one myself. I had found this faux shearling in the same shade of brown at B&J in NYC. I had the simple oval and rectangle patterns drafted. I went as far as cutting out both pattern pieces. Then I stalled.

Why? Because I was terrified of the fabric.

I’ve never sewn furry fabric before. And while I’ve sewn faux suede before, the faux shearling looked too real and I got it into my head that this one will be unforgiving like real leather and suede. One sewing slip and your project is ruined. So it languished on the UFsO pile.

Circumstances (sloper fiasco & freezing wind) finally forced me to take baby steps with this ridiculously simple project. So here we are.

OK, so it’s more of a Fez than a Pillbox. That’s because I forgot to add ease for the thick hem. Always the ease! Bane of my sewing! But I think it’s still perfectly serviceable. In fact I’ve already worn it a few times out now.

Now of course I wasn’t going to be content with just a faux fur pillbox. It would be an abominable waste of an expensive faux shearling fabric! Actually, I lied, I was going to settle. So in awe of the task of sewing such fabric I thought I better not push my luck. But as luck would have it when I tried it on inside out while deciding what to do with the seam allowances, I fell in love with the shearling side too.

Don’t I look like a pixie in this one? Just needed some pointy ears!

Feathers courtesy of a friend. They must have had a pheasants & friends feast. I got a whole bag of loose assorted feathers. As for feather styling idea, well, time for some Ralph Lauren visual feast from my clipping piles again:

Love this jacket too, though I’m not sure I can carry it off with my non-Glamourzon frame.

Now that’s what I call feathers! Make mine look so puny. Now I got a serious case of Feather Envy.

And for a more everyday wear with my every(Winter)day faux shearling coat (good old John Lewis again)…Oh yes I would. Feathers don’t scare me.

2  down, 4 more to go!

Stay tuned.

UFO Revisit 1: Taffeta Bird & Blossom Pleated Skirt

After wrestling with the sloper and losing, I decided to put that aside and attack my piles of UFOs instead. That’s UnFinished Objects as Frabjous Couture calls it.

Step up, Ms Rustly No-Breathing Skirt.

Remember this atrocity?

Not only does it strangle my middle and make my torso look matronly, it also itches the hell out of me with its plasticky zipper stops. I made the mistake of not sewing these into the waistband seam allowance. There were also weird tugs and pulls here and there. In short, unwearable.

And after a tweak here a tweak there?

Et voilà, a tad better. Just.

I totally redid the pleats and waistband. The latter is now more like 3/4″ thick. I don’t feel like a Square squatting over a Trapezoid anymore. The pleats are now angled to flare out over my Lager-than-I-thought hip. So there’s the unsightly diagonal drag lines zapped. Sweet.

This last tweak was a big lesson for me – and you too: same technique + different cloth = maybe  not as you thought. Now I so love forgiving potato sack cloth and hate, I repeat, hate stiff unyielding – and unforgiving – taffeta. Buy it at your (and my) peril.

In the process I lost a little bit of length. It moved the irritating zipper stops closer into the seam allowance, but I hacked off the plasticky zipper stop coatings anyway and blanket stitched over the end of the zipper coils with soft embroidery floss. You can never be too paranoid!

And good thing that I did too. For when I tried the skirt on, guess what, it’s still a bit too tight. It seems that (a) I’m in Absolute Denial about my expanding waistline, and (b) I was over-optimistic that 3/8″ ease would be enough, what with layers and layers of pleats and all.

In the end I had to trim off as many layers as I could. Gone the extra layer of stiff waistband interfacing seam allowance. Gone too are the seam allowances of the inner layers of the pleats – they are now left dangling below the waistband. I hoping the Fray Check and tacking them together will be enough to keep the skirt in one piece. We shall see if that again is wishful thinking.

And last but not least to be gone is the hem of the waistband self-facing. Instead of turning up and slip-stitching to the bottom edge of the waistband as I normally do, this time I extended the facing below the waistband and stitched in the ditch. So the facing hem isn’t caught in the waistband.

All this effort did eventually pay off and now I can breathe a sigh of relief. In the skirt. Phew.

And the final flourish

A few more stamens for a few more flowers…

…and few more feathers to send the birdy soaring

And a bit of wacky styling with home-made leopard mini-beret
for that OTT grand coming out party

1  down, 5 more to go!

Stay tuned.

It must be Karma…dress

Plan B has veered off course as well. I’m feeling very run down and stressed out at work. So I’ve given myself permission to take the tortoise route to the Draft Along.

In the meanwhile, to keep you entertained, may I present…

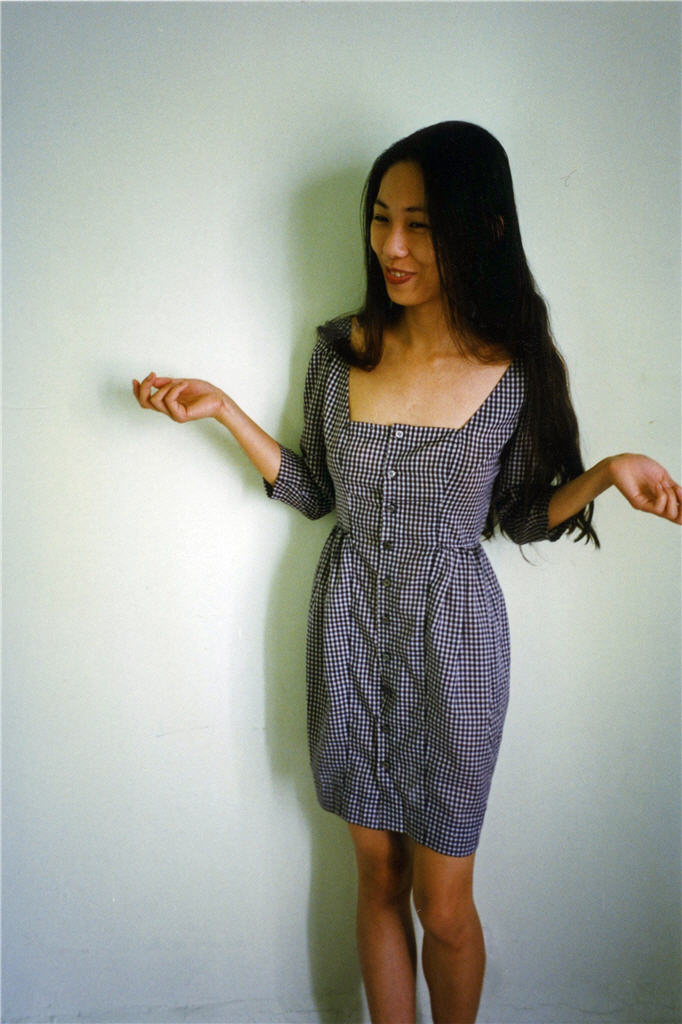
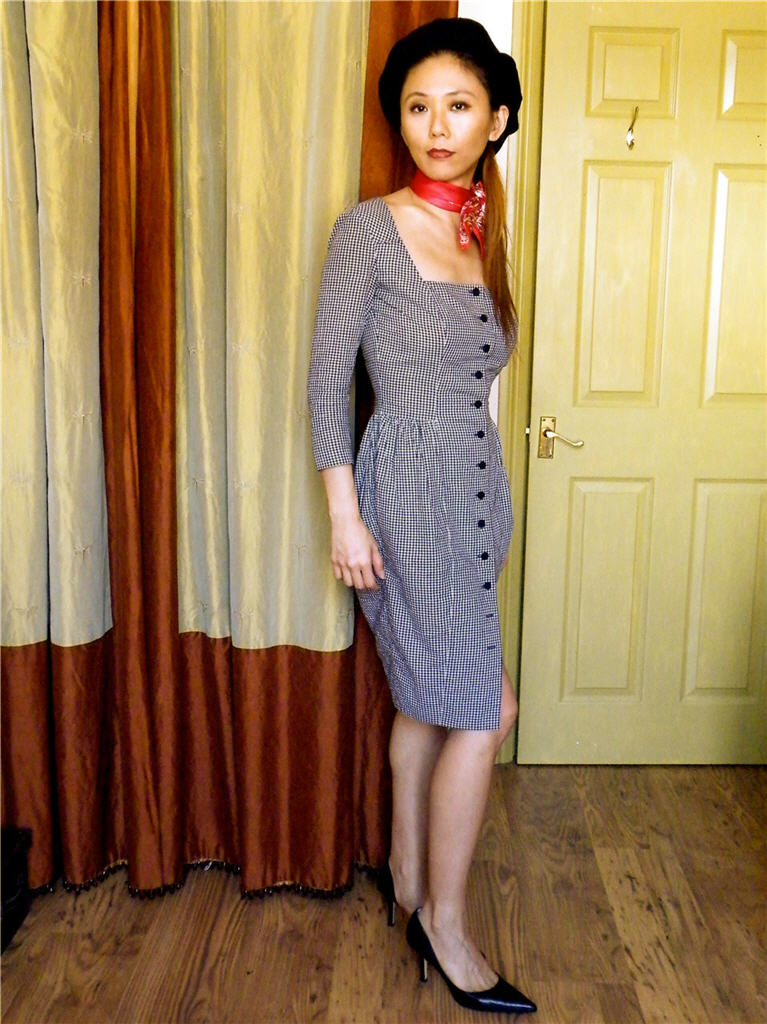
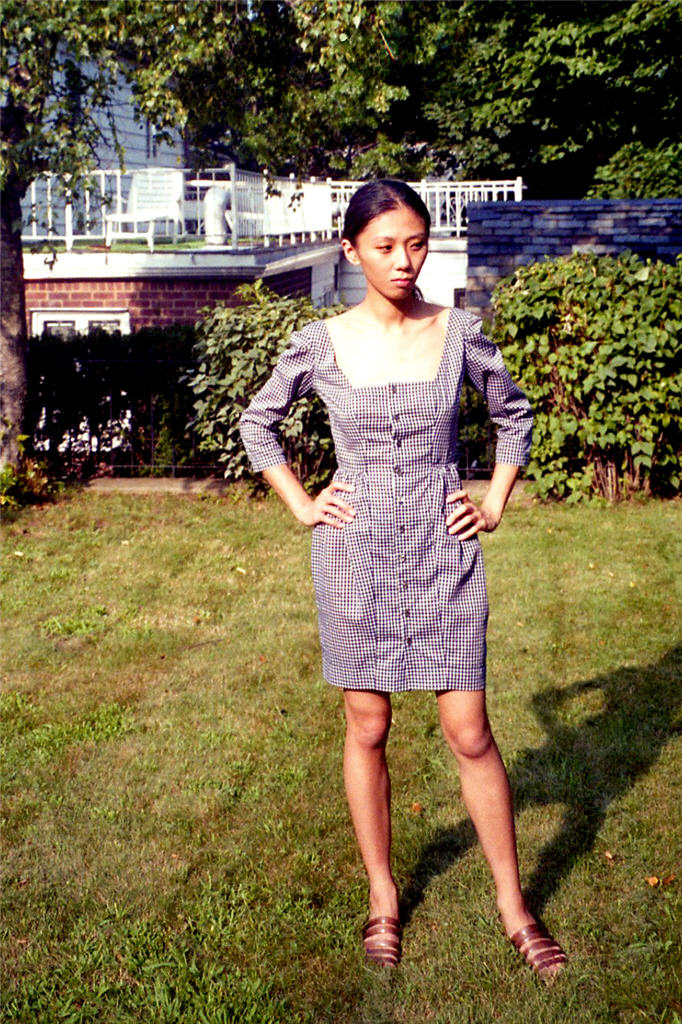
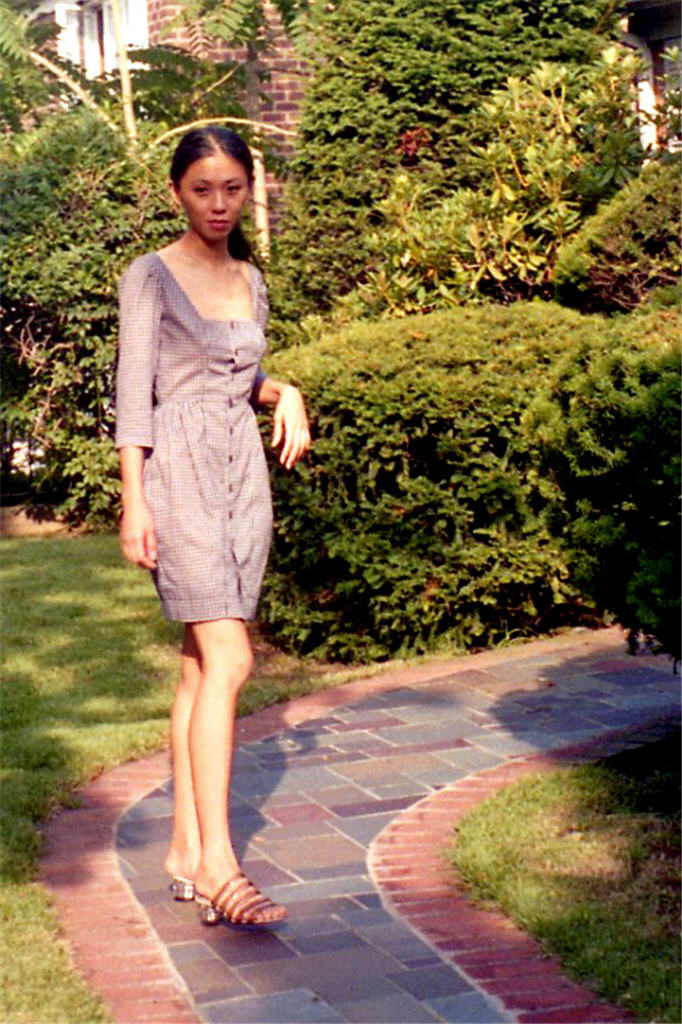
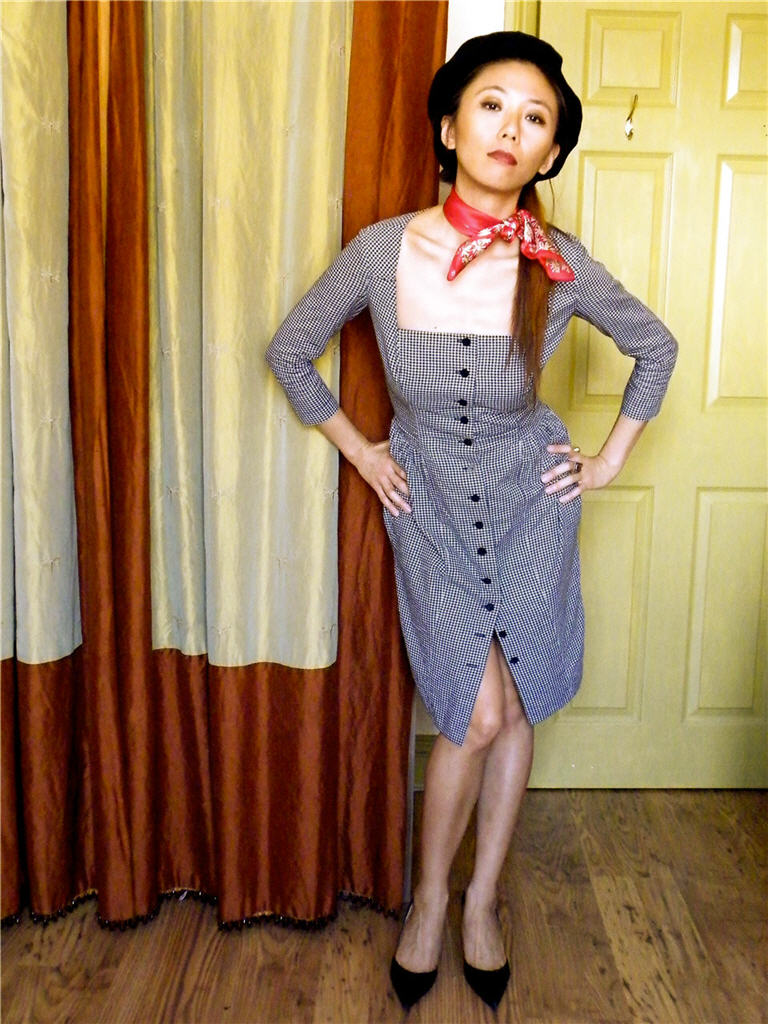
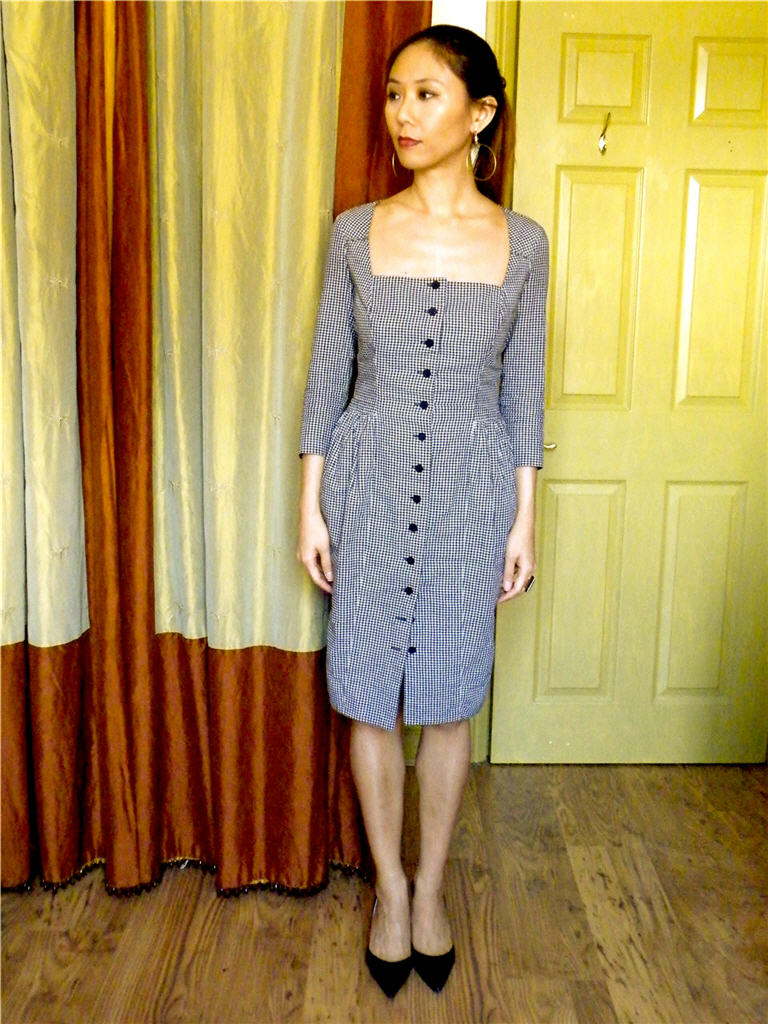
my Karma Gingham Dress?

Karma because it keeps on coming back. I’m on version 3 now. Version 1 was about 2 decades ago. (I can’t believe I’m that old now!) I think I’ll probably still be remaking and revising this pattern until I’m pruny.

Today I’ll just showcase the dress, version 1 & 3. (I have no photos of version 2. It was during my Lost Years.) Please indulge me my pony show: If I keep on making this same dress, you know it must be LOVE…Then again, it can simply be Bad Fitting Skill karma.

Here’s the inspiration:

Another photo from NY Times Sunday fashion magazine
from long long time ago, in a land far far away.

Update: I stand corrected. It was actually a Frency magazine. Might have been Maire Claire bis. And probably S/S 87 or 88. The original dress is by Michel Klein.
Iconic isn’t it?

Version 1…

This must have been early 90’s. Youth and a pattern size 8 made it easier to carry off the shorter bodice and shorter hem without looking too street-walkerish.

About 13 years later, I attempted v2 with the same pattern, but in purple gingham. Maybe it’s the color, maybe it’s my body going south, something just wasn’t right. I felt stocky and exposed wearing v2.

So when it came to v3 I made some changes to the pattern and went back to good old B&W.

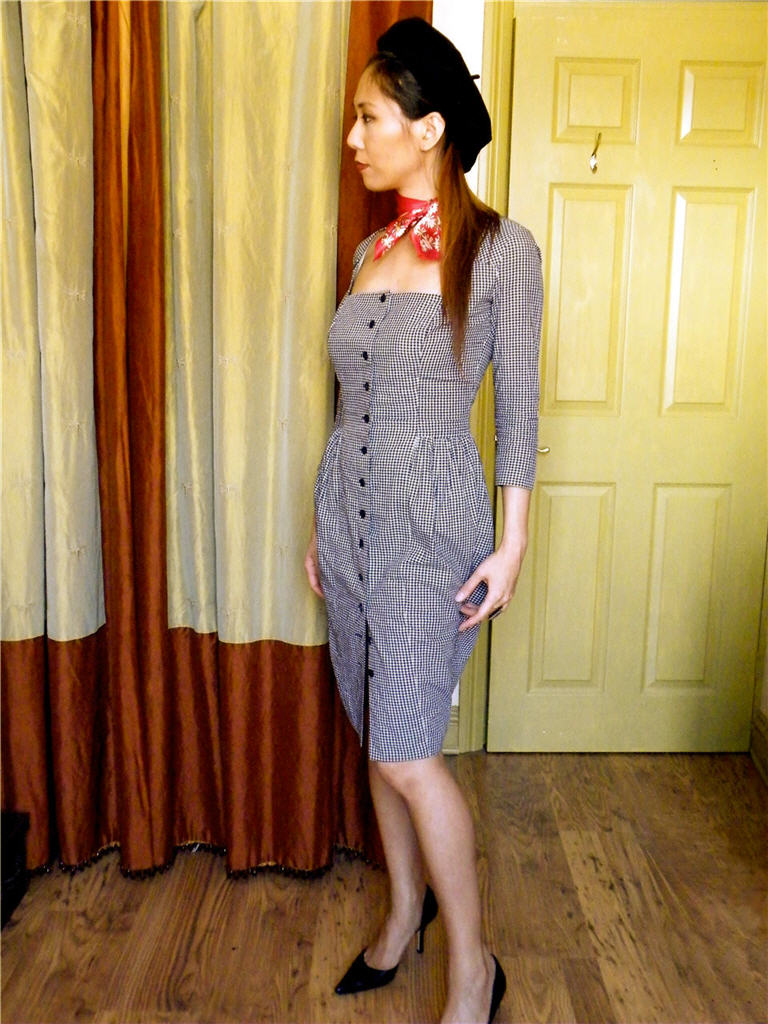
Version 3…


It’s as close as I’m going to get to the original inspiration without turning caucasian and taking up smoking and boat rowing. OK, maybe it’s more Bonnie & Clyde than Parisian Chic.

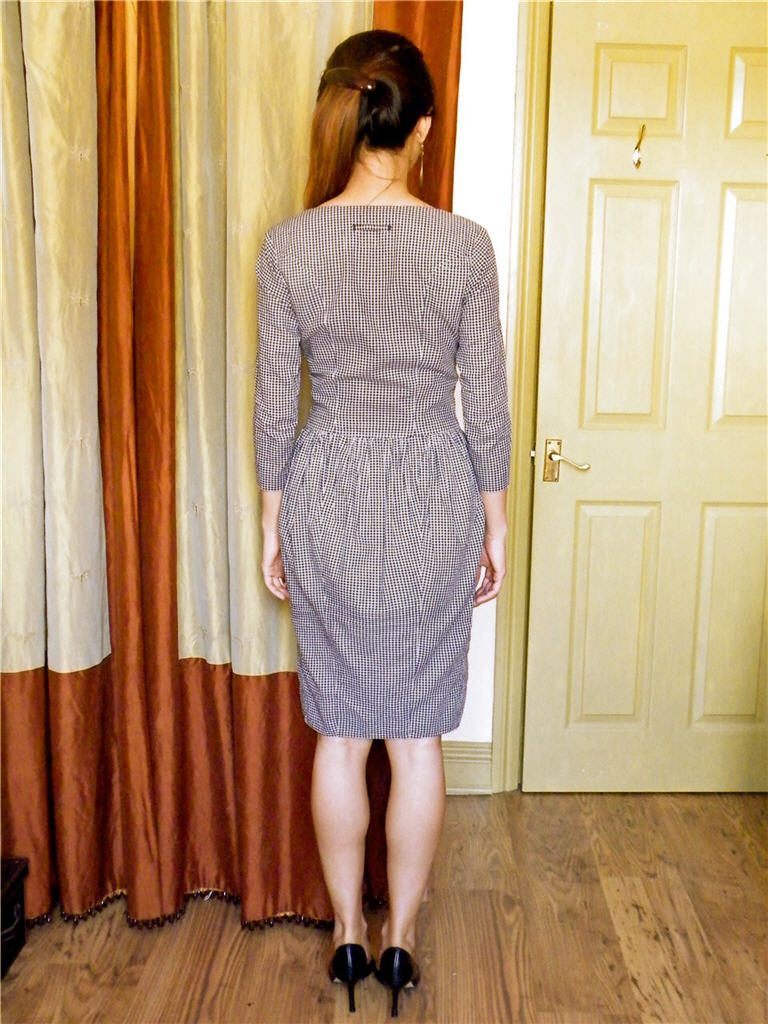
Anyway, I’m generally happy with the modified silhouette. The lowered waistline I think makes the waist look less thick. There isn’t a horizontal line  stretching the waist width-wise, which would have been further aggravated by puffy gathering. Instead this width emphasis is shifted down to my anemic hip, giving me more of a hour-glass shape than I normally have. The lowered hem also help lengthens the silhouette. Overall, more lady-like and befitting a woman of my age.

The Mug Shots

The fit still needs a bit of tweaking. Especially the back skirt silhouette. It makes my bum look droopy (which I’m sure it is, but there’s no need to shout about it).

It was even more twee originally when I had the skirt seams running straight from hip downward. It was bell-shaped and not slimming, I’ll tell you that. I tried narrowing the skirt below the bum. It now looks alright from the front. But the back is obviously still not  right. And now it’s also strangely constricting when I sit down despite the extra ease of the gathering.

So you can be sure there will be Karma Gingham Dress: The Next Generation. And when I finally get the fit right, I’ll be in Nirvana. That is if my shape doesn’t change so much that no amount of fitting will make the dress flattering anymore.

Stayed tuned for next installment: The Innards & The Oops.

I might even try to throw in some simple instructions on how you can draft your own version, that is if you already have a sloper and aren’t afraid of pencil, rulers, scissors, and a bit of cellotape.

Maybe one day I’ll figure out how to draft pattern on the computer and create downloadable patterns to save you the pattern-drafting hassle!

Draft Along Update: 2 steps back & 1 forward

I’ve had to go to Plan B for the Draft Along as well.

There must be something in the stars. A lot of us seem to be a bit behind schedule. I still haven’t finished Sloper Plan B. So little chance of finishing the patterns drafting for my modestly ambitious design by the weekend. Sewing was originally supposed to start this weekend I think.

What’s also not helping is that I’m finding my stash yardages generally to be on the mean side. (I curse my honorary Scottish ancestors.) I thought 5-1/2 yards would be over generous for a dress and a summer coat. It’s now looking like a very tight squeeze. So I need to plan more carefully. Which means having patterns for both dress and coat ready so I can figure out a more efficient layout and hopefully have enough fabric for both. Fat chance of that happening by Saturday.

So Plan A to the back burner. Step forward Plan B.

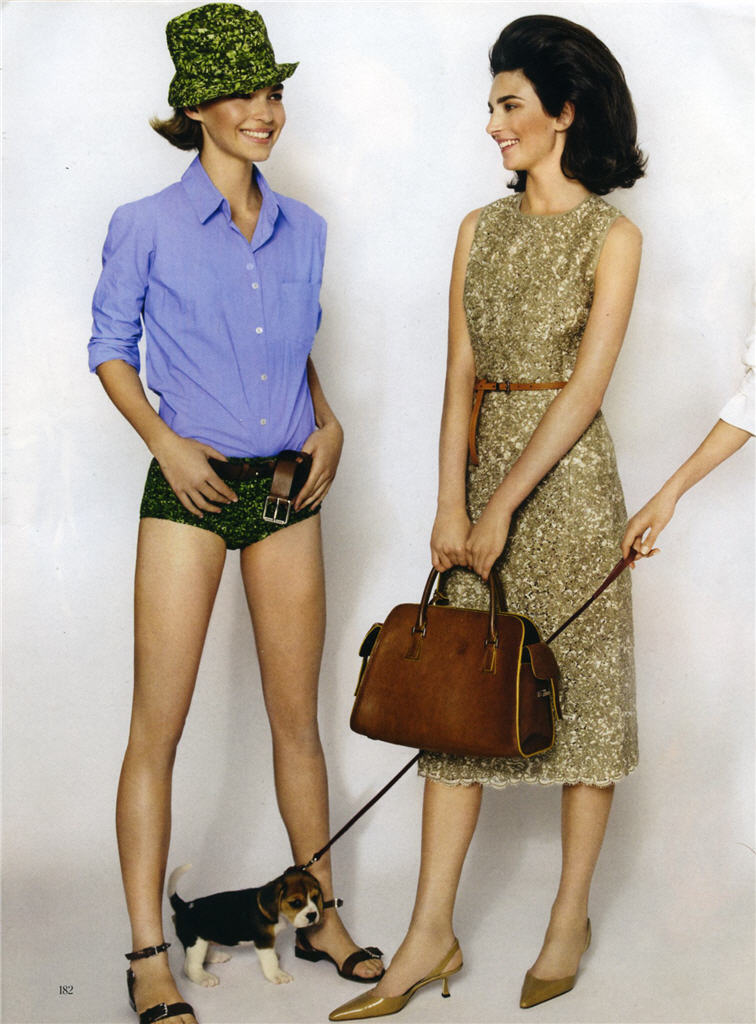
The inspiration is this Michael Kors dress from his Spring Summer 2011 collection, featured in American Vogue:

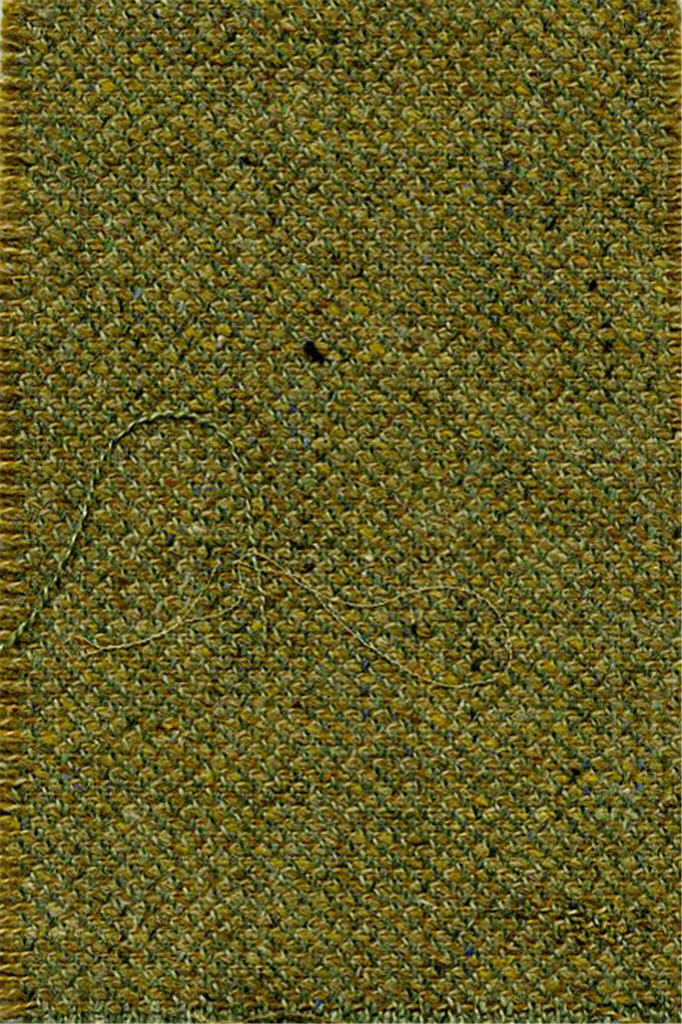
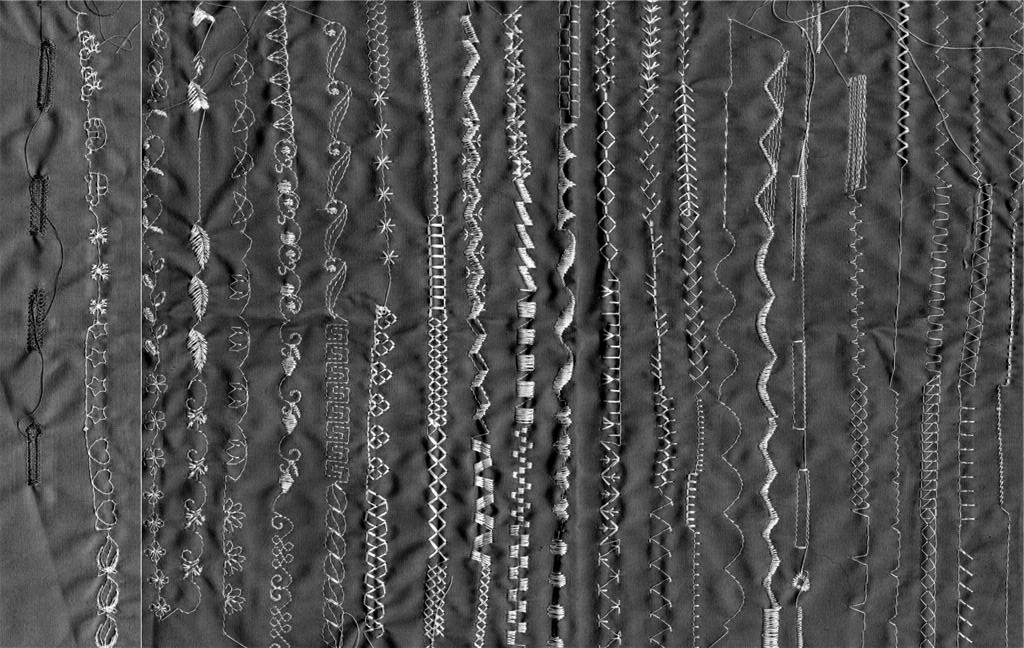
I love the moss-green and tan colour combination. The original is a lace dress. My fabric is raw silk. But it does have both colors and texture that from a distance sort of give the same impression. I’m also toying with the idea of scalloping the hem to mimic the original’s lace hem. (I wish I have an embroidery machine for fancier edging.)

The dress is rather simple. I’m feeling the itch to throw in some complicated details. It just doesn’t seem worthwhile making something that you can easily buy off the rack.

But it’s a bad habit. The pieces that I wear the most are in fact mostly plain pieces that play nice with other pieces. I must remind myself that getting the right fit and combination of color – fabric – texture – silhouette is more than enough to justify making my own clothing.

Speaking of naughty habits, I am thinking of cheating and doing this as a 2-piece dress. Just so that I can get more moss green-caramel outfits out of it. Maybe throw in a dash of orange or red occasionally.

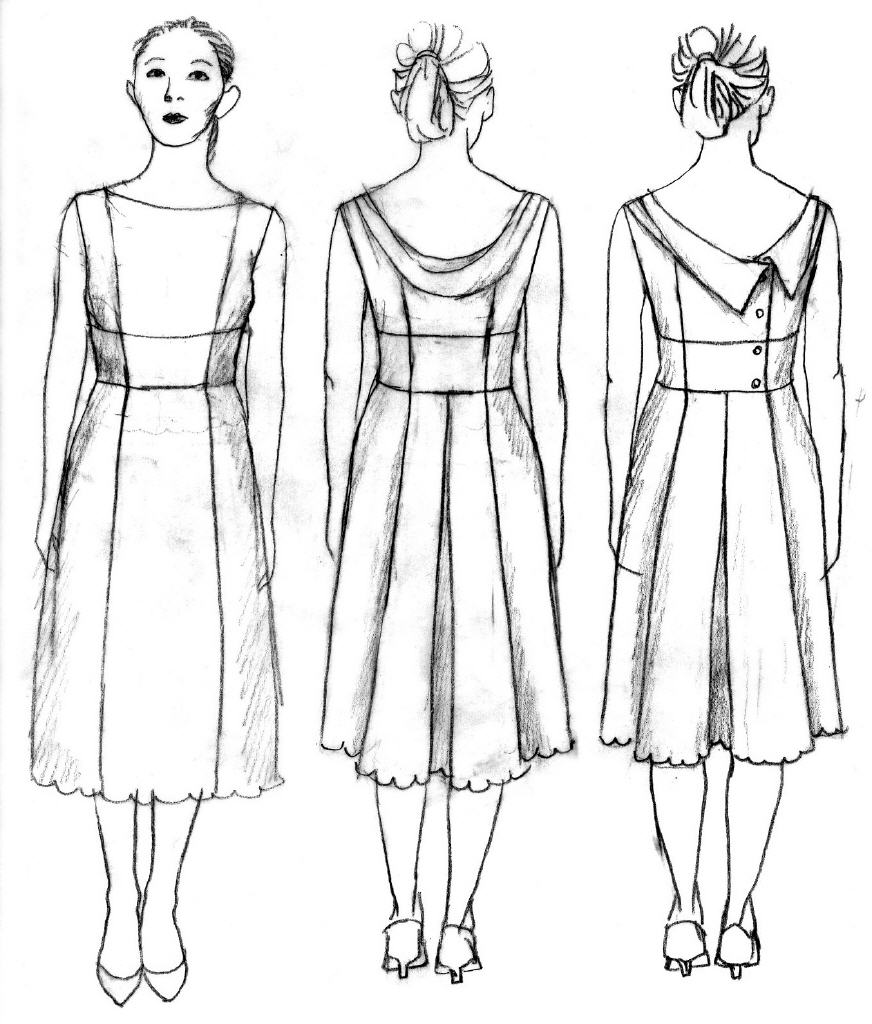
So here’s the compromise:

Plain front and a bit of added interest in the back.

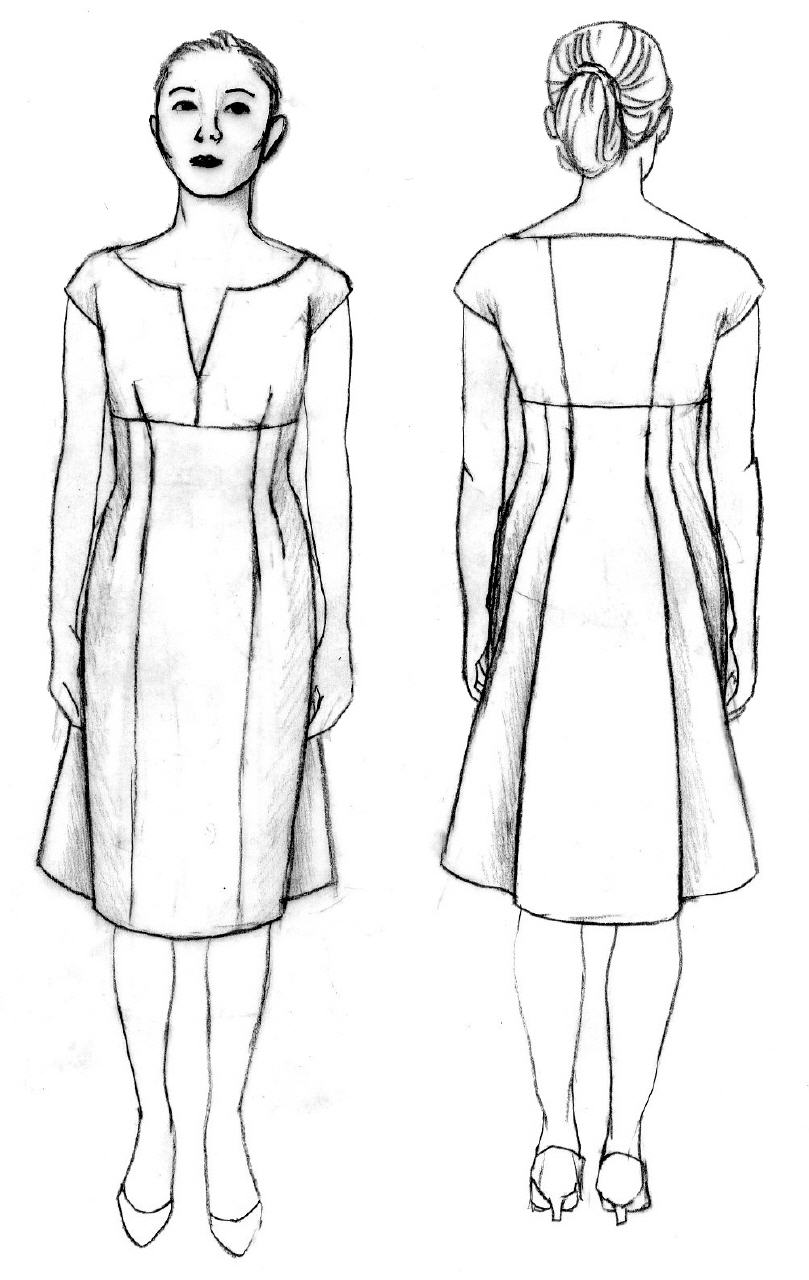
Front skirt will be A-line (instead of pencil skirt in Plan A design). Back is still a variation of my Plan A design with extra pleats in CB. But the skirt will be waist down rather than with high-waisted.

The top – assuming I have enough fabric – will have underbust seam details. I can’t decide on the back neckline though. Option 1 is to have a mock cowl neck – basically a bit of extra fabric draped and attached to the back neckline. Option 2 is an asymmetric collar a bit like Vogue 8408.
Stay tuned to find out which I end up making!