SWAP Shrug BS 2013-11-111

Following through with my SWAP F/A 2014, here’s the long sleeve shrug from the mohair gauze leftover.

The Inspiration, Design & Pattern

My inspiration was a shrug that I found at some online shop the name of which eludes me now. I briefly considered shrug patterns that were essentially a rectangle sewn into a tube with a stretch in the middle of the seam left unsewn. But I thought either the sleeve will be too loose or the bodice too small, so I went searching for other options. Burdastyle 2013-11-111 pattern has a bit of shaping to it so I thought it might make a good starting point.

Style Shots & Mug Shots

Size Used

I used 36 this time, which is what the size chart would have me use. I frequently use 34 for a better fit. But because the pattern was designed for knit, and I’m using woven, I decided to go with the size closest to my Top/Dress Block for wovens. In this case it was size 36.

Changes Made

Fitting changes

1-patAlt-bs2013-11-111

It was quite a visual process this time, so I’ll let the picture do the talking. You can see how I’ve laid my Top/Dress Block + Basic Sleeve Block together to assess the Burda pattern and decide what needs changing. I think the changes might be due to my sloping shoulder plus the posterior position  & pitch of my arm joints.

Design changes
  • Added 4″ knitted 2×2 rib for collar / bodice extension.

Fabric & Notions Used

Construction Notes

  • Construction is pretty much the same as the Cowl-Neck A-line Sweater the Second. The neckline/back hem were stablized with Vilene Bias Tape & overlocked. The seams were stitched & 3-thread overlocked.
  • 2-knitting-collar-instagramCollar/back hem extension is 2×2 ribs hand knitted with 2.75mm – 4.5mm needles, so it flares out without any increases to confuse me! 🙂 The casting on was again approx 8 stitches per inch & multiples of 4 (my rib pattern).
  • The sleeve hems I ended up hand-overcasting, then weaving in a few extra yarns near the edge so that they’re denser like the salvedge.

The Verdict

On the plus side I’m glad I added the knitted collar/back hem extension. This now feel more like a little bolero jacket that’ll stay on rather than detached sleeves that I might have to constantly tugged at. And the Oops…The sleeves on this one are a bit tight for something that’s a cover up. I can only wear this with short-sleeve & sleeveless tops. The fabric again makes it a delicate garment. And what’s with the mini-wings at my back armholes right?

I’ll wear this alright…if only I have more white / pale color clothing & accessories to go with it…
Cowl-Neck A-line Sweater the Second

Yeah! Second project from SWAP F/W 2014 done!

Style Shots & Mug Shots

The Design & Pattern

0-SWAP2014aw-dsgn

This was originally going to be a better fitting version of Cowl-Neck A-line Sweater the First. But I got a bit off track while muslining the pattern. I also blame Pinterest which stuffed other ideas into my head. Trying high (front) low (back) on the muslin convinced me that it’s a more flattering shape and works well with the A-line silhouette. And I thought long skinny sleeve might be a nice counter balance to the voluminous bodice & cowl collar.

Now that collar, erm, it ended up a bit floppy because I didn’t think it through. I kept thinking I don’t want a turtle neck look & did everything I could to avoid it. But I went overboard & ended up with this floppy funnel. As it’s knitted with a sticky mohair yarn so too late to fix. I think I can live with it. But I’ll know better for next time.

Block Used:

Tunic Bodice + Sleeve Blocks

Design Changes Made:

(The pattern was done before I corrected the armscye height over-tweaking. So the shoulder seams are still lowered.)

  • Widened neck opening & lower front neckline. This is to ensure the knitted collar band would be wide enough to hang like a cowl rather than a turtle-neck.
  • Curved bodice hem from just below hip at CF to just below bum at CB. This high low hem hopefully gives my shapeless frame some hip curve!
  • Added 7-1/2″ knitted cowl collar. This was flared from neckline seam towards the collar edge.
  • Added 2″ bodice knitted hem & 1″ sleeve knitted hem. These were straight (rectangles).

Fabric & Notions Used

  • Cream Mohair Gauze (?) from Mood NYC. I was hoping for loose sweater knit in cream, but couldn’t find any. This has the surface texture of one, but sadly not the drape. Maybe I should have used it for underlined & unstructured jackets like Puu’s Gerard Coat (which looks like the same type of fabric): It certainly would have made the fabric less delicate to wear! Mine I will have to treat with kid gloves. I already had a seam rip accident (patched now). Plus underlining would have protected my skin from its scratchiness. But as I had bought the fabric with the sweater in mind I stuck with the course. Next time I’ll know better.
  • Rowan Kidsilk Haze silk & mohair yarn in Cream (634). No matching rib fabric to be found so I thought I could knit my own since yarns come in so many different colors! Actually, it turn out not to be a perfect match. But squint your eyes & it’ll be fine. Definitely softer than the fabric & marginally less scratchy.
  • Vilene Bias Tape.

Construction Notes

  • Marking was difficult in such fluffy fabric. I tried cutting out without marking, but where I needed to mark I resorted to bad habit: the reliable if not always removable wax carbon paper – in red no less. Some cursing & stain scrubbing was unavoidable when the red marking refused to just disappear. Don’t do it. Thread trace if you need to.
  • The fabric portion was predictably easy. The neckline & shoulder seams were stablized with Vilene Bias Tape. The seams were stitched & 3-thread overlocked. The edges where I was going to add ribbing were overlocked to give the knitting something more substantial to cast onto.
  • Cowl collar and sleeve & bodice hem ribbings were knitted by hand.
    • Collar is 1×1 rib knitted with 2.75mm – 4.5mm needles (I avoided increases like the plague – too confusing – so made my way-too wide funnel by gradually upping the needle size.)
    • The hems are 2×2 ribs knitted with 3.25mm needles.
    • I started all with approx 8 stitches per inch, but ensuring I have the right total number of stitches for my rib pattern (ie multiples of 2 or 4).
    • Casting on was a bit of an experiment, none of which were entirely clean & successful. I forgot that unlike entirely knitted pieces there isn’t a well-formed edge here to hook my first row of knit stitches into. It didn’t help that this fabric is so loosely woven so wanted to fray with any tugging at the cut edges. Maybe I should have underlined the fabric at least at the edges. Or better yet, knit the ribbings separately then treat like purchased ribbing and overlock to the edges.

The Verdict

While not exactly what I had envisioned, it’s wearable. If only it wasn’t so delicate & scratchy then I’d feel comfortable wearing it more often. Next time I’ll wait for the right sweater knit to come along. Yeah, no chance of me knitting the whole thing from scratch. Way too slow & complicated & stressful!

Fall-Winter 2014 SWAP … batch 3 designs

So while we have the green jersey leftover out, on the off chance that there’s more leftover after the green fake suede jacket, we have more designs that make use of it. I’m really going for it now – Stash busting that is. Three of the fabrics in this batch have been in the Stash since before I even moved to London. They must be over 20 years old now!

batch 3 designs
batch 3 inspirations

So step up candidate heather blue sweater / rib jersey, dark teal jersey, and whatever’s left of the apple green jersey. I think all three were from NY Elegant.

I’ve always wanted the rib one to be a cardigan. But I’m not sure if I could make it work. Normally cardigans have two sizes of knit – bigger ribs for the hem, cuffs, and maybe collar / front button band; and finer knit for the bodice & sleeves. It’s neigh on impossible to find such made-in-heaven pairs from fabric stores. (I’ve tried recently with plans for brown and black cardigans. So many different browns. So many shades of blacks!) I’m not sure yet how I’m going to solve this one. I might just cut the hem & cuffs smaller and ease in the bodice & sleeves. Or I might try this fake ribbing technique from an old Threads article which The Sewing Diva demonstrated here.

In any case, the inspiration is Vivienne Westwood (again!). Her orb logo cardigan and cardi-short (???) I’m obviously turning the cardi-short into a cardi-skirt. I highly doubt I’ll get much wear out of a cardi-short. The skirt I’m planning fake front opening. Don’t want any wardobe malfunctioning now do we.

The dark teal jersey I’m thinking a Sybilla F/W 1989 inspired tie-front jacket. And another shrug collar top which I might be able to wear under the matching jacket? And if I’m really lucky and have enough leftover, maybe this color-blocked zip-front top inspired by Peter Pilotto S/S 2012 and based on Burdastyle 2013-06-124 zip-up tank.

Going back to the fake suede theme, the last two in this batch is for the most heavenly fake suede like drapy fabric I found in NY Elegant. So soooooft. Not sure the designs I pick are right for it. The fabric might be too limp. On the other hand maybe a limp drapy fabric would be the best candidate for experimenting with blocky oversized top like this Dolce & Gabbana F/W 2013 drop-shoulder T inspiration. Maybe it’ll mold to the figure rather than box it. And I’ve been yearning for a fake suede or leather slim pants. The inspiration here is Patrone 325 #15. (I’ve been rather unlucky with my Patrone subscription. The year I subscribed they have hardly any that seem designery or editorial. Lots of casual wear which doesn’t really inspire me or suit my lifestyle. Where did all the designer knock-offs go!!!???) In any case, OMG, imagine the feel of this buttery fabric on my legs, OMG, will I be able to get anything done while wearing it? And isn’t it about time I face my fear of pants fitting?

Fall-Winter 2014 SWAP … batch 1 designs

I had these design & inspiration posts lined up for ages now, but got distracted then lost the mojo to finish them. But as Me-Made-Tote the Second is from this batch, and possibly the next two projects, maybe it’s time to finish them.

batch 2 designs
- SWAP2014aw-2-inspirations

So you’ve seen the tote already.

The fake fur shawl should be dead easy. But I’m not sure how useful it’ll actually be. I love the glamor & already bought the fake fur ages ago. On the other hand, it’s so fiddly to wear & isn’t really that warm as it only covers the shoulders. I’m not one who need only spot protection from the cold. Chunky short sleeve sweaters have never made any sense to me either. The other fake fur (shearling) shawl I made a while back has been languishing in the closet collecting dust. So maybe this one can wait.

The fake shearling aviator hat on the other hand would be so timely as height of Winter approaches. This would help me use up the rest of the fake shearling.

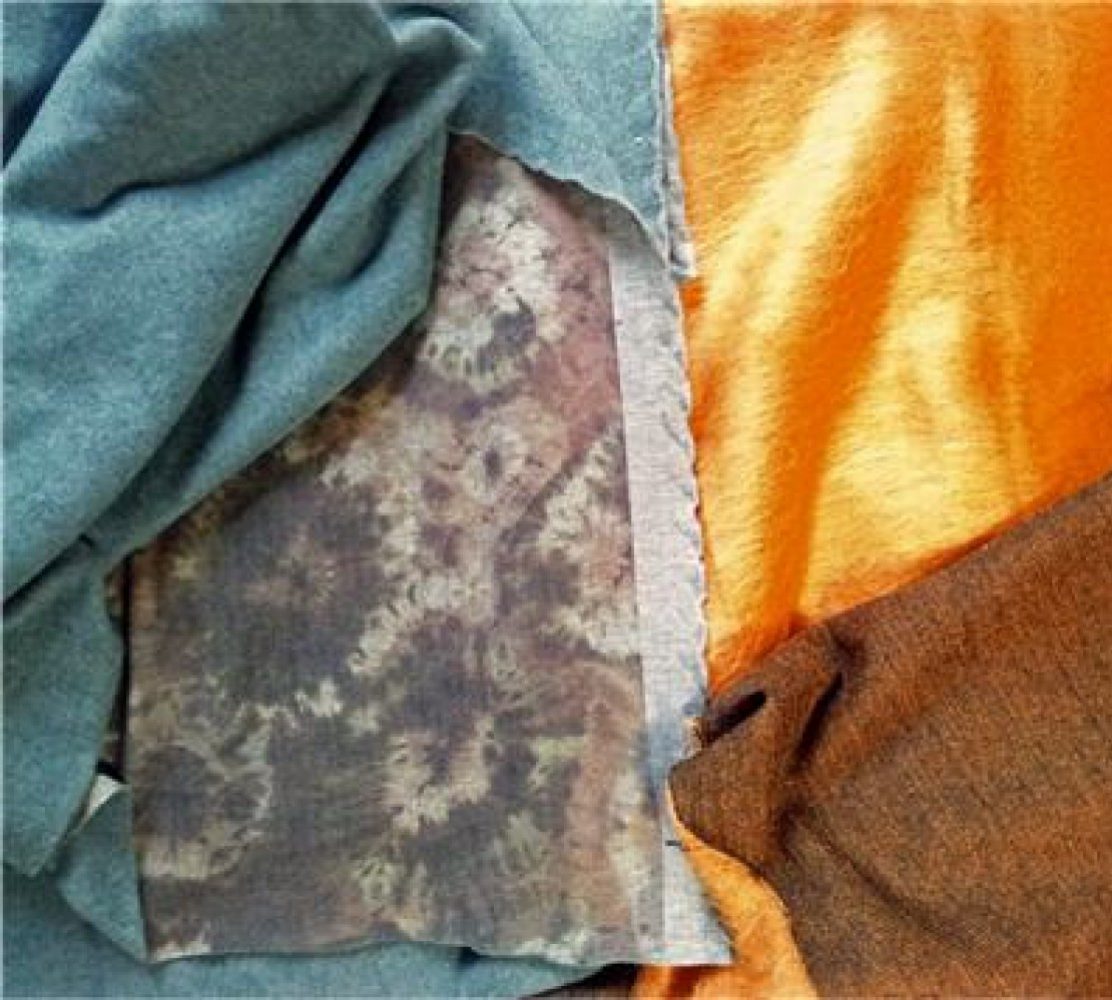
But I think I’ll probably make the two white ‘sweaters’ next. I’m losing my sewing room to visiting relatives over the coming month. And for these two I plan to add knitted ribs to the woven gauze bodice. So I can do the knitting while the sewing room is out of commission. I would have loved for both garment to be made from knits entirely. But I couldn’t find any plain mohair sweater knit in a neutral off-white color. What I ended up getting was loosely woven mohair gauze from Moods in NYC, and matching mohair yarn to knit the collars and ribs for the sleeve and bodice hem. The sweater proper is to replace a RTW I loved that I mistakenly shrunken in the wash & dry. I’m hoping there’ll be enough left of the gauze to make the long sleeve shrug.

Lastly are designs for the loveliest double-sided mohair sweater knit I got from NY Elegant. I love both sides of the fabric. And I could really do with some black garments. I’ve been going all browns & colorful lately that my black wardrobe is in seriously neglected state. But it would be a sin to hide the sumptuous orange mohair side. So more reversible garments it is. I’m thinking princess pencil skirt to cut down on the bulk. But I wanted a bit of variety in my pencil skirts. So this one will have asymmetrical front & slit. I haven’t decided on the top. I was originally thinking another cowl sweater, but now think a sweater jacket would be more versatile. Either the Burda option which is quite simple and potentially boxy, or the Vogue option which is more shapely, but might not be as versatile as it might not look as good worn unbuttoned. The other problem with the Vogue option is that it has waist pleats. That might look weird reversed. In any case I won’t have to decide until I get my sewing room back post-holidays.

What do you do with a knitting wader?

k-eddie-mmRemember my Michelin Man sweater? It was suppose to look this glamorous.

Edie from Precious by Kim Hargreaves

Look so soft & chic doesn’t it? But mine, which is knitted with Rowan Kidsilk Aura – equally soft & cuddly – came out more the hand of a sweatshirt knit. It took so long to knit and the result was so catastrophic that I haven’t try knitting after that. But while I was fooling around on my recent projects photo shoot, I thought of a way to maybe salvage poor Michelin Man.

I was trying to see if Michelin Man would look better shorter. And the shape I ended up with reminds me of these cool looking Alexander Wang sweater / sweatshirt editorials I clipped a while back.


I haven’t altered Michelin Man yet. For the photo shoot it was only temporarily altered with safety pins. But what do you think, should I go ahead & permanently alter this to be an Wang Wannabe?

It’s still a difficult shape to wear. Especially without the skyscraper heels that I reserve for photo shoots only. But cool outfits often push the boundary of good taste. Straddling that fine line is probably what makes them so irresistible. Like moth to flame, you’re not sure you can love them but nor can you look away!

If you knit garments, what do you do with a knitting wader? Especially one that can’t be frogged. (I’ve tried. All that mohair fluff won’t part.)