
So with the pattern sorted next up is fabric prep & construction…
Fabric & Notions Used
This being a jacket to match my new reversible(ish) pencil skirt, I used mostly the same material as the skirt, namely…
- Teal & Brown Wool Acrylic Print Novelty Knit from the sweater knit section of Mood NYC.
- YKK Excella #5 (5mm teeth) Metal Zippers from Sil Thread.
- Petersham Ribbon reverse side closure.
- Vilene Bias Tape interfacing. Skirt hook & eye. Stitch Witchery fusible bonding web.
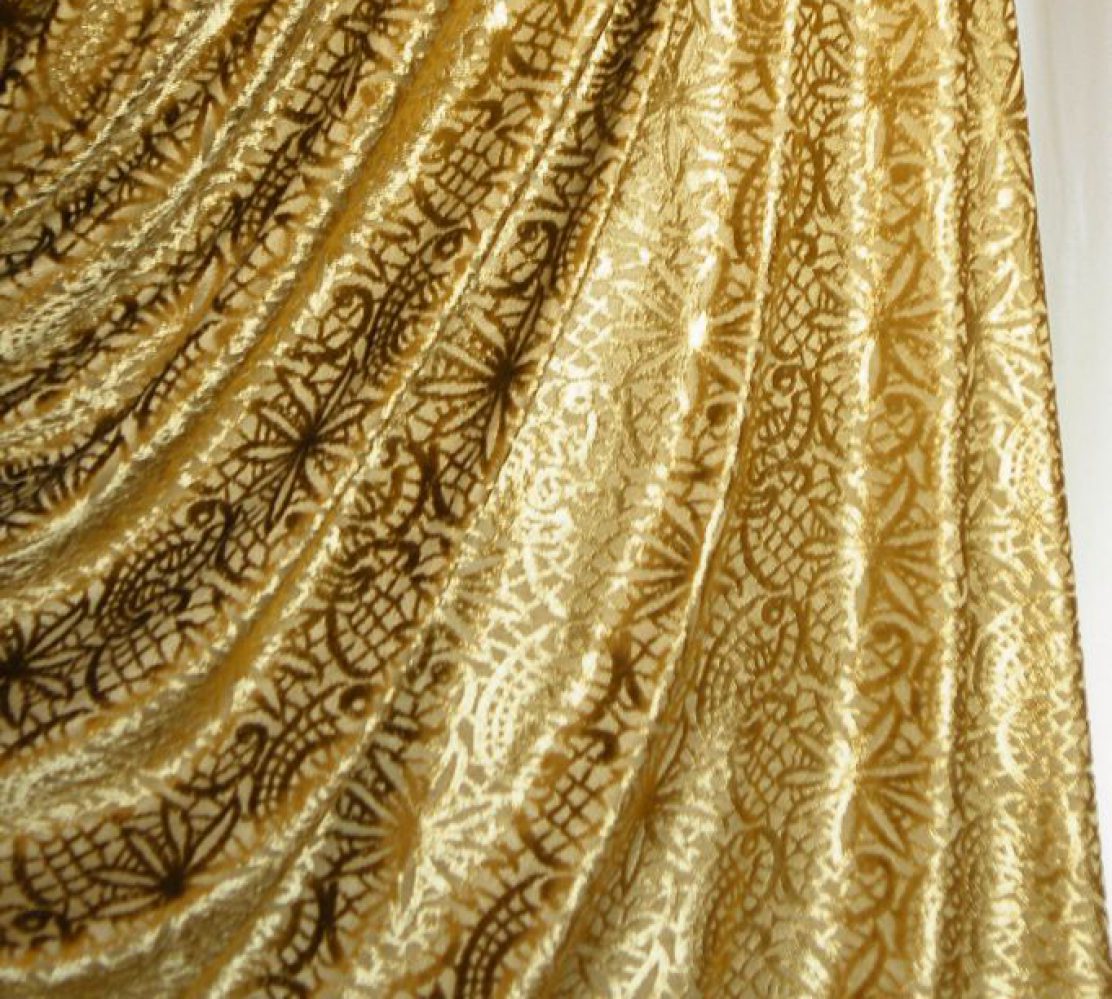
The only new ingredient was Bronze Poly Lycra Leatherette from Tissu Fabric, a cheap fake leather for the collar edging – because I can’t be bothered with non-washable real leather! I do wish I used a better quality faux leather though. The leather-like coating is already rubbing off after a few wears. Oops. I do like its look while it lasted though – it’s more copper (my favorite metallic color) than bronze.
 Now the main fabric from Mood I love more and more. It was quite easy to work with. And the color while a bit dull on the bolt has proved to be a real team player in my wardrobe.
However, for this pattern, I was still a bit worried about whether this sweatshirtish fabric has enough heft. Many reviewers complained about the huge collar not standing up right like in the cool Burda photos. Burda’s recommended fabric – ponte knit – simply doesn’t have the heft to keep the single layer collar standing proud and tall. Nancy K suggested that the leather edge binding might provide the requisite support. But then the inner part of the collar – the stand & turn part – would still be a bit wimpy. I could have added facing to the fronts and collar as Allison C suggested. But I was a bit unsure about the fabric initially, so didn’t buy yards and yards of it.
Anyway, I decided to try felting the portion for the jacket. Big mistake. Even though it’s suppose to be wool acrylic blend, it didn’t felt at all after being put through hot wash & tumble drying. It just pilled. And softened further!!!??? Oops. Thank goodness I had this pill shaver gizmo in my sewing gadget cupboard. It managed to get rid of most of the fuzz, though it could do nothing about the slight softening. Lesson learnt: don’t be stingy – test on a swatch! BTW the fabric does take gentler wash cycle & air drying. I like to pre-wash almost everything to weed out divas from my closet.


Construction Notes
As you guessed it, I’ve ignored the pattern instruction again. It’s more atrocious than usual. I’m tempted to rewrite it even though I have no need of it. But that of course wasn’t why I ignored it. With the pattern changes I made (eg cut on peplum) & the techniques I’ve already chosen for the matching skirt, the instruction would have been useless to me anyway. So just some construction notes below in case you want to try out some of the same techniques…
- Like with the skirt I’ve flatlocked almost everything – even the sleeve / armscye. The only seam that’s not flatlocked is the left front princess seam with the zipper tape. I think theoretically it could have been, but the zipper teeth wouldn’t feed properly. So the fabric edges was flatlocked first, then zipper & seaming basted in place, then topstitched along either side of the flatlock edge finishing.
- Sleeve zippers are attached in the same way as the skirt. The bodice front zipper tape is covered with the leatherette rather than left exposed like on the sleeves.
- As I’m using leatherette rather than real leather, the front & collar edging is only done on one side of the fabric and applied like bias facing tape (so with seam allowances). But I had to use Stitch Witchery to fuse this leatherette to the fabric and to itself to keep it flat. Rather than top-stitching the tape, it’s machine sewn on the outer edge & hand slip-stitched on the inner edge.
- The hem is again 2-thread wrap overlock edge finishing like on the skirt. There’s no peplum facing on my reversible version – the whole jacket is single layer.
- Instead of snaps for the right front princess seam closure, I added hook closures to match the one on the skirt AA side. So again, I folded petersham ribbons in the same way as on the skirt to act like frog closures, fell-stitched these in place, then sewn the hook & eyes to the ribbons. These were placed just below the waist, at the underbust, above the bust, and at the chest (spaced evenly of course).
Style Shots & Mug Shots
So how does it look? Before the reveal let’s have a reminder of the design & pattern photo again for comparison…


And here’s my finished version…


Final verdict
I was planning to reuse the pattern, but I’m on the fence about it after my collar turned out just as floppy as everyone else’s (apart from those smart Russian / Polish ladies who made theirs with fabric worthy of cold weather coats).
Having said that, I’m very pleased with this particular make. The fabrics, the pattern, the details just came together beautifully. It’s got the perfect blend of edginess & femininity for my cup of tea. And like its matching skirt it’s reversible-ish too! Perfect for a style commitment-phobe like me!


