Fall-Winter 2014 SWAP … batch 1 designs

I had these design & inspiration posts lined up for ages now, but got distracted then lost the mojo to finish them. But as Me-Made-Tote the Second is from this batch, and possibly the next two projects, maybe it’s time to finish them.

batch 2 designs
- SWAP2014aw-2-inspirations

So you’ve seen the tote already.

The fake fur shawl should be dead easy. But I’m not sure how useful it’ll actually be. I love the glamor & already bought the fake fur ages ago. On the other hand, it’s so fiddly to wear & isn’t really that warm as it only covers the shoulders. I’m not one who need only spot protection from the cold. Chunky short sleeve sweaters have never made any sense to me either. The other fake fur (shearling) shawl I made a while back has been languishing in the closet collecting dust. So maybe this one can wait.

The fake shearling aviator hat on the other hand would be so timely as height of Winter approaches. This would help me use up the rest of the fake shearling.

But I think I’ll probably make the two white ‘sweaters’ next. I’m losing my sewing room to visiting relatives over the coming month. And for these two I plan to add knitted ribs to the woven gauze bodice. So I can do the knitting while the sewing room is out of commission. I would have loved for both garment to be made from knits entirely. But I couldn’t find any plain mohair sweater knit in a neutral off-white color. What I ended up getting was loosely woven mohair gauze from Moods in NYC, and matching mohair yarn to knit the collars and ribs for the sleeve and bodice hem. The sweater proper is to replace a RTW I loved that I mistakenly shrunken in the wash & dry. I’m hoping there’ll be enough left of the gauze to make the long sleeve shrug.

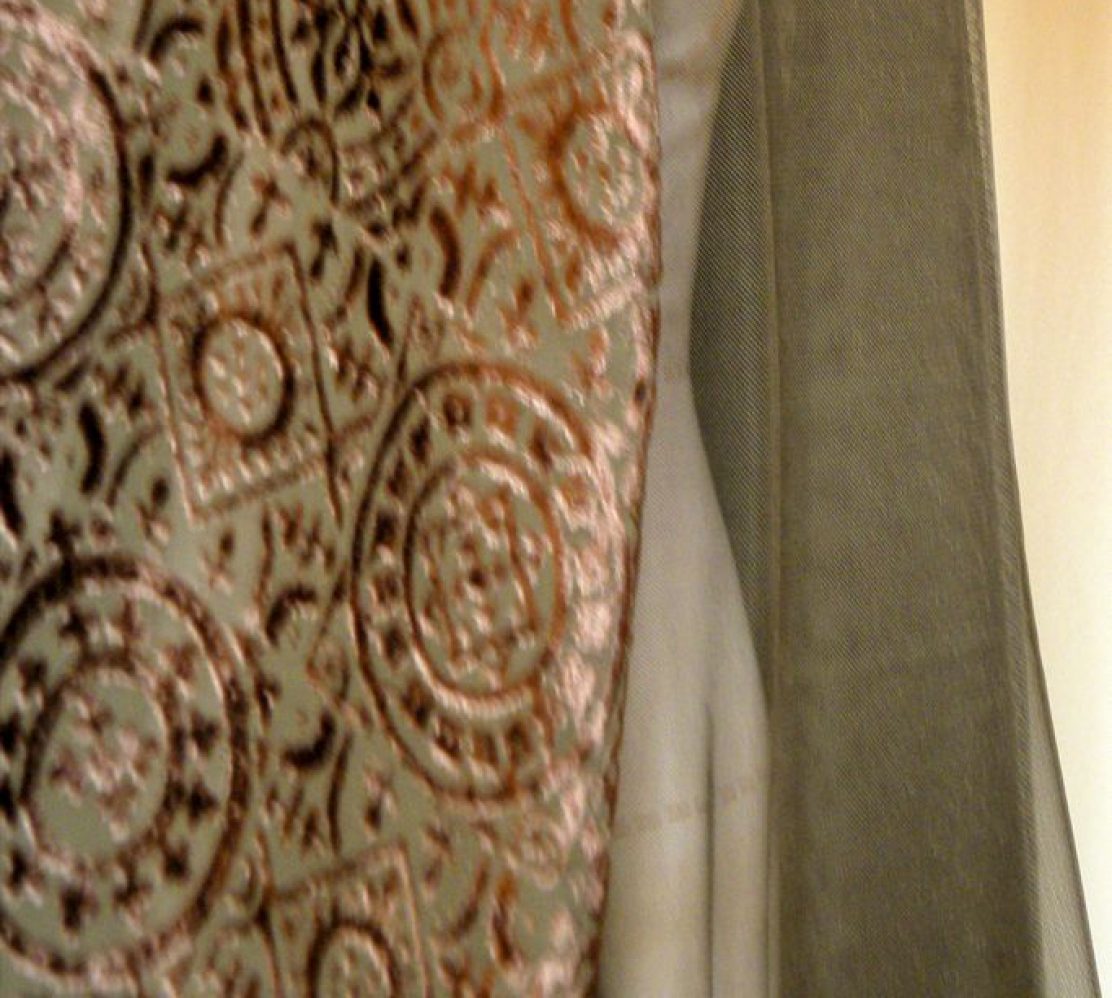
Lastly are designs for the loveliest double-sided mohair sweater knit I got from NY Elegant. I love both sides of the fabric. And I could really do with some black garments. I’ve been going all browns & colorful lately that my black wardrobe is in seriously neglected state. But it would be a sin to hide the sumptuous orange mohair side. So more reversible garments it is. I’m thinking princess pencil skirt to cut down on the bulk. But I wanted a bit of variety in my pencil skirts. So this one will have asymmetrical front & slit. I haven’t decided on the top. I was originally thinking another cowl sweater, but now think a sweater jacket would be more versatile. Either the Burda option which is quite simple and potentially boxy, or the Vogue option which is more shapely, but might not be as versatile as it might not look as good worn unbuttoned. The other problem with the Vogue option is that it has waist pleats. That might look weird reversed. In any case I won’t have to decide until I get my sewing room back post-holidays.

Me-Made-Tote II

Yes, more straight line sewing coming up. And looks pretty much the same as the self-drafted tote I showed you a couple of years ago. How exciting right!

Me: Sweetie, how do you like my new handbag!
MR: Erm, isn’t that the one you already have?
Me: And? So?
MR: If you’re making another why would you make it exactly the same?
Me: Why because it was such a huge success! Why change something that ain’t broken!

I did not lie. The first one I’ve used almost every day for the last two years. I’m obviously no Fashionista. The same neutral handbag does me just fine regardless of the outfit.

the old girlBut that first one is now tatty. It was sort of a muslin. Most of the ingredients were from the Stash and not bought specifically for it. It frayed and peeled. The peeling got so bad that I cut away the bottom corner patches (only to discovered adhesive residue which now attracts all sorts of gunk). Even a Non-Fashionista has her limit. So sadly MMT the First was forced into retirement.

MMT the Second is the same basic design. But I took the opportunity to improve on a few details and on the construction process after learning a few tricks from Don Morin’s Making Leather Bags Craftsy class.

Mug Shots

Fabric & Notions Used

The Design & Pattern

1_pattern

The design is pretty much the same as MMT the First. The only changes I made were:

  • Made the bottom corner patches one-piece (rather than 3-pieces). This was to avoid really thick seams since the fake leather this time is thicker than the vinyl I used last time.
  • Simplified the lining pattern following Don’s example. So only front & back pieces that extends T-shape-like to cover the sides and bottom.
  • Simplified & change the internal pocket sizes. I found of the two pocket methods I used last time, the patch method with minimum ease worked better. And the phone size section was the most useful, so this time I went for 4 of those. I also added a section for a pen.
  • Added detachable elastic loops to hold the soup thermos upright on cold work days!
  • Used the fake leather for the handle this time to avoid unsightly fraying.

One change that I wished I had made was to have cut-on sides for the exterior pattern too so that there’s a side seam like Don’s example. It would have made sewing the zipper so much easier. I’m not sure the side front / back style lines are really worth the hassle.

Construction Notes

  • I highly recommend Don Morin’s Making Leather Bags Craftsy class. Even though I’m unlikely to use real leather (too heavy) I still found the class very useful and informative. The construction order was especially helpful. And the bag he demonstrated looks more like the type I’d buy. I find most other bag patterns a bit too crafty for my taste.
  • Orb Decoration: This should have been done before sewing started. But I didn’t have all the stamping bits then. So the illustrations show this step on a the mostly made tote.

    Ink-wise I tried stamping directly with the gold paint I wanted (on a scrap of course). But that left no mark on this fake suede. Neither did other pigment metallic gold inkpads I ordered nor fabric dye solutions from the Stash. The only ink that seem to work was the normal office inkpad I have lying around. I wonder if it’s a solvent based ink, which you’re not really suppose to with the polymer clear stamps that I got. I reckon once is not going to destroy the stamp. So I used it to transfer the design onto the fake suede, then paint over the design with the gold paint. Not perfect, but at least neater than my freeland drawing on MMT the First.
  • OK, I said I don’t do tutorials. But since I took some photos along the way to remind me how to make it next time I might as well share these…
  • Someone mentioned in Don’s Craftsy class that Fiebing’s Edge Kote + Mod Podge are used to create the professional sealed edge finish you sometimes find on RTW leather bags. I tried Fiebing’s Edge Kote on the trimmed Handle edges. But it didn’t create the sealed effect I was hoping for. Maybe it’s Mod Podge that does the trick. Or maybe my fake leather is too absorbent. Must track me down some Mod Podge next time and try again.

The Verdict

I’m fairly happy with the result. The sewing is neater than last time though by no means perfect. The orb design is also neater, less amateurish looking thanks to the stamped guideline. I do prefer the old bag’s coloring. But this one being brown again should still be neutral enough to go with almost everything. I’m hoping the furnishing grade fake leather will stand up to wear a bit better. At least I won’t have fraying handles.

So here’s to 2+ more years of unfashionable pairing of the same bag with every outfit days in & days out!

Drab sewing

Nope, Sewing Mojo still not back from holidays yet. So I’ve been making do with drab home-furnishing sewing. Drab because it’s suppose to be dead simple. Just boring straight lines and rectangles. Yet it’s taking more effort than I expected.

See these curtains?

curain for the living room

How long would that take you to make? It’s not lined. So just joining pieces and hemming four sides per panel. The rings are plastic snap-on’s. So not even heavy machinery needed.

taming the curtain...or trying toBut the fabric is heavy. And my sewing space cramped.

Even with a flat sewing surface & the sewing cabinet fully open, I just couldn’t manage a straight line of sewing. The dinky home sewing machine with its dainty little feed dog & foot was just no match for these heifers of a fabric. They move whichever way they please.

You quilters & home decor sewers out there have my full respect now. How do you coax unwieldy pieces to stay in line?

The Not So Impressive Stash

Well this is a bit embarrassing. After all the hoopla about my fabric acquisitions it turns out I have very little of interest to show.

Don’t get me wrong. I have been naughty. Quantity-wise anyway. The load came in at 63+ yards, not 43+ yards as I claimed earlier. But it seems like I’ve been way too good in sticking to my boring shopping list. The bulk of my purchases are dull Dull DULL to show & tell.

So here’s a group shot to spare you too much excruciating details!

2014-10-nyc-fabrics

From left to right:

  • Sweater pile: Sweater & rib knits from NY Elegant and B&J.
  • Cardigan pile: 5 sets of sweater + rib knits for cardigans from NY Elegant and Mood.
  • Foundation pile: I thought I might tackle foundation wear this coming year. So I got some Powernet & Milliskin from Spandex World, plus foam fused poly lining from B&J which I hope is like the stuff they use for bra pads.
  • SWAP pile: Mostly important but boring supporting casts from B&J, Mood, and NY Elegant for upcoming projects, such as…
  • Just 4 Fun pile: Tame by many of your standards, but as exciting as life gets around here. Mostly from cheap & wacky Spandex World, but a couple from B&J and Mood.
  • Ooh Charmeuse pile: Just because it’s so hard to find Charmeuse in London I got a few more from Mood.

As you can see I got mine from only four stores. It was just too overwhelming otherwise. Especially when I’m shopping with a list and luggage limit. If I were living locally I’d probably shop more from the smaller stores and go with an open mind. But with a list, I find huge stores that have good organizations easier. I can see at a glance whether they have the type of fabric I need in the color I need. It does mean paying more. But my sanity is worth it!

Of the four I go to, I’d say NY Elegant is the most expensive, then B&J, then Mood, and Spandex World is pretty affordable though obviously specialized. NY Elegant & Mood seem to have a better selection of sweater knits. I do like NY Elegant’s system of swatches already attached to many fabric rolls. B&J has lots of fabrics on big sample cards so that it’s easier to browse, see the fiber content, and ask for samples. Some of the Mood fabrics are marked with famous designer names. But as they’re pretty basic looking fabric it seems a bit pointless to name-check. I’d save it for the more unique fabric designs. I mean who cares if your bog standard looking charmeuse is a Ralph Laren, right? 😉

There were also a bunch of notions. But I’ve already filed them away & can’t recall where they all are now. So just a couple of highlights here:

notions-1
Pacific Trimmings have these cool mix-n-match buttons where you pick a base and the accent to go in the center. There’s quite a variety of base and accents to choose from, and the base come in different sizes. How cool is that!

notions-2

I also got a couple of kits for fabric covered buckles from Daytona Trimmings (as well as more of that lovely bobbin lace I got last time). I’ve been looking for these for ages. They are so hard to come by these days. Granted the selection isn’t great – only two sizes, both big. But better than nothing.

I bought a fair few more buttons, including these gold ones from M&J Trimming (where I also got petersham ribbons in a few different colors). And big coat snaps, including gold ones from Pacific Trimmings. The black snap fasteners and the gold button with anchor motif in the striped jersey photo above are also from Pacific Trimming. So too are the bag D-rings, bag feet, and magnetic snaps. And RiRi zippers. And lingerie elastics. And eye & hook tapes. Boy, did they get my business this time or what!

But majority of my zippers are YKK that came from SIL Threads. I also got an Italian Lampo zipper from Botani Trimmings on recommendation from Clios. They’re suppose to be really high quality & expensive (she says Chanel use only Lampo). The ready-made metallic teeth one I got wasn’t too bad price-wise. And the zipper action IS super smooth – essential for a tote! I also got a custom reversible zipper in the smallest size available (#3) from Botani. Now that was expensive. The reversible skirt it’s destined for better be a success!

And that was it. Apart from these four pairs of shoes from Macy’s. I did leave four old pairs behind after all. So surely MR can’t complaint about my shoes stash, right?

shoes

Clockwise from top left: Michael Kors boots, Circa Joan & David pump, Circa Joan & David sling back, Alfani ballet flat


Oh where can I buy one / make one?

Vivienne Westwood designs for Virgin Atlantic

I’m not a good flyer. It’s always too cramped. I can never sleep. Food taste blah. Entertainment lacked full box-sets. My bony bum hurts after 30 minutes.

But the new Virgin Atlantic uniform perked me up en route to NYC & back. What interesting asymmetrical neck flounce you have! What chic yet saucy jacket is that! Oh can I have your handbag?

As I exit the plane I had to compliment & ask. Vivienne Westwood of course. I should have known. I want one!

The coat, which I didn’t see onboard, also very yum.

Vivienne Westwood designs for Virgin Atlantic

The fashion crowd can poo-poo all they want. Me & my sewing geek will take Westwood’s saucy cut & interesting details over their blink-and-you’ll-miss-it minimalism all day any day.