
Yeah! Second project from SWAP F/W 2014 done!
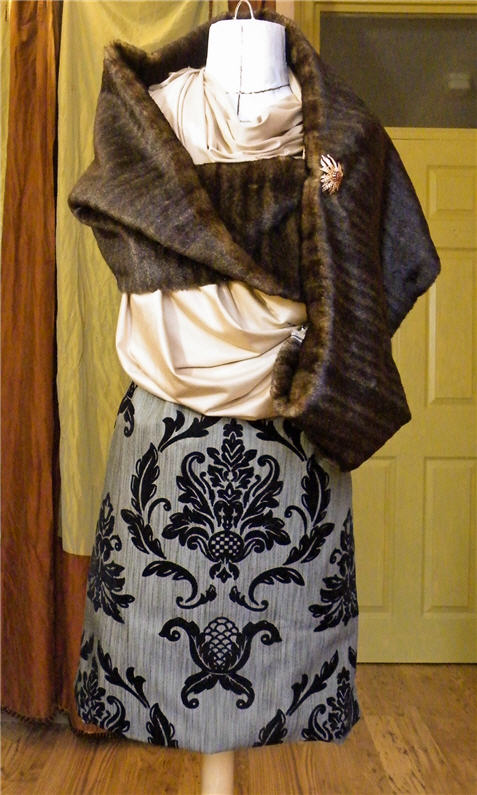
Style Shots & Mug Shots


The Design & Pattern

This was originally going to be a better fitting version of Cowl-Neck A-line Sweater the First. But I got a bit off track while muslining the pattern. I also blame Pinterest which stuffed other ideas into my head. Trying high (front) low (back) on the muslin convinced me that it’s a more flattering shape and works well with the A-line silhouette. And I thought long skinny sleeve might be a nice counter balance to the voluminous bodice & cowl collar.
Now that collar, erm, it ended up a bit floppy because I didn’t think it through. I kept thinking I don’t want a turtle neck look & did everything I could to avoid it. But I went overboard & ended up with this floppy funnel. As it’s knitted with a sticky mohair yarn so too late to fix. I think I can live with it. But I’ll know better for next time.
Block Used:
Design Changes Made:


(The pattern was done before I corrected the armscye height over-tweaking. So the shoulder seams are still lowered.)
- Widened neck opening & lower front neckline. This is to ensure the knitted collar band would be wide enough to hang like a cowl rather than a turtle-neck.
- Curved bodice hem from just below hip at CF to just below bum at CB. This high low hem hopefully gives my shapeless frame some hip curve!
- Added 7-1/2″ knitted cowl collar. This was flared from neckline seam towards the collar edge.
- Added 2″ bodice knitted hem & 1″ sleeve knitted hem. These were straight (rectangles).
Fabric & Notions Used
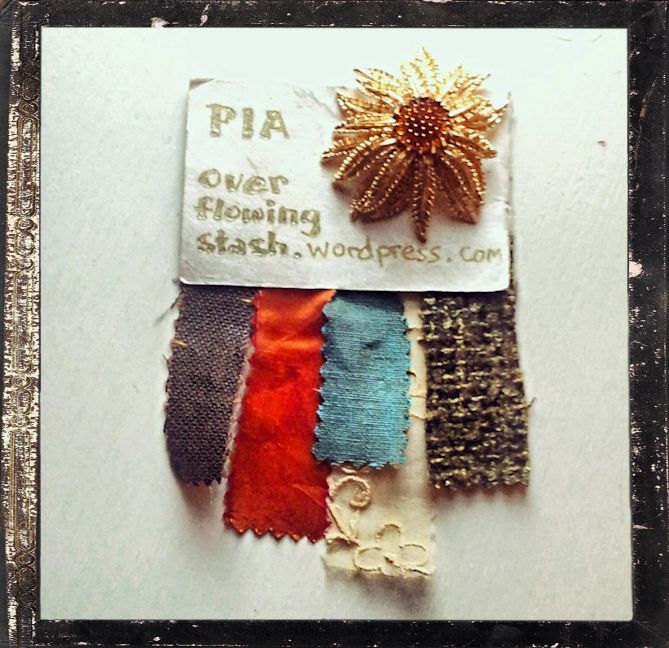
- Cream Mohair Gauze (?) from Mood NYC. I was hoping for loose sweater knit in cream, but couldn’t find any. This has the surface texture of one, but sadly not the drape. Maybe I should have used it for underlined & unstructured jackets like Puu’s Gerard Coat (which looks like the same type of fabric): It certainly would have made the fabric less delicate to wear! Mine I will have to treat with kid gloves. I already had a seam rip accident (patched now). Plus underlining would have protected my skin from its scratchiness. But as I had bought the fabric with the sweater in mind I stuck with the course. Next time I’ll know better.
- Rowan Kidsilk Haze silk & mohair yarn in Cream (634). No matching rib fabric to be found so I thought I could knit my own since yarns come in so many different colors! Actually, it turn out not to be a perfect match. But squint your eyes & it’ll be fine. Definitely softer than the fabric & marginally less scratchy.
- Vilene Bias Tape.
Construction Notes
- Marking was difficult in such fluffy fabric. I tried cutting out without marking, but where I needed to mark I resorted to bad habit: the reliable if not always removable wax carbon paper – in red no less. Some cursing & stain scrubbing was unavoidable when the red marking refused to just disappear. Don’t do it. Thread trace if you need to.
- The fabric portion was predictably easy. The neckline & shoulder seams were stablized with Vilene Bias Tape. The seams were stitched & 3-thread overlocked. The edges where I was going to add ribbing were overlocked to give the knitting something more substantial to cast onto.
- Cowl collar and sleeve & bodice hem ribbings were knitted by hand.
- Collar is 1×1 rib knitted with 2.75mm – 4.5mm needles (I avoided increases like the plague – too confusing – so made my way-too wide funnel by gradually upping the needle size.)
- The hems are 2×2 ribs knitted with 3.25mm needles.
- I started all with approx 8 stitches per inch, but ensuring I have the right total number of stitches for my rib pattern (ie multiples of 2 or 4).
- Casting on was a bit of an experiment, none of which were entirely clean & successful. I forgot that unlike entirely knitted pieces there isn’t a well-formed edge here to hook my first row of knit stitches into. It didn’t help that this fabric is so loosely woven so wanted to fray with any tugging at the cut edges. Maybe I should have underlined the fabric at least at the edges. Or better yet, knit the ribbings separately then treat like purchased ribbing and overlock to the edges.
The Verdict
While not exactly what I had envisioned, it’s wearable. If only it wasn’t so delicate & scratchy then I’d feel comfortable wearing it more often. Next time I’ll wait for the right sweater knit to come along. Yeah, no chance of me knitting the whole thing from scratch. Way too slow & complicated & stressful!