UFO Revisit 1: Taffeta Bird & Blossom Pleated Skirt

After wrestling with the sloper and losing, I decided to put that aside and attack my piles of UFOs instead. That’s UnFinished Objects as Frabjous Couture calls it.

Step up, Ms Rustly No-Breathing Skirt.

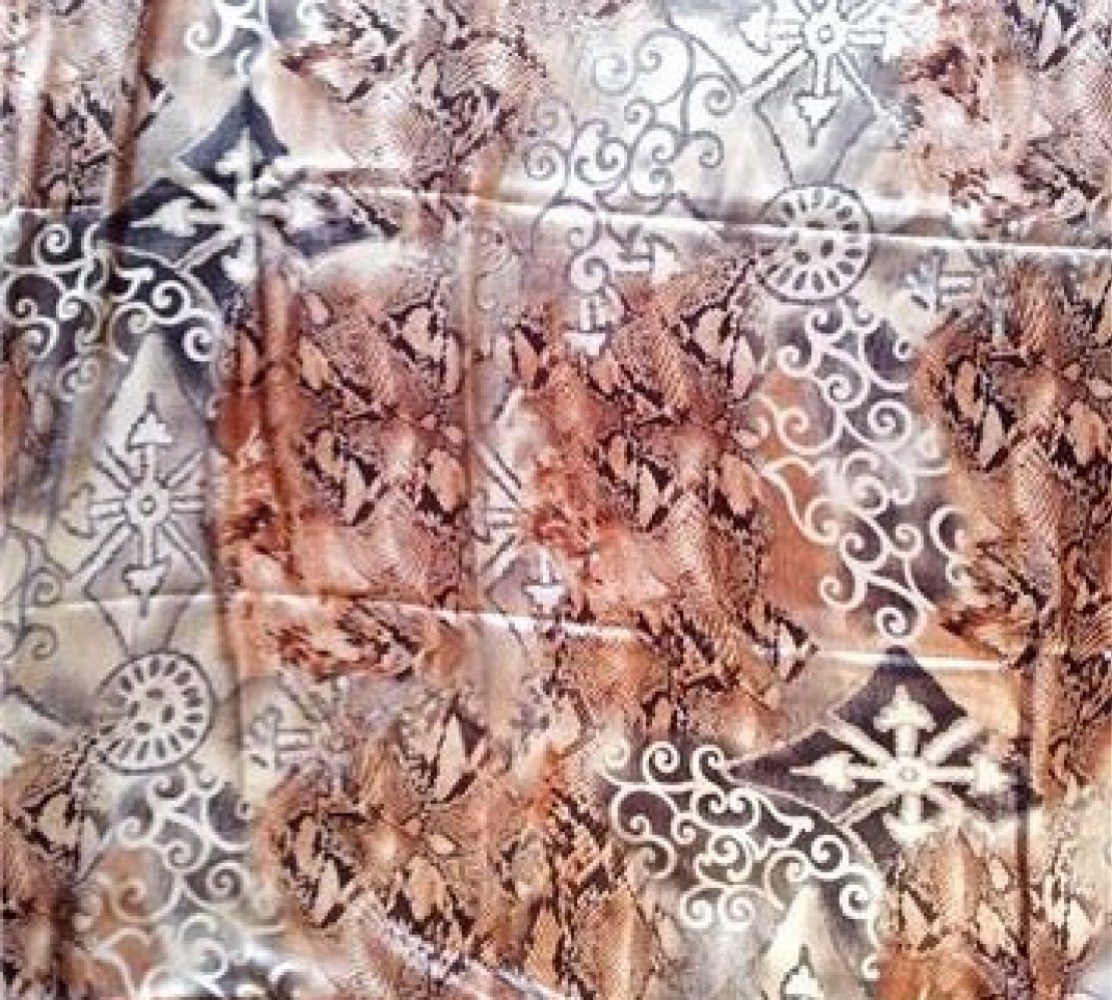
Remember this atrocity?

Not only does it strangle my middle and make my torso look matronly, it also itches the hell out of me with its plasticky zipper stops. I made the mistake of not sewing these into the waistband seam allowance. There were also weird tugs and pulls here and there. In short, unwearable.

And after a tweak here a tweak there?

Et voilà, a tad better. Just.

I totally redid the pleats and waistband. The latter is now more like 3/4″ thick. I don’t feel like a Square squatting over a Trapezoid anymore. The pleats are now angled to flare out over my Lager-than-I-thought hip. So there’s the unsightly diagonal drag lines zapped. Sweet.

This last tweak was a big lesson for me – and you too: same technique + different cloth = maybe  not as you thought. Now I so love forgiving potato sack cloth and hate, I repeat, hate stiff unyielding – and unforgiving – taffeta. Buy it at your (and my) peril.

In the process I lost a little bit of length. It moved the irritating zipper stops closer into the seam allowance, but I hacked off the plasticky zipper stop coatings anyway and blanket stitched over the end of the zipper coils with soft embroidery floss. You can never be too paranoid!

And good thing that I did too. For when I tried the skirt on, guess what, it’s still a bit too tight. It seems that (a) I’m in Absolute Denial about my expanding waistline, and (b) I was over-optimistic that 3/8″ ease would be enough, what with layers and layers of pleats and all.

In the end I had to trim off as many layers as I could. Gone the extra layer of stiff waistband interfacing seam allowance. Gone too are the seam allowances of the inner layers of the pleats – they are now left dangling below the waistband. I hoping the Fray Check and tacking them together will be enough to keep the skirt in one piece. We shall see if that again is wishful thinking.

And last but not least to be gone is the hem of the waistband self-facing. Instead of turning up and slip-stitching to the bottom edge of the waistband as I normally do, this time I extended the facing below the waistband and stitched in the ditch. So the facing hem isn’t caught in the waistband.

All this effort did eventually pay off and now I can breathe a sigh of relief. In the skirt. Phew.

And the final flourish

A few more stamens for a few more flowers…

…and few more feathers to send the birdy soaring

And a bit of wacky styling with home-made leopard mini-beret
for that OTT grand coming out party

1  down, 5 more to go!

Stay tuned.

The Fitting Hampster Wheel

Urgh, the Sloper 2011 project is really dragging me down. A couple of weeks into my sewing holiday and I still haven’t made anything. Instead all my energy has gone into trying to perfect a new sloper. The idea is that once I get this basic fitting shell right it’ll open up a whole new world of design. So much for the theory! Here’s what really happened so far…

Draping on Big Bertha

My last sloper was also derived from draping on Big Bertha. But either the draping instruction wasn’t very clear or I’m not very good a following instruction, the fitting lines seemed off. So this time I vowed to keep the bust, back bodice, and skirt fitting lines level with the aid of gridded pattern fleece (a bit like non-woven interfacing, but for pattern drafting & fitting, source long forgotten!).

So far so good. And I discovered a good use for my used needles: They’re great for pinning into Big Bertha / Duct Tape Doubles. Yes, they still gum up. But they’re more sturdy. And the larger, rounder end that fit into the sewing machine also provide a good and less painful grip for pinning into Big Bertha’s thick skin.

So voilà, new bodice sloper!

This time I also tried to keep all other darts as symmetrical as possible to minimize the amount of adjustments needed for future pattern fitting. But see how the left shoulder still slope more than the right? And it wasn’t a simple lowing the shoulder and underarm seams. The armhole actually scoops in more.

As a precaution I decided to try these non-woven fitting shell. And shock horror, it’s not perfect. I can’t remember exactly what happened next – there’s been like 9 fittings since – but anyway, I got it into my head that my right shoulder also slopes and Big Bertha is no longer my faithful twin.

I decided to use the sloping left side for further fitting trials. I think this photo was taken after that though I can’t be sure any more. See how the right side now look about right.

On to gingham fitting shell hell

I followed Connie Crawford’s instruction for drafting a sleeve pattern, then proceeded with the gingham fitting a la Vogue Pattern instruction. And here’s the initial result:

Erm, where did that big horizontal wrinkle on the back come from???!!! And the sleeves, see those dreadful twisted drag lines. Urgh!

I checked my other books and decided the sleeve might have been drafted incorrectly. I didn’t exactly followed Connie’s instruction to the T. She’d have you draft  to standard sizes. But what’s the point of standard size sleeve on custom sized bodice? Anyway, I know my arms are skinnier than standard, so I adapted her instruction for custom larger sizes. But this resulted in a 2″ ease. When I later checked my draping book sleeve drafting instruction, it says the ease should be no more than 1.5″. So that might have been part of the problem. But the twisting…I have no clue.

I decided to remove the sleeve and check the fit again, in case the rogue sleeves were distorting the fit. Still no luck. Back bodice still wrinkled. The bust fitting line isn’t level and there are folds at the side seams. The skirt too had diagonal wrinkles from front high hip to bottom of back buttock. And the hem swings towards the front slightly.

Anyway, tweaks after tweaks later, I finally did away with most of the back wrinkle in fitting 7. But now the whole bodice is hitched up about 1″.

I checked the shoulder slopes and, erm, they’re like the original Big Bertha draped results! I’ve gone the full circle and I was feeling really sorry to have doubted Big Bertha.

So I undid the whole basting, retraced the original draped slopers, rebasted, and voilà…

Huh? The back horizontal wrinkle is back???!!!

By this point I’m feeling a bit like this, but obviously not as cute.And my apartment is a mess
with patternmaking & sewing bits & bobs strewn all over…

Oh, I forgot to mention, in the process Big Bertha has also acquired an arm and me a few cuts  from my boyfriend trying to free my arm from the Duct Tape shell. There’s her arm in the top picture…not that I’ve done anything useful with it since.

Plan B C

In my typical fashion my solution was to order more books! Thanks to a birthday Amazon gift voucher, 3 more fitting books are on their way to me. (Plus 2 on serging.) I’ve finally succumbed to the sewing community’s rave reviews and ordered the Palmer/Pletsch fitting for Real People series.

I also ordered Fitting & Pattern Alteration 2nd edition (far left). I actually have the first edition already (near left). It’s like an encyclopedia of fitting issues. But because it’s mostly drawings, and each fitting problem is shown separately, I still wasn’t able to figure out how to solve my compound fitting problems. The new edition seems to have more photographic illustrations. And some reviewers mentioned clearer explanation on order of fitting. I’m hoping these changes will be enough to help me get off the Fitting Hamster Wheel on to the straight road of finally cracking that fitting shell!

In the meanwhile, I’m going to Plan C: looking for some simpler, less fitted projects to put the joy back into sewing.

What about you? Have you had fitting problems sapped the life out of your sewing? How did you crack it?

Oh boy! New toy(s)!

The other day the door bell ranged, and I thought it might be the tracing paper I ordered for pattern drafting.

The long & short of tracing paper in the UK…

Morplan ‘tracing paper’,
next to Big Bertha for scale.

I had previously ordered a roll of “tracing paper” from Morplan, which turned out to be absolutely useless for tracing. It was in fact opaque, despite being described as “tracing paper” and lightweight at 45gsm. Plus it was so humongous and heavy, it’s quite an ordeal to unroll and cut a piece off for use. Still, it would be too much of a waste to throw away. So I kept it for pattern drafting that doesn’t involved tracing, or for tracing commercial pattern with a tracing wheel. But for my current nth sloper project, I needed translucent paper so I can trace & pivot easily.

Before that I had gotten all my tracing paper in America. So I don’t know why it’s so difficult to get proper tracing paper here in the UK. I know others used greaseproof paper / baking parchment, and that was going to be my back up plan if I can’t find any proper tracing paper in the UK. But as they tend to be narrow, so require taping for bigger pieces, they aren’t my first choice.

Artifolk tracing paper,
next to Big Bertha & Morlan’s version for scale.

I eventually ordered 3 rolls of 33″ x 27 yd (84cm x 25m) 62gsm tracing paper from Artifolk.co.uk. They were the cheapest art / office grade tracing paper I can find and works out about £0.89/sq m if you order 3 rolls or more. That’s about twice the price of greaseproof paper, but you get the advantage of wider width. If you need wider still, London Graphic Centre has slightly more expensive 63gsm tracing paper rolls that are 40″ x 21.87 yd (101.6cm x 20m).

One thing I found out is that you can’t judge “tracing paper” by the paper weight indicator – the gsm number. I read a few discussions where people were assuming lower gsm means more transparent. As my experience with Morplan shows, that’s not the case. You must look for “transparent” or “translucent” in the description.

Morplan (white bag pattern)    vs    Artifolk (translucent sheet over sloper)

The new rolls I ordered are indeed proper tracing paper. They’re heavier weight, but similar to some of the tracing paper I’ve used in the past. So I know they’ll be fine.

But what an ordeal to get them delivered – thanks to the new & improved (not!) Parcelforce service. The door bell turned out not to be the paper. No, I had to trace my package online only to discovered it was sent via their new deliver to psychics only scheme. Basically, you had to guess when the courier will be at the door. No door bell, no sorry-you-were-out card. If you guess wrong, then your package is going back to the sender. Clever innit. Unfortunately my psychic power is a bit anemic and I nearly missed my package. Thank god for online tracking. But no thanks for having to trace and retrieved the heavy package from not the nearest post office, but the one 15 minutes away. British logic really confounds my simple American mind sometimes.

Now back to the door bell…This was in fact an altogether much more pleasant surprise…

My very first serger / overlocker

There’s a story to go with it as well. But first I have to thank Lakaribane for steering me towards a serger  instead of a handbag for my birthday present. I did consider the highly praised Brother 1034D as well.

But in the end I went for this also highly praised Bernina 1150MDA because I thought I might want 2-thread overlock stitches for a flatter seam allowance finishes on woven garments.

I was considering Juki too because I see it so often mentioned as an industrial brand. And industrial means reliable and professional right? But Juki seems hard to come by in the UK. Then I read somewhere that Bernina sergers are in fact made by Juki, but with a heftier price tag. And as my boyfriend’s paying…Mea culpa. I think this will have to be my Birthday presents for last year, this year, and next year.

It could have been worse of course. I could have gone for a Baby Lock Evolution like the Selfish Seamstress. But £1000+ present seems obscene to ask for. And I was paranoid that the miraculous Baby Lock air threading system will one day breakdown and leave me in tears. I work with computers. So I don’t trust clever clever technology!

But I almost didn’t get this Bernina 1150MDA.

I went down to the local sewing machine store and asked for Bernina 11-something serger. The guy told me they don’t make that model any more and tried to sell me a Frister & Rossman overlocker.

Now that wasn’t a clever move. Throw a curve ball at me like that and I’m more likely to walk out the store empty handed. I would have to go home and confer with my online sewing community first before making my mind up.

I had in fact come across mention of Frister & Rossman on an UK sewing forum, but hadn’t seen enough reviews & mentions to trust it. They did had the Brother 1034D. But actually, comparing the rolled stitch sample they had set up on the F&R and Brother, I had to say no to the Brother one. It looked crooked and amateurish. And I don’t know enough about serger to tell if the Brother was simply poorly set-up. The F&R sample seemed better. And it was branded Jaguar! Now that would have been funny to brag about. But it was a 3-4 threader.

I was about to go  home empty-handed, but decided to ask about the next model up in the Bernina line. That’s when he checked his catalogue and we discovered that we were talking at cross-purpose. They do indeed carry the 1150MDA – as advertised on their own website no less! But he thought I was asking about a previous version, a 1100 or something. Next time I’ll know to memorize the exact model number!

So the deed was done. The order placed. The boyfriend’s credit card handed over. It was to be delivered when they can source it from another branch in about a week.

Then a mere 2-3 days later the door bell rang and my present arrived. Hurrah! But my boyfriend made me wait till my birthday to open it up. Boo.

So, my birthday finally arrived. And here’s the Bernina 1150MDA strip-tease…


And that’s as far as I got with my new toys. Now back to that d*** sloper & fitting puzzle!  }:-|

The Ultimate Commitment-Phobe Dress

Dream dress of my life?

As a fashion commitment-phobe I jumped on the band wagon as soon as I saw Victoria Secret’s various convertible dresses. I got about 3.

And now convertible dresses fester on the internet. I won’t get into the debate of who came up with the idea first. But I’ve  just found a tutorial on making your own convertible dress

…and a video tutorial for how to turn it into the various styles shown…

Apparently not…

To be honest, it’s good for photo shoots where you can hide a multiple of sins with clips and tapes and clever angle. In real life the dress is a bit of a failure. I never did manage to wear it different ways. All the twisting techniques makes you  feel like a sausage – it’s just too bulky even with the slinky material. And if you look at the video you’ll see that most styles will require that strategic double-sided tape if you don’t want to do a wardrobe malfunction (aka Janet Jackson).

So, I’m considering butchering my VS convertible dresses and commit them to one style each. Sometimes one good one is worth a hundred different mediocre ones! I thought I’d never said that.

Dear Birthday Fairy…

It’s a washed out day. I’m capable of only surfing and dreaming of my fantasy sewing room. My birthday is coming up and my boyfriend has been pestering me about what I want for my birthday.

Horn Gemini
Last year I asked for a Horn sewing cabinet when we move into a bigger place. The bigger place didn’t materise. So neither did the sewing cabinet.

Now Horn wouldn’t be my first choice – it’s rather ugly. But I was thinking more of function than form, since sewing on my desk is breaking my shoulders and neck (too high). I wanted the 3-step airlift feature so I can hide the machine away, have it level with the desk surface, or on the desk surface to sew free arm.

Koala TreasureChest Plus lV

The choices in the UK are very limited. If I were still living in America I might have considered a Koala sewing cabinet. But again, they are only marginally less ugly.

Now why can’t they make sewing cabinets that look as classy as a Pottery Barns Aris Desk?


Pottery Barn Aris small desk – sadly no longer available

Deluxe Sewing Center Wookdworking Plan
Now, of course if my boyfriend were the handy type, I’d ask for a custom built one. Like this Deluxe Sewing Center (plan and lift mechanism available for order online). But I got the urban DIY-what’s-that type. That’s boyfriend not sewing center of course.

Anyway, this year, still with no additional sewing space in sight, I’m aiming lower. Just about.

Husqvarna Designer RubyI was lusting after an embroidery machine. But a toe in the water later I’m thinking

(A) I don’t have the space for such a big beast; and

(B) I probably won’t do enough embroidery to justify the price tag.

Baby Lock Evolution
So next down the list of contenders is of course a home serger. Now the idea of clean-finish seams and puckerless knit sewing sound good. But what’s been stopping me is the  idea of multiple spools of threads. I already have two overspilling drawers of threads of all different colors. Most I use only once for one garment. The idea of multiplying that by 3 or 4 just doesn’t bear thinking.

Do you own a serger? Do you keep a closet full of serger threads just to match the thread to the fabrics? Are there other strategies for keeping the thread pile under control?

Maybe I should just ask for a handbag instead? }:-)