Fashionably Late Of Course

Hurrah, I finally have my cutting table back. For over a couple of months now it’s been the dumping ground for our bathroom bits while the room was getting a make over.

Pretty Grievances's Jungle January Party

So that’ll be my official excuse for not arriving at Pretty Grievances’ Jungle January party on time. Not that I’m there yet. But finishing that Plenty Good Enough tote bag has emboldened me to get on with my Psychedelic Leopard projects.

20121111_112221.jpg

Projects plural I said. For I’m ambitiously trying to squeeze 2 tops and 1 skirt out of 2 yards of the 60″ wide turquoise leopard print fabric. Remember, this is the fabric that if I were to follow instruction obediently wouldn’t even be enough for 1 wrap dress. But tweaking the McCall 6078 view B cowl neck top I made last summer, I discovered I can go way down in size, especially with these stretchy spandex jersey. So I’m hoping that by going down to a size 4-6/XS and then some (from a recommended size 12), then throw in industry standard narrower seam allowances for knit, I just might conjure up a miracle.

But just in case, I’ve already purchased another 3-1/2 yards of this lovely from B&J Fabrics. Just need to hop on a plane to pick it up from my brother’s across the pond. Going by my sewing rate though there’ll be plenty of time to pick it up. (Speaking of stashes, OMG, have you checked out Modern Vintage Cupcakes and Mercury – Handmade Fashion‘s stashes? Big sigh of relief that I’m not alone.)

So here’s Plan A:

Burdastyle Magazine 2012-05-113 skirt
BSmag_2012-05-113B_tech.gif

Donna Karan Vogue Pattern 1282 cowl-neck top
1282-top-line

Burdastyle Magazine Blumarine 2011-06-139 wrap dress
shortened to be a 3/4 sleeve wrap shirt
bsmag-2011-06-139_tech.gif

Next up:

Tracing out & adjusting the patterns. And pray, pray, PRAY that I won’t need a Plan B.

Improv Tote: Finished!

OMG! I finished something! And it’s made purely from stuff in my stash! What’s more is that although it’s not perfect, I’m OK with it! Miracle. So, picking up where we left off…

Tarting It Up for the Big Day

As you recall, this Vivienne Westwood tote bag was sort of what I was aiming for. And I briefly flirted with the idea of finding a similarly graphic print and image transfer using one of those printable transfer paper or image transfer medium.

But it seemed way too much hassle. Especially with the fabric being faux suede, I wasn’t sure that (a) the image would transfer well, and (b) the fabric could handle the heat required. So I resorted to my tried and tested Jacquard Lumiere 561 Metallic Gold Fabric PaintJacquard Lumiere Fabric Paint.

Next question is what design.

Derwentwater Golden Hearts Blackwork Embroidery KitI wanted something stylized, and thought this Derwentwater Blackwork Embroidery design would look great. Boy was I over ambitious or what. On the faux suede I just couldn’t get fine enough a line to attempt anything so complicated. (I do love these Elizabethan looking blackwork embroidery kits though – I have 6 of the 7 Derwentwater kits. One of these days I will find a way to incorporate them into my fashion sewing. Just you wait!)

WIP-17WIP-20

Ambition hampered, I went back to variations of the royal orbs. I ended up with this slightly wonky VW style orb.  I threw in a few more flourishes inspired by the real deals to compensate for the lack of fancy branding.

What do you think? Chav enough for you?

Coming Altogether Now

Next up, sewing the bag and lining bottoms together.

WIP-17Zipper foot came in handy for getting as close to the seam line as possible without being hampered by the bulk of the bag and lining.

I sewn three sides first, then inserted a piece of 7-count plastic canvas to stiffen the bag bottom. I got this tip from U Handbag’s great bag-making tutorial blog.

The last side is then sewn up, and the bag flipped right-side-out over the lining.

WIP-18

The top of the lining is then sewn to the underside of the zipper. (I slip-stitched it by hand for better control, then edge stitched again for reinforcement.)

WIP-19

I stitched across both ends of the zipper before covering the ends with faux leather tabs like Longchamp Le Pliage tote bags.

Now the tabs, what a pain they turned out to be!

WIP-21

With faux leather on both sides and a bit of bulk in-between, they were rather difficult to sew on the machine, even with tissue paper underneath to help the feed dog feed properly.

In the end I resorted to hand sewing. So thank God for my thimble and hand-sewing needle grabber.Hand sewing needle grabber

I would have had blood spilled on my lovely new bag otherwise trying to cajole the needle through the bulk – and the gunk from the double-sided tape!

WIP-22The resulting tabs aren’t brilliant. With my thin and somewhat stretchy faux leather you can see the zipper bulk striking through clearly. Longchamp Le Pliage tote bags tabs also shows a bit of bulk, but with proper leather and professional stitching they stick out much less like a sore thumb.

But you know what, who in real life is going to get close enough to notice this little blemish? So for once I’m declaring this project Plenty Good Enough!

So here you go, the finished result:

Done-01 Done-03 Done-04

What do you think? Good enough for a Gym & Grocery Bag? 🙂

Improv Tote: WIP 2

Lucky you! An update within a week of my last post! 😉 Yes, a bit more progress was made on the tote. So, where were we?

The Handles Of Course

WIP-05

So I went with the D-Ring option in the end. I also removed the stiff woven interfacing from the cording – it was too stiff – and instead went with naked cording inside double layer of faux suede.

The part below the D-Ring ended up being a layer of vinyl leather over faux suede – for that fake leather thickness. I went for a Vivienne Westwoodish diamond shape cut out with the aid of a cardboard template. WIP-06

As you can see, plenty of double-sided tape was used in the process to hold the pieces in place. May not be what the professionals use, but it does the trick. And this bag is totally an exercise in using up the stash – decades old double-sided tape included!

So here are the finished handles. Don’t look too closely though. The sewing is all a bit wonky. But hey, for once it’s “Good Enough”!

WIP-08

Next up I sew in the zipper opening before attaching the handles to the bag.

WIP-07inspiration_longchamp

As you can see, it goes from middle of one side panel to middle of the other side panel. I plan to finish it off with two vinyl leather tabs like the ubiquitous Longchamp Le Pliage tote bags.

WIP-09 WIP-10

And the handles were “baste” in place again with double-sided tape before being edge-stitched. BTW, the Teflon Feet comes in really handy for these faux suede and leather! But it’s a bit wide, so luckily my machine can swing the needle either way up to 3.5mm.

Where the handles are attached I reinforced the bag panels with the stiff woven interfacing. Because I’m paranoid about handle failure, especially with those heavy bottles of Coke Zero that my Other Half have me buy for him from time to time.

Bottom Up!

Next up is attaching the bottom. I did the two long sides first, then clip the corners (reinforced with Dritz Fray Check wherever I clipped), and finally sew the two shorter sides.

WIP-11WIP-12

Now the Lining & Inside Pockets

Again in a stash-busting move I used whatever was in my stash no matter how inappropriate it might be. So standard dress lining it is then. Something tougher would have been better. But I’m being disciplined.

As a compromise, I fused the stiff woven interface to the lining instead of the bag fabric. I was going to use the stiff one on the faux suede and another lighter one on the lining. But extra layers means extra weight, however imperceptible it may seem while the bag is empty. Fusing the stiff interfacing also forced me to use up decades old Aleene’s Original Iron On Fusible Web.

WIP-14

The pockets are double layer lining interfaced with decades old Pellon Soft Shape interfacing. On one side I experimented with pleated pockets sewn into  the side and bottom seams. On the other side are flat edge-stitched pockets. We shall see which gets used more often!

WIP-15Rest of the lining construction is like the outer layer. With the addition of the stiff interfacing the bag stands up all by itself! I’m very proud.

And here’s a shot of the inside pockets. No zips inside. I don’t like too many hurdles to get to my junks.

WIP-16

Stayed tuned for the next episode, where the Bag and the Lining get hitched!

Improv Tote: WIP 1

Happy New Year all! Hope you all had a lovely Christmas and maybe even managed to get a fair bit of sewing done.

Sadly over here, hardly anything was achieved sewing-wise. Apart from over-eating induced coma I suffered a bout of Perfectionism. Hence the lack of activity here – it was just too depressing to write about!

But as the Sewing Princess reminded me, there’s a wonderfully supportive sewing community online, and I need not wallow in my fitting woes alone. So I’ll take some pictures of my Whack-a-Mole fitting problems on a sunnier day and maybe you’d join in with my Name That Fitting Gremlin Game. But not today. Today I want to talk about my first bag making attempt.

inspiration_originalA while back when I was traveling a bit, I wanted a replacement carry-on bag. The one I had was getting tatty in places and was a bit heavy once laden with all the modern-day gadgets. So I started cutting out fabrics for a replacement.  But when I measured the weight, my fabric pieces was working out heavier than the original bag. Some sewn products are best left to the professionals, who have access to special material that better meet the practical needs which we can’t easily get hold of in consumer fabric stores. Sigh.

Inspirations

So, what to do with the cut out fabric pieces? As they were originally destined for a rectangular bag, I decided to make a tote a bit like this £114(!!!) Vivienne Westwood tote bag:

Vivienne Westwood Battersea Print Bag Khaki

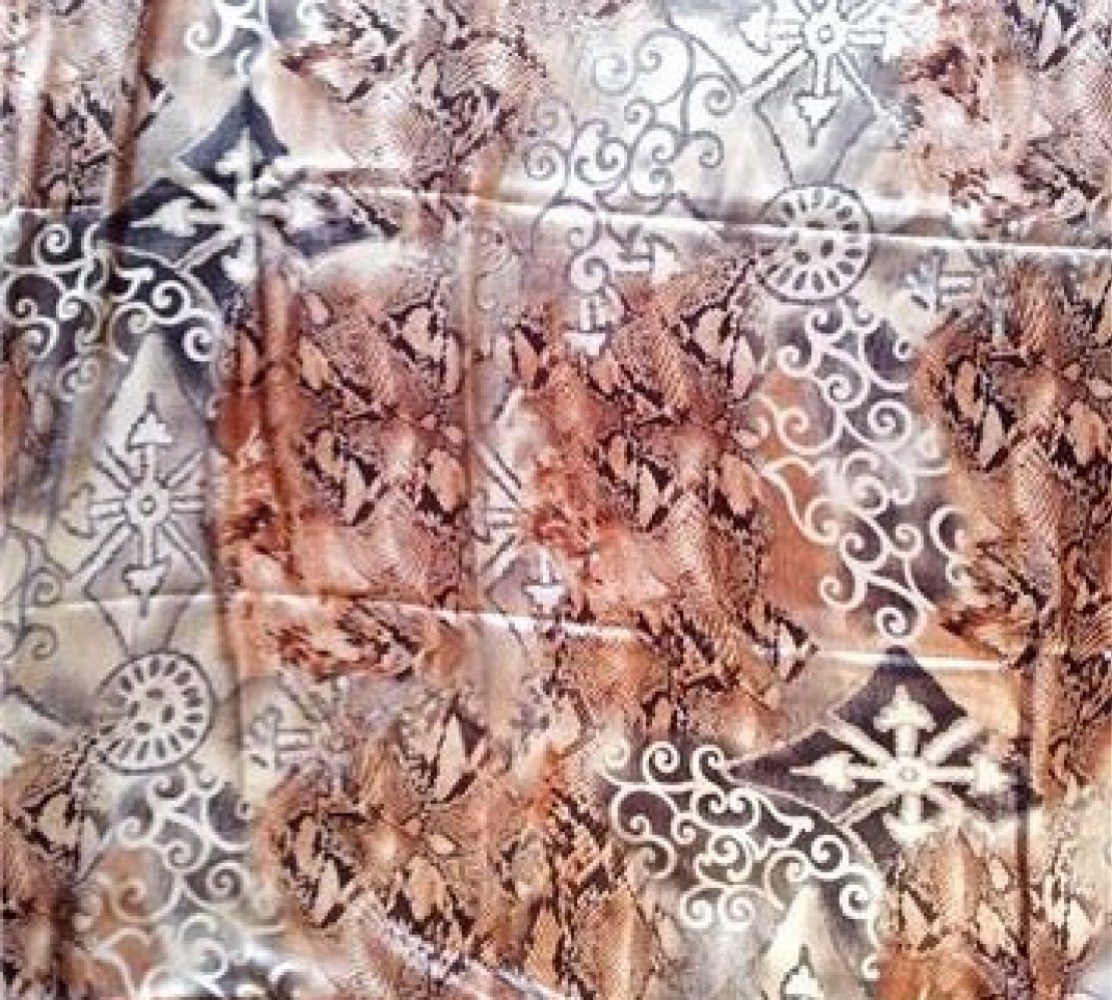
As my fabric is a polyester faux suede, I’m not sure how easy it would be to transfer printed images onto it. So I had to look for alternative ways of adding visual interests.

Hot Patterns Queen Of Hearts Bowling Bag & Hand Bag PatternI’ve always like corner patches like on Hot Patterns’ Queen of Heart Bowling Bag Pattern. So I thought I’d use some of scrap vinyl I have in my stash for this.

As you can see I don’t have a proper pattern and instruction to guide me. So I’m improvising as I go along.

One tutorial I am using bits & pieces of is this tutorial for a mini-bowling bag by Qazicat:

Qazicat Leopard Bowling Bag Tutorial …Like its instruction for the corded handle. Or how to stiffen the bag sides and bottom. Or order of construction. Useful stuff and clear instruction.

Love the leopard print example Qazicat shown as well. Would be perfect for Pretty GrievancesJungle January too (which I chickened out from – my slopers not being ready and all)!

Work In Progress

First off, attaching the vinyl patches to the bottom parts of the bag. As both vinyl and polyester don’t like high heat – and I’ve lost the instruction for the various interfaces and adhesive webs I have – I decided to just use standard double-sided tape in my stash. I’ll edge-stitch them as well just in case the adhesive tape lose its sticking power with age.
WIP-01

Here are all the patches – entire bag bottom, small strips on lower edges of the sides, and rounded bottom corners on the main pieces of the bag:
WIP-02

I’m using up decades-old stiff fusible woven interfacing on the back of the faux suede. I think they were for shirt collars and the likes. But again, heat issue with faux suede, so they’ll probably just be sewn in rather than fused.
WIP-03

I’ve also started on the handles. Here are thick piping cord wrapped in the same stiff fusible woven interfacing. The outer layer will probably be the faux suede. But I’m still pondering on whether to beef it up a bit with an extra layer. Or maybe even use thicker piping cord. At the moment it looks a bit wimpy compared to the size of the bag.
WIP-04

inspiration_handleAnd I’m also debating whether to attached the handles directly to the sides or to attach them via a D-ring so that they can hang down when not in use for more compact storage.

That’s it for now. For apart from fretting over fitting, I’ve also been busy stressing over our bathroom renovation, making endless plans and drawings to try to whip the builders in line.

New Bathroom

And of course now the builders have taken over a huge chunk of our apartment with inevitable dust everywhere, any sewing would have to proceed at a tortoise pace.

Hopefully it won’t be weeks for the next installment of this!

“Perfectionism is a disease, and a form of fear!”

So said Kenneth D King in a short interview in Threads magazine as advice to the sewing novice.

“When learning the craft of sewing […], you should expect to destroy several acres of fabric before you get good. This is an acquired skill which can only be perfected by means of repetition—practicing over and over, learning from mistakes, learning when you can save something, and when you need to cut your losses and start over.

If you are afraid to make a mistake, afraid to ruin some fabric, or afraid to waste some time, you won’t ever get really good at this craft. It’s the dues you pay for becoming proficient.

However, if you are willing to charge forward, cut into that fabric, try something different, and risk making a mistake, there will come one day when you realize that you’re sewing without that knot of worry in the pit of your stomach, and the process effortlessly glides along.”

How very true! For me anyway. Hence that mammoth stash. But easier said than done. I’m back hammering at the moulage / sloper again. And I’m certainly destroying several acres of gingham. But no cigar yet. Maybe gingham is too flimsy to assess such close-fitting patterns. Maybe I need to lay waste to acres of my more expensive and better quality stash before I’ll have that elusive perfect fit. Oops there it goes again, Perfectionism at work! See what I mean?

And what do you think? Does Mr. King’s words ring true for you too? Do you think the effort to learn the craft is worth it? Or have you managed to leave Perfectionism by the road side and learned to live with “That’s Plenty Good Thank You Very Much!”?

Edited:

BTW, here’s an interesting article about Simmin Sethna, the woman who taught Mr. King the French Couture Pattern Drafting method of Ecole Guerre-Lavigne (now Esmod)