
Yes, I’m done with fixing. Or at least I’ve had enough. But I’m still not in the mood for starting totally afresh. So my next project is a finishing project. As in finishing the last scraps of stripy knit I used for the Knit Top Block tests earlier in the year (Dartless Knit Top Block and Semi-fitted+Raglan Knit Top Blocks).
The Inspiration & Design
There wasn’t enough left for a normal T, even a sleeveless one. But there was just about enough for a strapless one, like the Bandeau Ruched Bust Top I just finished recently. My inspiration actually was an outfit from Burda 2013-13. (I already made a similar lace skirt. So now the stripy top. And yes, I’m plotting to eventually make the minty cardi as well!)


The stripy top isn’t available as a Burda pattern, and it looks like it’s a bustier top rather than a knit ruched bust top. But I thought the silhouette would be close enough. And I’m in no mood for drafting anything new & complicated. Being paranoid about tuby top over exposure, I decided to add halter straps as well. This was partly inspired by 1953’s Butterick 6518 which is featured in Blueprints of Fashion: Home Sewing Patterns of the 1950s. (I plan to one day make something like that too!)
Style Shots & Mug Shots


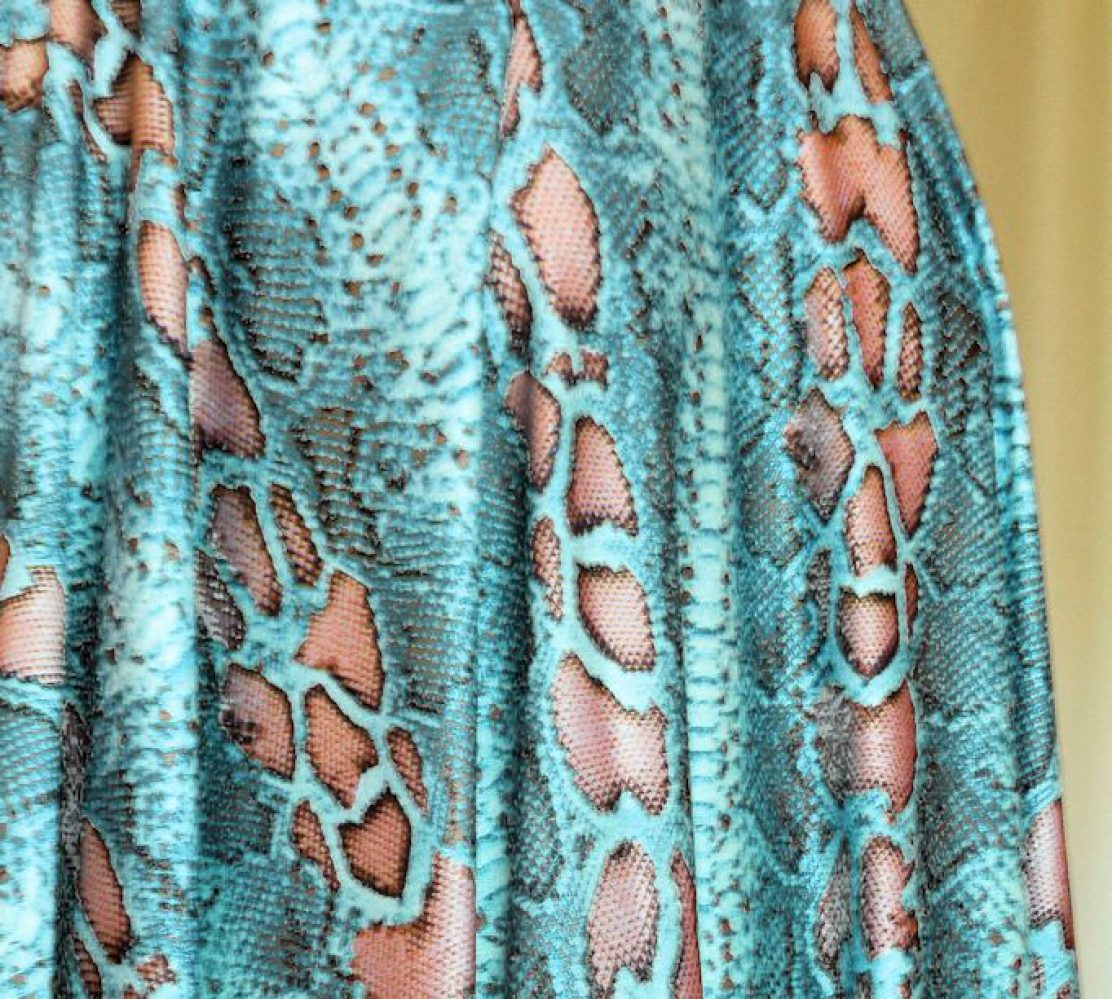
WORN WITH: 1 & 4 Refashioned RTW pleated skirt; 2 TopShop Martha jeans; 3 Refashioned RTW A-line skirt; 5 Self-drafted lace skirt;


The Pattern


- Block: Self-drafted Ruched Bust Tube Top
- Design changes:
- Added contrasting band at neckline: rectangle measuring neckline length x 3/4″ folded + SA, cut on crossgrain.
- Added halter straps: rectangles 2″ folded x length required to tie around neck CB, cut on crossgrain. This is positioned from front princess line outward towards the side seam.
- Added removable bust padding: pattern is based on shelf-bra bust area with the triangular bit at CF underbust removed, and no SA added.
- Fitting changes:
- Added back the triangle at CF underbust that I had cut off for the Mustard version. I originally sewn this up without any fitting changes, forgetting that knit fabrics can behave differently. The Mustard fabric had much more stretch both direction & was more susceptible to gravity. So the triangle was surplus to requirement & ballooned unattractively underbust. In this fabric however, it was needed to get rid of unsightly draglines. I was going to live with the defect, but then thought it would be better to test the fix on this wearable scrap muslin make.
Fabric & Notions Used
- Fabric:
- Viscose/Cotton/5% Lycra Stripe Jersey from Tissu Fabrics with 50%H/35%V stretch – All.Used.Up.Yeah!
- Shelf-bra underlining: 80% Nylon 20% Lycra Lightweight Power Mesh from Tissu Fabrics.
- Notions:
- Fiberfill padding fabric from Sew Sassy for removable bust padding.
- Clear elastic for shelf-bra bottom.
- Knitted elastic for the contrasting neckline band. (In the CF ruched area, this is replaced with double layer Power Mesh.)
- Rigilene boning for shelf-bra side seams.
Construction Notes


- The construction is mostly the same as the Mustard version, with the following differences:
- Removable bust padding: Each pad is two layers. Princess seam in each padding layer is sewn separately using butted zig-zag stitches. The two layers for each pad are then overlocked together at the outer edges.
- Shelf Bra: This time I varied the bust dart position for the Fabric vs Power Mesh layer to avoid a build up of layers that shows through the outer layer. Fabric side seam is sewn at top SA & lower 1″ only, leaving a gap for the removable bust padding to be inserted/removed. The front SA at the gap is top-stitched in place. The back SA at the gap is sandwiched between the F&B SA of the Power Mesh side seam. Rigilene boning is sewn to this Power Mesh side seam SA, so again sandwiched between the two layers of the Shelf Bra.
- Neckline: The band is stitched to bodice neckline wrong sides together. The knitted elastic short ends are stitched to the CF double layer Power Mesh, then stitched to the seam allowances of the band/bodice neckline. The straps are stitched to the band at the inner SA (long side/upper edge in the photo) & at the fold line. Shelf Bra neckline is then stitched to the band’s inner SA, flipped inside at the fold line, and top-stitched in the band/bodice seam ditch. CF is then gathered / pleated, and the tab folded over the band fold line / top edge & hand stitched inside like with the Mustard version.
The Verdict
I’m pretty happy with the design. Love the visual interest the perpendicular stripes of the neckline band & straps add. It’s a nice variation for Breton stripe. But…
I’m not convinced these variations of strapless tops really suit my short-waisted torso. The proportion isn’t flattering when they are worn tucked in. The ratio of exposed chest vs bodice vs lower half makes the torso look even more squashed. This one is slightly better than the Mustard version because the wide straps breaks up that expanse of exposed chest & make this look less like a strapless.
And my attempt at sweetheart neckline in these ruched bust tops are just not happening. I should have paid more attention to Stretch Pattern School’s lesson on tension line. The elastic at the neckline simply cannot keep the top up and dip in the CF at the same time. I will have to find other ways of keeping the neckline up if I want a sweetheart neckline.
Otherwise a decent effort don’t you think? 😉 A- then!

Wow, I never noticed that striped top under the cardi in Burda’s photo. I love your version of this. Always impressed with your drafting/fitting. The top looks great. I love it paired with the lace skirt.
I admire all this work you are doing to get more wearability out of some of your pieces, A grade indeed! I’m someone who puts things that need altering into piles where they sit for months and often the job just takes 10 minutes so hopefully these posts will give me a kick up the backside! Thanks also for your very thoughtful and detailed post on my twist dress.