
OMG. I actually followed through with a sewing plan! When I bought the cotton lace a year ago for the white lace straight skirt, I said I was going to use the leftover for this Burdastyle top. And now I really did it. Unheard of! To follow through with my plan. And to use a fabric so SOON after purchase! 😉
The Pattern


I liked this outfit even before I got the lace. But it was waiting for the right fabric to come along. Yes amongst my overflowing stash there was nothing right for this.
I was also a bit terrified of anything not fitted. Because of my height. Or lack of. Plus the impending middle age spread. So I have tended towards fitted styles in recent years. But I think it’s time to rethink. Because so many edgy kids rock it! So I vow to explore how volume can be incorporated without out looking like the Michelin Man. This is my first baby step towards that direction.
Style Shots & Mug Shots


Fabric & Notions Used
- Silk Georgette from Borovick Fabrics, London. I chose limp, drapy, and translucent Georgette to counter the boxier shape. Along with the bias cut I hope it will make this looser fitting top less scary to wear. Plus it makes this top go with the lace skirt I just made should I ever want the coordinated look.
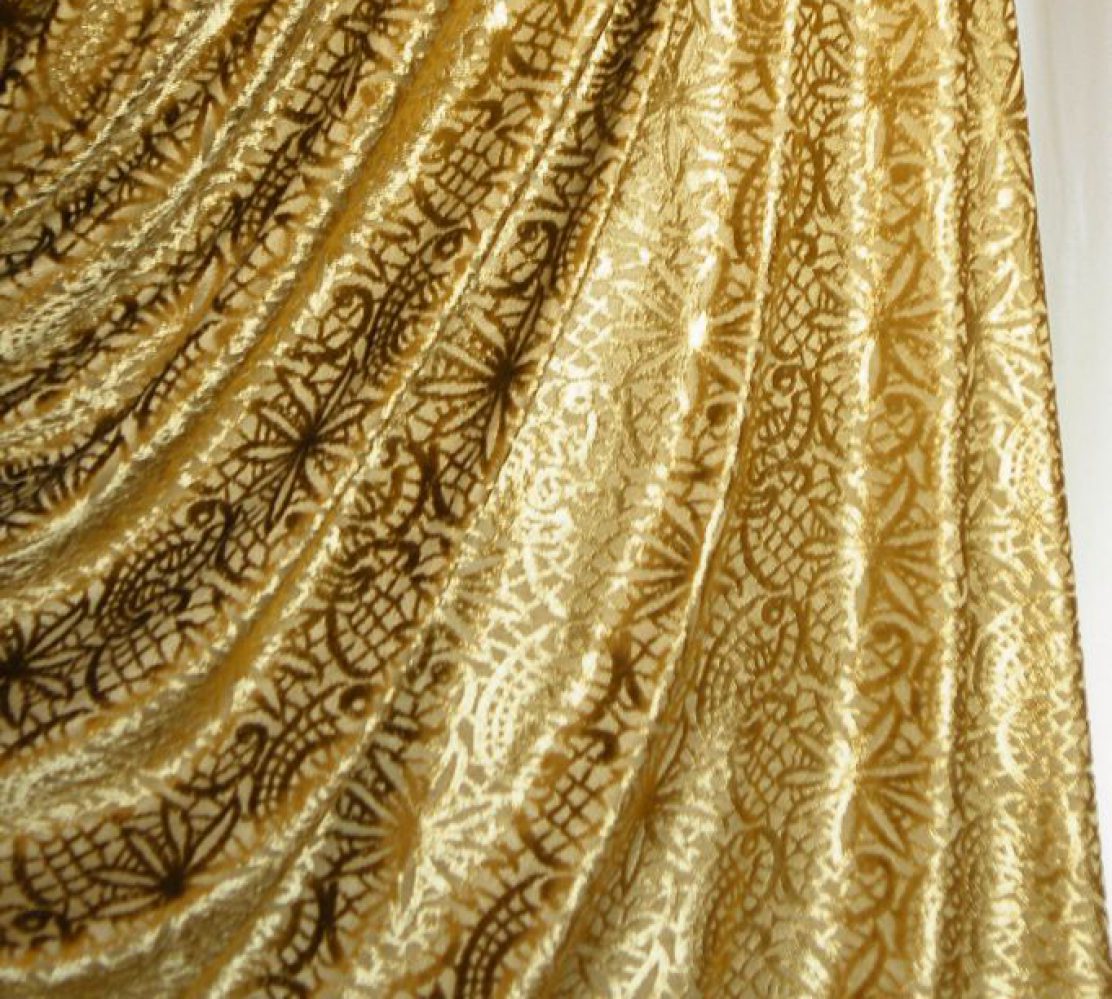
- Cotton Lace from NY Elegant Fabrics, NYC.
- Sewing Helpers: Spray starch; Fray Check
Size Used
34. Going by sizing chart I would be 36. But checking the sizes against my Fitted Top Block shows that 34 should have enough ease.
Changes Made

Fitting changes
OK, alteration of looser fitting garment is a bit of a black art to me. I don’t know how to approach it methodically. So I wing it with lots of trial & errors. Then of course I don’t remember exactly how I get to the end. I think I might have done the following…
- Align CB/CF of pattern with my Block, with Neck-Shoulder (NS) point of pattern on the Block shoulder seam. Back is more straight forward – there’s only one place where these meet. I then see where that is on the shoulder seam and try to get the front NS to be on same horizontal level.
- Check widths & lengths:
- I did this simultaneously since the side seam is shaped. So where I shorten will affect the widths at the key levels (underarm, bust, underbust, waist, high hip, hip).
- Since there’s no guide to how long the top should be, I decided to go hip length. Hem width was just about right for hip length. So I didn’t want to shorten at the hem and mess up the hip width.
- I needed to shorten different amounts in the front and the back. I also took into account how low the armhole goes and where I want the narrowest part of the top to be. So I ended up shortening in two places:
- Armhole level just above where the side seam starts. This allows for different amounts for front (1″) and back (5/8″) without affecting the side seam. It also shorten the armhole to reduce risk of indecent exposure.
- Side seam level at the waist. This is equal amount front & back (both 2″) to avoid mismatched side seam lengths.
- It may look like the back doesn’t have enough widths in places. But there’s a bit of extra width in the front. Plus the back darts won’t be sewn. Plus there’s already a bit of ease built into the Block I’m checking against. So the back is actually fine pattern-wise. I presume a bias cut would also provide a little bit of needed stretch.
Design changes
- Added shaped CB seam. Firstly because I didn’t have enough Georgette left. And since I have to add the seam I might as well put it to good use by adding a little bit of waist shaping (3/4″ each side, 1-1/2″ total). It’s yet another one of my Figure Flattery theory. That with looser fitting tops, because of my body shape & posture, I’d look too tubby from the side view if both front & back hang straight down from the fullest parts (bust / shoulder blade). I know, most people aren’t going to look at me from the side. But the Stylist In Me won’t let it slide. She’s in agreement with Alexander McQueen about going after a “cut and proportion and silhouette that works all the way round the body” by starting with the “worst angle of the body” – ie the side with “all the lumps and bumps, the S-bend of the back, the bum.” But for all that you can hardly see the difference in this top. Bummer!
So that’s the changes I made. Whether it works or not I’m not 100% sure. Especially my attempt to shape and skim my figure. Because this will be cut on the bias. And bias supposedly stretch and droop. Especially on limp drapy fabrics like Georgette. So will my attempt at shaping be totally pointless? Will the pattern’s bust and waist and hip end up lower in the finished garment thanks to gravity pulling on the stretchy bias?
Has anyone found sound advise on evaluating bias garments patterns for fitting adjustments? Do all the shaping like vertical darts needs to be shortened and by how much? The only advise I’ve seen is in Kenneth King’s Moulage CD book where he mentioned a rough rule of thumb of expecting every 6″ of bias length to stretch an extra 1/4″ (ie to 6-1/4″). I presume this is a really rough estimate and different fabrics will stretch different amount, and possibly depending on the bias direction (which direction the grain and cross grain end up).
Construction Notes
- Burdastyle instruction is of course as cryptic as ever. I wonder if the new BS US edition of the magazine gives better instruction. In this case, because of the drawstring casing, I did read through the instruction to get a sense of what need to be done when. I think a crucial step is missing – the side seams – not mentioned anywhere!!!??? I did mine (and my new CB seam) before step 1 so that I can do french seams on these more easily.
- I also took advice on sewing on the bias and started with larger SA on vertical seams, thread traced seam & hem, basted and hanged the top for a day, then checked the fit before sewing permanently, hanged again & checked the hem before hemming. And with this Georgette there is definitely different amounts of stretch along the two different bias grainlines. When I cut out I was careful to ensure that the lengthwise grain run from left shoulder to right hip on both front & back. After hanging, one side the hem did grow longer than the other. Sorry, I forgot which side and forgot to take pictures. Anyway, I recut the hem to make it level before hemming. Hopefully it’s not going to grow any further and I won’t end up with an unintentionally lopsided top!
- Again, I used loads of spray starch while cutting and sewing to make the bias Georgette easier to handle. But neither that, nor the advice to stretch the bias seam as you sew, helped in preventing puckering bias seams. Urgh. I wonder if it is possible to sew on the bias without puckering. Or do I have to resort to the Madeleine Vionnet method (bias garment with diagonal seams on the straight / cross grains)?
 The front neckline gathering looked a bit puffy. But I was able to hide all that with the applique lace by not applying it flat to the Georgette (which would have resulted in puffing in the lace as well). Instead I used the lace to pull in the gather so that the lace is relatively flat when worn.
- The back neckline I tried to stabilize with a strip of selvedge prick stitched by hand. I was never fond of machine stay-stitching. The visible stitch (even if it’s only on the inside) looks ugly to me. Plus on bias in a shifty fabric I was worried that the neckline would stretch as soon as the pattern is off anyway. I’ve read somewhere that for stabilizing bias edges you should stay stitch with the pattern still on – ie sew through both the pattern and the fabric. But still ugly. So I generally use the fusible Vilene Bias Strip that Burda recommends for edge stablization nowadays. I couldn’t use that this time because the fabric is translucent. So self-fabric selvedge cut to the length of the edge line seemed like the best solution.

The Verdict
I’m fairly happy with the top. The construction quality could be better. But I do like the design and my fabric choices. I think it’ll be a good wardrobe builder, a team player with a bit of textural interest, who could swing for both feminine and masculine outfits. Just my cup of tea!
BTW, the top also looked nice before I gathered the front neckline and added the lace. The same pattern is actually also used for a cowl neck top in the magazine (BS 2012-05-110). While I might not make another one immediately (too many other designs to try!) I’d definitely sew this again when this top gets tatty, and then I might also experiment with cowl front neckline with draw string only in the shoulder seams.
BTW, my lace was pieced from scraps in the same way as the matching lace skirt. As I was in hand-sewing purgatory on a roll I thought I might as well let my inner Scottishness shine! Can you spot the seams? 😉

Your top looks great and is obviously really versatile although I can’t help thinking you need to be some kind of masochist or genius to work with georgette on the bias. Still, the end result is worth it!
Thank you! As for Georgette on Bias…Nah, I’m just naughty – using tons & tons of spray starch. OK, it’s probably still not an one-hour project – I’m so jealous of all these sewing bloggers who can whip up a new garment in no time. But the spray starch makes it so much more tolerable.
I love your top. It looks better than the Burda version. Also love the various looks you pulled together. Well done x
Thank you! I do love the Burda version too. But I’m not sure I could pull off their version. Even with the Georgette, I think I liked the untucked outfits better.
No I don’t think I can spot the seams even when the photos are blown up, so definitely a triumph for the inner miser! I’m also extremely wary of anything that’s not fitted… I often think this kind of design looks frumpy even on professional models. Maybe my problem is that I remember it from the last time around! Notwithstanding, I think you have executed this at least as well as the original Burda version. I think the sheer georgette works better with the lace than their fabric choice, which looks a bit clunky and homemade. (I often think that about Burda mind you). Good to hear about your experience with the sheer bias sewing as well. Annoying when you follow all the tips and it still puckers, but I don’t think it’s obvious in the final garment.
Thank you!
Regarding looser fit…I wonder if semi-fitted actually look more frumpy than loose fit in the right fabric. Another one of my hypothesis is that maybe at least some parts of your body need to be fitted so the oversized parts read as intentionally oversized, rather than I couldn’t cover myself without them.
Shifty bias…I would really love to examine examples of such sewing from the experts dishing out bias sewing advice. It’s hard to tell otherwise whether it’s just my lack of skills or whether perfection is impossible.
Gorgeous.