Custom Dress Form v2.0: part 1

So, with new bra sorted, I finally got started on my new custom dress form. I haven’t settled on a name for her yet, so for now let’s just call her Darling Judy, or DJ for short.

Big Bertha, my last one, was a Duct Tape Double who became a bit lumpen over time, and was always too thick & sticky skinned to pin into. So this time around I’m trying a modified Paper Tape Double.

I’m using mostly Connie Crawford’s instruction, which is in her patternmaking book. There was a slightly more detailed version from Sew News Aug 2006, which sadly isn’t on their website anymore (I saved the pages a while back). You can try Web Archive, but the  photo illustrations are all missing. She also has the dress form instruction on a DVD and there’s a sample clip on YouTube which I found quite useful.

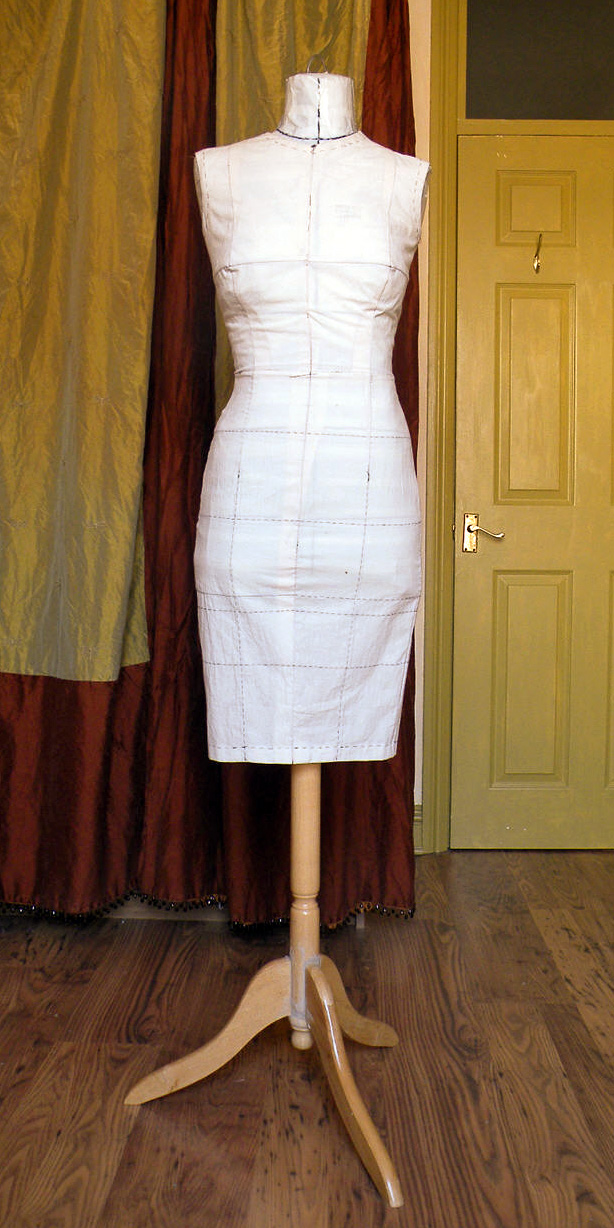
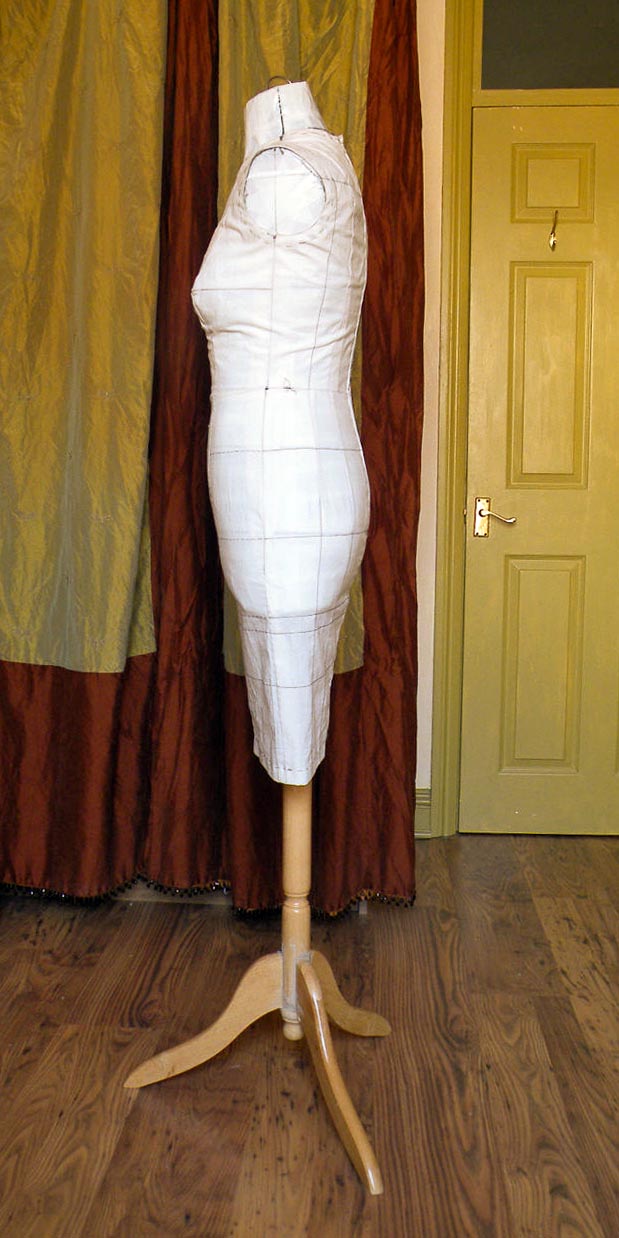
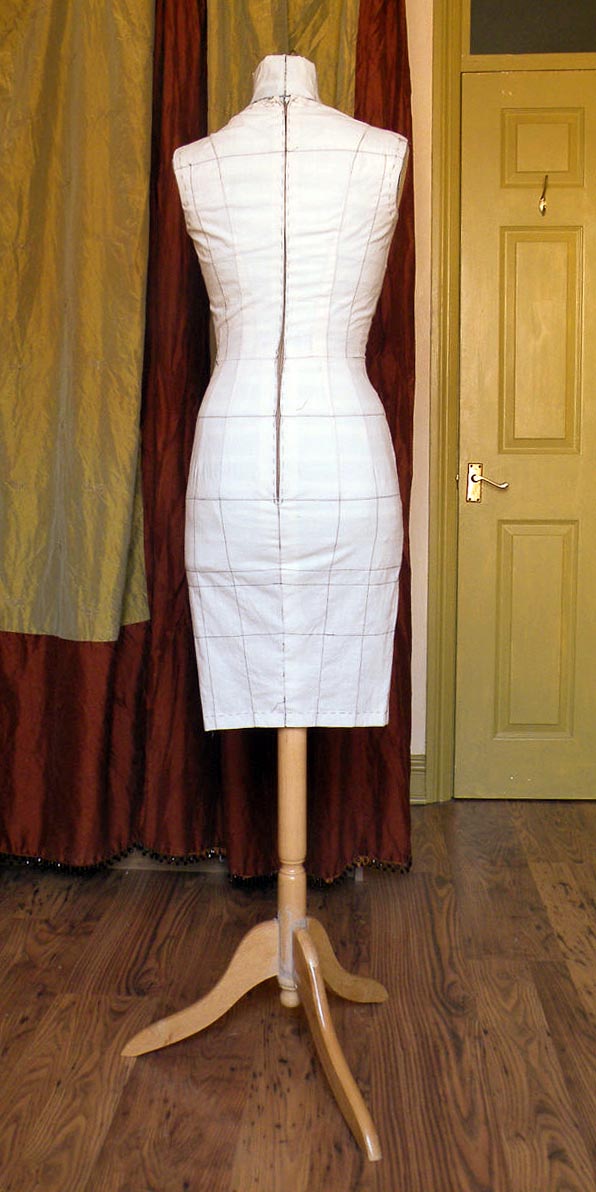
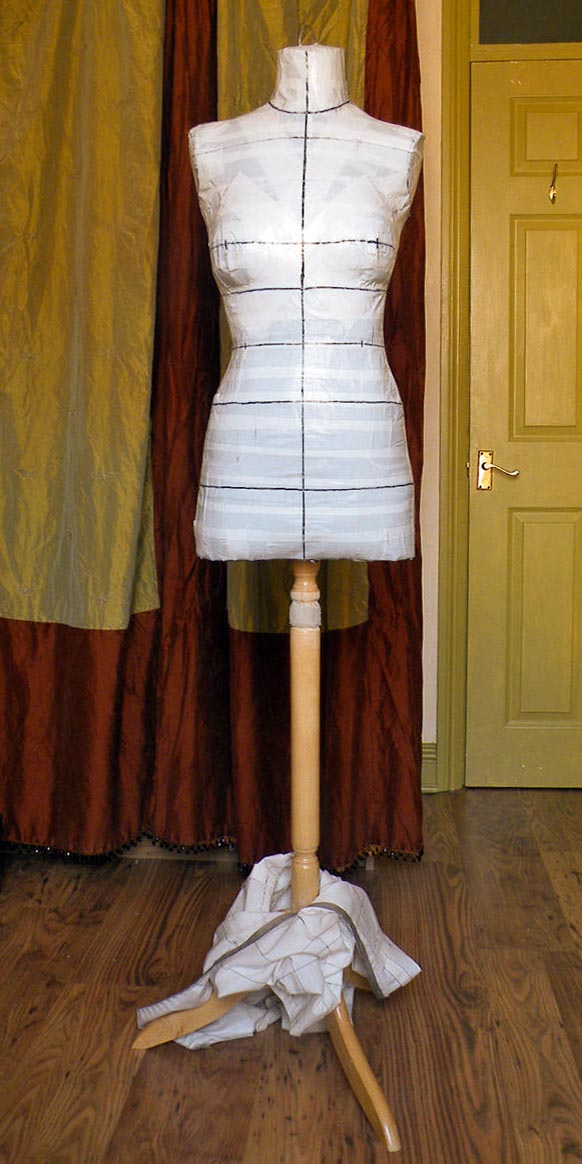
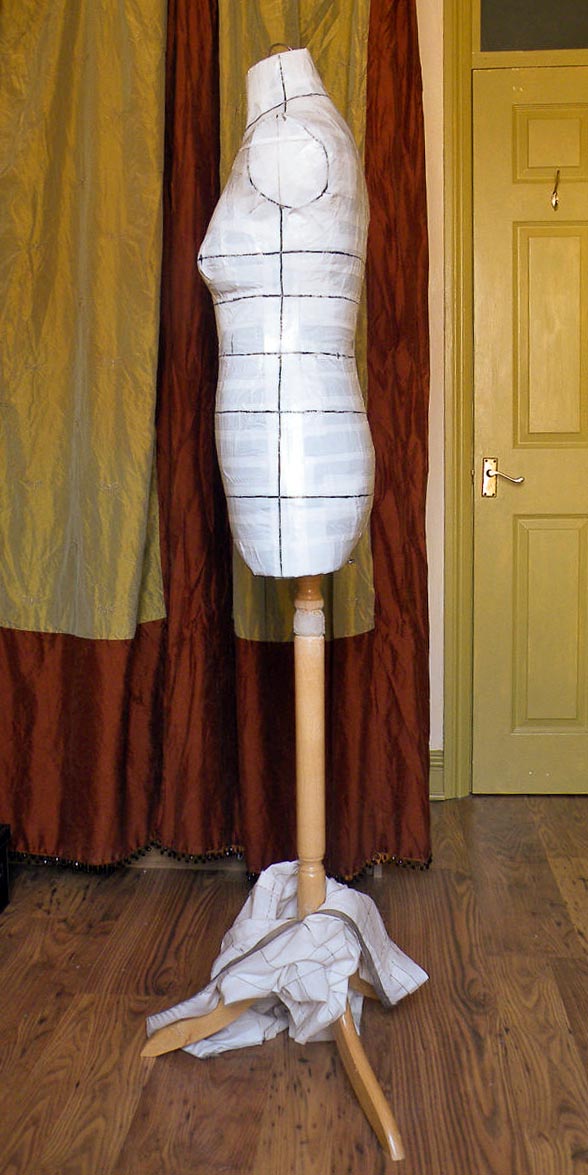
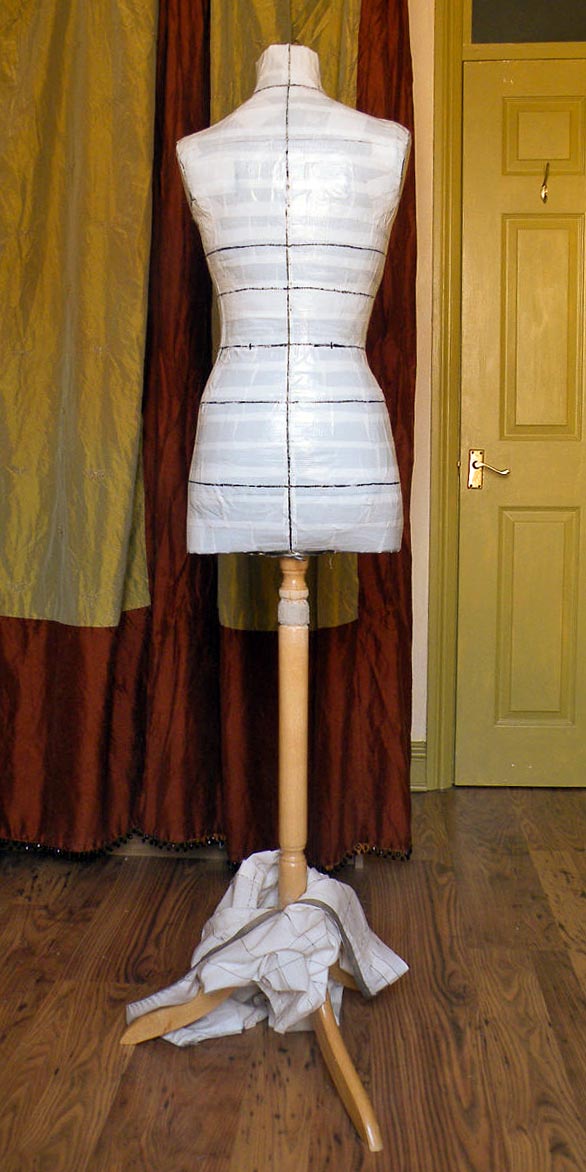
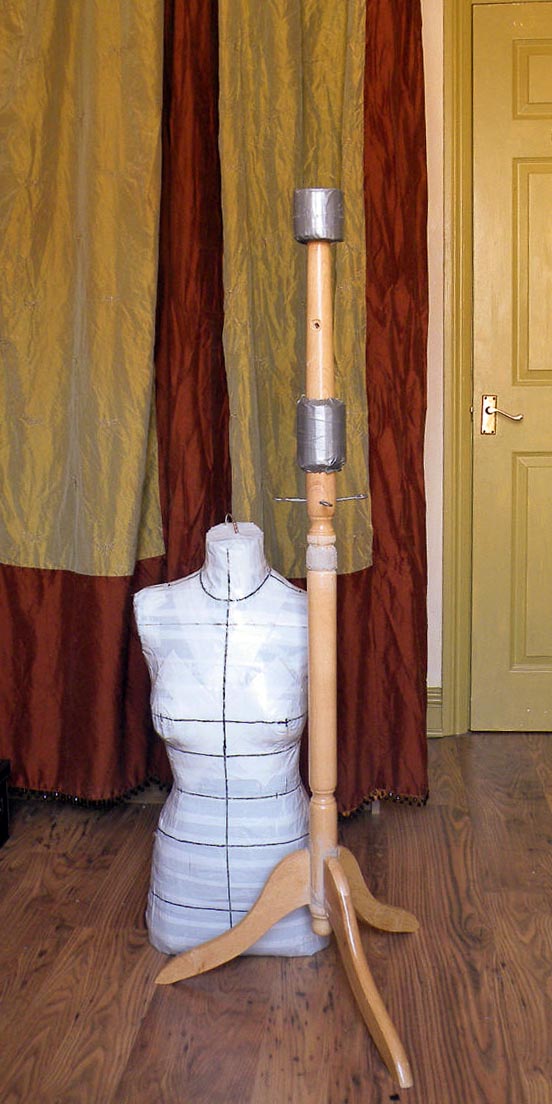
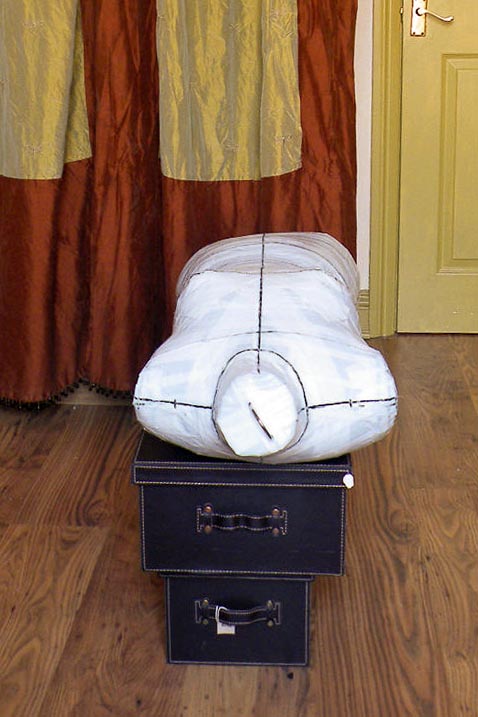
Here’s DJ after she was cut off and re-joined:

Gosh I’m lopsided or what!

Anyway, a few tips & lessons that the instructions don’t mention:

  • Here DJ has 4 layers of paper tape on the outside and 1 layer on the inside. The key measurements aren’t too far off. The waist and chest are about 1″ bigger than my smallest / exhale measurement. But I think that’s inevitable since you can’t exactly not breath while being wrapped. With these wrapped forms you’ll always get at least the breathing ease if not the full wearing ease. And that’s fine if you’re not using the form strictly for zero-ease garments like bustier.
  • For wrappee comfort I’d recommend following Connie’s wrapping order, but mark the key lines as you go rather than leave it till you’re all wrapped up. So hem after the skirt part is wrapped, CB after the torso back’s wrapped, Side Seams & Armholes after the torso sides are wrapped, most of CF right before you close off the abdomen. This way, you get to breath for as long as possible! An experienced wrapper may be able to complete the wrapping & marking in an hour, but we took close to 3 hours to wrap and cut off. So that’s a long time of not breathing if you’re not careful about wrapping & marking order!
  • I used as small a bin / trash liner as I could to keep unnecessary bulk down. But it wasn’t long enough. So I used cling-film to extend the length, as well as add the neck. If you do use multiple layers of cling-film, make sure you peel off the extra layers from the inside of the dress form before you reinforce the form from the inside with extra layers of paper tape. Otherwise you get air-bubbles between cling-film layers.
  • I used self-adhesive paper packing tape as recommended by Connie since it’s less messy than gummed paper packaging tape which you have to moisten first. But I do plan on further reinforcing the form with multiple layers of the gummed tape from the inside, and maybe another layer on the outside. This is just in case the gummed type is stiffer / longer lasting / sticks better.
  • Marking: it’s not really necessary to mark till you faint! All you really want is key lines to help get the form standing in the same way you do – ie not tilting to the front / back / left / right. So a level hem (parallel to the floor) is key. Level verticals (CF, CB, Side Seams) are also useful.
  • Cutting: Be really careful! I’ve been cut once before. This time I got those blunt-tip bandage scissors and have my DOH go very slowly with the cutting. The built-in breathing ease came in handy here. I was able to exhale and press against the front of the form to yield a little bit of gap at the back princess cutting line so that the scissor wasn’t jabbing into my skin. You can also try Thread’s technique of including a narrow strip of heavy paper under bin / trash liner where the cutting line will be before wrapping. When cutting, the paper would be between the scissor and your skin, thus protecting you from its sharp points.
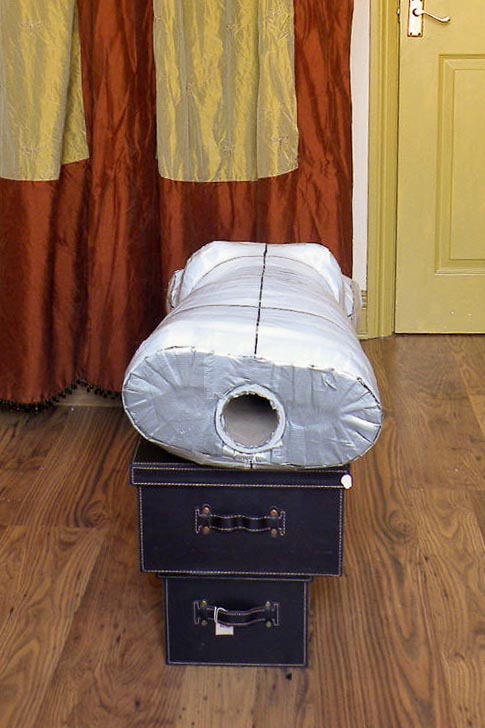
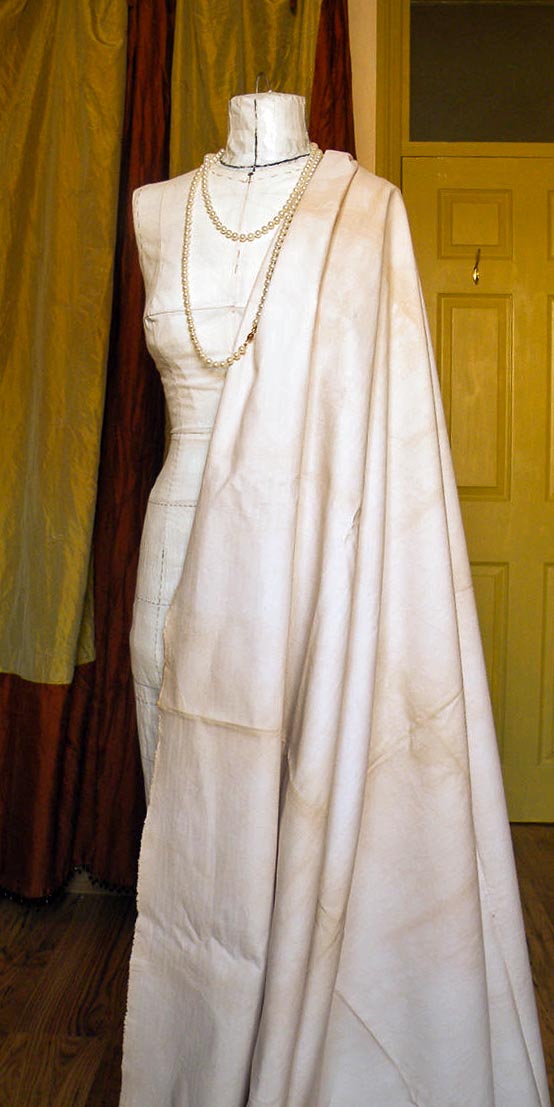
  • Once you got your form off and reinforced it from the inside and taped on the cardboard pieces to cover the hem / AH / neck holes, you can sew a heavy muslin cover for it if you plan on pinning “into” the form. You will not be able to jab directly into the form – after a few layers the paper is really too stiff. So that much is the same as with Duct Tape Double. But at least you won’t be tempted and end up with gummed pins and bleeding fingers!
  • The cover will need to be skin-tight. (Your Kenneth King Moulage comes in handy here if you’ve made one like me!) If you have any doubt about the accuracy of your new dress form, you should definitely fit the cover on yourself first, then adjust the dress form to fit your more accurate cover. You might have to slash & re-tape if your form is too big, or pad with wadding / batting if it’s too small.

As for DJ, see all those red shaded areas on her? That’s her reduction surgery plan. You see, stopping here would be too easy (!). I plan to torture myself by adapting some of Wolf Form’s professional dress form making process. She’ll be reduced in girth, then covered with wadding / batting, then maybe the old cotton jersey cover I made for Big Bertha but never used (if I can still find it), and finally the drill Moulage cover.

You see, I plan to gift myself a couple of glossy draping books for Birthday / Christmas. So I’d really like a form I can pin into.

Stay tuned to find out how she looks after her surgery!
Brooding & Plotting

I know I know. I said  I was going  to stop fiddling with the Moulage. But I can’t help it. Especially not with the ladies at Artisan Square egging me on! 😉 So I’ve been experimenting with different ‘sway back’ type adjustments and different grain placements post bending the grainline in places with those ‘sway back’ type adjustments. And I’ll be tweaking the fit to get those vertical ‘balance lines’, well, vertical.

By the way, thanks for all your compliments. If you can get yourself someone patient to help with measurements I highly recommend Mr. King’s Moulage CD book. If you’re hopeless at drafting you can try Fashion Incubator’s saran wrap method instead. I haven’t tried this method but it sounds interesting & relatively quick. The only thing though is you don’t get additional instruction on how to turn the resulting skin-tight pattern into a sloper for further block development.

In the meanwhile, I’ve also been trying to print and have bound more of Mr. King’s Ecole Guerre-Lavigne series CD books. It’s not easy in the UK. There aren’t the ubiquitous & affordable Kinko’s & other chain print & copy shops that you find in NYC. My printer didn’t help by running out of ink.

And just for variety, I’ve also been redoing my croquis after being inspired by the ladies at Artisan Square. And planning a replacement dress form. Big Bertha (my Duct Tape Double) has broke her leg. And she’s a bit lumpen after all these years. So here’s the plan…

dressform-stand

What do you think? Overkill? Well, after Big Bertha broke her leg I’ve been paranoid about making the stand as sturdy as possible and keeping the dress form as light as possible. Big Bertha weighs a not so slight 4kg / 8lb. And her leg was a jointed coat rack, not solid piece of wood. So she started tilting over, even worse than the Leaning Tower of Pisa.

None of the cheap sturdy stand options I’ve googled were cheap by any means in the UK. (You Americans have it soooo good!)

As for the dress form, I was inspired by an article I found in my Threads Archive DVD about the Wolf Forms production process. Turns out they’re made from cardboard Papier Mâché using heavy plaster molds and the final thickness of the Papier Mâché is 3/4″- 1″. No wonder they can be hollow rather than stuffed. They’re made about 1/2″ smaller than final measurement, then padded on the outside with cotton batting, then cotton knit, then finally Irish linen. The article isn’t on Threads public website, but there is a page with some photos. There’s also a How It’s Made TV segment about these Wolf forms on YouTube which is quite fascinating. It doesn’t cover all the details mentioned in the Threads article. But it does show how the collapsible shoulder works / is made!

‘Tis the season for sharing after all

I wish video internet was as viral when I made Big Bertha as it is today. Today I got a spamail from Threads magazine advertising their latest Dress Form Making tutorial. Boy, was I glad I didn’t junk it straight away. It turned out to be a great video tutorial on making a Duct Tape dress form. Quite a few good tips it has. And clear video demonstration obviously doesn’t hurt either. Enjoy!

Make Your Own Dress Form: Part 1

Big Bertha: The Sloper Origin

So how did I ended up with that lopsided sloper? Well, Big Bertha is to blame. She’s my Saviour and Tormentor.

World, meet Big Bertha. Big Bertha, meet the World.

Big Bertha in her everyday muslin shift. This was based on a left-right average of the lopsided sloper I showed in the previous post. And that was based on muslin draped to follow her every curves (and also half-heartedly the instruction in Draping for Fashion Design).

I had previously tried a thin jersey cover. But that was no good as it stretches everywhere. And the whole reason why a sturdy stable cover is indispensable – apart from aesthetic reasons – is because Big Bertha’s thick duct tape skin gums up all my pins. Worse still, instead of stabbing her, the pins were pushing back into my much softer cushier finger pads. So I was getting absolutely no use out of her. I needed the fabric cover to pin onto.

As for the cover above, it looks reasonable enough. But I’ve since discovered that left-right average isn’t always the best way to solve lopsidedness problem. Especially when it comes to shoulders.

Big Bertha getting raunchy…

Big Bertha naked is white duct tape wrapped onto of some old fitted T-shirt, and stuffed with toy stuffing. Silver duct tape was just too industrial on the eyes. Looks like a mummy doesn’t she.

I got my BF to wrap me up. The whole process did take a few hours as you know men can’t follow instructions! So if you make one be sure you go to the loo first. Because you’ll be stuck: can’t sit, can’t walk, and of course can’t go to the toilet.

Mine’s obviously wrapped up only to the shoulder points and down below my bum. But I’ve seen somewhere pictures of others who made a whole body from head to toes!

OK, maybe not the head. Though Leah Crain, who I bought the Duct Tape Double  instructional booklet from, did have a picture of hers with a mad hatter’s display head stuck on. It was a bit creepy though. I worried I’ll frighten myself when I get up in the middle of the night to go to the loo. So headless Big Bertha shall remain. Though I do have a book on hatmaking (From the Neck Up: An Illustrated Guide to Hatmaking) and have been very tempted to get hatter’s blocks.

Big Bertha in pieces

I told her strip tease always ends in tears. But would she listen? Of course not!

So here’s Big Bertha dissected, showing the stand that is her spine.

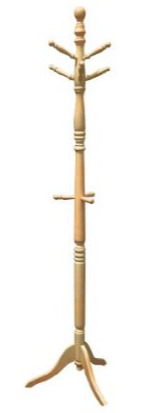
It was the bottom part of a Rubber wood coat stand I got on E-Bay. But you can also buy it off Amazon.

I ditched the top parts and used the base which reminds me of old fashion dressmaker dummy stands.

Unfortunately it wasn’t sturdy enough. Big Bertha is denser than you can see! The joints cracked under her weight and I had to patch the joints with wood fillers. Hence the unsightly discolouration in places.

Keeping Big Bertha standing…

She has a cardboard tube running inside her for the pole to go into. But it was bigger than the coat stand pole.

So I had to wrap several layers of cardboards along the pole, kept in place with – you guessed it, more duct tape.

The screw eyes just below the torso are to control the height. Twist the eyes flat and Big Bertha’s down to my level in normal walking heels. Twist the eyes vertical, and I’d have to get out my highest stilettos to see her eyes to eyes. Except she’s got no eyes. Deliberate of course!

What the birds see…

On the top, the solid steel handle of the wooden hanger I used as her shoulder frame pokes out of her neck. It wasn’t intentional, but it actually looks rather fetching. And if you have a hang-man stand, you could hang Big Bertha  from the neck. I wouldn’t do that to her of course.

If you want to make yourself one, I do recommend checking out Leah’s Duct Tape Double website and her detailed instructional booklet. But do keep in mind the gumming up problem.

Next time I make one – and it’s only a matter of when not if,  given the imminent middle age spread – I think I’ll try Connie Crawford’s paper packing tape version detailed in her Patternmaking Made Easy textbook and see if that gums up less.

Big Bertha wants her vintage wannabe
dress dummy cover & she wants it now.

Although the muslin cover has worked better, it still shifts and stretches a bit. A sewer at a London Meet Up suggested using ticking fabric, more commonly used for  mattresses and corsets.

I got the fabric. I even stained it with tea to give it that antiqued look.

But I just haven’t found the courage to make a simple new cover for Big Bertha. Because perfectionism stands in the way. But I’m changing that. S…l…o…w….l………y!

So dream on Big Bertha!

Dress Form Quest: The Big Bertha Prequel

In keeping with latest cultural trends, next up is of course a prequel to a prequel. So, how about a survey of dress form options I considered before settling on Big Bertha?

Now, you must understand, I have two criteria for my selection:

Aesthetics   &   Intended Purpose

Having been artsy fartsy most of my life, and having a job that requires none, I simply couldn’t stoop down to an ugly dress form in my leisure time. But on the other hand, my job has drilled into me Function Function Function (over Form – those damn artsy fartsy creative w**ker types! ;-). So  I can’t settle for pretty but useless dress forms either.

Here are the Rejects:

Ready made rejects

1. Adjustable dress forms

Reject Reason: Aesthetic Atrocity.
And now I find out from a Did You Make That? blog post & Connie Crawford’s Pattern Making Made Easy book another defect: gaps in places when you adjust the form to your measurements. Pros: if you sew for others, it saves you having to make & keep multiple forms. But then I’m in the Cult of Elaine (sorry Selfish Seamstress, “Cult of the Selfish Seamstress” just doesn’t have the same ring to it), so this is no cup of tea for me.

2.Professional dress form + padding out

Reject Reason: Black Art. (+ expensive!)
These are of course very aesthetically pleasing. I drooled over…

  • The collapsible shoulder version.
  • The leggy version.
  • The Project Runway  version with bum cheeks.
    (Why do sewing patterns still pretend they don’t exist? Where I work there are lots of finance / City types, and a lot of the girls look curvy yet professional in their bootylicious skirts and pants. Come on pattern companies, move with the times!)
  • The Japanese real average body dress form. These are designed jointly by Bunka Fashion College and the Digital Human Laboratory. They’re based on actual measurements of the college’s students. So they reflect real figures (dress form on the left) rather than the idealised figures used in most professional dress form (dress form on the right). I like the scientificness of this, but it would still not match my real figure. The Fashion Incubator blog has a whole discussion about these forms.

Out of the box these are all utterly useless, not to mention expensive. And sculpting with wads of cotton batting seems like a Black Art. Fabulous Fit does have a fitting system that’s meant to speed this up somewhat. But even then it’ll take ages, if ever, to get it exactly right. So one for those genetically blessed with a standard figure & measurements. Not for me.

3. Uniquely You

Reject Reason: … actually I had one of these long time ago.
This one you get a form roughly your size plus. You fit the skin-tight cover on yourself (with a pair of extra hands of course). Then the cover reins in the extra bulk. So theoretically this should be perfectly you. But it does have ugly legs. And it’s not exactly cheap either.

And you really need a dress-maker friend whose hands you’ll be borrowing. BFs and hubbies probably won’t do. (Mine is long gone, abandoned across the pond. Which is just as well since I’ve gained a few pounds and a couple of pattern sizes crossing the pond.)

Update: I just found this blog post with great pictures and discussion about fitting Uniquely You. Check out her video of unpacking the form. Hilarious!

Custom made rejects

1. Molded papier mâché dress form

Reject Reason: My days of mucking about are over.

The process is just too messy, complicated, and time-consuming. I simply don’t have the patience to watch papier mâché dry!

You have to cast a mould first using plaster tape. I read in a Thread article some poor woman ended up overheating and fainted – plaster supposedly release heat when drying. So unless you’re quick with the moulding…keep the smelling salt at the ready.

And after all that you still have to build up your form in sections, then glue them together (see picture above)…See what I meant by mucking about?

2. My Twin molded polyurethane foam dress form

Reject Reason: My days of getting high on fume are also over.

The end result does look quite good. But again, the  process is messy, and presumably also fummy.

Again you have to cast a mould first using plaster tape. But then instead of using papier mâché, you pour this expanding liquid polyurethane foam into your cast. I can smell the toxic fume already!

3. Standard paper tape dress form

Reject Reason: Armadillo.

This is similar process to making a Duct Tape Double, but you’re using paper packing tape. The one shown is the type that you have to dampen to make it stick. I don’t know how strong that would be, so how form-fitting you can make it. But presumably there’ll be no sticky pins problem pinning into this.

But my main gripe is with the Armadillo look. Presumably the tape isn’t very flexible, so the edges sticks out where your body curves away. So No! on aesthetic ground.

Having said that…I just discovered a variation of the paper tape dress form that I might try next time, which is:

Not yet a Reject:

Connie Crawford’s hybrid paper tape dress form

Non-Reject Reason: I don’t want gummy pins.

This I found in my copy of her Pattern Making Made Easy book. The end results looks decent enough. I’m hoping paper tape won’t leave sticky residues on my pins, and will be easier to stick into than Big Bertha’s thick skin. Here’s a DVD sample on YouTube:

And some picture of the end result from the book…

But for now, Big Bertha will do.

 I’ve invested too much to give her up. She’s my girl, thick skin and all.