Christmas came early! More books…

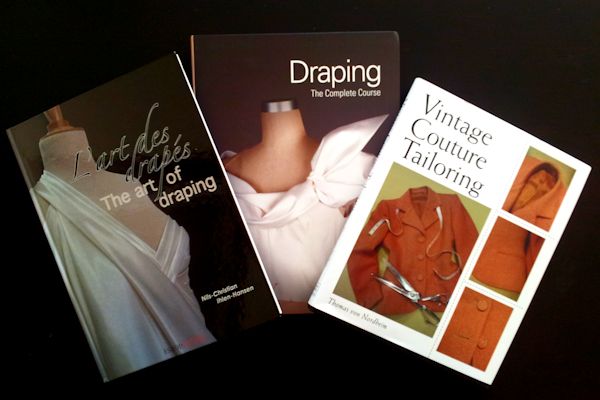
Look what came in the post today: These lovelies to keep me motivated on finishing Q, my new home-made dress form.

books

I haven’t read them in-depth yet. So no review. Just first impressions / why I bought them.

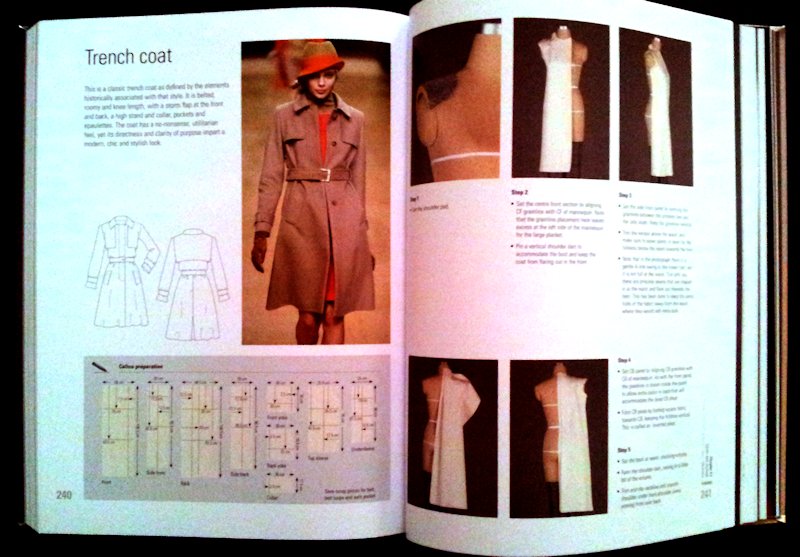
I already own Draping for Fashion Design, so don’t really need another draping book. But come on, who can resist all those luscious photos. Drool.


The art of draping

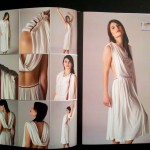
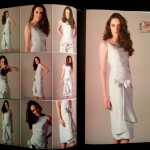
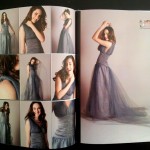
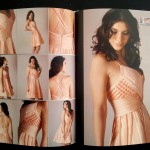
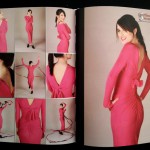
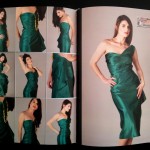
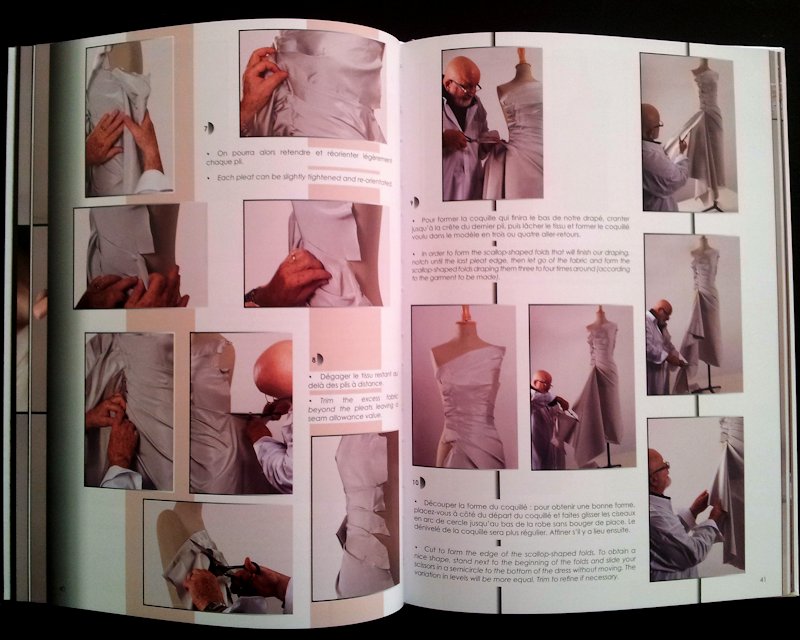
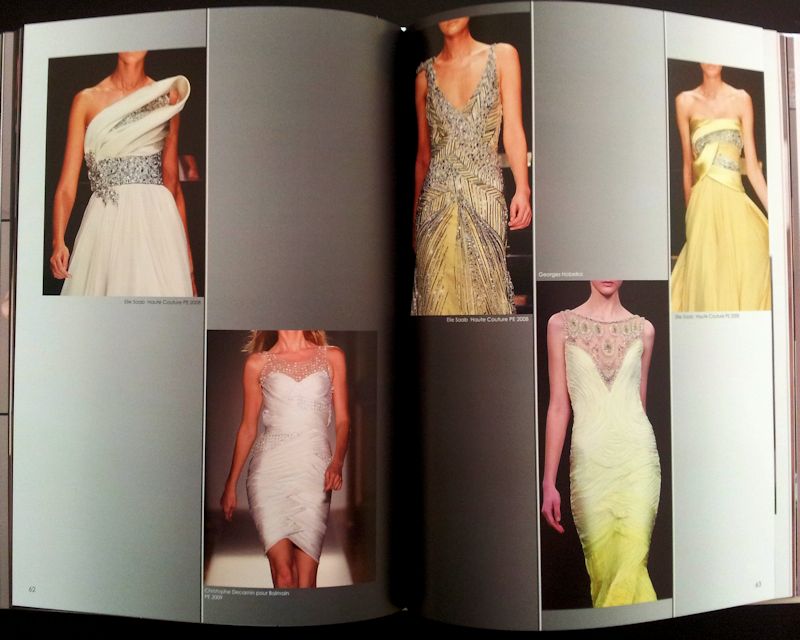
This one is quite different from the usual draping text books. It does not cover all the basics. Rather, the author, who worked for the Parisian couturiers Patou and Pierre Cardin, focused on six kinds of draping that he feels demonstrate the art of draping. There’s a sample dress design for each and step-by-step photos of the draping process…

This slideshow requires JavaScript.

Not every design is my cup of tea, but they’re look more high fashion than in a lot of draping and pattern-drafting books. Well, most of these books don’t even have photo illustrations. So no competition there.

There are also plenty of other high fashion runway photos illustration the application of these different draping methods. These aren’t illustrated with step-by-step draping guide. But I don’t feel cheated like I do with some of the other books. The sample designs that he does go through in details make me feel that he knows what he’s talking about and those runway photos aren’t just to lend an air of authority to an otherwise unexceptional book.

draping-bk1-7draping-bk1-8

So not really your starter draping book, but certainly compliments those more basic books. I really like it because I’m mostly inspired by fashion photos & clippings I collect, and the draping projects in this book look much more inspiring than the mundane examples in most other draping books. You almost feel like you’ll be able to create one of those fabulous couture dresses one of these days. Now the only problem is where to wear it to!

A word of caution though. The book is in English & French. I find it a bit jarring to spot the English instructions amongst the French.


Draping: The Complete Course

I’ve wanted this one ever since Peter of Male Pattern Boldness reviewed it, but couldn’t justify it without a working dress form.

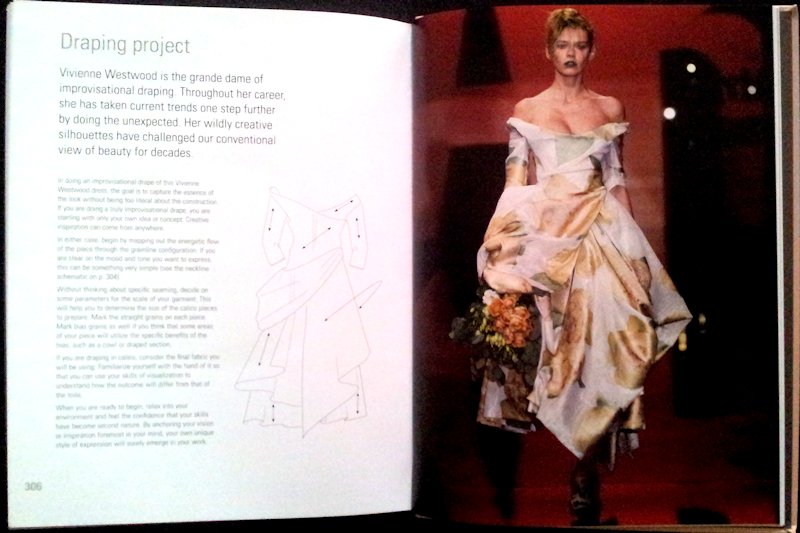
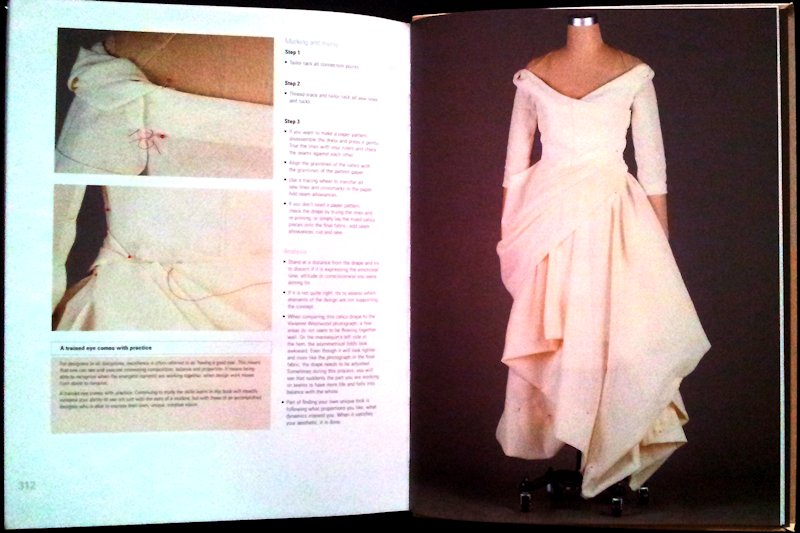
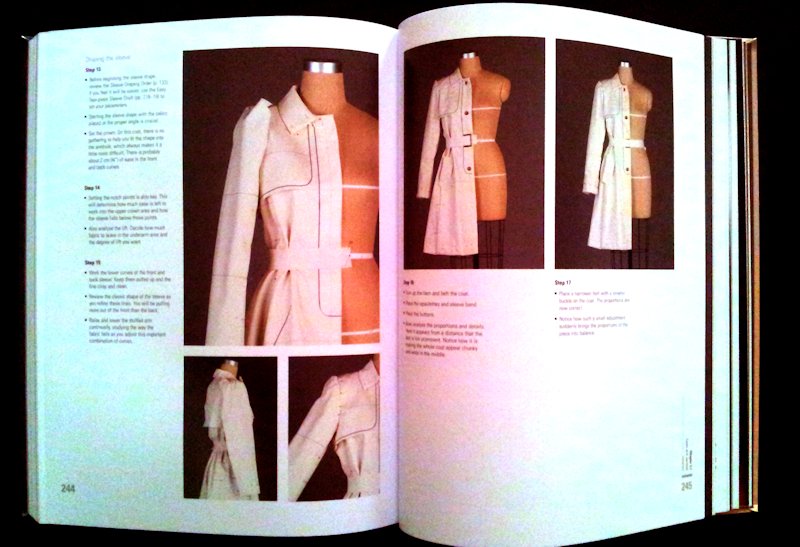
This one is more like the standard draping books. It does the some basics, but isn’t as comprehensive in the variations of designs covered as my Draping for Fashion Design. But it most definitely is more inspiring. I mean, it even has a recreation of a Vivienne Westwood dress. Yum!

draping-bk2-1draping-bk2-2

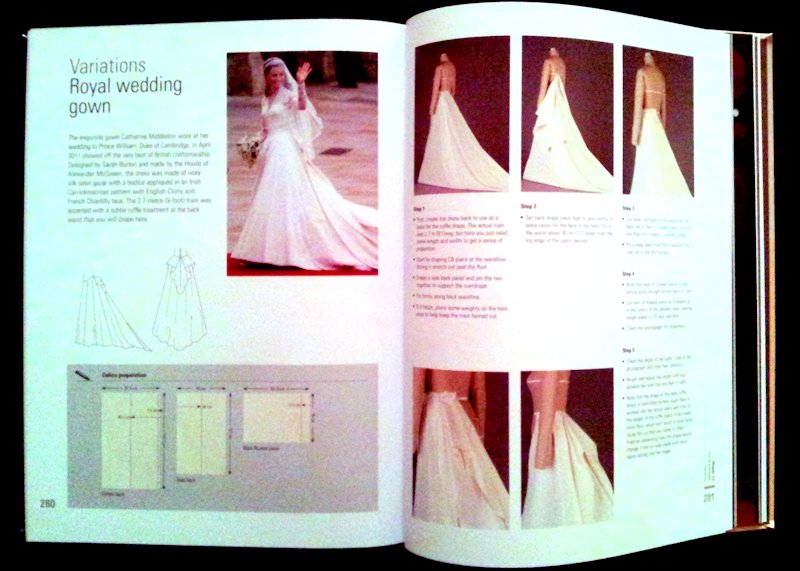
Celebrity junkie are you? How about recreating the train of Kate Middleton’s Alexander McQueen wedding dress…

draping-bk2-3

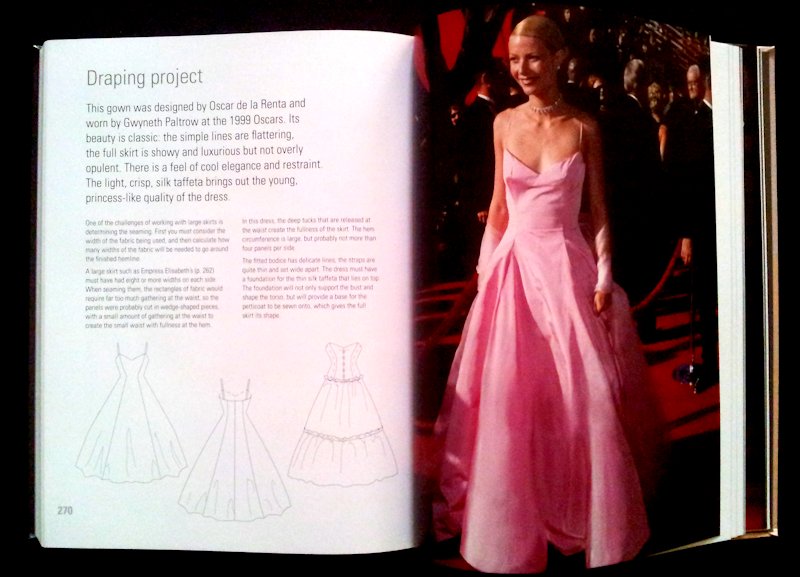
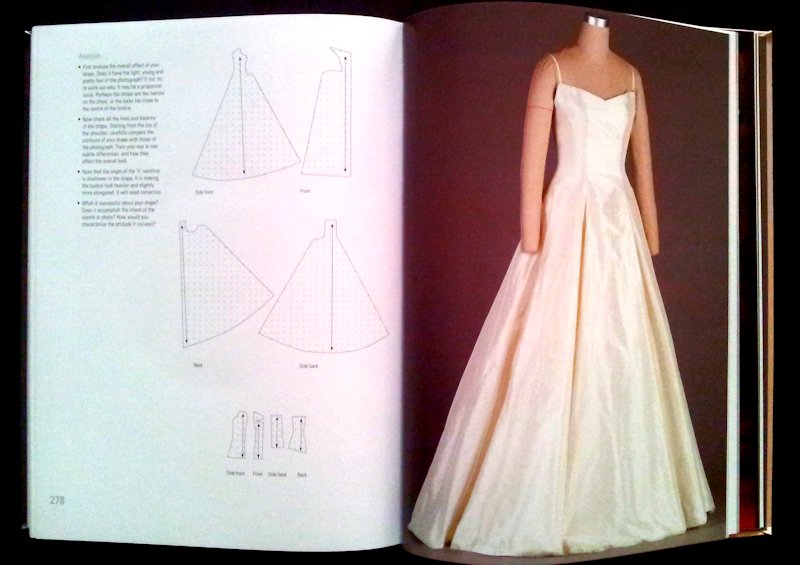
Or the Oscar de la Renta dress that Gwyneth Paltrow wore the year she won the Oscar!

draping-bk2-4draping-bk2-5

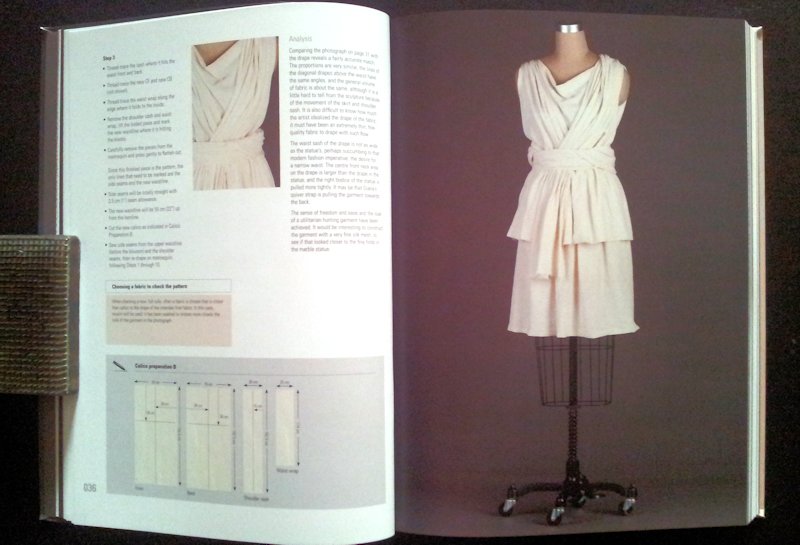
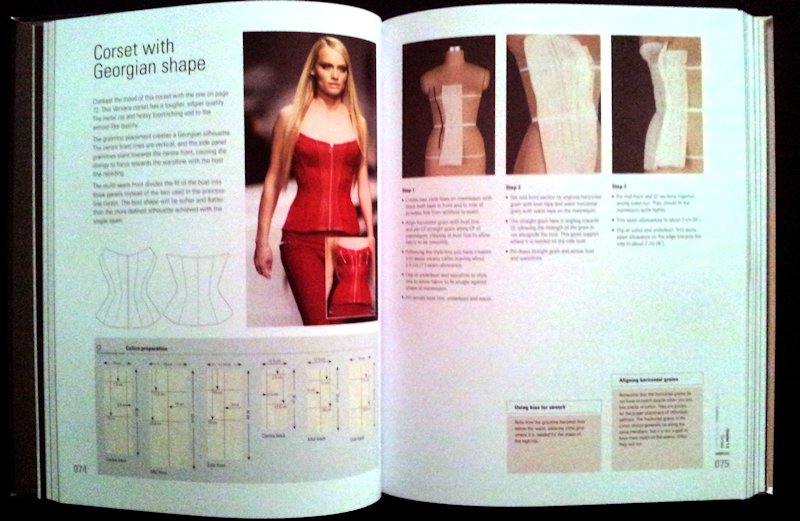
More inspired by history? There’s this Grecian dress and this corset with Georgian shape for you…

draping-bk2-7draping-bk2-6

Want classy & smart? Can’t beat a well-shaped trench!

draping-bk2-8draping-bk2-9

OK, maybe it’s just me. But this home sewer just can’t mentally stretch from illustrations of your typical draping book to fabulous garments of the fashion mags. This coffee table style book hits the sweet spot and get my dough. Let’s just hope it won’t feel be horribly dated in a decade or two!


And last but not least, and not a draping book…

Vintage Couture Tailoring

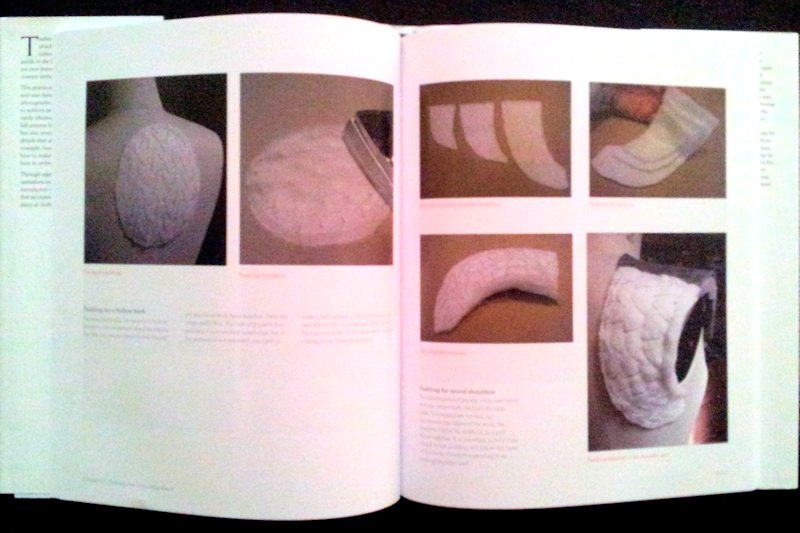
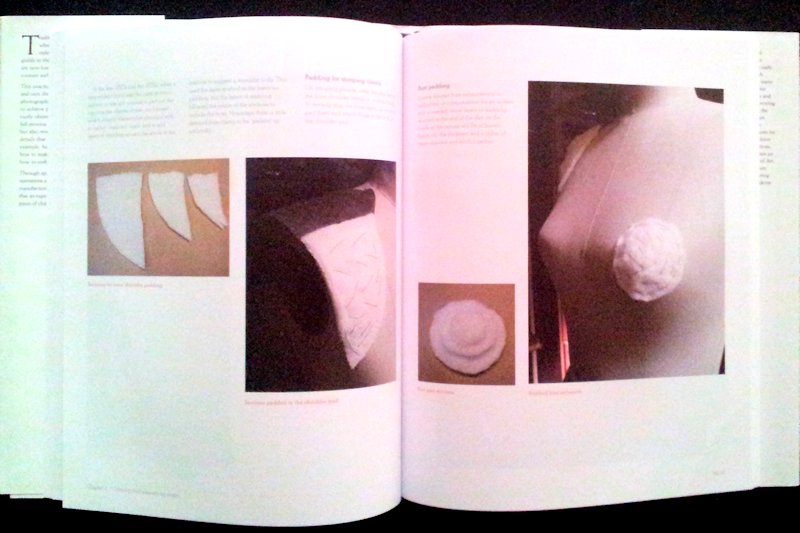
I saw this in a brick & mortar bookstore and was hooked by these photos:

tailoring-bk-1tailoring-bk-2

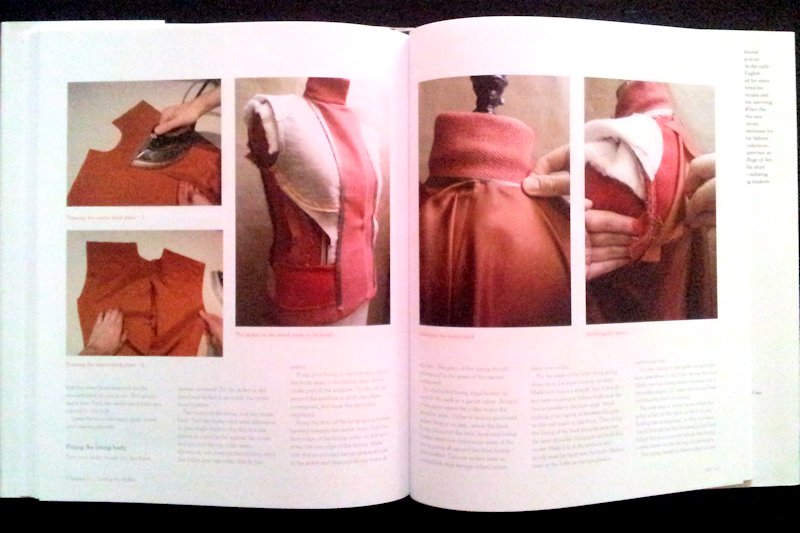
I mean what the… LOL. I’ve never seen back pad & bust pad mentioned in any other tailoring books.

OK, if it was just this it wouldn’t justify the purchase. But the book is full of lots of step-by-step photo-illustrations. And you know I like my photo illustrations!
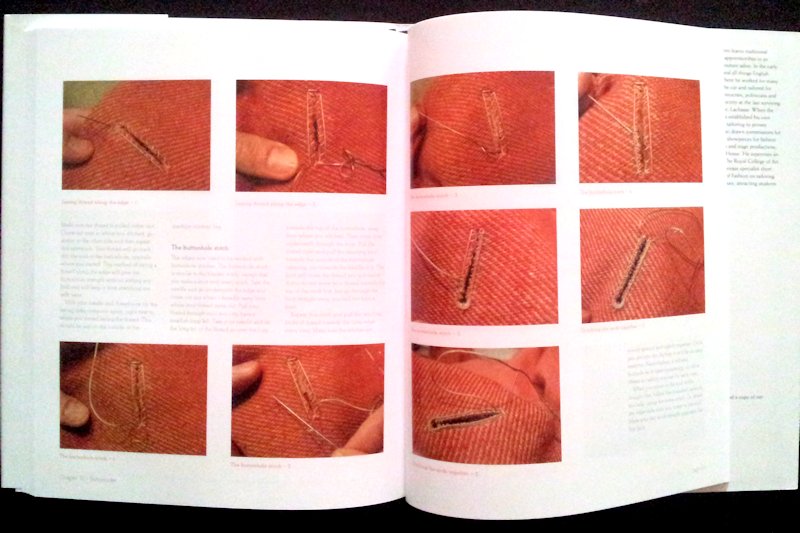
tailoring-bk-4 Granted, it’s just one jacket all the way through. And it doesn’t cover fitting.

But I’m sure I’ll learn something new. Something in addition to the padding in weird places, which I may very well make use of now I know how lopsided I am. I mean, just look at the innards of that jacket…

tailoring-bk-3

I feel like if I practice these techniques for long enough, they may let me through the back door of Savile Row!

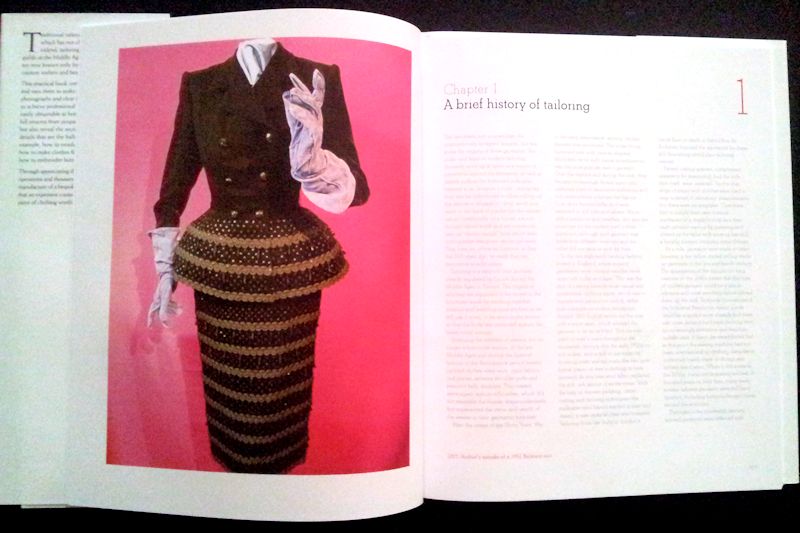
And again, attractive example of the author’s handiwork really help sells the book to me. Here’s a remake of a 1951 Balmain suit he made…

tailoring-bk-5

The only complaint I have is that like other reviewers, I also find the text very difficult to read because the text colors weren’t dark enough. A magnifying glass helps though.


OK, better get back to that dress form so I can justify these purchases…
Custom Dress Form v2.0: part 3

So let’s get back to Q. Yes, I’ve decided to christen her Quasimodo. Or Q for short (with a sideways nod to James Bond). She’ll be my smart cookie gadget girl, slightly deformed but still beautiful.

And what tricks has she got for us up her sleeves? Well, you already know about her hidden foam bra cups. This time we’ll check out her innards & leg. Yes, just the one. But she’s got one hefty hoof to keep her grounded…

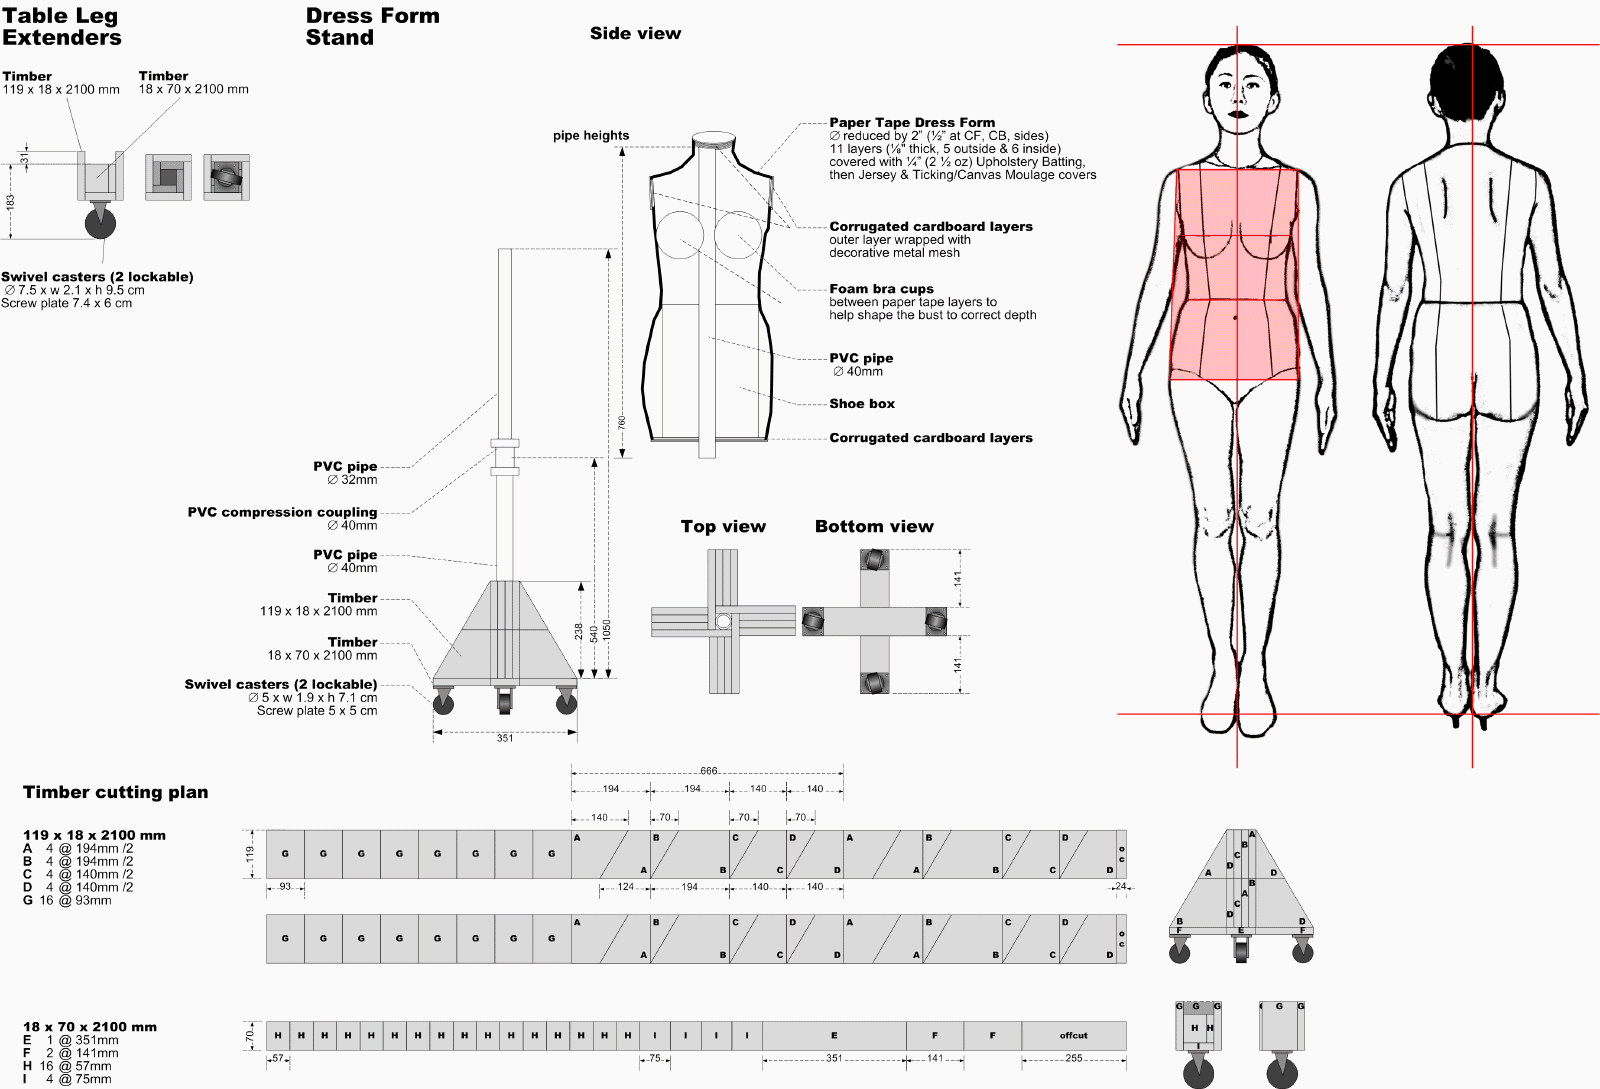
And here’s the tidied up master plan with lessons learnt…

dressform-stand

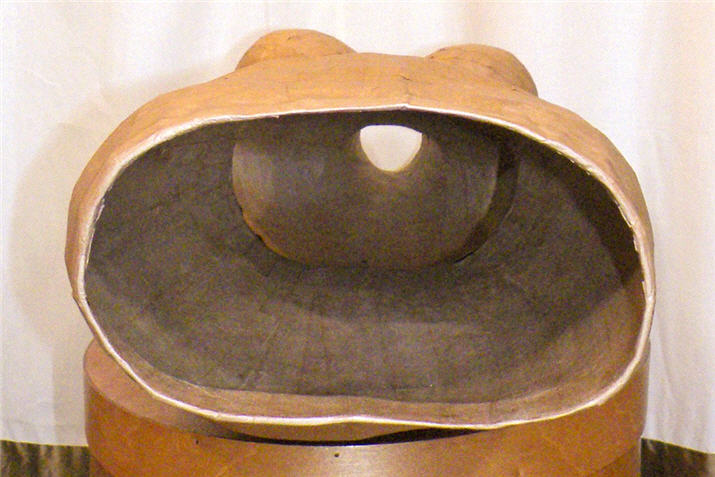
  • With 11 layers of paper tape that amount to about 1/8″ she was sturdy enough to be left hollow.  OK, you can’t take a sledge hammer to her or squash her with a heavy load. But draping & fitting don’t usually call for such tactics anyway.
  • To keep her PVC pipe spine vertical, I added the shoe box at the base and cardboard at the neck.  Both have holes cut to exact diameter of her spine to wedge it in place. Hot glue gun comes in handy too.
  • The holes – hem, armholes, neck – were then sealed off with 2-3 layers of cardboard, cut to the inside diameter of these holes, then glued & paper-taped in place. I plan to cover the outside layer of the neck & armholes with this craft metal mesh I have in the stash. Can’t even remember what I bought that for, but it’s preeeee-t-t-y.
  • Her spine goes over a narrower pipe in the stand. This makes her turnable – though the swivel caster wheels would have done this as well. More importantly for a dress form without collapsible shoulders, she can come off the stand. It’s handy for putting on pull-over garments that won’t easily pull down over her stiff wider shoulders but would happily pull up her underdeveloped hip.
  • As for the stand…sadly for me in the UK many of the usual suggestions for stands (IV drip pole, swivel chair base, 2nd hand dress form, xmas tree stand, PVC pipes, etc.) are either not cheap or not pretty & sturdy enough. So I concocted something my limited DIY skills could just about manage with timber planks, PVC pipes, & swivel caster wheels. It’s based on a DIY xmas tree stand instruction that someone posted on Artisan Square. I made the wood base taller because I was worried that without enough support the PVC pipe might bend or tilt over time. The weight of the wood also adds to the stability of the stand. I was able to get most of the PVC parts in black & stain the wood so that the stand match other furnishing in my sewing room.

Next up, fattening Q up! It is coming up to xmas after all.

Custom Dress Form v2.0: part 2

OK, her name is not going to be Darling Judy. Gosh is there nothing that pornography won’t touch on the internet? I was thinking more Blythe doll than what google yields up. Urgh.

Right now I’m considering Quasimodo. Yes, you heard me right. And it’s because of this:

2b-4

I knew I was lopsided. But I didn’t know I was that bad! LOL. No wonder my long necklaces never want to stay in the middle. They always want to loop around my left boob.

Then again I might have butchered her figure during the reduction surgery. Or at least exaggerated the lopsidedness. In any case, Quasimodo is now the new nick name my DOH has for me whenever he wants to wind me up. He’s a bit of the Joker and likes to wind everyone up.

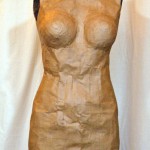
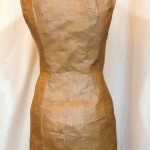
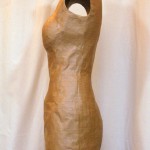
Anyway, here’s Quasimodo after her reduction surgery with subsequent reinforcement layers:

And a few notes about the process…

  • Reduction plan: The wadding / batting I’m going to use measures about 1/4″ when compressed. So I reasoned that I’d have to take out 1/2″ depth-wise (Front to Back) and width-wise (Side to Side). I opted to do this as 1/2″ at side seams and CF/CB so that the neck is also reduced. I also removed 1/4″ height at about upper armhole to account extra height at the shoulder that the padding will add. The additional fish-eye darts at the princess seams are to adjust for the extra 1″ breathing ease that was wrapped into the chest and waist.
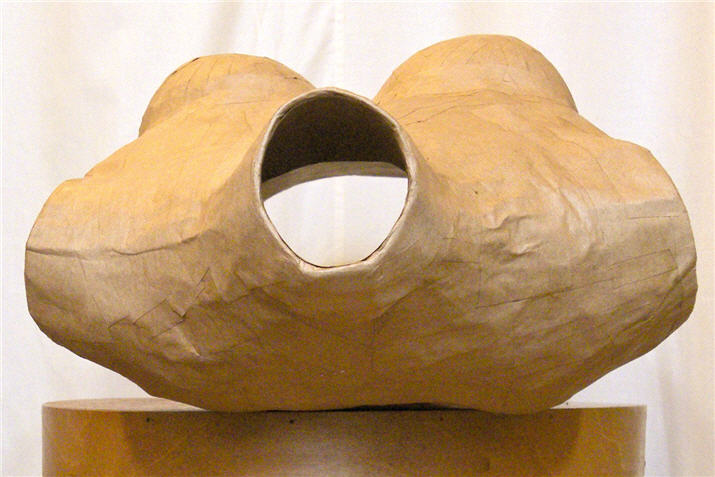
  • This plan does mess up the bust a bit – they’re now too close together.  2a-1 So I first tried a mastectomy (4-pointed star-shaped reduction on each boob). That didn’t work brilliantly. I ended up having to do breast reconstructive surgery. For her breast augmentation I taped on two foam bra cups I salvaged from some old dress. This allowed me to position the bust mounds where they need to be. It also deepened the cleavage to the correct depth – DOH couldn’t get the cross-your-heart duct-tape wrapping tight enough to maintain the cleavage depth. I found double-sided tape to be quite handy for this task. PVA glue & the paper tape weren’t as effective by themselves.
  • I did the surgery before the reinforcement layers. So that’s on the 4-outside + 1-inside layers of self-adhesive paper packing tape. At this stage the form is firm enough to hold the shape temporarily, but not too hard to cut with scissors.
  • I should have traced the outlines of the hem, arm, and neck holes before performing the surgery. This is to ensure the final form more accurately mirror my depth & width. It was on my check list but I still forgot. Oops. Fingers crossed I haven’t changed her shape too much.
  • Once I got the form to it’s final shape, I reinforced the form with 1-outside + 5-inside layers of the gummed paper packaging tape that you have to moisten first. This type of tape does seem firmer than the self-adhesive type. So I’m glad I got these as well for the reinforcement. But it was quite fiddly, especially as I had to cut the tape into smaller pieces to go smoothly over curves. I don’t think my DOH would have had the patience to use this during wrapping. Hack, I don’t think I’d be able to hold my breath long enough to be wrapped in this type of tape and wait for it to be dry enough to be cut off me.
  • 2b-5 The 11-layers total of tapes gave me a relatively stable form that’s about 1/8″ thick. It’s probably not as firm as 1/8″ of solid papier mache since it’s impossible to compact the paper tapes 100% and squeeze out all the air bubbles. But I think it’s firm enough to hold it’s shape without stuffing. So I’m going to leave her hollow and just do what needs to be done inside to ensure her PVC spine that’s going to go over the stand is straight & perpendicular to the floor.

Next up, figuring out her guts!

Custom Dress Form v2.0: part 1

So, with new bra sorted, I finally got started on my new custom dress form. I haven’t settled on a name for her yet, so for now let’s just call her Darling Judy, or DJ for short.

Big Bertha, my last one, was a Duct Tape Double who became a bit lumpen over time, and was always too thick & sticky skinned to pin into. So this time around I’m trying a modified Paper Tape Double.

I’m using mostly Connie Crawford’s instruction, which is in her patternmaking book. There was a slightly more detailed version from Sew News Aug 2006, which sadly isn’t on their website anymore (I saved the pages a while back). You can try Web Archive, but the  photo illustrations are all missing. She also has the dress form instruction on a DVD and there’s a sample clip on YouTube which I found quite useful.

Here’s DJ after she was cut off and re-joined:

Gosh I’m lopsided or what!

Anyway, a few tips & lessons that the instructions don’t mention:

  • Here DJ has 4 layers of paper tape on the outside and 1 layer on the inside. The key measurements aren’t too far off. The waist and chest are about 1″ bigger than my smallest / exhale measurement. But I think that’s inevitable since you can’t exactly not breath while being wrapped. With these wrapped forms you’ll always get at least the breathing ease if not the full wearing ease. And that’s fine if you’re not using the form strictly for zero-ease garments like bustier.
  • For wrappee comfort I’d recommend following Connie’s wrapping order, but mark the key lines as you go rather than leave it till you’re all wrapped up. So hem after the skirt part is wrapped, CB after the torso back’s wrapped, Side Seams & Armholes after the torso sides are wrapped, most of CF right before you close off the abdomen. This way, you get to breath for as long as possible! An experienced wrapper may be able to complete the wrapping & marking in an hour, but we took close to 3 hours to wrap and cut off. So that’s a long time of not breathing if you’re not careful about wrapping & marking order!
  • I used as small a bin / trash liner as I could to keep unnecessary bulk down. But it wasn’t long enough. So I used cling-film to extend the length, as well as add the neck. If you do use multiple layers of cling-film, make sure you peel off the extra layers from the inside of the dress form before you reinforce the form from the inside with extra layers of paper tape. Otherwise you get air-bubbles between cling-film layers.
  • I used self-adhesive paper packing tape as recommended by Connie since it’s less messy than gummed paper packaging tape which you have to moisten first. But I do plan on further reinforcing the form with multiple layers of the gummed tape from the inside, and maybe another layer on the outside. This is just in case the gummed type is stiffer / longer lasting / sticks better.
  • Marking: it’s not really necessary to mark till you faint! All you really want is key lines to help get the form standing in the same way you do – ie not tilting to the front / back / left / right. So a level hem (parallel to the floor) is key. Level verticals (CF, CB, Side Seams) are also useful.
  • Cutting: Be really careful! I’ve been cut once before. This time I got those blunt-tip bandage scissors and have my DOH go very slowly with the cutting. The built-in breathing ease came in handy here. I was able to exhale and press against the front of the form to yield a little bit of gap at the back princess cutting line so that the scissor wasn’t jabbing into my skin. You can also try Thread’s technique of including a narrow strip of heavy paper under bin / trash liner where the cutting line will be before wrapping. When cutting, the paper would be between the scissor and your skin, thus protecting you from its sharp points.
  • Once you got your form off and reinforced it from the inside and taped on the cardboard pieces to cover the hem / AH / neck holes, you can sew a heavy muslin cover for it if you plan on pinning “into” the form. You will not be able to jab directly into the form – after a few layers the paper is really too stiff. So that much is the same as with Duct Tape Double. But at least you won’t be tempted and end up with gummed pins and bleeding fingers!
  • The cover will need to be skin-tight. (Your Kenneth King Moulage comes in handy here if you’ve made one like me!) If you have any doubt about the accuracy of your new dress form, you should definitely fit the cover on yourself first, then adjust the dress form to fit your more accurate cover. You might have to slash & re-tape if your form is too big, or pad with wadding / batting if it’s too small.

As for DJ, see all those red shaded areas on her? That’s her reduction surgery plan. You see, stopping here would be too easy (!). I plan to torture myself by adapting some of Wolf Form’s professional dress form making process. She’ll be reduced in girth, then covered with wadding / batting, then maybe the old cotton jersey cover I made for Big Bertha but never used (if I can still find it), and finally the drill Moulage cover.

You see, I plan to gift myself a couple of glossy draping books for Birthday / Christmas. So I’d really like a form I can pin into.

Stay tuned to find out how she looks after her surgery!

Brooding & Plotting

I know I know. I said  I was going  to stop fiddling with the Moulage. But I can’t help it. Especially not with the ladies at Artisan Square egging me on! 😉 So I’ve been experimenting with different ‘sway back’ type adjustments and different grain placements post bending the grainline in places with those ‘sway back’ type adjustments. And I’ll be tweaking the fit to get those vertical ‘balance lines’, well, vertical.

By the way, thanks for all your compliments. If you can get yourself someone patient to help with measurements I highly recommend Mr. King’s Moulage CD book. If you’re hopeless at drafting you can try Fashion Incubator’s saran wrap method instead. I haven’t tried this method but it sounds interesting & relatively quick. The only thing though is you don’t get additional instruction on how to turn the resulting skin-tight pattern into a sloper for further block development.

In the meanwhile, I’ve also been trying to print and have bound more of Mr. King’s Ecole Guerre-Lavigne series CD books. It’s not easy in the UK. There aren’t the ubiquitous & affordable Kinko’s & other chain print & copy shops that you find in NYC. My printer didn’t help by running out of ink.

And just for variety, I’ve also been redoing my croquis after being inspired by the ladies at Artisan Square. And planning a replacement dress form. Big Bertha (my Duct Tape Double) has broke her leg. And she’s a bit lumpen after all these years. So here’s the plan…

dressform-stand

What do you think? Overkill? Well, after Big Bertha broke her leg I’ve been paranoid about making the stand as sturdy as possible and keeping the dress form as light as possible. Big Bertha weighs a not so slight 4kg / 8lb. And her leg was a jointed coat rack, not solid piece of wood. So she started tilting over, even worse than the Leaning Tower of Pisa.

None of the cheap sturdy stand options I’ve googled were cheap by any means in the UK. (You Americans have it soooo good!)

As for the dress form, I was inspired by an article I found in my Threads Archive DVD about the Wolf Forms production process. Turns out they’re made from cardboard Papier Mâché using heavy plaster molds and the final thickness of the Papier Mâché is 3/4″- 1″. No wonder they can be hollow rather than stuffed. They’re made about 1/2″ smaller than final measurement, then padded on the outside with cotton batting, then cotton knit, then finally Irish linen. The article isn’t on Threads public website, but there is a page with some photos. There’s also a How It’s Made TV segment about these Wolf forms on YouTube which is quite fascinating. It doesn’t cover all the details mentioned in the Threads article. But it does show how the collapsible shoulder works / is made!