
The dress form is still WIP. I’m no deft hands with the DIY, so the stand is taking a while to make. And I’m leaving the padding & cover till the last.
So how about a spot of Here’s One I Made Earlier?
The Pattern


Well this one has been stewing since March. I was going to franken-pattern this bodice & sleeve with the front neckline of Burdastyle 2011-11-114. In the end I went for a simple modified Blumarine pattern because I couldn’t my head around that weird grafting. And I’m glad I did…
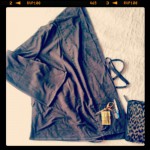
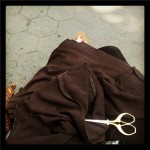
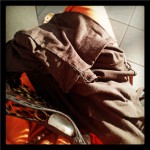
Style Shots & Mug Shots


That last set is my homage to the melodramatic Dolce & Gabbana 2013 ads 🙂 But you won’t catch me doing that in real life.
And last but not least, all the holiday snaps. Lucky top!

Columbus, OH, USA
 Coney Island, NYC, USA
My old elementary school in
Taipei, Taiwan

As you can see, I end up wearing this open most of the time, with the ties looped around my neck. I really should add a thread loop to the CB neckline seam to keep the ties in place. They get a bit unwieldy with the constant taking off & putting back on (especially in Taiwan where outside it’s freaking hot and inside it’s effing freezing with A/C everywhere).
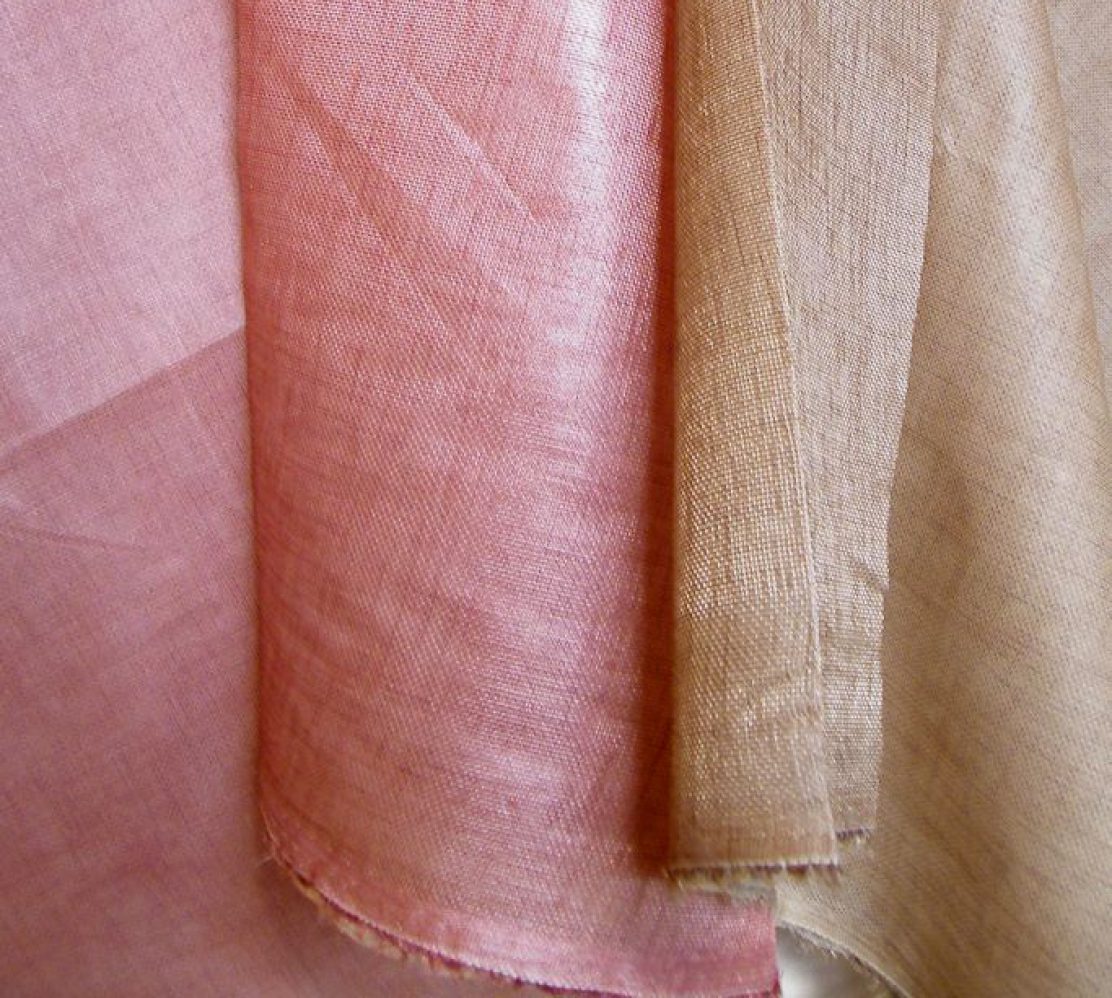
Fabric & Notions Used
- Tissue weight wool jersey from B&J Fabrics, NYC.
- MaxiLock serger thread. Vilene Bias Tape.
Size Used
34 because it was closest to my tentative Knit Block.
Changes Made

Fitting changes
- Changed shoulder slopes to match my Knit Block.
- Moved armholes & side seams down the same amount as the shoulder to match my Knit Block.
- Moved waist up to match my Knit Block, plus other design element related to the waist: the hole for the tie bands & the position of the tie bands, the front wrap edge curve (which also improves bust coverage).
- Shortened sleeves to match my Knit Block.
- Moved shoulder matching mark on sleeves towards the front to match my Knit Block.
Design changes
- Added armhole ease by lowering the underarm on all patterns.
- Shortened bodice patterns to about 2″ below the hip.
- Omit the collar.
- Widen the front band pieces to 2″ finished width & cut as one continuous piece (ie without CB seam).
Verdict on the Instruction
Read & ignored as usual. Once I know how the pieces are suppose to fit together I prefer to follow my own batch work-flow and modifying where necessary to fit my design changes and fabric behavior.
- Stabilized the back shoulder & tie band hole ares of the side seam with Vilene Bias Tape.
- Overlocked shoulder seams & tie bands. Neatened tie band hole areas of side seams on the serger. Turn tie band inside out.
- Overlocked armscye seam, one long edge of front band to neckline, and bottom edge of the front band folded back right sides together.
- Overlocked the tie band sleeve – side seams, skipping the tie band hole areas. Top-stitched the seam allowances of the tie band holes in place.
- Slip-stitched the narrow hems & front band / neckline seam by hand while on holiday in NYC!
Would I sew it again / Would I recommend it to others
This modified top is fast becoming a favorite. It’s great for layering & goes with almost everything. It’s classy with a little flare of drama in the bell-shaped sleeves. Considering that I have a moth problem I will no doubt be making more of the same in the future.
And the dress version too. I already have in mind a muted gold stretch jersey as well as the same turquoise leopard print I used for the pencil skirt & cowl top you see in the photos above.
Other people’s makes on Burda & Pattern Review all look great as well. So definitely would recommend. You can still buy the PDF version of the pattern online at Burda website. So what are you waiting for!
Great goes-with-everything piece! I’ve liked that pattern for a while and never really considered doing it as just a top.
I’m the opposite. I find it quite hard to commit to a dress. I’m always tempted to split a dress into a top and bottom! It’s not always possible to do so without destroying the look, but the temptation to multiply the wearing options is just so strong…
This looks like a really versatile piece to have in your wardrobe, great to see it being worn in so many different ways.
It is indeed. While in and of itself it may not be anything particularly special, yet every wardrobe needs a few of these adaptable team players! 🙂
I’ve often looked at that pattern and thought I’d like to make it up for myself. I love your cardi version. And all your mug shots are hilarious – especially the dramorama ones! Love that maxi skirt, too. Did you make that?
Thanks! It was fun photos to take. Can’t always take oneself too seriously.
The maxi-skirt – sadly no. It’s simple enough to make. But this one was from Topshop like a decade ago! It’s double layered A-line skirt. The only thing I’d try to fix is some how preventing it from going round in circle. Often I find by end of the day the CB zipper has shifted to the side seam! }:-)