
Or Stripe & Drape Take 2… This one started out as an after-thought: Ms Cheapskate insisted on squeezing a second top out of the stripe fabric. But I ended up liking this better than the star of the Stripe & Drape show!
The Pattern
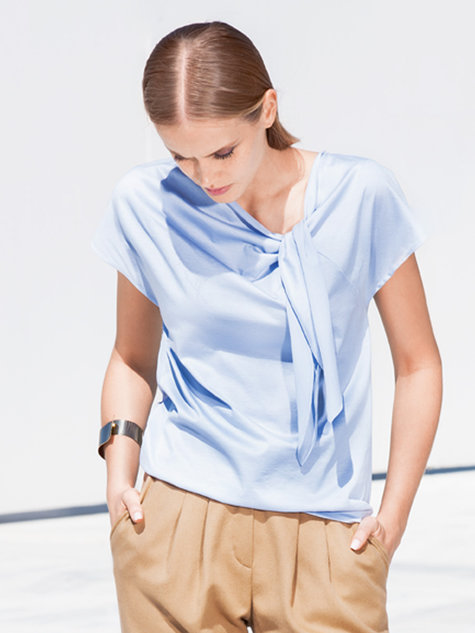
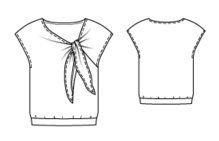
The pattern is actually designed for woven. But I struggled to find another loose-fitting knit top pattern in my Stash that would both showcase the stripe and fit the scraps I have. The direction of the cut-on tie patterns vs the direction the finished ties hang makes it a more successful match than the drape on my Burda 2018-01-106.
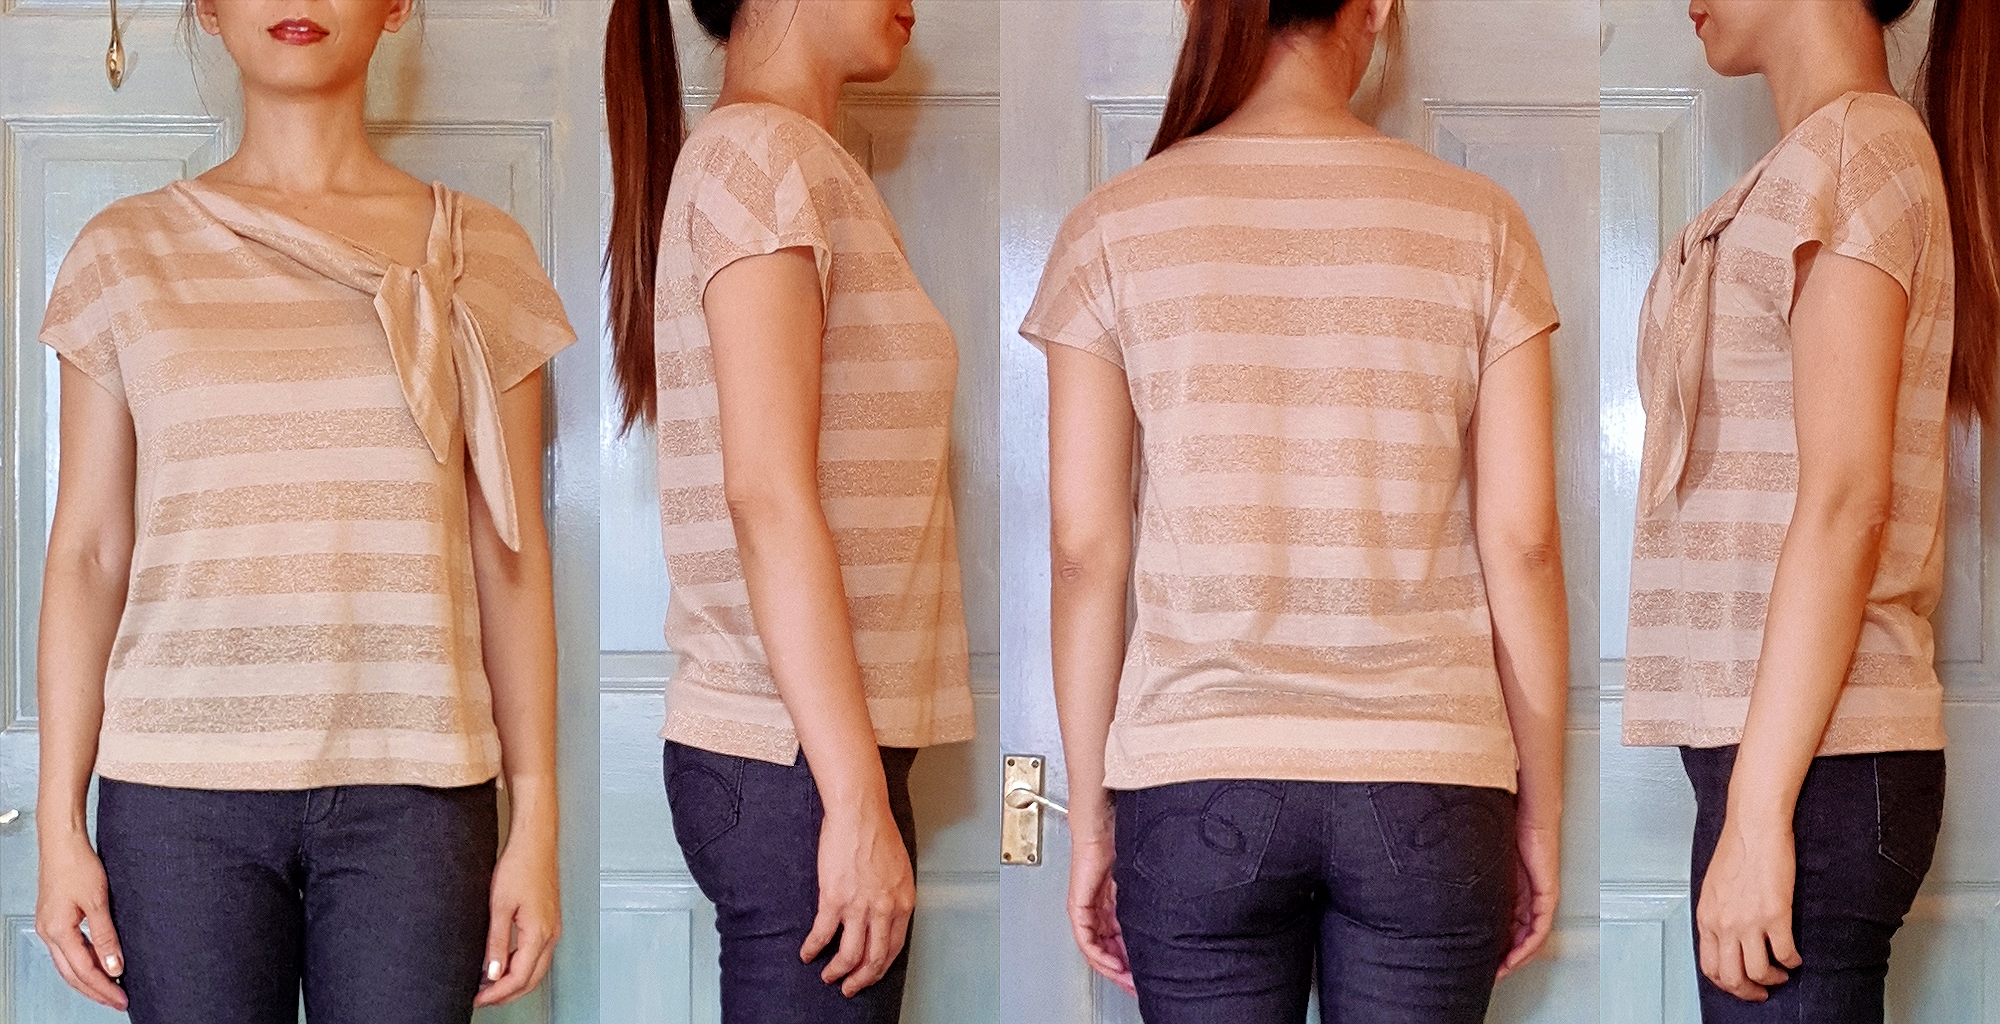
Style Shots & Mug Shots


WORN WITH: 1 mid-rise Ginger Jeans 2018; 2 Self-drafted Slim Trousers;


WORN WITH: 3 Refashioned RTW pleated skirt; 4 Self-drafted Lace Straight Skirt + Mom’s shrug;
Size Used
34, instead of 36 recommended by the size chart, chosen because it’s closest to my Dartless Semi-Fitted Knit Top Block
Changes Made
Fitting changes
based on comparison to Dartless Semi-Fitted Knit Top Block
Sorry, my changes seem a bit whimsical & hard to summarise into any clear principles…
- Shortened above bust to bring bottom of armhole no lower than bust line & back neck-shoulder point hitting my Block’s back shoulder line. (This also brought the pattern’s back waistline closer to my waistline.) On the front did this only on the simpler half without the tie (right side).
- Tilted right front at armhole bottom level to bring front shoulder slope closer to the angle of my Block & front armhole hem slope closer to back armohole hem slope.
- Ensured there’s at least as much ease in the bodice as my Block – back needed no change, front needed more ease at the hem so tilted at bust point.
- Ensure back & front side seam are same lengths – shorten back below the waist to match the front.
- Folded front in half. Shortened & tiled the left tie piece to match the right side shoulder & armhole hem slopes. Shortened & tilted the left side of the main front piece to match the raglan seam slope & front neckline… or something like that ?
Design changes
- Added Front Neckline Facing as I was worried my fabric would be too limp for the ties if used single layer.
- Change banded hem to high-low hem with side seam slit… Because I wasn’t I can rock the blouson silhouette… And because I ran out of fabric anyway!
Fabric & Notions Used
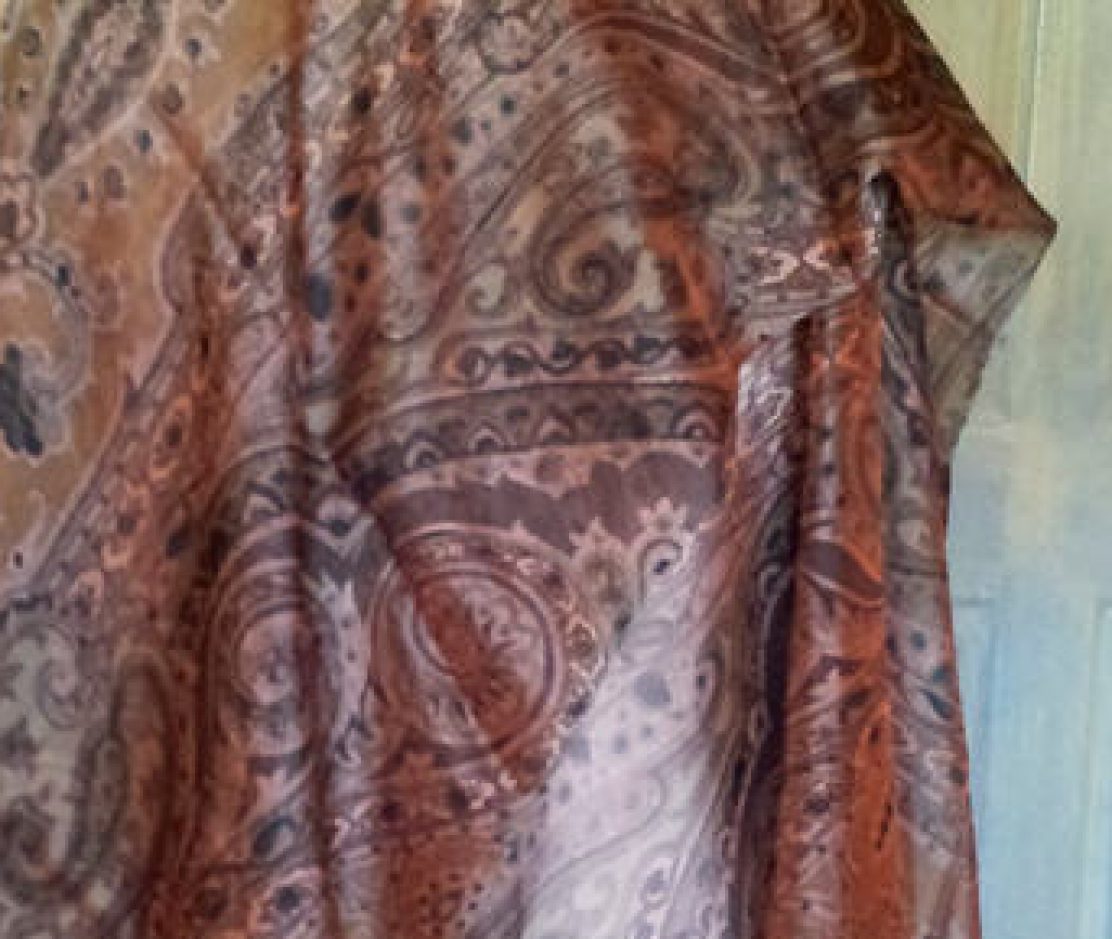
- Fabric: Cotton & Lurex Stripy Jersey from Moods Fabric NYC
- Notions: Vilene Bias Tape.
- Tools: Corn starch (for temporarily stiffening the jersey & tame the edge curling for easier sewing & handling)
Construction Notes
- Stablised the necklines.
- For neckline finishes used standard Burda cowl neckline instruction (binding-facing for back neckline, sandwiched shoulder seam between front & front facing).
- Stretch-stitched seaming & overlocked edge finishes. Hand catch-stitch for bodice hem & stretch stitch for armhole hems.
The Verdict
Despite the struggle to style this multiple ways this one is a win. I can definitely seeing myself sewing a replacement should this one wears out from too much love.
Something about the drape that I can see (rather than one in the back that I can’t see) just turns me into a kitty chasing a laser point! ?
This looks great and i’m really interested that it can be made up in a woven fabric also.
Very very nice. I hope the series “deapey top” will continue, it is very inspiring (this one in particular made my to do list, hands down).