OK, her name is not going to be Darling Judy. Gosh is there nothing that pornography won’t touch on the internet? I was thinking more Blythe doll than what google yields up. Urgh.
Right now I’m considering Quasimodo. Yes, you heard me right. And it’s because of this:
I knew I was lopsided. But I didn’t know I was that bad! LOL. No wonder my long necklaces never want to stay in the middle. They always want to loop around my left boob.
Then again I might have butchered her figure during the reduction surgery. Or at least exaggerated the lopsidedness. In any case, Quasimodo is now the new nick name my DOH has for me whenever he wants to wind me up. He’s a bit of the Joker and likes to wind everyone up.
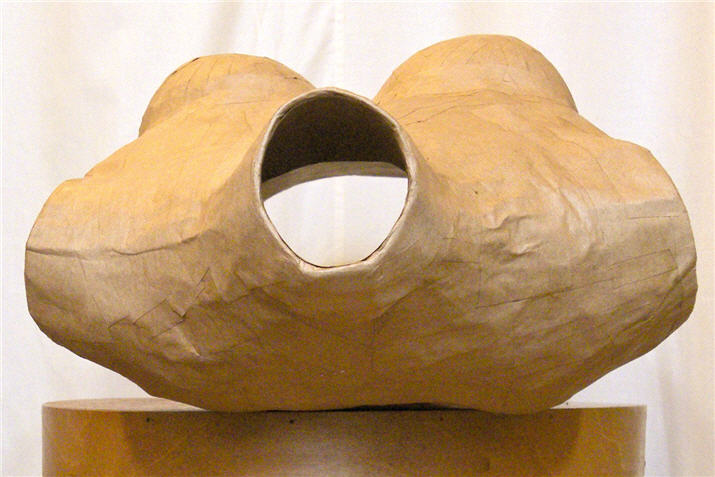
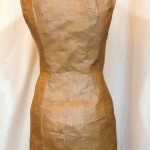
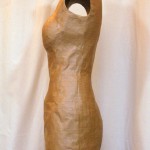
Anyway, here’s Quasimodo after her reduction surgery with subsequent reinforcement layers:
And a few notes about the process…
- Reduction plan: The wadding / batting I’m going to use measures about 1/4″ when compressed. So I reasoned that I’d have to take out 1/2″ depth-wise (Front to Back) and width-wise (Side to Side). I opted to do this as 1/2″ at side seams and CF/CB so that the neck is also reduced. I also removed 1/4″ height at about upper armhole to account extra height at the shoulder that the padding will add. The additional fish-eye darts at the princess seams are to adjust for the extra 1″ breathing ease that was wrapped into the chest and waist.
- This plan does mess up the bust a bit – they’re now too close together.
 So I first tried a mastectomy (4-pointed star-shaped reduction on each boob). That didn’t work brilliantly. I ended up having to do breast reconstructive surgery. For her breast augmentation I taped on two foam bra cups I salvaged from some old dress. This allowed me to position the bust mounds where they need to be. It also deepened the cleavage to the correct depth – DOH couldn’t get the cross-your-heart duct-tape wrapping tight enough to maintain the cleavage depth. I found double-sided tape to be quite handy for this task. PVA glue & the paper tape weren’t as effective by themselves.
 - I did the surgery before the reinforcement layers. So that’s on the 4-outside + 1-inside layers of self-adhesive paper packing tape. At this stage the form is firm enough to hold the shape temporarily, but not too hard to cut with scissors.
- I should have traced the outlines of the hem, arm, and neck holes before performing the surgery. This is to ensure the final form more accurately mirror my depth & width. It was on my check list but I still forgot. Oops. Fingers crossed I haven’t changed her shape too much.
- Once I got the form to it’s final shape, I reinforced the form with 1-outside + 5-inside layers of the gummed paper packaging tape that you have to moisten first. This type of tape does seem firmer than the self-adhesive type. So I’m glad I got these as well for the reinforcement. But it was quite fiddly, especially as I had to cut the tape into smaller pieces to go smoothly over curves. I don’t think my DOH would have had the patience to use this during wrapping. Hack, I don’t think I’d be able to hold my breath long enough to be wrapped in this type of tape and wait for it to be dry enough to be cut off me.
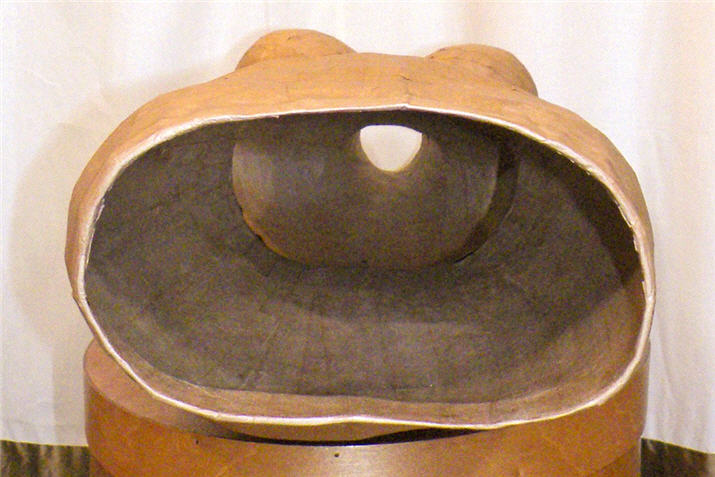 The 11-layers total of tapes gave me a relatively stable form that’s about 1/8″ thick. It’s probably not as firm as 1/8″ of solid papier mache since it’s impossible to compact the paper tapes 100% and squeeze out all the air bubbles. But I think it’s firm enough to hold it’s shape without stuffing. So I’m going to leave her hollow and just do what needs to be done inside to ensure her PVC spine that’s going to go over the stand is straight & perpendicular to the floor.
Next up, figuring out her guts!
This is so interesting! And I’m LOLing at all of your dressform boob job work!