Dissecting a RTW trench

Summer isn’t entirely over. But there seem to be a trend in sewing blogsphere at the moment for starting Autumn projects. My next project will also be a Autumn garment – a classic trench.

But I’m not trying to be trendy! Not at all. It’s because my only trench – a TopShop RTW number – is beyond putting up with. The hems are all fraying, the lining falling apart, mysterious stains refusing to come out. Nope, my hands’ been forced. And if I don’t start now I won’t have one in time for Autumn.

I was going to wait until my new replacement is made before retiring this RTW one. But I got curious about the innards of the RTW version and whether there are tips I can incorporate into my own make. So the RTW has been sacrificed to the gods of sewing geeks & dissected to bits.

I know not everyone’s a fan of RTW techniques – “RTW” sometimes being deemed synonymous with cutting corners. But I reckon this will at least show what is important, the bare minimum required. If even cost conscious manufacturers do it, surely we should achieve at least the same standard if not better. FYI this one was around the £100 price point.

Be warned, below are lots of (15) photos of the interesting bits…

Interfacing

Interfacing

Interfacing

Interfacing

Shoulder Pad

Shoulder Pad

Interfacing

Interfacing

Interfacing

Interfacing

Seam Allowances

Seam Allowances

Stays

Stays

Tacking

Tacking

Tacking

Tacking

Hem

Hem

Back Vent

Back Vent

Top Stitching

Top Stitching

Collar

Collar

Pockets

Pockets

Button Holes

Button Holes

Image

Burda Kids 9547 Jacket B

And finally, we have a finished project to show!

If you’ve been following any British sewing blogs – or any Western European ones – you’d probably know by now we’re “enjoying” an unusual summer heat wave. Scratch that, make it an unusual Summer. Period.

So it’s been either too hot to sew or too nice to sew. I did not help matters further by complicating all three of my Sewing For Tweenie projects. Hence they’ve been like this for the longest time:

But I’m happy to report that thanks to a minor down turn on the work front I’ve finally managed to complete one. First off the assembly line is the jacket pile on the left.

The Pattern

It was notoriously difficult to get my niece to pick a children’s pattern. She kept reaching for the grown up Project Runway patterns! Eventually she did pick this jacket pattern herself. So let’s hope she likes the result!

Catalogue Shots

No life modelling this time. Not even a dress form modelling as this is so not my size! 🙂

B9547_2-finished B9547_2-finished-detail

Fabric & Notions Used

Size Used

My niece’s Spring measurements are closer to a size 11 (146). But I was advised to make a size larger in case she gets a sudden growth spurt. So size 12 (152) it is. Not a clue how this will fit her. Fingers crossed it won’t be any worse than RTW.

Changes Made

As I don’t have her here for fittings, I made a straight 12/152. But I did add a full lining and made the facing slightly wider.

Verdict on the Instruction

I did glance through the instructions and followed a step here or there. But while these packaged Burda patterns have better instruction than the Burda magazines, they’re still not as detailed as the Vogue/McCall patterns that I’m more used to.

The pattern marking was a bit confusing too. The center front cut line was marked as Center Front. I couldn’t figure out if they mean the corresponding (unmarked) seam line 5/8″ in is the CF or if the printed cut line is the CF. I hope it’s the former. Otherwise the finished front would be a bit too small, especially as this one have butted CF rather than overlapped like a typical jacket.

The pattern for the button loops was also a bit ambiguous. Firstly, I can’t find any button size instruction. So without button size how do you know how long a loop strip you need and how big a loop to make? The marking on CF is for the smallest size only. So you’ll just have to experiment yourself. F.i.d.d.l.y.!.!.!.!.!

Lousy instruction aside, I slowed myself down further by deciding to try a few new-to-me jacket sewing techniques.

First off, interfacing.

I started out interfacing just the facings & the hems. But I had a mini crisis over this. Mainly because I was too mean with interfacing in the past. So I have a whole pile of fusibles that are over 20 years old. The first one I tried did not stick well. No problem, I’ll stick fusible web where it’s not sticking. But that made hems too stiff and I had to pull these off, leaving adhesive gunk behind. Cry. Tantrum. And vows to ditch all these geriatric fusibles.

After a few cups of decafs the natural meanness crept back. I decided to test rest of the fusibles before deciding who goes and who stays – in case it was the polyester faux suede’s fault. Turns out most of the rest are not too bad. Especially on fabrics that can take the heat & moisture – like everyone’s favorite – 100% cotton. So most of them stay. But I’ve learned to be less stingy with the interfacing.

In fact I then decide to interface the whole jacket – front, back, sides, sleeves, the whole shebang – because the faux suede felt a bit too limp for a jacket.

Next up the lining.

I decided to try a few of Kathleen Fasanella aka Fashion Incubator‘s recommendations.

  • For the lining patterns, I followed the instruction on p154-157 of her book “The Entrepreneur’s Guide to Sewn Product Manufacturing” and added 1/2″ vertical ease between the bottom of the armhole and the hems. On the body this was eased into the front facing instead of being left as a fold at the bottom of the lining (like I’ve done previously following everyone else’s example).
  • I also tried her jacket bagging online tutorials 1 & 2 as well as her tutorials for a neat machine finish where the bottom of the front facing joins the lining & hem. Even with photos these were a bit difficult to follow. I had to proceed slowly. But in the end they did work! The bit for joining the sleeve with the sleeve lining was especially magical. I kept wondering if I was going to end up with an Escher straitjacket. Thankfully when turned right side out it was a perfectly formed sleeve with machine stitched sleeve hem/lining seam!

Below are a few pictures of what it looks like just before I turned it right side out…

B9547_1-1 B9547_1-2 B9547_1-3 B9547_1-4 B9547_1-5

And after it was turned right side out…

B9547_1-6 B9547_1-9

A couple of things I did differently than the standard bagging instruction:

  1. I found it easier to finish the facing-lining/hem joint first before sewing the CF shell-facing seam.
  2. I decided to leave the gap for turning the jacket right side out at the back hem rather than in one of the sleeve seams. I find lining fabric fray too easily – especially as I had reduced most seam allowances to 3/8″ like Kathleen instructed. So I didn’t want to deal with a fiddly/difficult to reach area like a sleeve seam. Back hem is easier to work with. I just slip stitch the small stretch of unfinished hem by hand.

Speaking of fraying lining, how do you finish lining seam allowances?

I Googled the earth & checked every sewing book I have and no one has a single recommendation on this. I ended up stitching two parallel lines, pinking the edge, then pressing to one side. But I’m wondering if there’s a better way.

Would I sew it again / Would I recommend it to others

It’s a cute jacket I think. But as I can’t check the fit, and I’ve been warned that Tweenies are very hard audience to please, I probably won’t sew it again.

And I think it’ll be wiser for me to wait for my niece’s verdict before I go recommending it to anyone else!

Me Made Holiday Report Card

In the suitcase…

suitcase-top

Tops

nyc-me-made-0-tops

  1. McCall 6078 Cowl Neck Sleeveless T-shirt
  2. Franken McCall 6078c Cowl Neck Leopard Print Sleeveless T-shirt
  3. Burda 2012-09-123 Painted (Byzantine) T-shirt

Bottoms

nyc-me-made-0-bottoms

  1. Burdastyle 2012-05-113 Draped Leopard Print Skirt
  2. Refashioned RTW Leopard Print Skirt
  3. This is the only non-Me-Made item in my suitcase. Or is it? I did shorten then turn up the hem to wear it as a capri. So can I be cheeky and count this as Me-Made as well? 😉
  4. Refashioned RTW Heidi Skirt. Not blogged. But it’s pretty much the same make as my Improv Embroidered Taffeta Pleated Skirt

Dresses

nyc-me-made-0-dresses

  1. OK, another borderline cased. RTW Victoria Secret Dress altered to fit me better. Does it still count?
  2. Improv Tent Dress. Not blogged yet. This has got to be the Happiest Oops & my favorite make. Ever. It has gone on almost every holiday with me since I made it – I think that was back in 2003.
  3. V1159 Donna Karan Twist Front Dress

Keeping Warm…

nyc-me-made-0-cardies

  1. Wrap Cardigan based on Burda 2011-06-139 Bluemarine Wrap Dress, planned a while back, but only finished during this trip. So not blogged yet. I was actually finishing the hemming just before checking my luggage in for the flight to Ohio! But boy was I glad I finished it. I wore it so many times during this trip.
  2. Franken Burda 013-02-121 Sweater
  3. Improv Faux Shearling Stole

Accessories

nyc-me-made-0-jewelrynyc-me-made-0-shoes

suitcase-bottom

Actually worn….

I got to hand it to you Me-Made-May girls. I don’t know how you manage a whopping 31 days. Even with just 14 days I couldn’t keep up with the photo-documentation.

No, worse, Mother Nature intervened (too hot AND too cold). So despite packing enough for 15 outfits ((3 tops x 4 bottoms) + 3 dresses) I keep sorting to the same few comfortable outfits. Here are the few photos I did manage to take…

What I’ve learnt…

I need to stop making tight fitting summer clothing! Skin. Wants. To. Breathe…And. Feel. The. Breeze.

And watch out for grainline, stretch, & gravity! The two sleeveless cowl neck tops were based on the same pattern. But the yellow one was cut on the crossgrain while the turquoise leopard one was cut on the regular lengthwise grain.  As stretch is greatest in the crossgrain on most knits, the yellow one’s armholes have obviously stretched thanks to gravity and feels comfortably loose. The turquoise one didn’t. So was a bit too binding for hot NY summers.

The Final Score

I think that will have to be a B at best.

I did force myself to wear everything at least once. But some days I just had to change midway through the day. There is only so much I’m willing to suffer for fashion!

Older But Not Wiser

Decades ago, when I was a relative sewing novice, I was much more adventurous with my sewing.

Slapdash Pattern Happy!

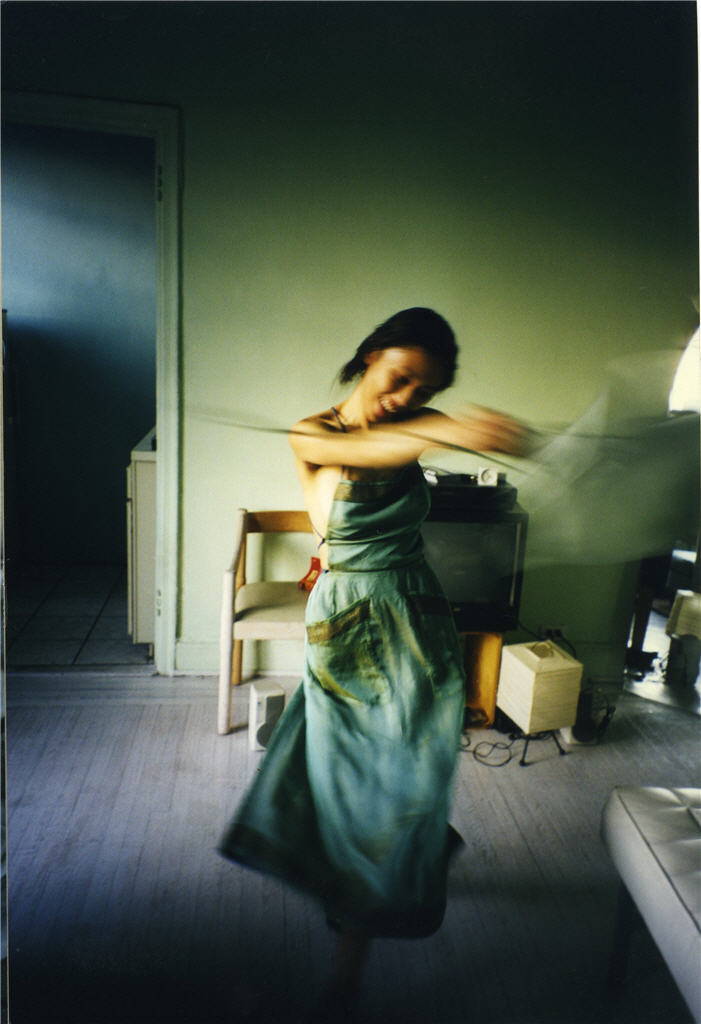
I thought nothing of my poor techniques, and happily dabbled with making my own patterns. Like this dress…
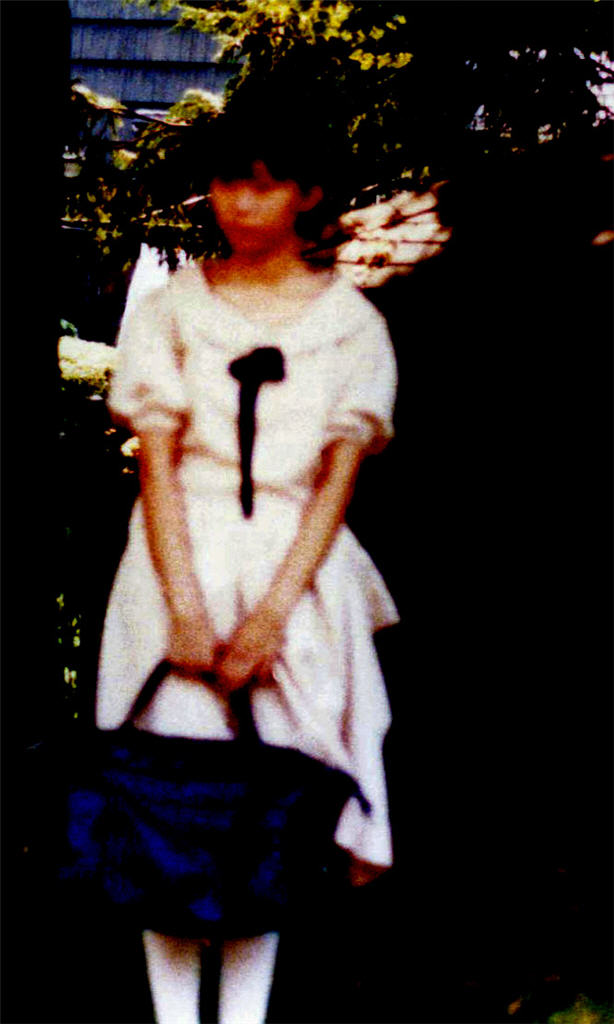
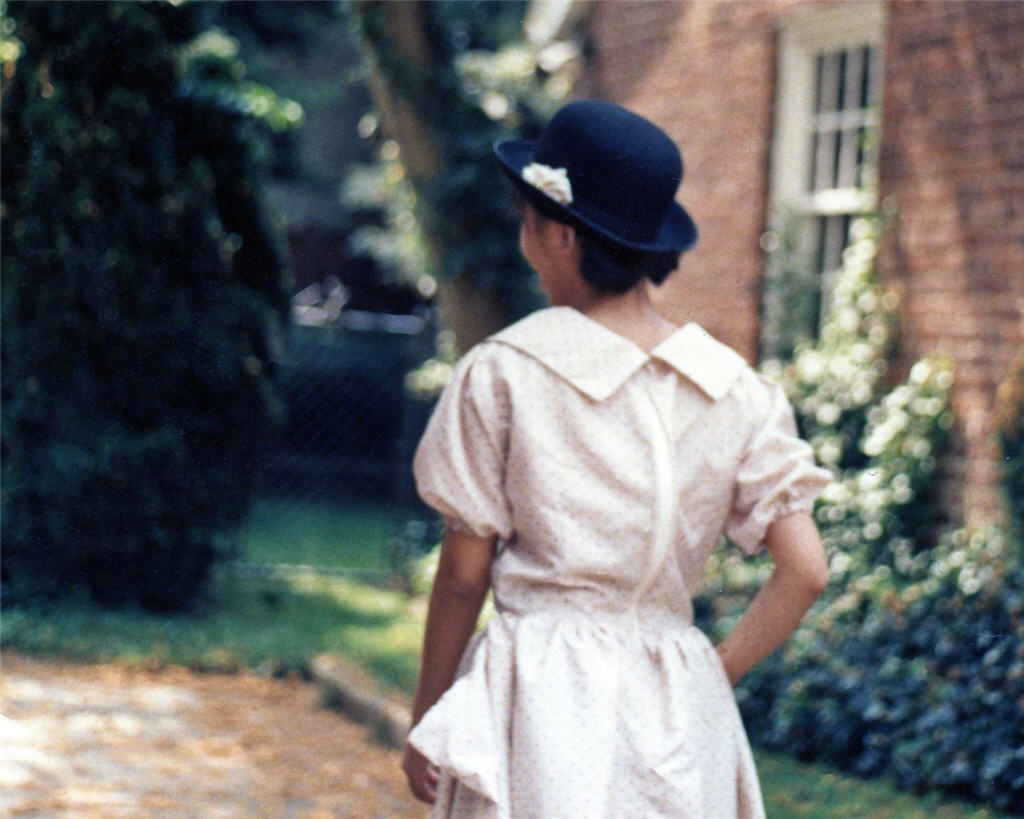
Apology for the blurry photos. My Mom wasn’t exactly ace with the camera and this was in the days before digital cameras. So you had to wait for the films to be developed to find out that you got some dud photos!

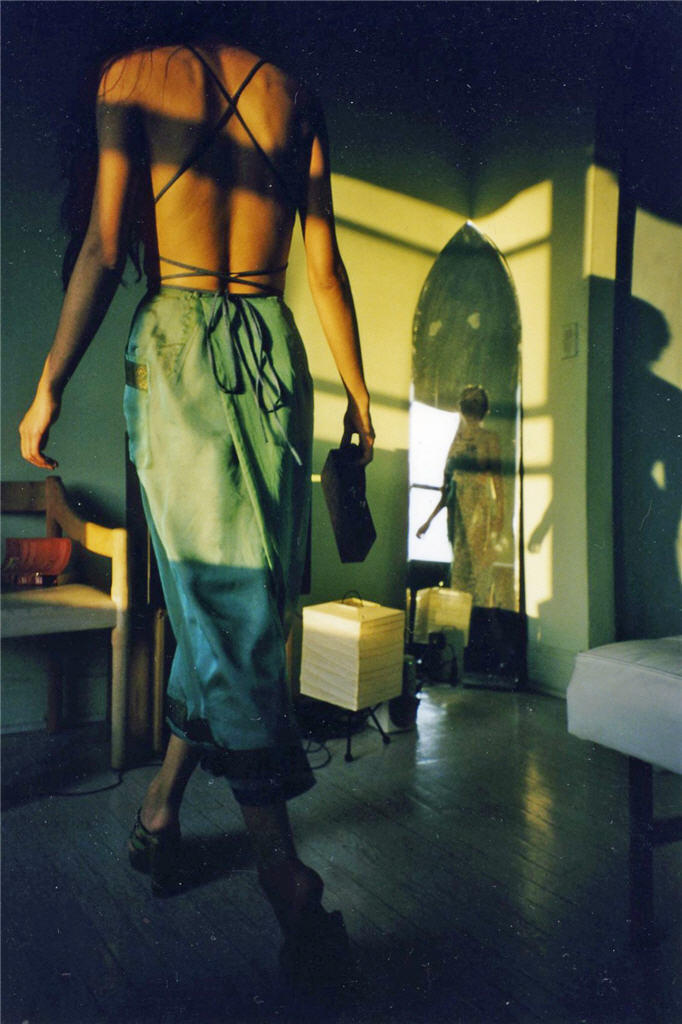
Note the stiff exposed back zipper. The collar probably wasn’t properly interfaced either. But it was my own design, probably inspired by some magazine photos. And then there’s this one…
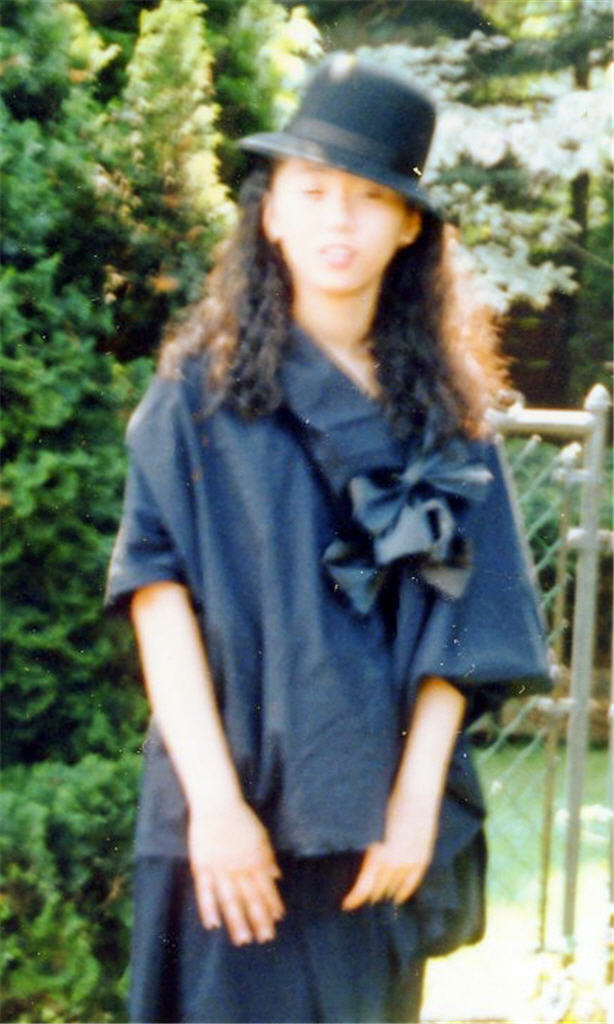
What was I thinking of? LOL. My head was in the cloud back then. I don’t even remember making this one. (You know I must love you to share such unflattering photos of myself with you! 😉

Designer Love Love Love!!

Many were the attempts at copying designer clothing I liked but couldn’t afford. There was the Romeo Gigli coat wannabe I wrote about a while back. But my main love back then was the Japanese design house COMME des GARÇONS.

Here’s an example, modeled after a skirt from COMME des GARÇONS Spring Summer 1988 collection…
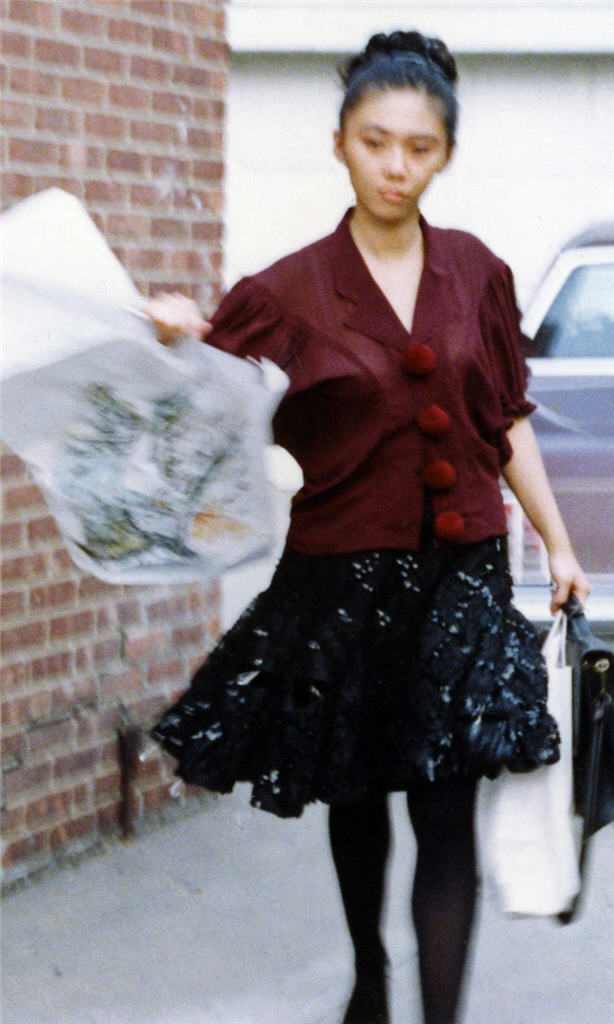

With the twinkly sequins and sparkling tear drop crystals, the lace skirt was like the widowed Scarlett O’Hara on a crisp rainy day. Rain in its romantic glory of course, not London gloomy.

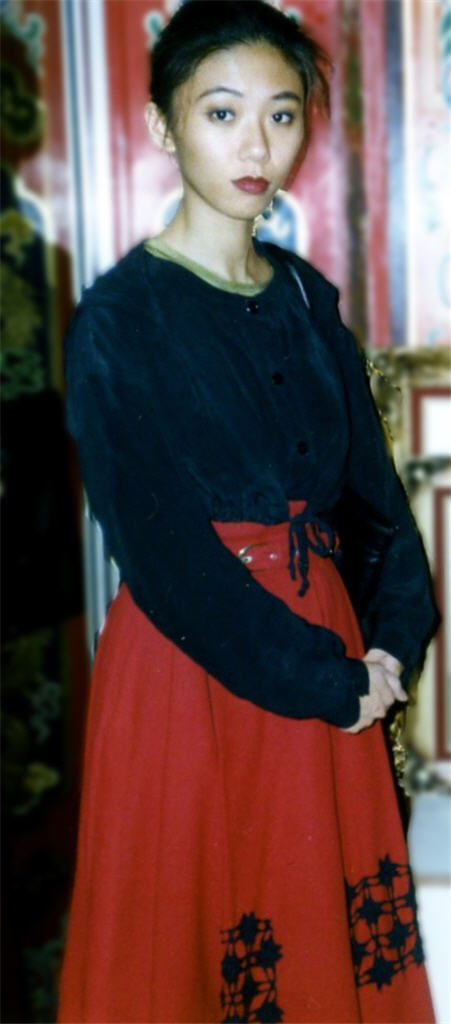
And another inspired by COMME des GARÇONS Autumn Winter 1988-89 collection…
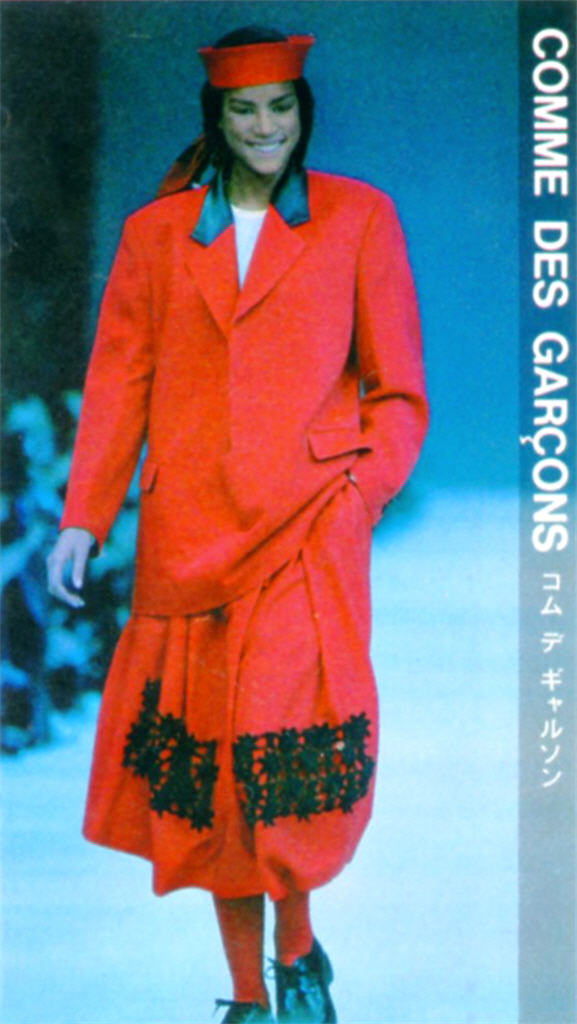
A red flannel pleated skirt with crochet lace embellishment and self-fabric belt.

I love that folklore inspired collection! There were many more ideas that I didn’t get around to try out.

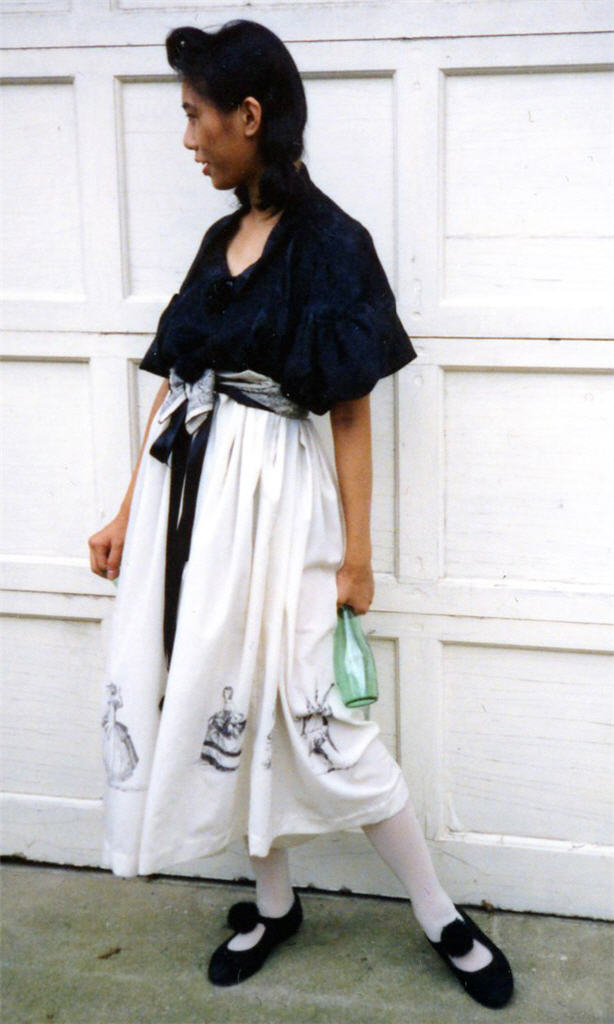
From the next collection – COMME des GARÇONS Spring Summer 1989 – there were at least two more…
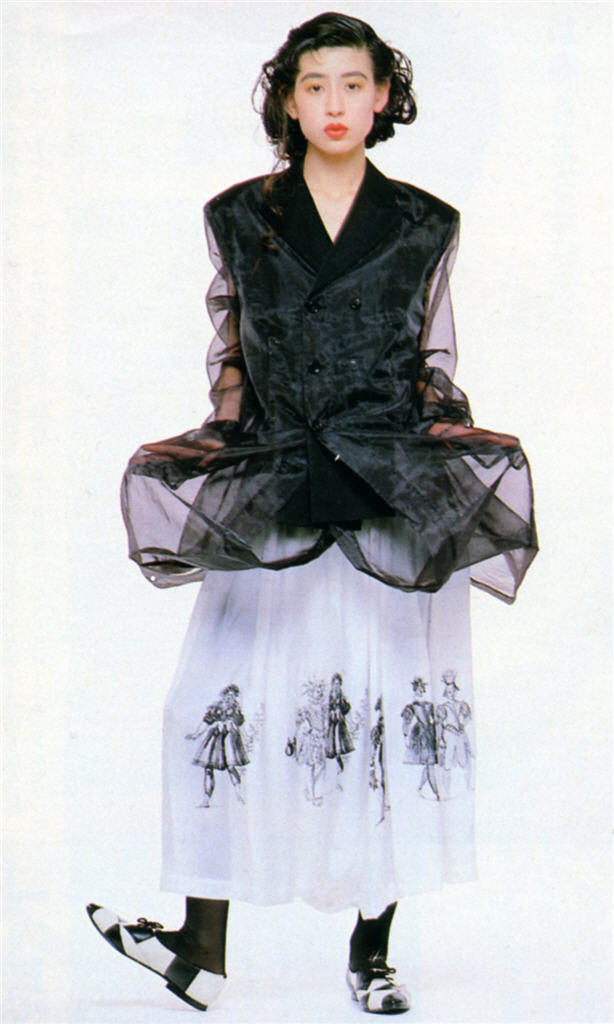

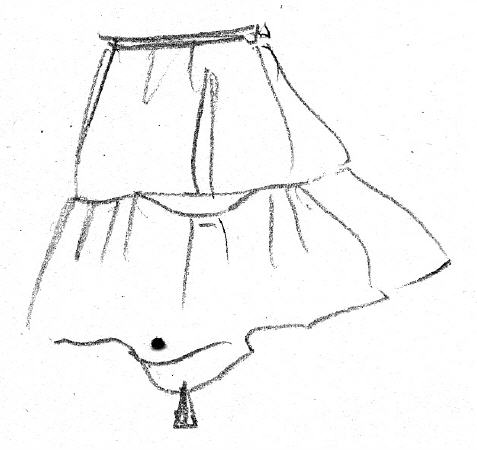
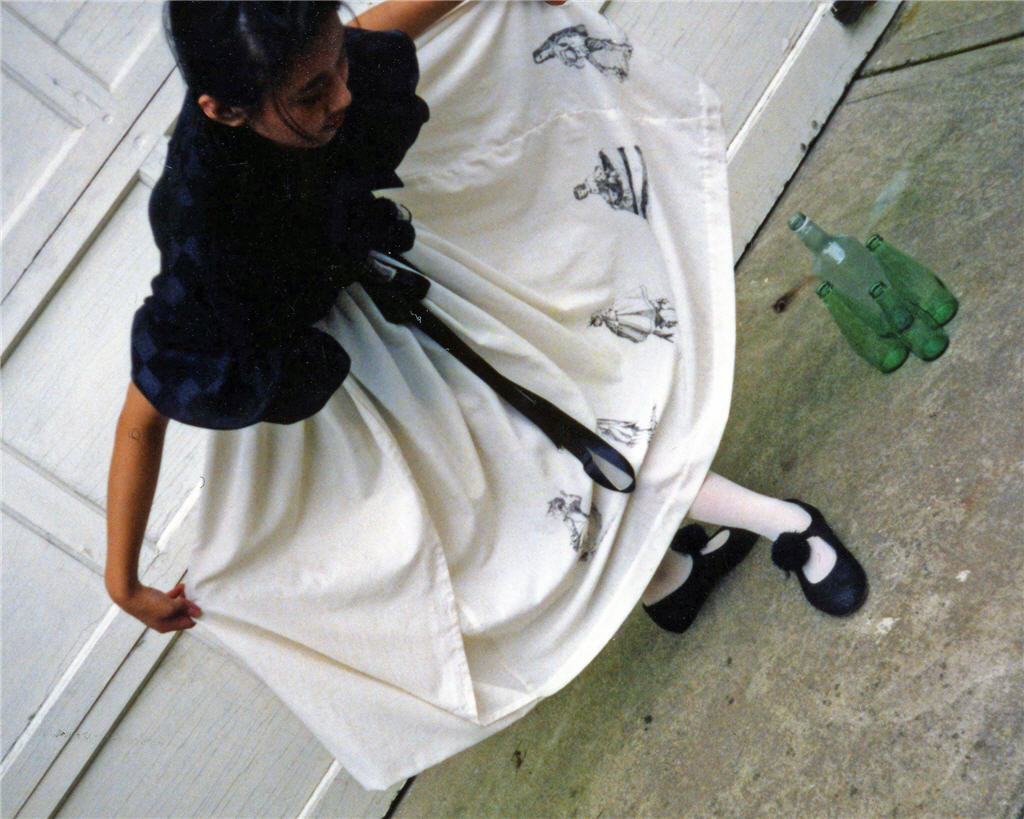
A gathered skirt with one panel folded back up at the hem and hand drawn Renaissance style Pierrot characters.

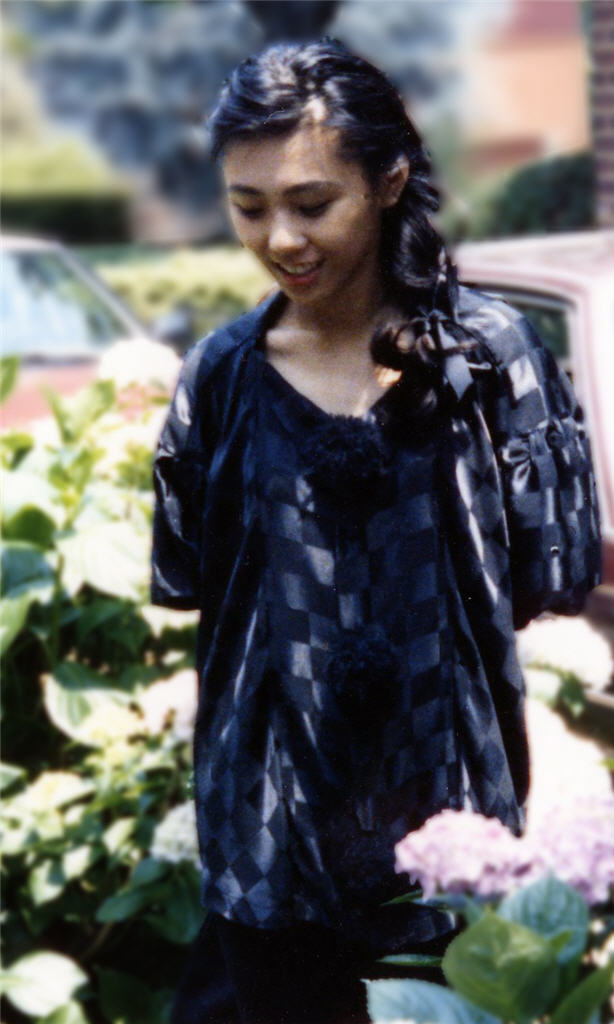
The blouse pattern was rather interesting. The sleeves were cut as one with the bodice, not separate pieces. They were like bat-wings extending up beyond the shoulder seam. Halfway up the armholes they separate from the upper armhole of the bodice, then were gathered and reattached to the upper armhole. You know those Japanese designers, they like their origami! And yes, those are pom-pom faux buttons.

Sometimes I’d take the liberty to “improve” on the original. Like with this Marc Jacobs dress. I made my version reversible.
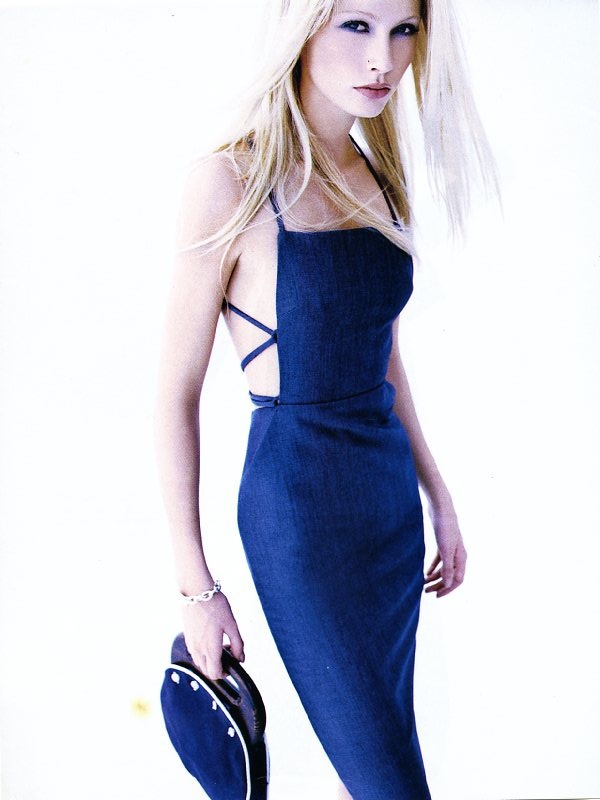
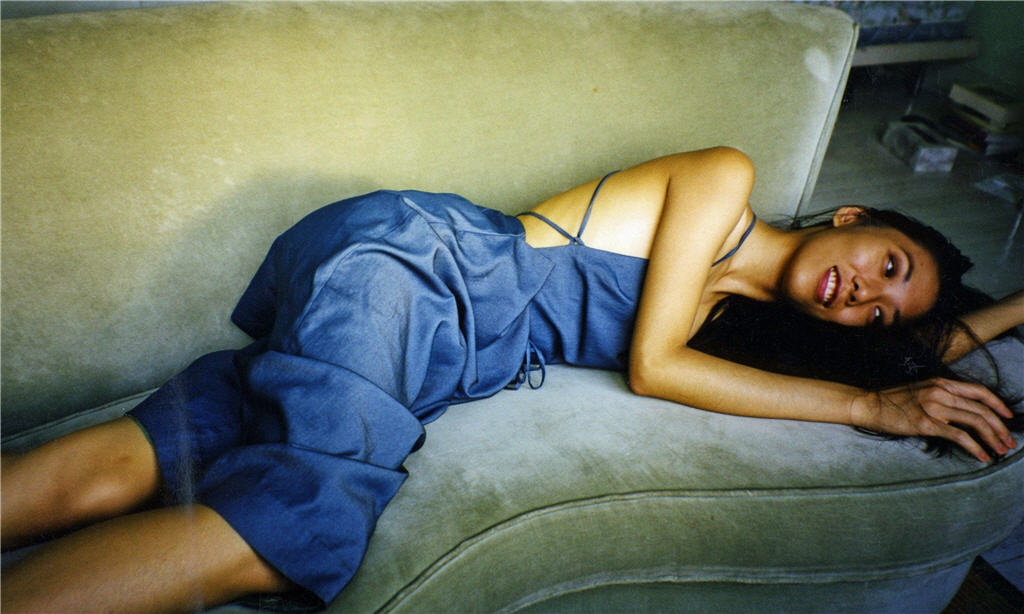
Bring On Them Tailoring Challenges!!!

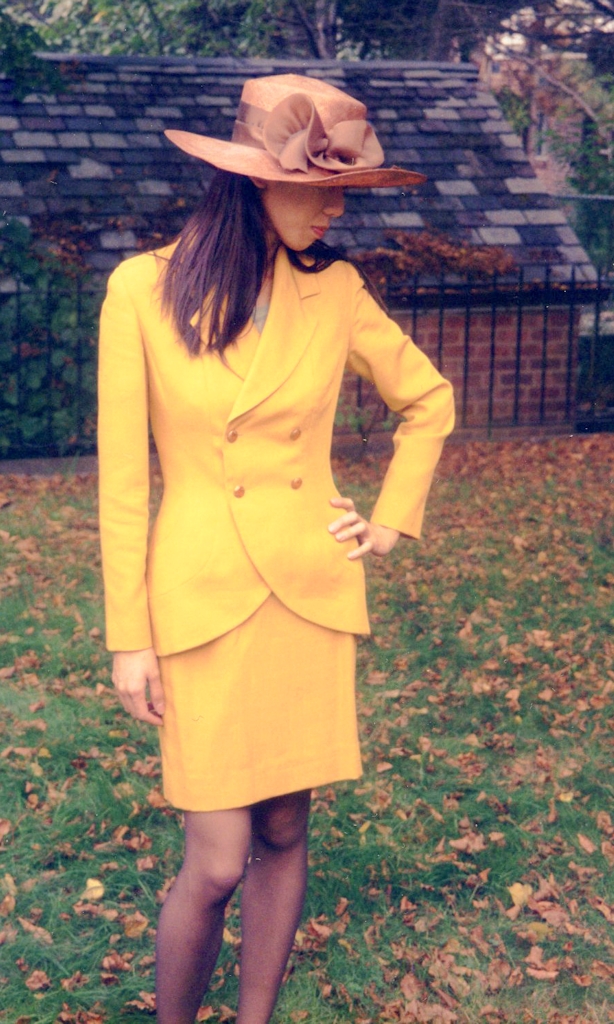
I also wasn’t afraid to tackle tailoring. Here’s my first Vogue suits – Vogue Pattern 9199…
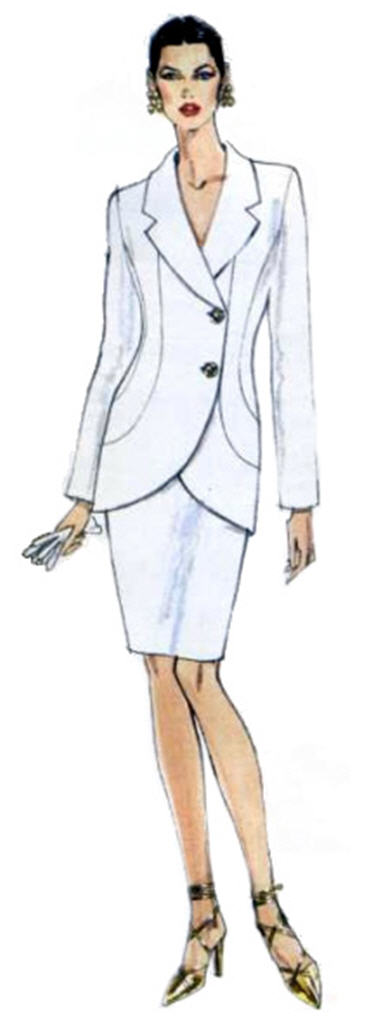
The result is a bit conservative for me at the time, so I didn’t wear it much and have no idea what happened to it.

But then under the lens of the right photographer – my university friend in this case – even a plain old suits can look fashionable!

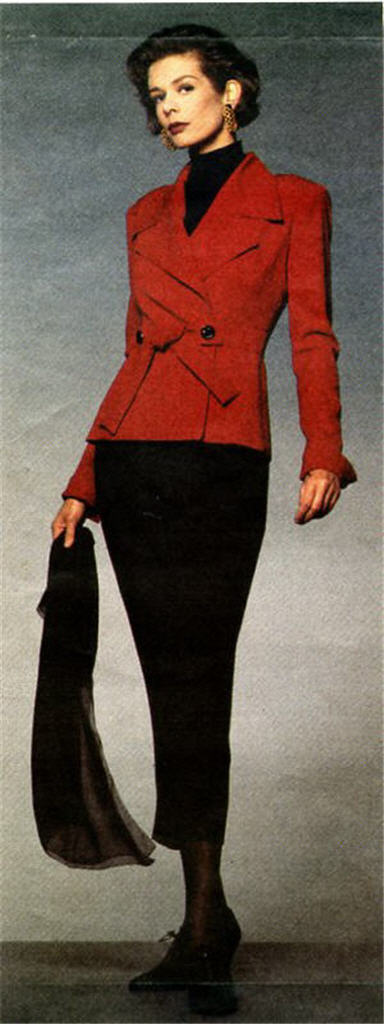
That suits though didn’t make use of proper tailoring. But this Vogue Pattern 1224 one did… Apology about the lack of mug shots. I guess I used to take sewing for granted so didn’t think to document my projects. Anyway, this one had the pad stitching, the hair canvas, the roll line tape  and everything.
Jolly Old Midlife Crisis!?!?!

So what happened? Well this for example:
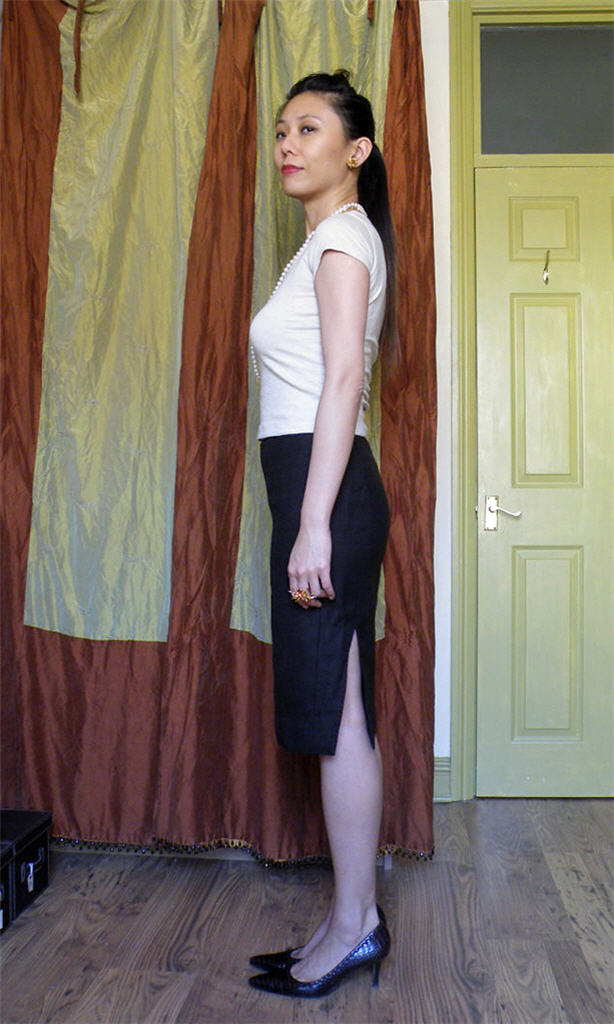
Note all the drag lines. Fitting has never been my forte. Nor was picking the right proportion and silhouette. The V1224 suit above for example had wide lapels and extended shoulder that doesn’t really flatter my short-waisted figure. I also didn’t think to lower the waist band slightly to create the illusion of a longer torso. I mean a waist goes where your waist naturally is or where the pattern designer intended it to go, right? So naive I was. I simply took instruction and the pattern at face value. I didn’t think to customize it to suit my own figure quarks.

The other thing that happened was aging. Although I wasn’t great at fitting, stuff I made before didn’t look too bad. The T-Shirt above is actually a recent make. Shock Horror – my figure has changed. And in exactly the ways described in Fit For Real People! The rounded upper back, forward shoulder, fuller bust front and narrower back, fuller tummy, sway back and droopy behinds. You name it, I got it. Makes fitting so much more difficult.

Hence my current obsession with making slopers instead of lovely clothing from the Big 4 patterns  and Burda magazines I’ve collected.

What about you? Have you grown wiser with age and sewing experience? Have you ever hit a sewing midlife crisis like me & got over it? Please, please tell me there’s light at the end of the tunnel! 😉

Free Alexander McQueen designer kimono jacket pattern

Another one worth sharing while I’m watching paint dry in my sewing room…

Pattern from showstudio.com.
Link courtesy of Lisa who left a comment on my kimono post. Thanks!

The McQueen. Really. Looks like fun. Especially as there’s only one size and there’s no indication which it is. One giant origami puzzle from l’enfant terrible of British fashion. Anyone up for a challenge?