
No, I haven’t been playing truant. Work’s been rather stressful, so progress is slow with the cape. I’m almost there. Just need to attach the lining, finish the hem, the button holes and buttons. In the meanwhile, here are some WIP pictures. Non-sewers be warned – plenty of boring sewing details to follow!
The fitting tweaks…
So, after my disappointing muslim of Burda Style 2011-08-112, I enlisted the help of Big Bertha, my duct-tape twin (more about her some other day). She made me realise a few truths.
- My shoulders are lopsided.
- All those massage therapists weren’t lying, I do have shoulders of concrete.
- My neck sticks forward like a chicken, which is why all those RTW shirts gape at the back of the neck and choke me in the front.
- And finally, all those fitting experts weren’t lying either, if it doesn’t fit at the shoulders it won’t fit right elsewhere.
Here’s the muslim on Big Bertha…Back shoulder seam has been let out at the neck base to accommodate my concrete back shoulder muscle. Similar amount has been removed from the front shoulder at the neck base…


 All of a sudden the whole things hangs much better. Even the weird lumps at the upper arms seem less noticeable and the arm holes less restrictive.
But I decided to smooth out the lumps anyway and move the arm holes as planned so I can gain some useful pockets.
I also let out a bit at center front for my chicken neck to roam freely.
Here’s the final patterns…
On the left are side-front & front, on the right are back & side-back. The new lines drawn on the old Burda patterns for comparison…

So the shoulder points have been moved inward & upward. I also increased the hem width of the sides by pivoting from the shoulder points to make the cape feel less constrictive.
The double-welt arm-hole and the pockets are my additions too. The arm-holes now align with my arms naturally at my sides. The top of the arm holes are about 2″ above my elbows to accommodate bent arms without bunching up above, and they extend just far enough so I can comfortably stick my hands in my spanking new in-seam pockets! See…


 And of course I can’t possibly commit to just one way of wearing it. So belt holes have been added in the front side seams just above the pockets.
Here they are, tried on with my Topshop trench belt for size & positioning.
So, with the patterns happily settled, the sewing commenced.
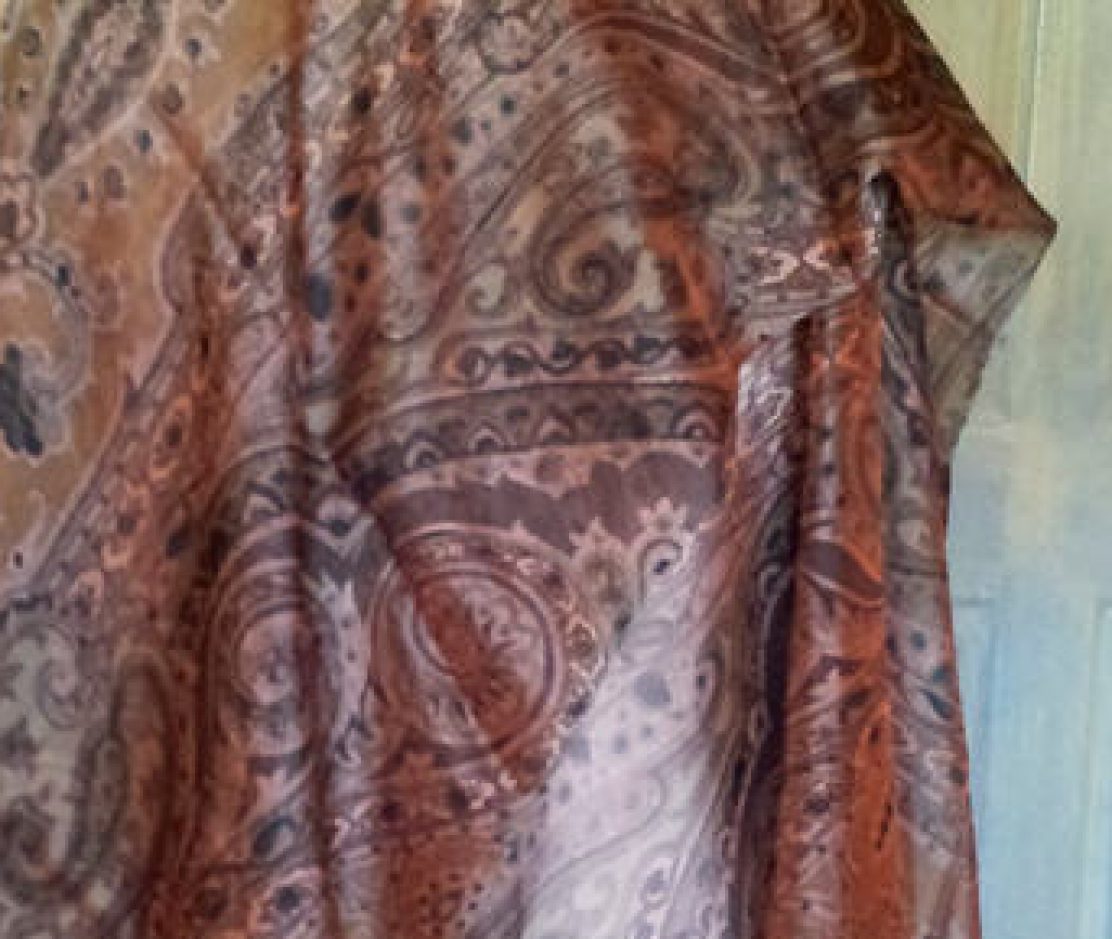
All cut out and…Oops!
Here are the fabrics all cut out, and reinforcement interface ironed on. Now for the oops…What is a sewing project without an Oops right?
 In the dim light after work I stupidly forgot to check the direction of the nap. This fabric has texture a bit like pony skin with furry nap running downward. I cut the fabric upside down, so the nap runs upward. Great for catching crumbs! At least all of the pieces are in the same direction. Anyway, too late to cry over spilt milk & all that. So soldiering on…
Double-welted arm-hole slits

face

back
- The arm hole slits being on the bias I thought I better interface it to cut down stretching.
- Bulk was a bit of a worry. I allowed a bit extra width for the welt than I would on thinner fabrics. So 2 welts added up to 5/8″ width. I cut separate fabrics for each welt and staggered the seam allowances so that when finished, they’ll be graded for a gentler slope rather than one hefty 3 layer 1/4″ cliff.
- Machine basting some guidelines followed by hand-basting kept the seam-rippers at bay. And voilà, here’s the finished welted slits.

face

back
And now for some Pocket Magic!

- The original in-seam slits have been converted into in-seam pockets. They sit just below the waistline and I made sure they’re big enough for my hand. And my Oyster card. And my smart phone. What after my expensive disaster with Lilliputian Topshop trench pockets I was taking no chances.
- They actually sit just inside the seam. I had cut 3/4″ seam allowance to accommodate the thick fabric. The pockets are sewn to the bodice with 1/4″ seam allowance, leaving about 1/2″ of coat fabric acting as facing. This prevents the lining fabric pockets from poking out, but without the bulk factor of a separate facing.
- The pockets are actually backed by fitting muslims. I was paranoid that keys & co. will poke holes in my pockets no sooner than I finish the cape. So preventative reinforcement was patched on. OTT I know. Here are some lovely views of the innards….


What do you think? Should I just wear it out like that – yes, inside out? 😉
The state of the affair…


 Look rather dashing don’t you agree? 😉
Just wait till you see what I have planned for the leftover! Yes, I’ve managed to squeeze enough for a handbag from the scarp. But plan for how to put that together is fuzzy as fuzzy can be.
One thing at a time. First get off this blog and get that old Viking Sapphire cranking!

Thank you so much for the instructions on arm openings. I puzzled and puzzled with this, till my daughter said “check” the internet. Thank you again. Mary
You’re welcome! I wouldn’t call it instructions as much as just sharing my experience trying out a technique or theory! I’m not experienced enough really to instruct. But I’ve always found learning from other people’s experiments / trials & errors very useful. So glad to be able to of use to you too! 🙂